To capture breathtaking sky shots, try these five natural framing techniques: Use trees to create powerful frames, adding depth with interesting shapes and silhouettes. Incorporate arches and rock formations for unique geological framing that complements sky colors. Utilize urban structures and skylines to provide man-made framing opportunities, guiding the viewer's eye. Let clouds serve as dynamic natural borders, experimenting with different cloud types and focal lengths. Finally, leverage water reflections for mirror-like effects, enhancing compositions with symmetry and depth. By mastering these techniques, you'll transform ordinary scenes into enchanting sky photographs that leave viewers in awe. Explore each method to reveal new creative possibilities in your sky photography.
Key Takeaways
- Use trees to create natural frames, adding depth and context to sky compositions.
- Incorporate arches and rock formations as unique geological frames for the sky.
- Utilize urban structures and skylines to provide man-made framing opportunities.
- Employ clouds as dynamic natural borders to enhance sky photography compositions.
- Leverage water reflections to create mirror-like effects, adding symmetry to sky shots.
Trees as Sky Frames
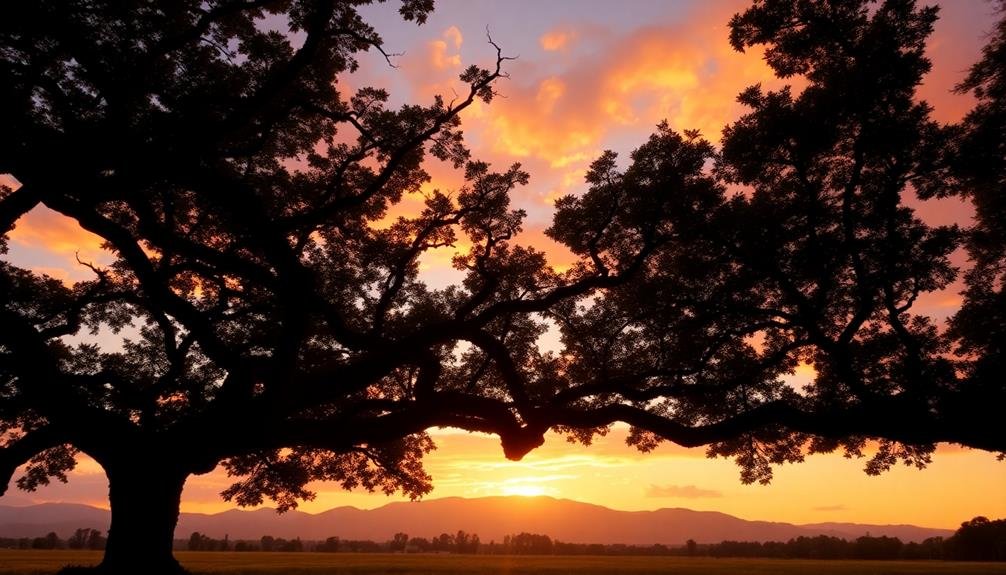
When photographing the sky, trees can serve as powerful natural frames that add depth and context to your shots. They create a foreground element that draws the viewer's eye towards the sky, enhancing the overall composition.
To use trees effectively, look for interesting shapes and silhouettes. Bare branches in winter can create intricate patterns against a colorful sunset, while full, leafy canopies provide a lush border for summer skyscapes.
Position yourself to capture the sky through gaps in the foliage or between trunks. This technique creates a window-like effect, focusing attention on specific areas of the sky. You can also use a single tree as a focal point, placing it off-center to follow the rule of thirds.
Experiment with different angles and perspectives; shooting upwards from the base of a tree can create a dramatic, towering effect.
Consider the time of day and lighting conditions. Backlighting can turn trees into striking silhouettes, while side lighting emphasizes texture and depth.
Don't forget to adjust your camera settings to properly expose both the sky and the trees, using techniques like HDR if necessary.
Arches and Rock Formations
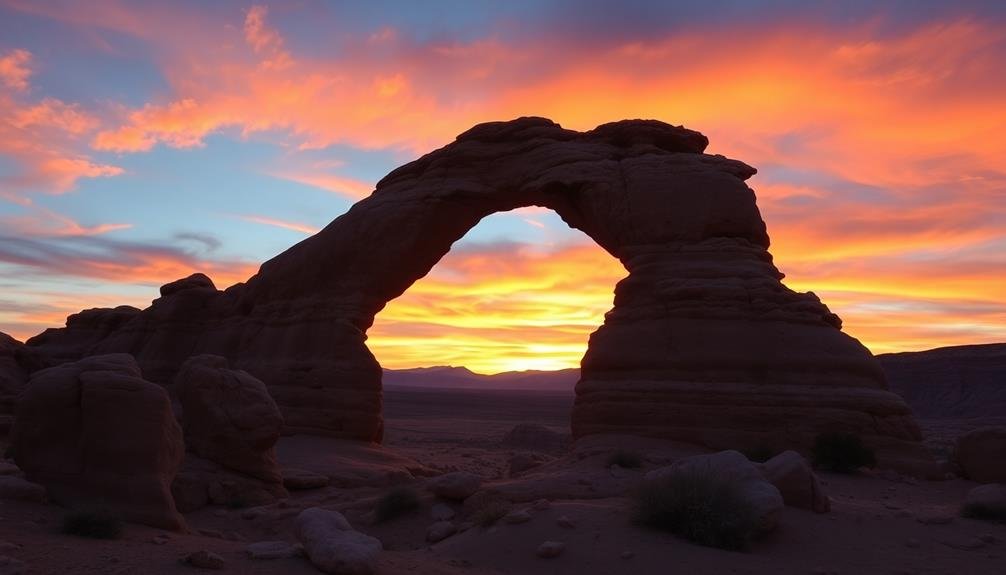
Just as trees provide natural frames for sky shots, arches and rock formations offer unique opportunities to create striking compositions. These geological features can add depth, interest, and a sense of scale to your sky photography. When you're shooting through an arch or using rock formations as a frame, you'll create a natural window that draws the viewer's eye to the sky beyond.
Look for arches or rock formations that complement the sky's colors and textures. A jagged rock silhouette can contrast beautifully with a soft, pastel sunset. Position yourself to maximize the framing effect, experimenting with different angles and distances. You might capture the entire arch or use only a portion of it to frame your shot.
Consider the time of day and lighting conditions. During golden hour, the warm light can illuminate the rocks, creating a stunning contrast with the sky. For nighttime shots, try capturing star trails or the Milky Way through an arch.
Don't forget to use a wide-angle lens to encompass both the frame and the sky. Finally, verify your focus is sharp on both the framing elements and the sky to create a cohesive, impactful image.
Urban Structures and Skylines
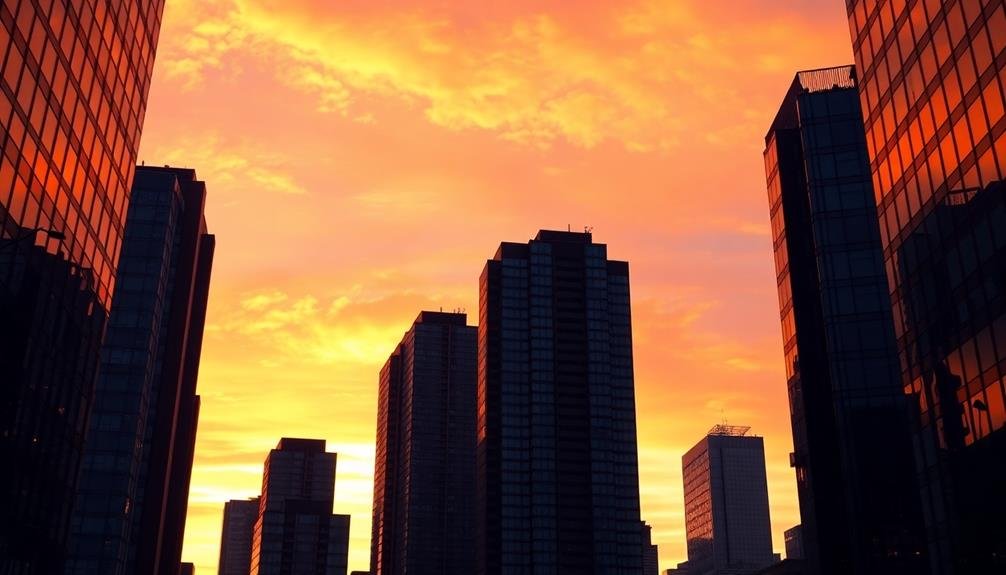
Beyond natural elements, urban structures and skylines offer fascinating framing opportunities for sky photography. You'll find that city environments provide a wealth of man-made frames to enhance your sky shots. Skyscrapers, bridges, and architectural marvels can create striking silhouettes against colorful sunsets or dramatic cloud formations.
When shooting in urban areas, look for:
- Unique building shapes or rooftops
- Gaps between tall structures
- Arched bridges or overpasses
- Observation decks or viewing platforms
Position yourself to use these elements as foreground interest, guiding the viewer's eye towards the sky. Experiment with different angles and perspectives to find the most captivating composition. You might try shooting from ground level, looking up between buildings, or finding an elevated vantage point for a broader view of the skyline.
Don't forget to think about the time of day and lighting conditions. Golden hour and blue hour can add warmth and depth to your urban sky shots, while nighttime offers opportunities to capture city lights against a dark sky.
Clouds as Natural Borders
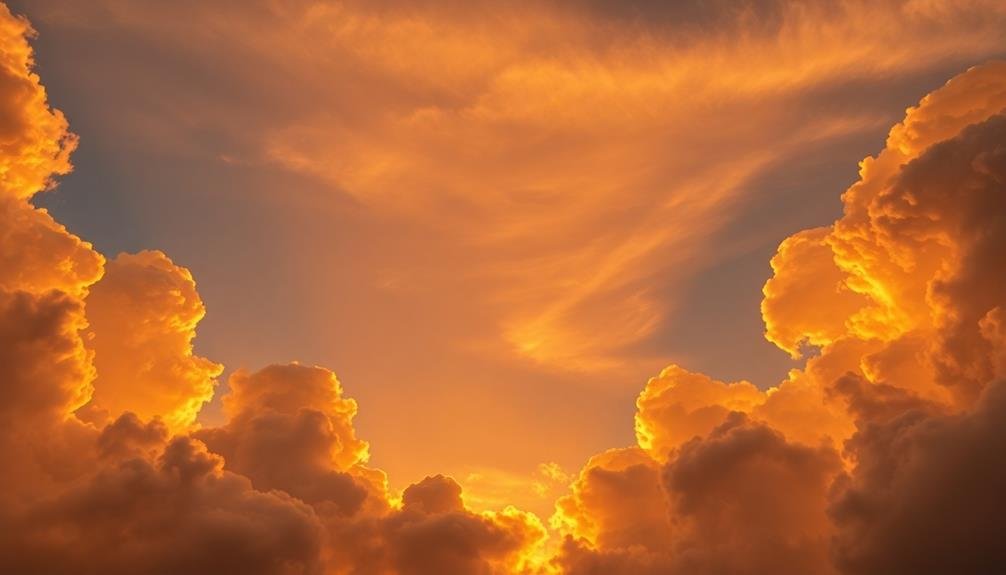
While urban structures offer compelling framing options, nature itself provides dynamic elements for sky photography. Clouds, in particular, can serve as natural borders to frame your sky shots. You'll find that different cloud formations create unique framing opportunities, enhancing the overall composition of your images.
When using clouds as natural borders, consider these techniques:
| Cloud Type | Framing Technique |
|---|---|
| Cumulus | Frame corners |
| Stratus | Top/bottom border |
| Cirrus | Wispy edges |
| Cumulonimbus | Dramatic backdrop |
Look for cumulus clouds to frame the corners of your shot, creating a soft, natural vignette effect. Stratus clouds can provide a horizontal border at the top or bottom of your frame, drawing attention to the central sky area. Wispy cirrus clouds add delicate, ethereal edges to your composition. For more dramatic shots, use towering cumulonimbus clouds as a backdrop, framing the sky with their imposing presence.
To maximize the impact of cloud framing, experiment with different focal lengths and perspectives. Wide-angle lenses can capture expansive cloud formations, while telephoto lenses allow you to isolate specific cloud shapes for tighter framing.
Water Reflections for Framing
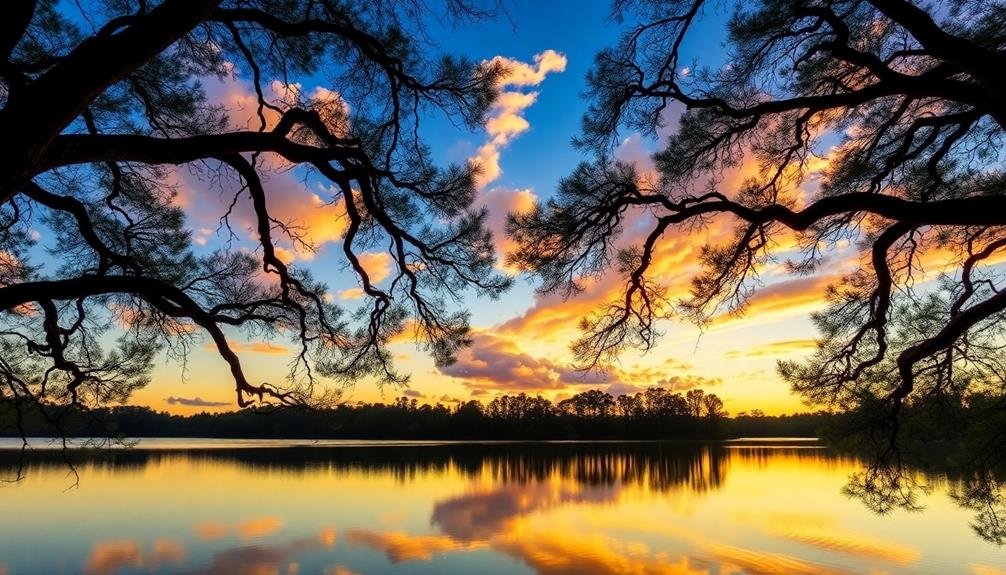
Water reflections offer a unique way to frame sky shots, creating a mirror-like effect that doubles the impact of your composition. By incorporating reflective surfaces like lakes, ponds, or even puddles, you'll add depth and symmetry to your sky photographs.
Look for calm bodies of water to achieve the clearest reflections, ideally during sunrise or sunset when the sky's colors are most vibrant.
To maximize the framing effect of water reflections, consider these techniques:
- Position your camera low to the ground to capture more of the reflection
- Use a wide-angle lens to encompass both the sky and its reflection
- Experiment with different angles to find the most balanced composition
- Include foreground elements like rocks or plants to add interest
When shooting water reflections, you'll need to adjust your camera settings to account for the varying light conditions.
Use a smaller aperture (higher f-number) to guarantee both the sky and its reflection are in focus. A polarizing filter can help reduce glare and enhance the reflection's clarity.
Don't be afraid to get creative with your framing – sometimes, an off-center or partial reflection can create a more dynamic and engaging image.
Frequently Asked Questions
What Camera Settings Are Best for Capturing Natural Sky Frames?
To capture natural sky frames, you'll want to use a wide-angle lens, set a small aperture (f/8-f/11) for depth of field, and adjust your shutter speed based on lighting conditions. Don't forget to use a tripod for stability.
How Do You Handle Extreme Lighting Conditions When Framing Sky Shots?
When you're dealing with extreme lighting in sky shots, bracket your exposures. You'll want to use graduated neutral density filters, adjust your white balance, and shoot in RAW. Don't forget to protect your lens from flare.
Are There Specific Times of Day Ideal for Natural Sky Framing?
You'll find golden hour (just after sunrise or before sunset) ideal for natural sky framing. The soft, warm light enhances colors and textures. Blue hour, just before sunrise or after sunset, offers dreamy, ethereal qualities.
What Post-Processing Techniques Can Enhance Natural Frames in Sky Photography?
You can enhance natural frames in sky photography by adjusting contrast, boosting colors, and using selective edits. Try dodging and burning to highlight framing elements, and experiment with graduated filters to balance exposure between sky and foreground.
How Do You Maintain Focus on Both the Frame and Sky Elements?
To maintain focus on both frame and sky elements, you'll want to use a narrow aperture (high f-number) for increased depth of field. Alternatively, try focus stacking techniques or hyperfocal distance to guarantee sharpness throughout your composition.
In Summary
You've now got five powerful framing techniques to elevate your sky photography. Don't be afraid to experiment with these natural elements to create stunning compositions. Remember, the sky's the limit when it comes to creativity. Whether you're using trees, arches, buildings, clouds, or water, you'll find endless possibilities to frame and enhance your sky shots. So grab your camera, head outdoors, and start capturing those breathtaking skyscapes. You've got this!

As educators and advocates for responsible drone use, we’re committed to sharing our knowledge and expertise with aspiring aerial photographers.


Leave a Reply