Your drone photo editing journey starts before takeoff with ideal camera settings. Capture in RAW for maximum flexibility, and use composition techniques like the Rule of Thirds for compelling shots. Once you've landed, import and organize your images efficiently. Begin editing with basic exposure adjustments, then move on to color correction and sharpening. Advanced techniques like panorama stitching, HDR creation, and object removal can elevate your images further. Don't forget to remove lens distortion and consider sky replacement for dramatic effects. Finally, export your masterpiece with the right settings for your intended use. The sky's the limit for what you can achieve with these techniques.
Key Takeaways
- Set drone camera to RAW format and adjust ISO, aperture, and shutter speed for optimal image quality.
- Apply composition techniques like Rule of Thirds and leading lines to create visually appealing aerial shots.
- Use software like Adobe Lightroom for organizing, importing, and basic exposure adjustments of drone photos.
- Enhance details through sharpening techniques and remove lens distortion for professional-looking images.
- Master advanced techniques like sky replacement and panorama stitching to create stunning drone photographs.
Pre-Flight Camera Settings

Preparation is key when it comes to drone photography. Before you even lift off, you'll want to optimize your camera settings to guarantee you capture the best possible raw images.
Start by setting your drone's camera to shoot in RAW format, which preserves more data and gives you greater flexibility during editing. Next, adjust your ISO to the lowest possible setting, typically 100, to minimize noise in your images.
Set your aperture based on your desired depth of field. For landscapes, use a smaller aperture (higher f-number) to keep more of the scene in focus. Choose your shutter speed carefully, considering factors like available light and whether you're shooting static or moving subjects. In bright conditions, you may need to use ND filters to avoid overexposure.
Enable any built-in camera features that can enhance your shots, such as auto exposure bracketing for HDR imagery. If your drone has a flat color profile option, use it to capture more dynamic range.
Composition Techniques for Aerial Photography
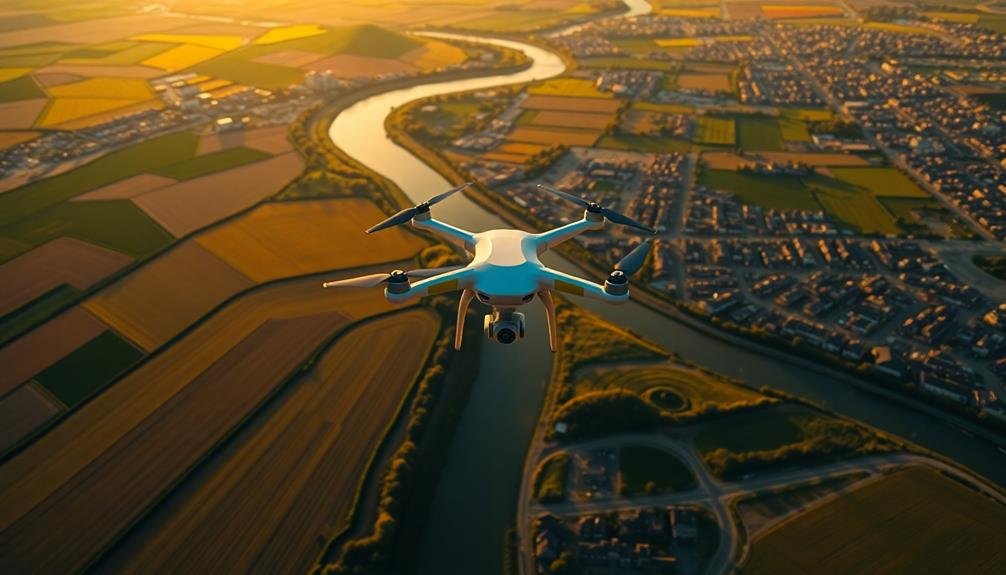
When you're framing your aerial shots, remember to apply the Rule of Thirds by positioning key elements along imaginary grid lines dividing your image into thirds.
You'll create more dynamic compositions by placing points of interest at the intersections of these lines rather than centering your subject.
Additionally, look for natural leading lines in the landscape below, such as roads, rivers, or coastlines, to guide the viewer's eye through your image and create a sense of depth.
Rule of Thirds
One of the most powerful composition techniques in aerial photography is the Rule of Thirds. This principle divides your image into a 3×3 grid, creating nine equal sections. By placing key elements along these lines or at their intersections, you'll create more balanced and visually appealing drone shots.
To apply the Rule of Thirds, position your main subject off-center. For landscapes, align the horizon with the upper or lower horizontal line. This creates a more dynamic composition than centering everything.
When capturing structures or landmarks, try placing them at the intersections of the grid lines. Most drones offer a grid overlay feature in their camera settings. Enable this to help you compose your shots in real-time.
If you didn't use the Rule of Thirds during capture, don't worry. You can crop and reframe your image during post-processing to achieve the desired composition.
Leading Lines Aerial
Leading lines are a powerful tool in aerial photography, guiding the viewer's eye through your image and creating a sense of depth and movement. When editing your drone photos, look for natural or man-made lines that can serve this purpose. Roads, rivers, coastlines, and even rows of crops can act as compelling leading lines from an aerial perspective.
To enhance these lines in post-processing, you'll want to adjust contrast and clarity. Increase the contrast to make the lines stand out more prominently against their surroundings. Use the clarity slider to add definition and texture to the lines, making them more visually striking.
Consider the direction of your leading lines. Diagonal lines often create a dynamic feel, while vertical or horizontal lines can convey stability. You can emphasize the line's direction by slightly rotating your image or adjusting the perspective in your editing software.
Don't forget about color. Enhancing the hue or saturation of your leading lines can make them pop against the background. However, be careful not to overdo it – subtlety is key.
Raw vs. JPEG: Choosing Format

The choice between Raw and JPEG formats can greatly impact your drone photography workflow and final image quality.
Raw files offer greater flexibility in post-processing, capturing more data and allowing for extensive adjustments without significant quality loss. They're ideal for complex edits, challenging lighting conditions, and professional work. However, Raw files are larger, require more storage space, and need processing before sharing.
JPEG files, on the other hand, are ready to use straight out of the camera. They're smaller, easier to share, and don't require special software to view. Your drone's processor applies in-camera adjustments, potentially saving time in post-processing. However, JPEGs have limited editing potential due to compressed data and fewer color bits.
Consider your workflow and intended use when choosing. If you prioritize maximum editing flexibility and image quality, shoot in Raw. If you need quick turnaround times or limited storage, JPEG might be more suitable.
Many photographers opt to shoot in both formats simultaneously, ensuring they've a readily usable JPEG and a high-quality Raw file for future editing. Ultimately, your choice should align with your specific needs and goals in drone photography.
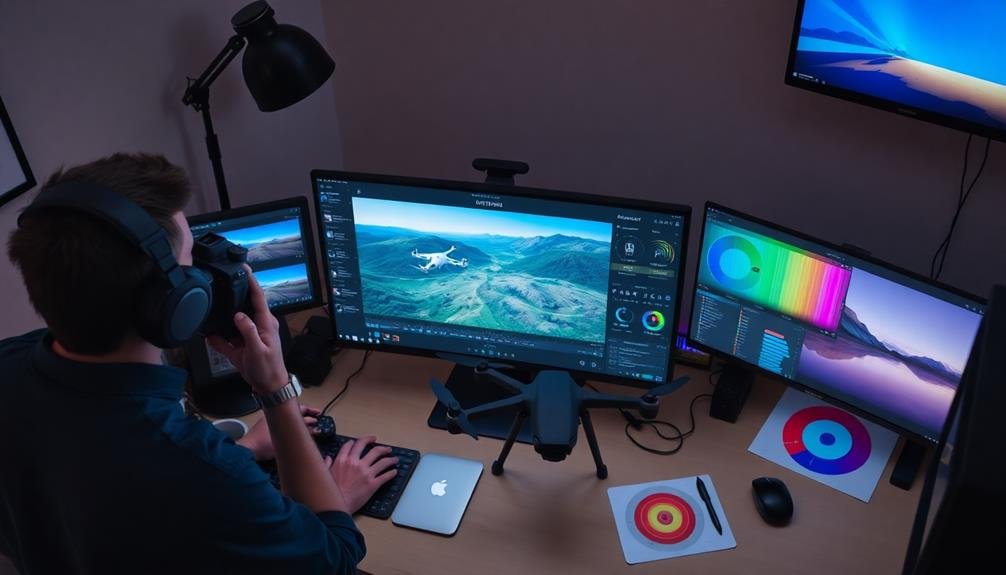
Importing and Organizing Drone Photos
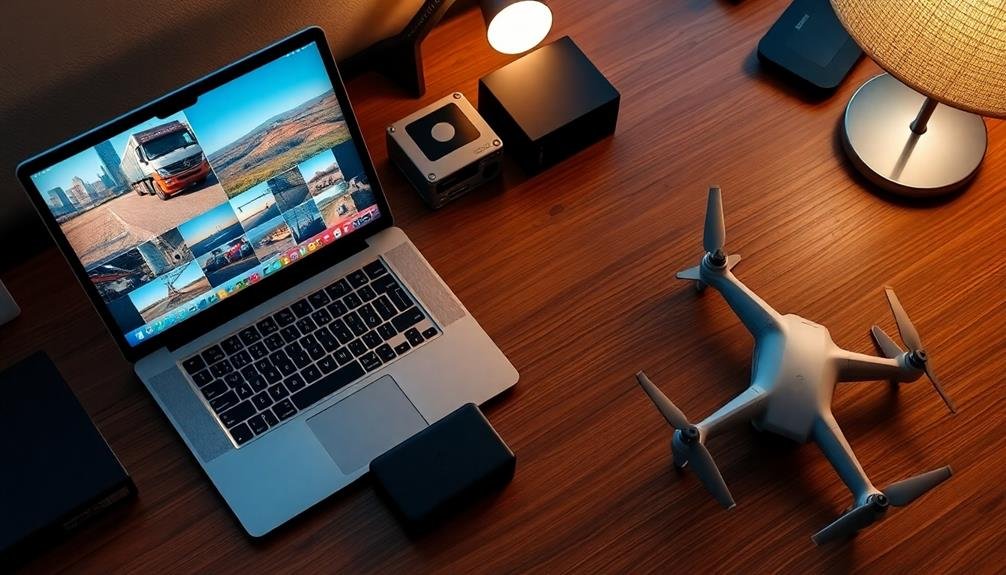
After capturing stunning aerial shots with your drone, importing and organizing your photos efficiently is essential for a smooth editing workflow. Begin by connecting your drone or memory card to your computer and transferring the files to a designated folder. Create a consistent folder structure to keep your projects organized, using descriptive names and dates.
Next, use photo management software like Adobe Lightroom or Capture One to import your drone photos. During import, apply keywords, metadata, and ratings to make your images easily searchable. Consider creating presets for common tags to speed up this process.
Here's a simple organization system you can adapt:
| Folder Level | Example 1 | Example 2 |
|---|---|---|
| Main Folder | Drone Photos | Aerial Photography |
| Year | 2023 | 2024 |
| Location | New York City | Grand Canyon |
| Date | 2023-05-15 | 2024-01-22 |
| Project | Cityscape Sunset | Canyon Sunrise |
Once imported, review your photos and delete any that are clearly unusable. Create collections or albums for your best shots, making it easier to find them later. By establishing a solid organization system from the start, you'll save time and frustration during the editing process.
Basic Exposure Adjustments
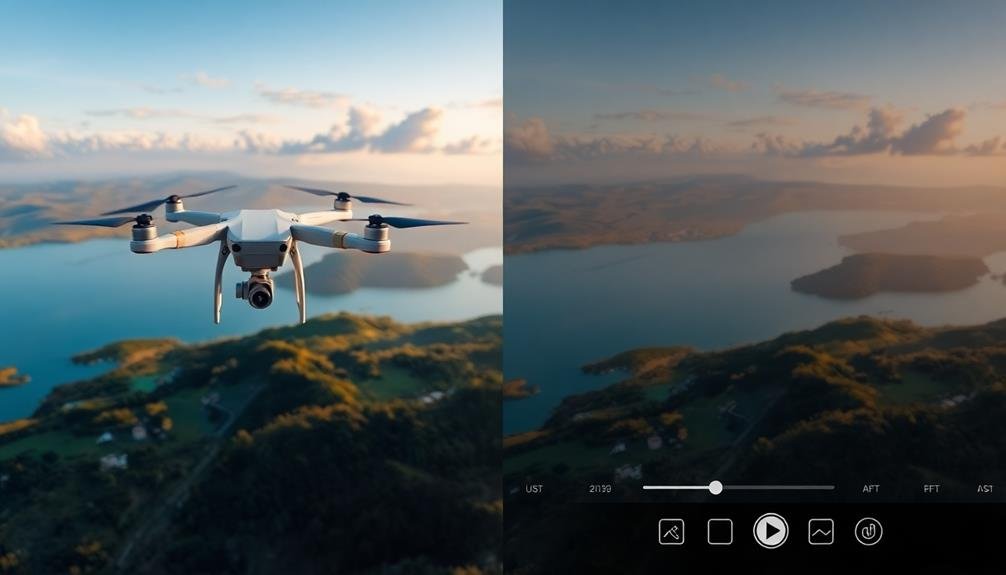
With your drone photos imported and organized, it's time to immerse yourself in basic exposure adjustments. These tweaks form the foundation of your editing process, enhancing the overall look of your aerial shots.
Start by adjusting the exposure, which controls the overall brightness of your image. If your photo appears too dark or bright, use the exposure slider to correct it.
Next, focus on the highlights and shadows. Reduce blown-out highlights to recover detail in bright areas, and lift shadows to reveal information in darker regions.
Contrast is essential for adding depth to your drone photos. Increase it slightly to make your image pop, but be careful not to overdo it.
Adjust the whites and blacks to fine-tune the brightest and darkest parts of your image, respectively.
Don't forget about clarity, which adds midtone contrast and can make your aerial landscapes appear sharper. Use it sparingly, as too much clarity can create an unnatural look.
Finally, tweak the vibrance and saturation to enhance the colors in your drone shots. Vibrance affects muted tones more, while saturation impacts all colors equally.
Experiment with these adjustments to find the perfect balance for your aerial photography.
Color Correction and White Balance
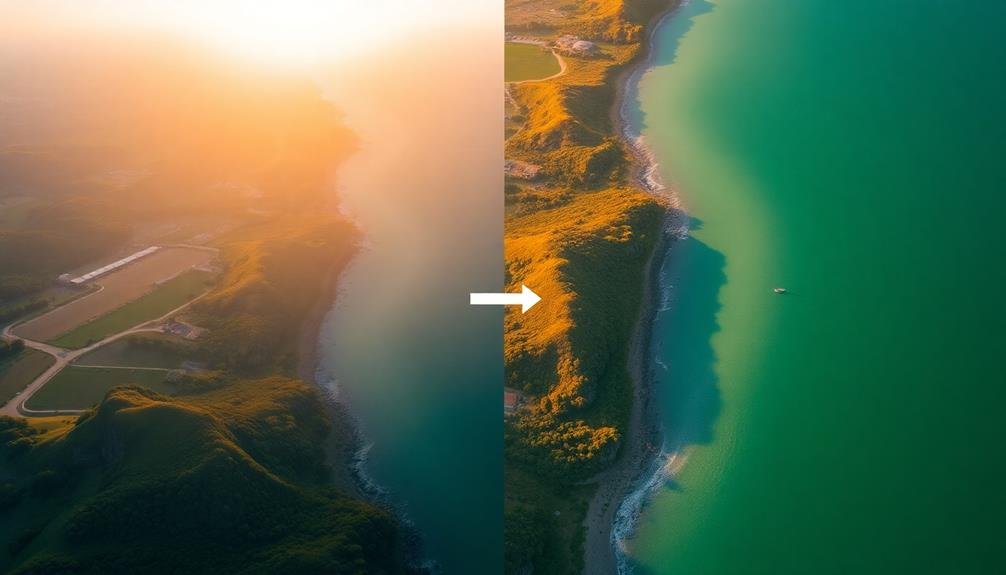
Vivid hues and accurate color representation can make or break your drone photography. After adjusting exposure, focus on color correction and white balance to achieve a natural, true-to-life look.
Start by setting the correct white balance, which neutralizes color casts caused by different light sources. Most editing software offers presets for common scenarios like sunny, cloudy, or shade. Fine-tune these settings manually for precise results.
Next, adjust the overall color temperature. Warm it up for a golden hour feel or cool it down for a crisp, clean look. Pay attention to the tint slider to balance between green and magenta tones.
Use the saturation and vibrance tools to enhance color intensity, but be careful not to overdo it. Saturation affects all colors equally, while vibrance targets less saturated areas.
For more control, utilize selective color adjustments. This allows you to modify specific color ranges independently. Boost blues for more dramatic skies or tone down greens for a less lush landscape.
Enhancing Details and Sharpness
To bring out the best in your drone photos, you'll want to focus on enhancing details and sharpness.
Start by applying sharpening techniques to crisp up edges and textures, being careful not to overdo it and introduce noise.
You can further improve your image's depth and definition by making careful clarity adjustments, which enhance mid-tone contrast and bring out subtle details.
Sharpening Techniques
How can you make your drone photos pop with razor-sharp clarity? Start by applying selective sharpening to key elements in your image. Use the unsharp mask filter, adjusting the amount, radius, and threshold settings to enhance edges without introducing noise.
For more control, try the high pass filter technique: duplicate your layer, apply a high pass filter, then blend using the overlay or soft light mode.
Don't overlook the power of local adjustments. Use adjustment brushes or masks to sharpen specific areas like buildings, trees, or textures. This targeted approach prevents over-sharpening in smoother areas like skies.
When working with RAW files, leverage your editing software's built-in sharpening tools during the raw conversion process.
Clarity Adjustments
Clarity adjustments often serve as a powerful complement to sharpening techniques in drone photography. They enhance mid-tone contrast, bringing out texture and detail in your aerial shots. Unlike sharpening, which focuses on edge contrast, clarity targets a broader range of tones, giving your images more depth and dimension.
When adjusting clarity, start with small increments. Too much clarity can make your drone photos look overprocessed or grungy. Pay attention to how it affects different elements in your image, such as clouds, landscapes, and structures. You'll often find that clarity works wonders for architectural details and textures in natural landscapes.
Here's a quick guide to clarity adjustments for different drone subjects:
| Subject | Low Clarity | Medium Clarity | High Clarity |
|---|---|---|---|
| Landscapes | Soft, dreamy | Balanced detail | Dramatic textures |
| Architecture | Smooth lines | Enhanced edges | Bold structures |
| Water scenes | Misty, ethereal | Defined ripples | Pronounced waves |
Removing Lens Distortion

Distortion can be the bane of drone photographers, especially when capturing wide-angle shots. You'll often notice curved edges and warped lines in your images, particularly near the frame's corners. To correct this issue, you'll need to apply lens distortion removal techniques during post-processing.
Start by identifying the type of distortion in your image. Barrel distortion causes outward curvature, while pincushion distortion results in inward bending. Most editing software offers built-in lens correction tools that can automatically detect and fix these issues. If you're using Adobe Lightroom or Photoshop, you'll find lens profiles for many popular drone models.
For manual adjustments, focus on straightening vertical and horizontal lines. Use the transform tools to adjust perspective and correct any remaining distortion. Pay close attention to architectural elements and horizons, as these are often the most noticeable areas affected by lens distortion.
Remember that removing distortion may crop your image slightly, so it's wise to shoot a bit wider than your intended composition.
Sky Replacement Techniques

While correcting lens distortion can greatly improve your drone photos, sometimes the sky itself needs enhancement. Sky replacement techniques can transform a dull or overexposed sky into a breathtaking backdrop for your aerial shots.
To begin, select a suitable replacement sky image that matches the lighting and perspective of your original photo. Use masking tools to isolate the existing sky, paying close attention to edges where it meets land or structures. Feather the mask slightly to create a natural shift.
Adjust the new sky's brightness, contrast, and color temperature to blend seamlessly with the rest of the image. Consider the direction of light in your original photo and make sure the replacement sky's lighting is consistent.
For added realism, incorporate any elements from the original sky, such as birds or aircraft. Use the clone stamp or healing brush to remove any artifacts or imperfections along the mask's edges.
Panorama Stitching for Drone Photos

When capturing panoramas with your drone, you'll need to master specific shooting techniques to guarantee seamless stitching later.
You should fly your drone in a steady, controlled manner while taking overlapping shots at consistent intervals and exposure settings.
For the stitching process itself, you'll find various software options available, ranging from drone manufacturers' proprietary apps to professional-grade photo editing suites like Adobe Lightroom or specialized panorama software like PTGui.
Panorama Shooting Techniques
Soaring high above the landscape, your drone offers a unique opportunity to capture breathtaking panoramic views. To create stunning panoramas, you'll need to master specific shooting techniques.
Start by setting your drone to manual mode, ensuring consistent exposure across all images. Choose a focal length between 24-35mm for a natural perspective, and maintain at least 20-30% overlap between shots.
Begin your panorama by facing north and rotating clockwise. Take photos at regular intervals, keeping the horizon level. For wider scenes, consider shooting in multiple rows. Fly your drone higher for expansive landscapes, or lower for more intimate compositions.
Use your drone's GPS to maintain a fixed position, minimizing alignment issues during stitching. To capture HDR panoramas, bracket your exposures for each position. This technique allows you to preserve detail in both highlights and shadows.
When shooting over water or highly reflective surfaces, avoid midday sun to reduce glare. Finally, always check local regulations and fly responsibly.
With practice, you'll create seamless, immersive panoramas that showcase the world from a truly unique perspective.
Software for Stitching Panoramas
Numerous software options are available for stitching your drone panoramas into seamless, high-resolution images. Popular choices include Adobe Lightroom, PTGui, and Hugin.
Adobe Lightroom offers a user-friendly interface and seamless integration with other Adobe products, making it ideal for photographers already familiar with the Creative Suite.
PTGui is a powerful, dedicated panorama stitching software that provides advanced control over the stitching process. It's particularly useful for complex panoramas or when you need to fine-tune alignment and blending.
Hugin, an open-source alternative, offers similar capabilities to PTGui but with a steeper learning curve.
For those seeking automated solutions, Microsoft's Image Composite Editor (ICE) and Autopano Giga provide efficient stitching with minimal user input. ICE is free and works well for straightforward panoramas, while Autopano Giga excels at handling challenging stitching scenarios.
When choosing software, consider your skill level, the complexity of your panoramas, and your budget. Most programs offer free trials, so you can test them before committing.
Regardless of your choice, make sure your computer has sufficient processing power and RAM to handle large panoramic files efficiently.
Creating HDR Drone Images

To create stunning HDR drone images, you'll need to combine multiple exposures of the same scene. Start by capturing at least three bracketed shots: underexposed, properly exposed, and overexposed. Most drones offer an auto-bracketing feature, making this process easier.
Once you've got your images, use HDR software like Adobe Lightroom, Aurora HDR, or Photomatix Pro to merge them. These programs align your shots and blend the exposures, creating a single image with a wider dynamic range.
When processing your HDR image, be careful not to overdo it. Aim for a natural look, preserving shadows and highlights while enhancing details. Adjust tone mapping, contrast, and saturation to achieve the desired result.
Here's a quick guide to HDR drone photography:
| Step | Action | Tips |
|---|---|---|
| 1 | Set up bracketing | Use -2, 0, +2 EV |
| 2 | Capture images | Keep drone steady |
| 3 | Import to software | Check alignment |
| 4 | Merge exposures | Adjust ghosting |
| 5 | Fine-tune results | Don't overprocess |
Advanced Retouching and Object Removal

While capturing stunning drone shots is essential, mastering advanced retouching techniques can elevate your images to new heights. Focus on perfecting details that might've been overlooked during the shoot.
Start by removing distracting elements like power lines, trash, or unwanted people using tools like the clone stamp or healing brush in your editing software.
Next, tackle more complex tasks like sky replacement. This technique can dramatically transform a dull sky into a vibrant one, enhancing the overall mood of your image. Use selection tools to isolate the sky and blend in a new one seamlessly.
Don't forget about perspective correction. Drone shots often suffer from distortion due to the camera's angle. Use your software's transform tools to straighten lines and correct any warping.
For a polished look, consider frequency separation. This advanced technique allows you to edit texture and color separately, resulting in smoother skin tones or more defined textures in landscapes.
Lastly, experiment with dodging and burning to add depth and dimension to your images. By selectively lightening and darkening areas, you'll create a more dynamic and visually appealing final product.
Exporting and Sharing Edited Drone Photos
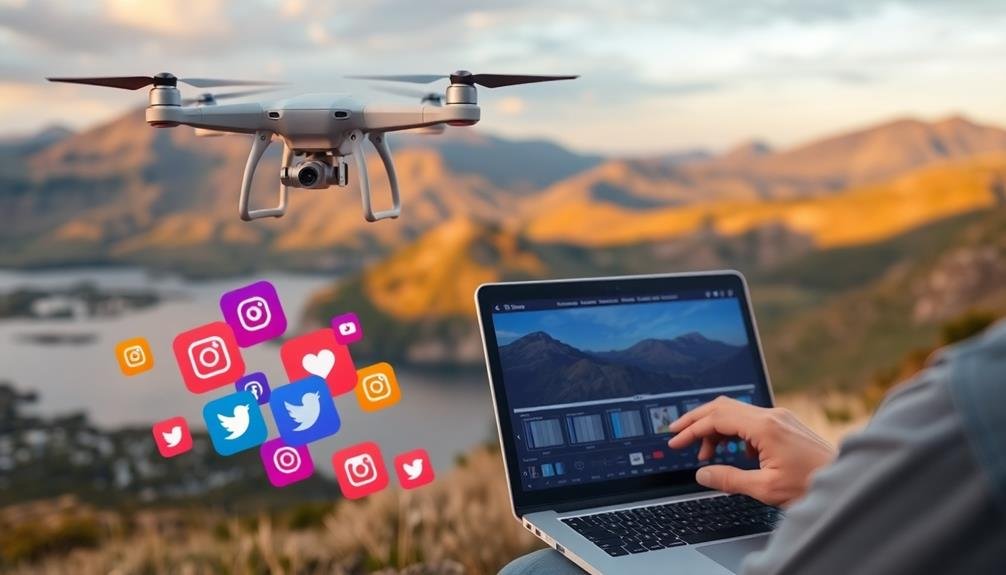
After perfecting your drone images with advanced editing techniques, it's time to showcase your work to the world. When exporting your edited drone photos, consider the intended use and platform for sharing. For web use, export as JPEGs with a resolution of 72 DPI and sRGB color space.
If you're printing, opt for TIFF files with 300 DPI and Adobe RGB color space. Choose the appropriate file size based on your sharing platform. Social media sites often compress large files, so aim for 1-2 MB per image. For professional portfolios or stock photography sites, you may want to export larger files to maintain quality.
When sharing online, add metadata to your images, including keywords, copyright information, and location data. This helps with SEO and protects your work. Consider watermarking your photos to deter unauthorized use.
Utilize cloud storage services like Google Drive or Dropbox for easy sharing with clients or collaborators. For social media, tailor your exports to each platform's specifications. Instagram prefers square formats, while Twitter and Facebook accommodate various aspect ratios.
Always preview your exported images before sharing to guarantee they appear as intended.
Frequently Asked Questions
How Can I Legally Fly My Drone for Photography in Restricted Areas?
To legally fly your drone in restricted areas for photography, you'll need to obtain special permissions. Contact local authorities, apply for waivers from the FAA, and follow specific regulations. Always prioritize safety and respect no-fly zones.
What's the Best Way to Protect My Drone From Extreme Weather Conditions?
To protect your drone from extreme weather, you'll want to avoid flying in harsh conditions. Use a waterproof case for storage and transport. Install propeller guards and consider weatherproofing sprays. Always check weather forecasts before flying.
How Do I Handle Unexpected Wildlife Encounters During Drone Photography Sessions?
When encountering wildlife during drone flights, you'll want to prioritize safety. Keep your distance, avoid disturbing animals, and comply with local regulations. If necessary, land your drone and wait for the wildlife to move on before continuing.
Are There Specific Insurance Considerations for Professional Drone Photographers?
Yes, you'll need specialized drone insurance. It should cover liability, equipment damage, and potential third-party injuries. Check if your existing policies cover drone use, and consider additional coverage for commercial operations and privacy claims.
What Are the Best Practices for Drone Battery Management and Longevity?
You'll extend your drone's battery life by charging properly, avoiding extreme temperatures, and storing at 50% capacity. Don't overcharge, and use manufacturer-approved chargers. Rotate batteries regularly and perform periodic maintenance checks for ideal longevity.
In Summary
You've now got the tools to transform your drone photos from ordinary to extraordinary. From pre-flight prep to final touches, you're equipped to capture stunning aerial images and edit them like a pro. Remember, practice makes perfect. Keep experimenting with different techniques, and don't be afraid to push your creative boundaries. With time and patience, you'll develop your unique style and create drone photos that truly stand out from the crowd.
As educators and advocates for responsible drone use, we’re committed to sharing our knowledge and expertise with aspiring aerial photographers.


Leave a Reply