To highlight textures in your sky photos, start by adjusting contrast for dramatic effect and applying selective color editing. Utilize HDR techniques to capture a full range of tones, and experiment with long exposures for dynamic cloud streaks. Play with lighting angles, especially during golden hours, and enhance cloud formations through careful camera settings. Leverage diverse weather conditions and use polarizing filters to reduce glare. Don't forget to explore different altitudes for unique perspectives on cloud layers. By incorporating foreground elements, you'll add depth to your compositions. These techniques will transform your sky photos, but there's even more to discover about capturing nature's canvas.
Key Takeaways
- Adjust contrast and selectively edit colors to enhance cloud details and overall sky appearance.
- Utilize HDR techniques to capture a wider range of tones and reveal intricate textures.
- Experiment with long exposures to create dynamic cloud streaks and patterns.
- Use polarizing filters to reduce glare and increase color saturation in the sky.
- Incorporate foreground elements to add depth and context to sky compositions.
Adjust Contrast for Dramatic Effect
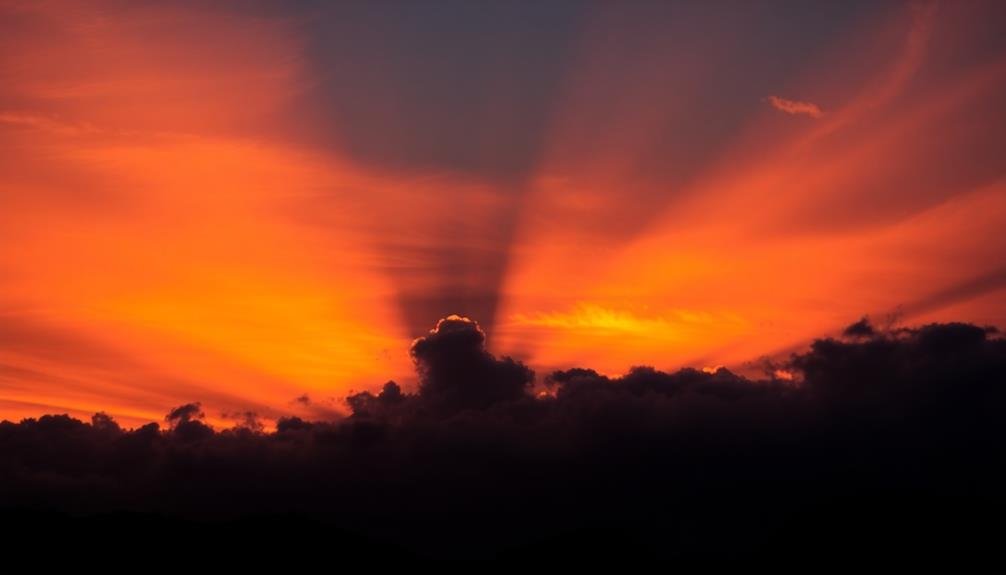
Photographers know that contrast is key when it comes to highlighting textures in sky photos. By adjusting the contrast in your images, you'll bring out the intricate details and patterns in clouds, sunbeams, and atmospheric phenomena.
Start by increasing the overall contrast to make the brightest parts of the sky pop while deepening the darker areas. You can fine-tune the contrast using your camera's settings or post-processing software. Experiment with the highlights and shadows sliders to enhance the separation between light and dark areas.
Don't be afraid to push the boundaries; sometimes, a more dramatic effect can create stunning results. Pay attention to different parts of the sky, as you may need to adjust contrast locally. Use gradient filters or masking techniques to apply contrast selectively, ensuring you don't overdo it in areas that don't require as much emphasis.
Remember that the goal is to accentuate existing textures, not create artificial ones. Maintain a balance between enhancing details and preserving the natural look of the sky.
With practice, you'll develop an eye for the right amount of contrast to make your sky photos truly stand out.
Utilize HDR Techniques
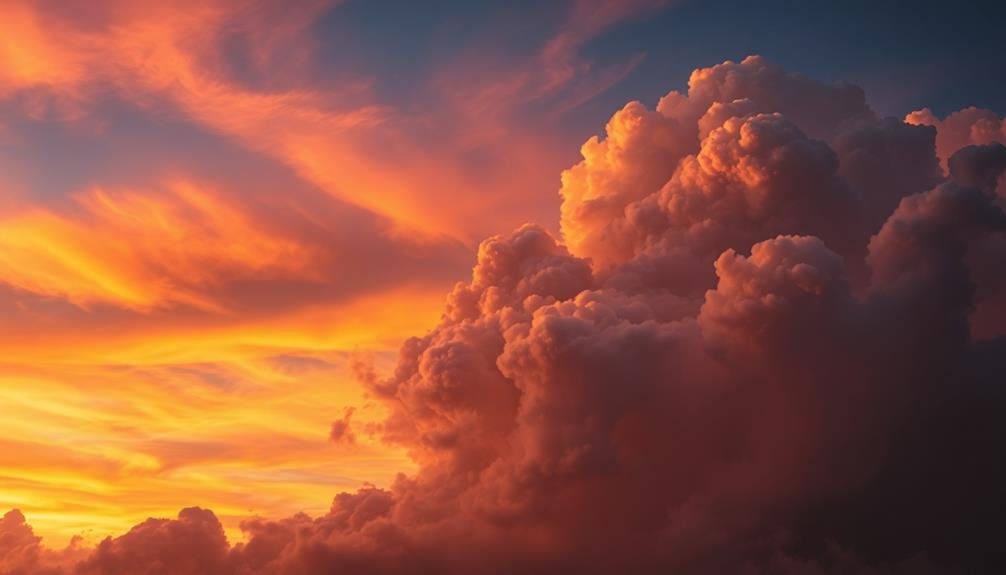
High Dynamic Range (HDR) techniques are powerful tools for capturing the full spectrum of light in sky photos. By combining multiple exposures of the same scene, you'll reveal details in both the brightest and darkest areas of your image, enhancing sky textures that might otherwise be lost.
To utilize HDR effectively, start by shooting in RAW format and using your camera's bracketing feature. Take at least three shots: one at the correct exposure, one underexposed, and one overexposed. Use a tripod to guarantee alignment between shots.
When processing, merge these exposures using HDR software or your photo editing program's HDR tools. Be careful not to overdo the effect, as excessive HDR can lead to unrealistic results. Aim for a natural look that enhances the sky's textures without appearing artificial.
Pay attention to the shift between the sky and other elements in your photo, guaranteeing a seamless blend. Experiment with different HDR styles, from subtle enhancements to more dramatic interpretations.
You can also try single-exposure HDR techniques, which involve processing a single RAW file to bring out a wider tonal range. This method can be particularly useful when capturing fast-moving clouds or when using a tripod isn't feasible.
Experiment With Long Exposures
Long exposures can dramatically enhance the textures in your sky photographs.
You'll capture the mesmerizing movement of clouds, creating streaks and patterns that add dynamism to your images.
Additionally, you can smooth out water reflections, producing a mirror-like surface that beautifully complements the textured sky above.
Capture Cloud Movement
Many photographers overlook the dynamic potential of clouds in motion. To capture this ethereal movement, you'll need to master long exposure techniques. Start by using a sturdy tripod to keep your camera stable during extended shutter speeds. Experiment with exposure times ranging from 30 seconds to several minutes, depending on the cloud speed and desired effect.
Use a neutral density filter to reduce the amount of light entering your lens, allowing for longer exposures even in bright conditions. This will help you achieve smooth, streaky cloud patterns that add drama and texture to your sky photos. Pay attention to wind direction and cloud formations to predict their movement across the frame.
Try incorporating foreground elements like buildings or landscapes to create contrast with the flowing clouds above. Experiment with different compositions, such as placing the horizon low in the frame to emphasize the sky's expanse.
Don't forget to adjust your aperture and ISO settings to maintain proper exposure while capturing cloud movement. With practice, you'll be able to transform ordinary skies into enchanting, textured masterpieces that showcase the ever-changing nature of our atmosphere.
Smooth Water Reflections
Smooth water reflections can transform an ordinary sky photo into a mesmerizing masterpiece. By experimenting with long exposures, you'll create a mirror-like surface that perfectly captures the sky's textures and colors. To achieve this effect, you'll need a sturdy tripod, a neutral density filter, and patience.
Start by setting up your camera on the tripod near a body of water. Choose a composition that includes both the sky and its reflection. Use a narrow aperture (high f-number) to maximize depth of field and guarantee sharpness throughout the image. Select a low ISO to minimize noise and maintain image quality during long exposures.
Here's a step-by-step guide to capturing smooth water reflections:
- Attach the neutral density filter to your lens.
- Set your camera to manual mode and adjust settings for a long exposure (typically 30 seconds or more).
- Use a remote shutter release or timer to avoid camera shake.
- Take test shots and adjust exposure time as needed.
Play With Lighting Angles
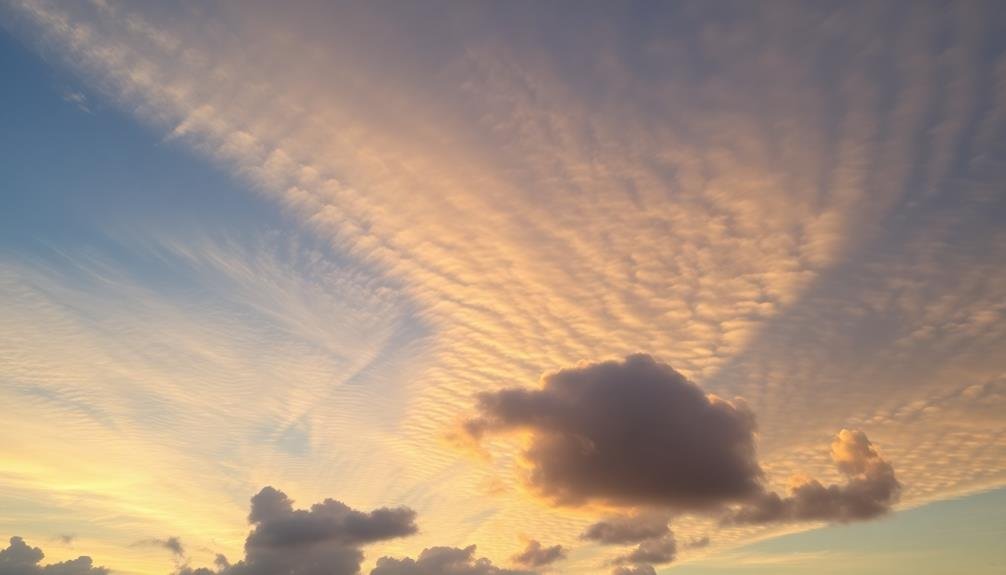
Lighting angles play an essential role in highlighting textures in sky photos. To capture stunning cloud formations and atmospheric details, you'll need to understand how light interacts with the sky at different times of day.
During the golden hours (just after sunrise and before sunset), the low-angled sunlight creates long shadows and emphasizes the texture of clouds, making them appear more three-dimensional.
Experiment with side-lighting to accentuate the edges and contours of clouds. Position yourself so that the sun is perpendicular to your camera's line of sight, illuminating the sides of cloud formations. This technique can reveal intricate patterns and layers within the sky.
Backlit scenes, where you're shooting towards the light source, can create dramatic silhouettes and highlight the texture of clouds through rim lighting.
Don't shy away from shooting in overcast conditions. Diffused light can reveal subtle textures and gradients in the sky that might be lost in harsh sunlight.
For night sky photography, use long exposures to capture star trails or the Milky Way, adding depth and texture to your images.
Enhance Cloud Formations

When it comes to enhancing cloud formations in sky photos, your camera settings play a crucial role. Start by adjusting your aperture to f/8 or f/11 for peak depth of field, guaranteeing both foreground and background clouds are sharp. Use a lower ISO to reduce noise and capture clean, crisp textures.
Experiment with shutter speeds to achieve the desired effect—faster speeds freeze cloud motion, while slower speeds create a dreamy, ethereal look.
Post-processing techniques can further enhance cloud formations. Use selective adjustments to bring out details and textures in specific areas of the sky. Increase contrast and clarity to make clouds pop, but be careful not to overdo it.
Experiment with color temperature to create warm or cool atmospheres that complement the cloud formations.
To add sophistication to your sky photos, try these advanced techniques:
- Use graduated neutral density filters to balance exposure between bright skies and darker foregrounds.
- Employ focus stacking to guarantee sharpness throughout the entire image.
- Capture multiple exposures and blend them for increased dynamic range.
- Utilize long exposures with ND filters to create smooth, streaking cloud effects.
Incorporate Foreground Elements
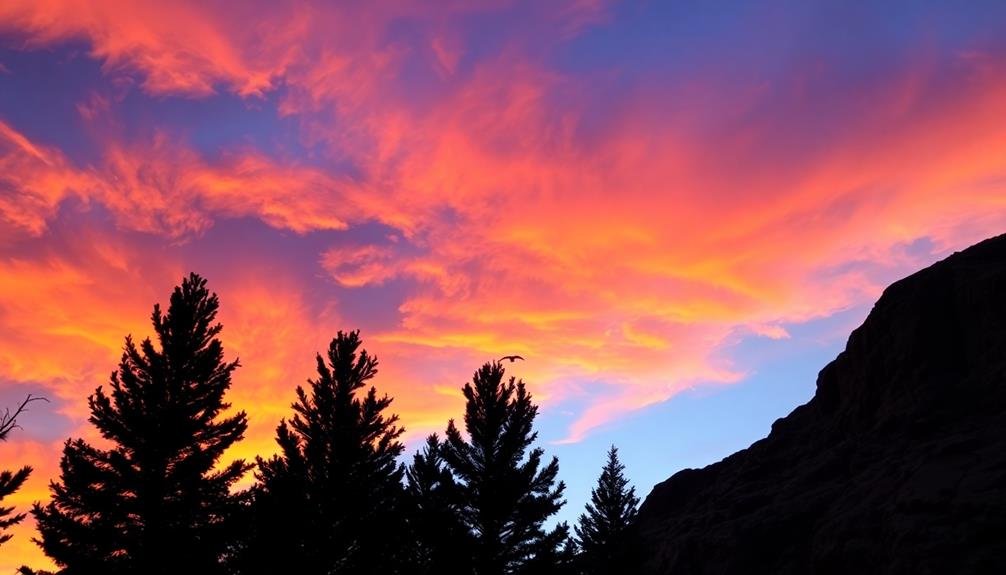
While enhancing cloud formations can create stunning sky photos, incorporating foreground elements takes your images to the next level. By including objects in the foreground, you'll add depth, context, and visual interest to your sky photographs.
Look for natural elements like trees, rocks, or mountains to frame your sky. These objects can provide scale and contrast, making the sky appear even more expansive. You can also use man-made structures like buildings, bridges, or lighthouses to create intriguing silhouettes against the textured sky.
Experiment with different compositions. Try placing foreground elements off-center using the rule of thirds, or create leading lines that draw the viewer's eye towards the sky. Don't be afraid to get low and close to foreground objects for a unique perspective.
When incorporating foreground elements, pay attention to your camera settings. Use a small aperture (high f-number) to keep both the foreground and sky in focus.
If light conditions are challenging, consider using graduated neutral density filters or bracketing your exposures to balance the brightness between the foreground and sky.
Leverage Weather Conditions
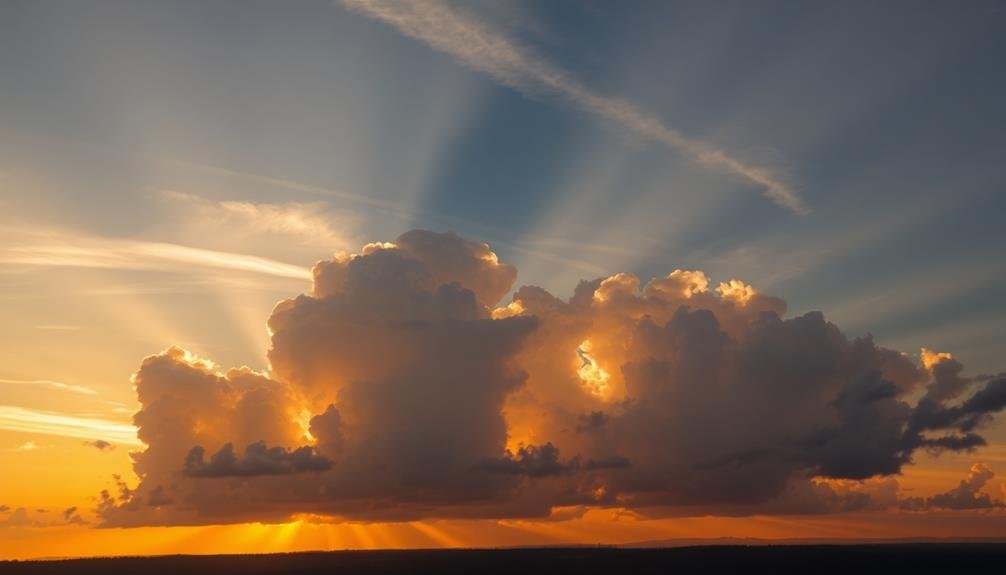
Different weather conditions offer unique opportunities to capture stunning sky textures. You'll find that each type of weather brings its own unique character to the sky, creating a canvas for your photography.
Stormy weather, in particular, can produce dramatic cloud formations and lighting conditions that highlight textures in extraordinary ways.
To leverage weather conditions effectively:
- Monitor weather forecasts to plan your shoots around promising conditions.
- Be prepared to capture sudden changes in the sky, as these often create the most striking textures.
- Experiment with different exposure settings to capture the full range of tones in varying light conditions.
- Use filters, such as polarizers or neutral density filters, to enhance sky textures in challenging lighting situations.
Don't shy away from shooting in less-than-ideal weather. Overcast days can produce soft, diffused light that brings out subtle textures in clouds.
Foggy conditions can create ethereal atmospheres, adding depth and mystery to your sky photos. Even clear blue skies can be enhanced by capturing wispy cirrus clouds or contrails.
Apply Selective Color Editing
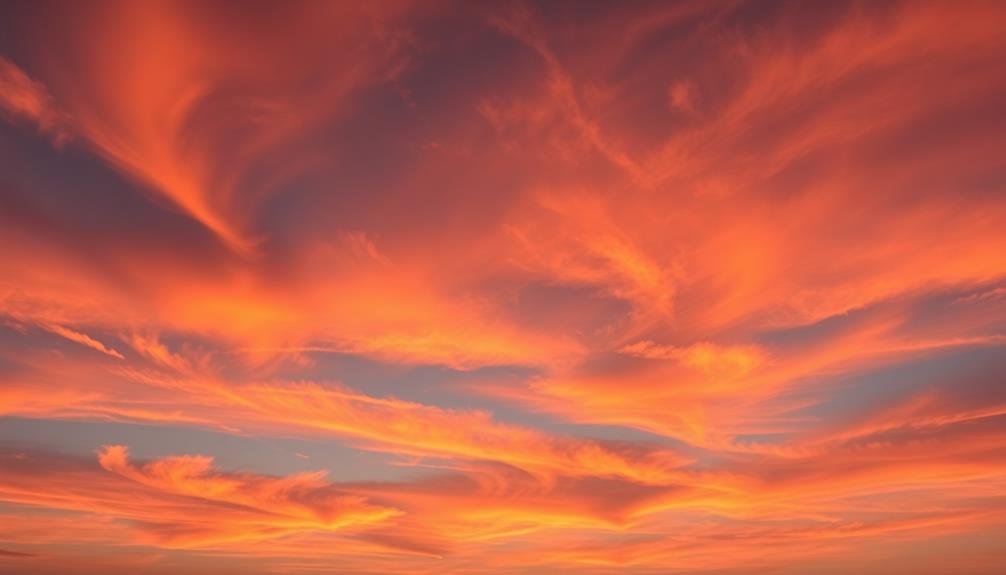
How can selective color editing enhance the textures in your sky photos? By manipulating specific color ranges, you'll bring out subtle details and emphasize the intricate patterns in clouds, sunsets, and atmospheric phenomena. Start by adjusting the hue, saturation, and luminance of individual color channels to accentuate desired textures while maintaining a natural look.
Focus on the blues and cyans to enhance daytime skies, or warm tones like oranges and reds for dramatic sunsets. Don't forget to fine-tune the whites and grays to reveal cloud formations. Use gradient masks to apply these adjustments selectively, ensuring a seamless blend with the rest of your image.
| Color Range | Effect on Texture | Best Used For |
|---|---|---|
| Blues/Cyans | Emphasize depth | Daytime skies |
| Oranges/Reds | Enhance drama | Sunsets/Sunrises |
| Whites/Grays | Reveal detail | Cloud formations |
Experiment with split-toning techniques to add dimension to your sky photos. Apply a cool tone to the shadows and a warm tone to the highlights, creating a subtle contrast that enhances texture. Remember to use a light touch – overprocessing can lead to unrealistic results and detract from the natural beauty of the sky.
Use Polarizing Filters
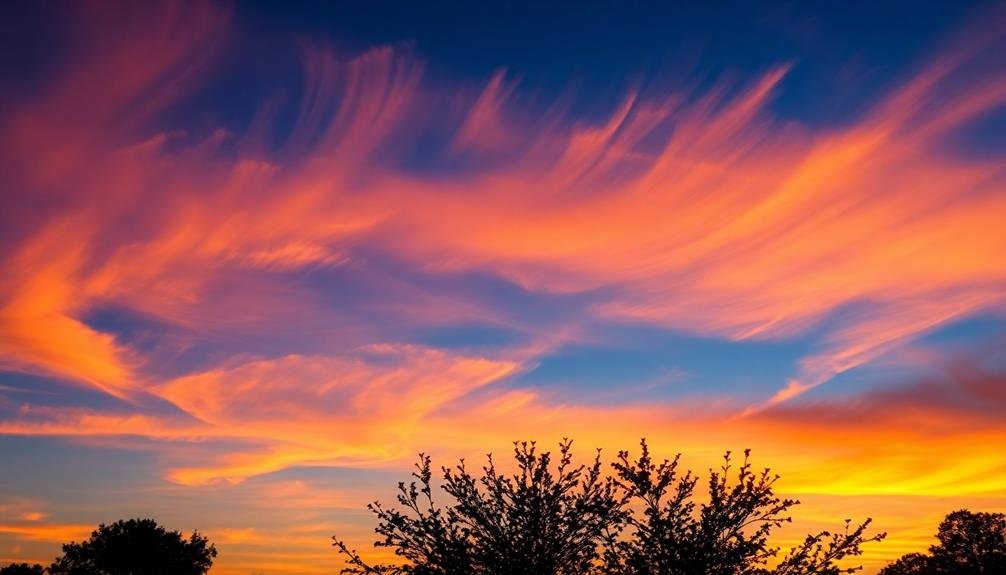
Clarity is key when capturing stunning sky textures, and polarizing filters are an essential tool for achieving this. These filters reduce glare and reflections, enhancing the contrast and color saturation in your sky photos. By using a polarizing filter, you'll bring out the intricate details of clouds, making them appear more defined and dramatic against the blue sky.
To effectively use a polarizing filter for sky textures:
- Rotate the filter slowly while looking through your viewfinder to find the ideal polarization angle.
- Be mindful of the sun's position, as polarizing filters work best when shooting at a 90-degree angle from the sun.
- Experiment with different strengths of polarization to find the right balance for your scene.
- Use the filter in conjunction with other techniques, such as long exposures, for even more striking results.
Remember that polarizing filters can sometimes darken the sky too much, so it's important to adjust your exposure settings accordingly.
You'll also want to be cautious when using wide-angle lenses, as the polarizing effect can be uneven across the frame. With practice, you'll master the art of using polarizing filters to highlight the beautiful textures in your sky photos.
Explore Different Altitudes
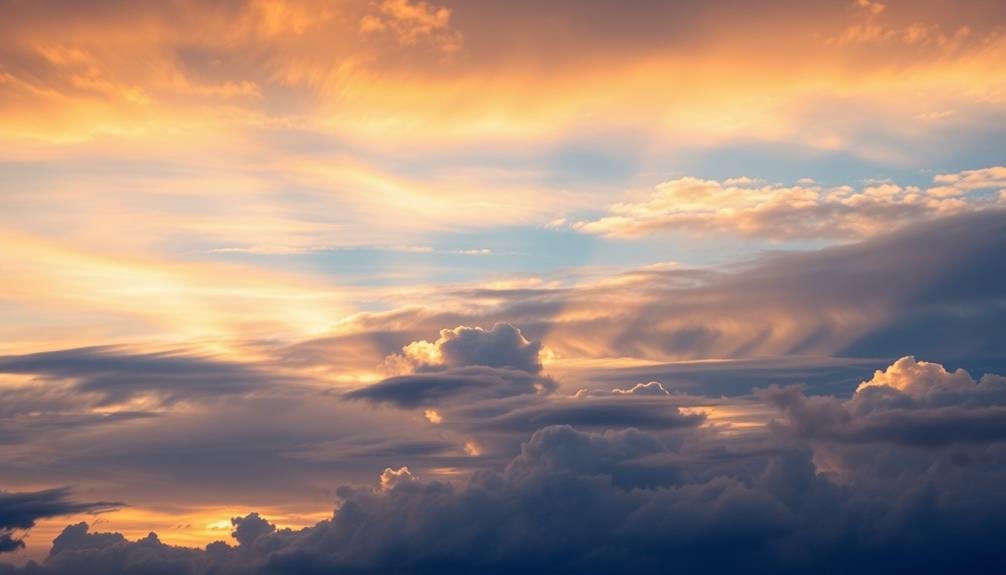
Have you ever considered how altitude can dramatically affect the textures you capture in sky photos? As you explore different elevations, you'll discover a variety of cloud formations and atmospheric conditions that can add depth and interest to your images.
At ground level, you'll often capture low-lying clouds and fog, which can create moody, ethereal textures. As you move to higher ground, like hills or tall buildings, you'll find yourself closer to mid-level clouds, allowing you to capture more detailed textures in cumulus and altocumulus formations.
For even more dramatic results, consider taking to the skies. Shooting from an airplane window offers a unique perspective on cloud layers and textures. You'll be able to capture the tops of clouds, which often resemble cotton candy or rolling waves.
Don't forget about seasonal variations. Different altitudes produce distinct cloud patterns throughout the year. In winter, you might capture crisp, high-altitude cirrus clouds, while summer could bring towering cumulonimbus formations.
Frequently Asked Questions
What Camera Settings Are Best for Capturing Detailed Sky Textures?
You'll want to use a low ISO (100-400) for crisp details, a wide aperture (f/8-f/11) for depth, and a fast shutter speed to freeze cloud movement. Don't forget to shoot in RAW for maximum editing flexibility.
How Can I Predict When Sky Conditions Will Be Most Photogenic?
You can predict photogenic sky conditions by checking weather forecasts for cloud formations, humidity levels, and atmospheric conditions. Watch for approaching fronts, sunset times, and moonrise. Apps and websites dedicated to sky photography can also provide valuable insights.
Are There Specific Post-Processing Software Tools Recommended for Enhancing Sky Textures?
You'll find several software tools great for enhancing sky textures. Adobe Lightroom and Photoshop are industry standards. DxO PhotoLab and Luminar AI offer specialized sky enhancement features. Snapseed's a solid free option for mobile editing.
What Time of Day Is Ideal for Photographing Dramatic Sky Textures?
You'll capture the most dramatic sky textures during the golden hours – just after sunrise or before sunset. Don't miss out on stormy weather either; it often creates stunning cloud formations and unique lighting conditions.
How Do Different Lens Types Affect the Appearance of Sky Textures?
You'll find wide-angle lenses enhance sky textures by capturing more of the scene. Telephoto lenses compress the sky, intensifying cloud patterns. Standard lenses offer a balanced view, while fisheye lenses create unique distortions that can emphasize textures dramatically.
In Summary
You've now got a toolkit of techniques to make your sky photos pop with texture. Don't be afraid to experiment and combine these methods. Remember, the sky's ever-changing nature offers endless opportunities for unique shots. Keep practicing, and you'll soon develop an eye for capturing those breathtaking textures. Whether you're shooting wispy cirrus or dramatic cumulonimbus, these tips will help you create stunning sky images that captivate viewers.

As educators and advocates for responsible drone use, we’re committed to sharing our knowledge and expertise with aspiring aerial photographers.



Leave a Reply