To elevate your sky-high photography, start by checking wind speeds for drone safety and stability. Monitor cloud cover to capitalize on unique lighting and textures. Avoid rain and fog by tracking forecasts and planning alternative dates. Understand how light conditions change throughout the day to capture the best shots. Consider seasonal changes for diverse landscapes and color palettes. Assess temperature effects on your equipment to prevent malfunctions. Finally, plan shoots during golden hour for warm, dramatic lighting. These tips will help you capture stunning aerial images, but there's much more to explore in the world of sky-high photography.
Key Takeaways
- Check wind speeds and use a handheld anemometer for accurate on-site measurements to ensure safe drone operation.
- Monitor cloud cover and time of day to capitalize on optimal lighting conditions for your aerial shots.
- Leverage seasonal changes to capture unique landscapes and lighting effects throughout the year.
- Prepare for temperature impacts on equipment, including battery life in cold weather and overheating risks in hot conditions.
- Maximize golden hour photography by timing shots, utilizing backlighting and side lighting techniques, and adjusting camera settings accordingly.
Check Wind Speeds
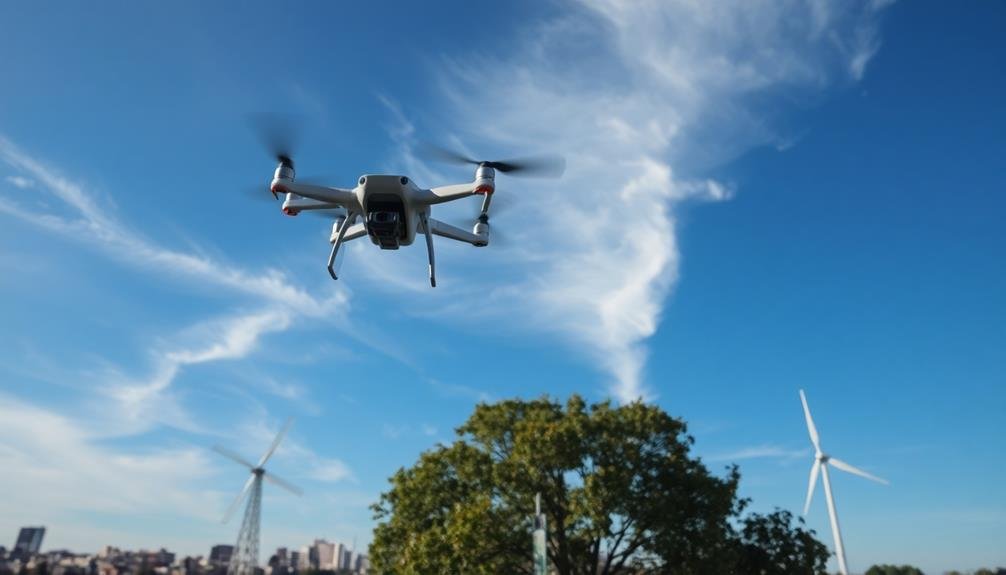
Safety should be your top priority when flying a drone for aerial photography. Wind speeds play a significant role in determining whether it's safe to fly and how your shots will turn out. Before launching your drone, check local weather reports for current and forecasted wind conditions.
Most consumer drones can handle winds up to 10-15 mph, but flying in stronger gusts risks losing control or damaging your equipment. Use a handheld anemometer for accurate on-site readings. If winds exceed your drone's capabilities, postpone your flight.
Even within safe limits, wind affects your drone's stability and battery life. Expect shorter flight times as your drone works harder against the wind. Plan your shots accordingly and bring extra batteries.
Wind also impacts image quality. Stronger gusts can cause camera shake, resulting in blurry photos or jerky video footage. To compensate, increase your shutter speed and use post-processing stabilization techniques.
Be aware of wind direction, too. Flying into headwinds drains battery faster, while tailwinds can push your drone unexpectedly. Adjust your flight path to maintain control and capture the best shots possible in windy conditions.
Monitor Cloud Cover

Cloud cover can dramatically impact your aerial photography, affecting both lighting conditions and visual composition. You'll need to monitor cloud patterns and density to anticipate how they'll influence your shots. Use weather apps and satellite imagery to track cloud movements and forecast conditions for your planned shoot.
Different types of clouds create varied effects:
| Cloud Type | Lighting Effect | Visual Impact | Best For |
|---|---|---|---|
| Cumulus | Soft shadows | Texture & depth | Landscape |
| Stratus | Diffused light | Even exposure | Portraits |
| Cirrus | Hazy glow | Ethereal mood | Artistic |
| Clear sky | High contrast | Vibrant colors | Cityscapes |
Consider the time of day when planning your shoot. Early morning or late afternoon clouds can add dramatic color and interest to your images. Overcast conditions provide soft, even lighting but may reduce overall contrast. If you're after sunbeams or light rays, look for broken cloud cover that allows shafts of light to penetrate. Remember, clouds can change quickly, so be prepared to adapt your shooting strategy on the fly. Keep an eye on the horizon for approaching weather systems that might alter your plans.
Avoid Rain and Fog
To steer clear of rain and fog during your aerial photography sessions, you'll want to rely on weather forecast apps for accurate predictions.
It's essential to check visibility reports to guarantee ideal shooting conditions for your sky-high shots.
If the forecast looks unfavorable, be prepared to adjust your plans by having alternative shooting dates in mind.
Use Weather Forecast Apps
Harness the power of weather forecast apps to enhance your aerial photography experience. These apps provide essential information about wind speeds, cloud cover, precipitation chances, and visibility conditions, all of which greatly impact your sky-high shots.
Download reliable apps like Dark Sky, AccuWeather, or Weather Underground for detailed hourly forecasts. Pay special attention to wind speed predictions, as high winds can make drone flying challenging or even impossible. Look for clear skies and low wind speeds to capture the sharpest images.
Use apps that offer satellite imagery to anticipate cloud formations and patterns. This feature helps you plan for dramatic sky compositions or golden hour shots. Some apps also provide UV index information, which is useful for determining ideal lighting conditions.
Don't forget to check sunrise and sunset times through these apps. They'll help you plan your shoots during the golden hour or blue hour for stunning results.
Many weather apps now include air quality information, which can affect visibility and the overall mood of your aerial photographs.
Lastly, always cross-reference multiple apps for the most accurate predictions. Weather can be unpredictable, so having diverse sources guarantees you're well-prepared for your sky-high photography adventures.
Check Visibility Reports
Visibility reports are vital for successful aerial photography. You'll want to check these reports before planning your shoot, as they provide essential information about atmospheric conditions that can affect your images.
Pay attention to factors like cloud cover, haze, and air quality, which can greatly impact the clarity and depth of your shots.
When checking visibility reports, look for days with high visibility ratings. Clear days with minimal atmospheric interference will give you the best results for capturing sharp, detailed aerial images.
Avoid scheduling shoots on days with low visibility, heavy cloud cover, or high levels of particulate matter in the air.
Don't forget to take into account the time of day when interpreting visibility reports. Early morning and late afternoon often offer the best lighting conditions for aerial photography, but visibility can vary throughout the day.
Be prepared to adjust your plans if conditions change unexpectedly.
Plan Alternative Shooting Dates
When it comes to aerial photography, you can't always count on the weather to cooperate. That's why it's essential to plan alternative shooting dates to avoid rain and fog. These weather conditions can greatly impact your images' quality and safety.
Start by researching historical weather patterns for your chosen location. This will help you identify the best times of year for clear skies and ideal lighting. Once you've narrowed down your timeframe, select multiple potential shooting dates within that period.
Keep a close eye on weather forecasts as your planned dates approach. If rain or fog is predicted, be prepared to shift to one of your backup dates.
Don't forget to contemplate factors like wind speed and cloud cover, which can also affect your shoot.
Communicate openly with your clients or team about the possibility of rescheduling due to weather. Set clear expectations and have a contingency plan in place. This might include having indoor locations as backups or offering alternative services if aerial photography isn't possible.
Understand Light Conditions
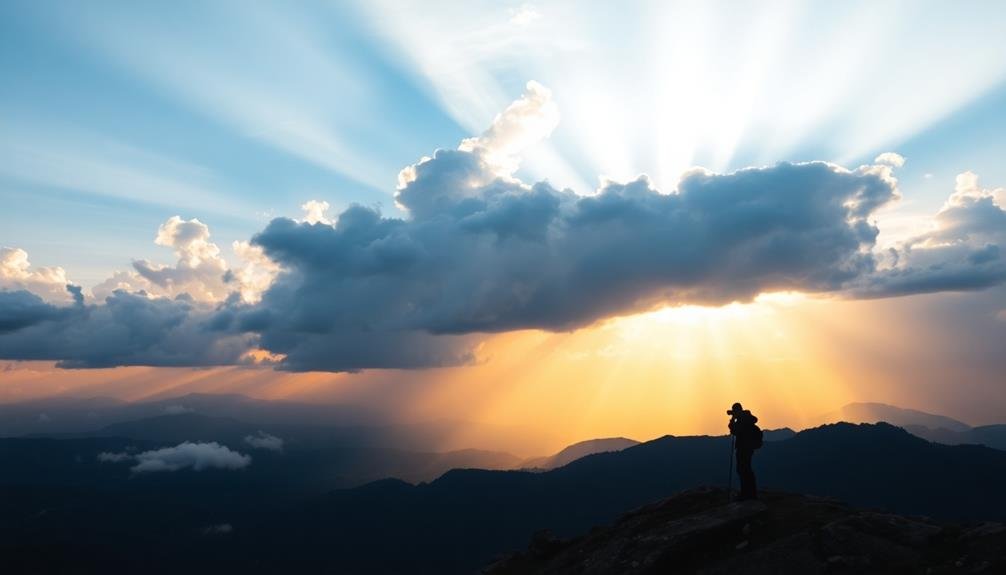
Light conditions play a pivotal role in aerial photography. You'll need to understand how different lighting scenarios affect your shots to capture stunning images from above. The time of day, weather, and season all influence the quality and direction of light, impacting your photo's mood and clarity.
In aerial photography, you're often dealing with harsh sunlight or rapidly changing conditions. To make the most of these situations, you'll want to:
- Study the golden and blue hours for softer, more flattering light
- Use polarizing filters to reduce glare and enhance colors
- Experiment with backlighting for dramatic silhouettes and lens flares
Pay attention to how clouds affect light distribution. They can create interesting shadows and textures on the ground, adding depth to your compositions.
On overcast days, you'll encounter more diffused light, which can be ideal for capturing even tones across landscapes.
Don't forget to adjust your camera settings accordingly. Higher ISOs may be necessary in low-light conditions, while faster shutter speeds can help combat camera shake in brighter settings.
Consider Seasonal Changes
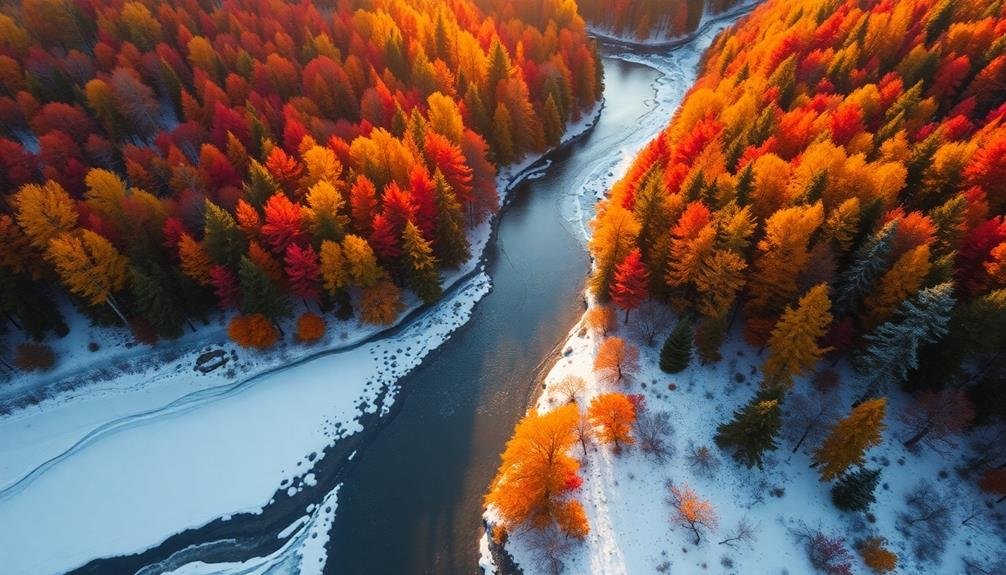
Seasonal changes dramatically affect aerial photography, offering unique opportunities and challenges throughout the year. You'll need to adapt your techniques and expectations as the seasons shift. In spring, you'll capture vibrant new growth and blossoming landscapes. Summer brings lush greenery and longer days for extended shooting sessions. Fall offers stunning foliage colors, while winter presents stark contrasts and snow-covered scenes.
Consider these seasonal factors when planning your aerial shoots:
| Season | Lighting | Landscape | Challenges | Opportunities |
|---|---|---|---|---|
| Spring | Soft, warm | Fresh growth | Unpredictable weather | Blossoms, new life |
| Summer | Harsh, bright | Lush, green | Heat haze | Long daylight hours |
| Fall | Golden hour | Colorful foliage | Early sunsets | Rich color palette |
| Winter | Low, crisp | Snow-covered | Cold temperatures | Dramatic contrasts |
| Changeover | Varied | Changing | Rapid weather shifts | Unique combinations |
To make the most of each season, research your location's climate patterns and plan accordingly. Adjust your camera settings for varying light conditions and be prepared for sudden weather changes. By embracing the unique characteristics of each season, you'll capture diverse and intriguing aerial images throughout the year.
Assess Temperature Effects
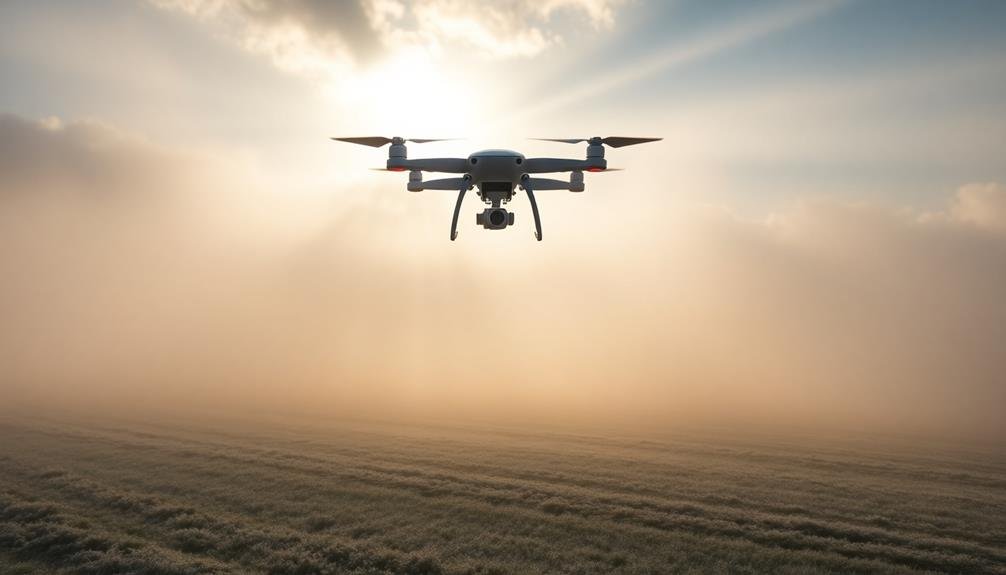
Temperature fluctuations can greatly impact your aerial photography equipment and results. Cold temperatures can affect battery life, causing them to drain faster and potentially leaving you without power mid-flight.
Conversely, extreme heat can lead to overheating issues in your camera or drone, potentially causing malfunctions or shutdowns. Be aware that rapid temperature changes, such as moving from an air-conditioned space to hot outdoor conditions, can cause condensation on your lens, affecting image quality.
To mitigate these temperature-related challenges:
- Insulate your batteries and keep them warm in cold conditions by storing them close to your body or using specialized battery warmers.
- Use lens hoods and UV filters to protect your camera from direct sunlight and heat in hot environments.
- Allow your equipment to acclimate gradually when moving between temperature extremes to prevent condensation.
Plan for Golden Hour
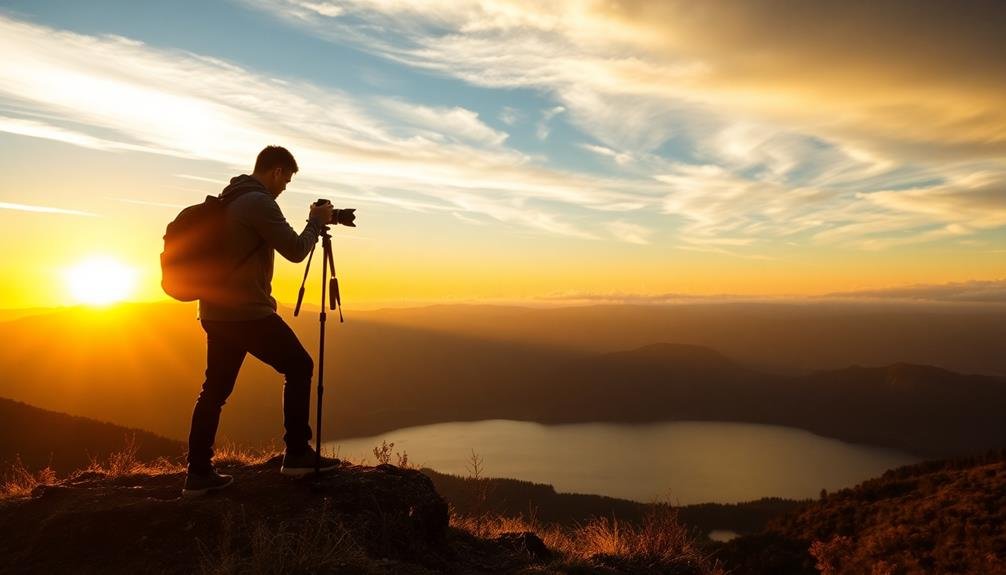
Golden hour, occurring twice daily during sunrise and sunset, offers photographers unparalleled opportunities for stunning aerial shots. To capitalize on this magical time, you'll need to plan ahead. Check local sunrise and sunset times, and arrive at your location at least 30 minutes early to set up your equipment and scout the best angles.
During golden hour, you'll notice warm, soft light that creates long shadows and adds depth to your images. To make the most of this fleeting period, consider these tips:
| Technique | Effect | Best Subjects |
|---|---|---|
| Backlighting | Dramatic silhouettes | Landscapes, cityscapes |
| Side lighting | Texture enhancement | Architecture, terrain |
| Front lighting | Warm, vibrant colors | Portraits, wildlife |
Don't forget to adjust your camera settings for the changing light conditions. Use a wider aperture to capture more light, and increase your ISO if necessary. You'll want to shoot in RAW format to preserve as much detail as possible for post-processing. Experiment with different compositions and focal lengths to capture the unique qualities of golden hour light. Remember, timing is essential, so be prepared to work quickly as the light changes rapidly during this brief window.
Frequently Asked Questions
How Does Air Pollution Affect Aerial Photography?
Air pollution can greatly impact your aerial photography. You'll notice hazy images, reduced contrast, and muted colors. It can obscure distant objects and create an overall flat appearance. Pollution particles can also scatter light, affecting your exposure settings.
What Camera Settings Are Best for Photographing Lightning From the Air?
You'll want to use a slow shutter speed, around 2-4 seconds, with a low ISO (100-400) and a narrow aperture (f/8-f/11). Set your camera to manual mode and use a tripod for stability.
Can Extreme Cold Damage Drone Batteries During Flight?
Yes, extreme cold can damage your drone's batteries during flight. It'll reduce their capacity and performance. You'll want to keep them warm before takeoff and limit flight time in frigid conditions to protect your equipment.
How Do Different Altitudes Impact Color Saturation in Aerial Photos?
As you fly higher, you'll notice colors appear less saturated. This is due to increased atmospheric haze at higher altitudes. To combat this, you can use polarizing filters or adjust your camera's settings for better color reproduction.
Are There Specific Safety Concerns When Photographing Active Volcanoes From Above?
When photographing active volcanoes from above, you'll face serious risks like toxic gases, ash clouds, and sudden eruptions. You must maintain a safe distance, follow local regulations, and use proper protective gear. Don't underestimate the volcano's unpredictability.
In Summary
You've now got the tools to take your sky-high photography to new heights. Remember, weather plays an essential role in your shots. Keep an eye on wind, clouds, and precipitation. Don't forget to take into account light, seasons, and temperature. And always plan for that magical golden hour. With these tips in mind, you'll be capturing stunning aerial images in no time. So grab your camera, check the forecast, and get ready to soar!

As educators and advocates for responsible drone use, we’re committed to sharing our knowledge and expertise with aspiring aerial photographers.


Leave a Reply