Mastering point-of-interest drone shots will elevate your aerial cinematography. Start with the reveal shot, gradually disclosing your subject. Try orbiting around the focal point for a dynamic 360-degree view. Capture a unique top-down perspective, then contrast it with a low-altitude flyby for immersion. Experiment with diagonal ascents to showcase surroundings. Practice sideways tracking shots for moving subjects, and attempt a spiraling descent for dramatic effect. Don't forget the dynamic height change to add depth, and use parallax pans for a 3D feel. These techniques will transform your drone footage from amateur to professional-looking. Let's explore each shot in detail to perfect your aerial cinematography skills.
Key Takeaways
- Parallax Pan: Move laterally around the subject to create a 3D effect and enhance depth perception.
- Orbit Shot: Circle the subject at a constant distance to showcase surroundings dynamically.
- Reveal Shot: Gradually unveil the subject by moving forward or upward, building suspense and engagement.
- Diagonal Ascent: Combine vertical and horizontal movement for dynamic perspectives, revealing surroundings gradually.
- Tracking Shot: Follow a moving subject while maintaining consistent distance for balanced, dynamic storytelling.
The Reveal Shot
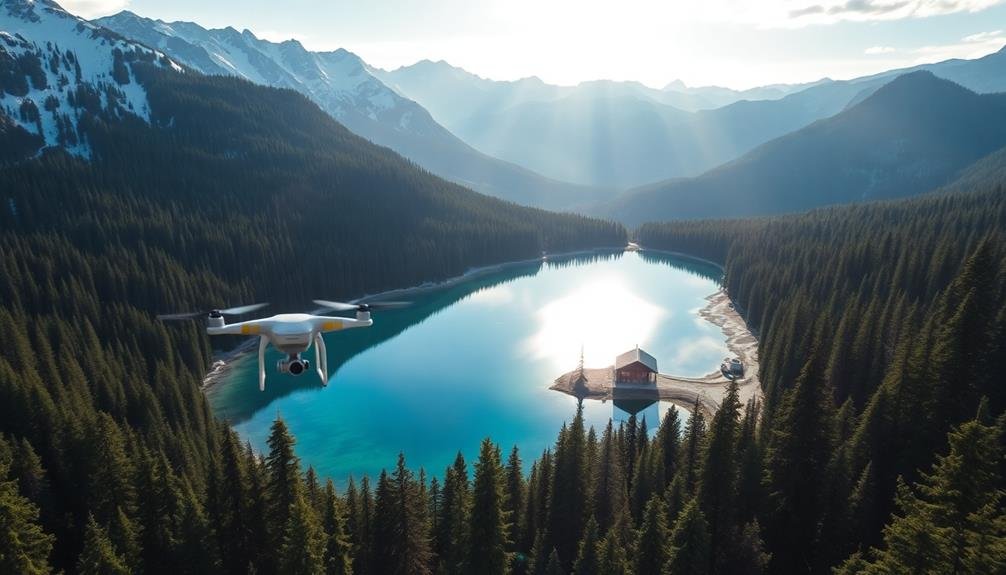
One of the most dramatic point-of-interest drone shots you can capture is the reveal shot. This technique involves starting with your subject hidden behind an obstacle, then slowly moving the drone to expose the point of interest. It's a powerful way to create suspense and wow your audience.
To execute a reveal shot, begin by positioning your drone so that your subject is completely obscured. This could be behind a building, mountain, or even a large tree. Slowly fly your drone upwards, forwards, or sideways to gradually uncover the hidden subject. The key is to maintain a steady, controlled movement throughout the shot.
Consider the speed of your reveal. A slower reveal can build anticipation, while a quicker one can create a more surprising effect. Experiment with different angles and directions to find the most impactful approach for your specific subject.
Remember to scout your location beforehand to identify potential obstacles and plan your flight path. Always prioritize safety and adhere to local drone regulations.
With practice, you'll master the art of the reveal shot, adding a cinematic flair to your drone footage.
Orbit Around Subject

Taking your drone footage up a notch, the orbit shot circles your subject to create a dynamic and immersive perspective. This technique involves flying your drone in a circular path around a point of interest, maintaining a consistent distance and altitude. It's an excellent way to showcase the subject's surroundings and reveal its relationship to the environment.
To execute a successful orbit shot, start by selecting your subject and determining the appropriate distance and height for your drone. Activate your drone's intelligent flight mode if available, as many models offer automated orbit functions. If you're flying manually, practice smooth, steady movements to maintain a consistent circle.
Consider varying your orbit's speed and direction for added visual interest. Slow orbits work well for majestic landscapes or architecture, while faster orbits can create excitement around dynamic subjects. You can also experiment with ascending or descending while orbiting to add vertical movement.
Pay attention to obstacles in your flight path and ascertain you have enough battery life to complete the orbit. Remember to adjust your camera settings to capture smooth footage, using a slower shutter speed if necessary.
Top-Down Perspective
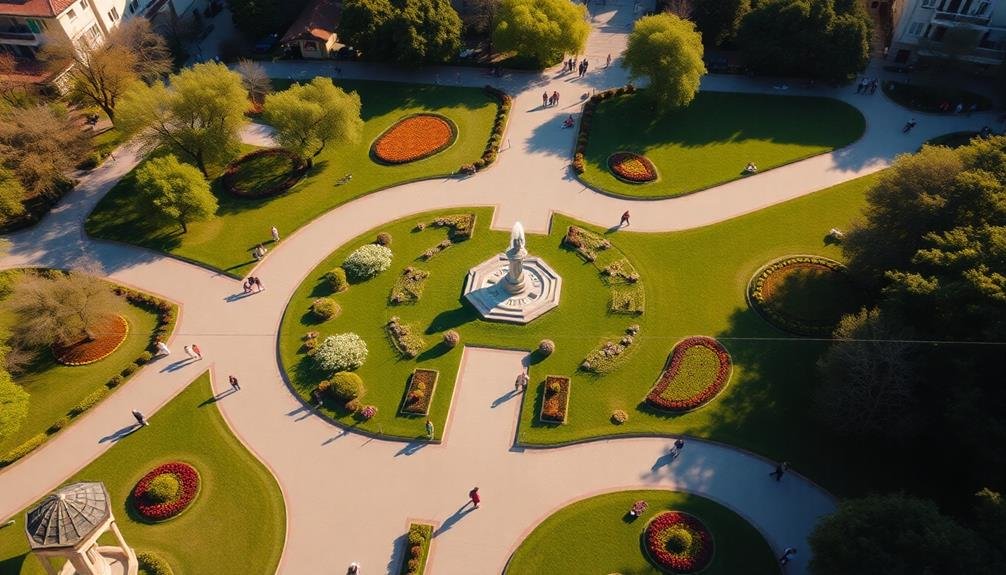
Another enchanting drone technique, the top-down perspective offers a unique view that's hard to achieve with traditional photography. This shot involves positioning your drone directly above your subject, looking straight down. It's particularly effective for capturing symmetrical patterns, geometric shapes, and interesting textures that aren't visible from ground level.
To execute a top-down shot, start by flying your drone to a safe altitude above your subject. Use your camera's live feed to compose the frame, ensuring your subject is centered. Slowly adjust your height to find the perfect balance between detail and context. Remember, the higher you go, the more you'll capture of the surrounding area.
Pay attention to lighting conditions, as shadows can add depth and interest to your top-down shots. Early morning or late afternoon light can create long, dramatic shadows that enhance the image's visual appeal.
Experiment with different subjects: beaches, urban landscapes, forests, or even people arranged in interesting formations. Always prioritize safety and adhere to local drone regulations when flying at higher altitudes.
With practice, you'll master this eye-catching perspective that'll make your drone footage stand out.
Low-Altitude Flyby

The low-altitude flyby is a dynamic and immersive drone technique that'll add excitement to your footage. It involves flying your drone close to the ground or near objects, creating a sense of speed and perspective that's hard to achieve with other methods.
To execute a low-altitude flyby, start by selecting a safe, obstacle-free path. Keep your drone around 3-10 feet above the ground or object you're flying past. Begin your shot from a distance, gradually building speed as you approach your subject. Maintain a steady altitude and trajectory throughout the move.
Use manual flight mode for precise control, and adjust your camera angle to capture the most interesting view. A slight upward tilt can help showcase the surroundings while maintaining a sense of movement. Experiment with different speeds to find the right balance between excitement and stability.
Safety is vital for this technique. Always scout your location beforehand, watching for potential hazards like power lines, trees, or uneven terrain.
Practice in open areas before attempting more complex environments. Remember to comply with local drone regulations and respect privacy when flying near buildings or people.
Diagonal Ascent
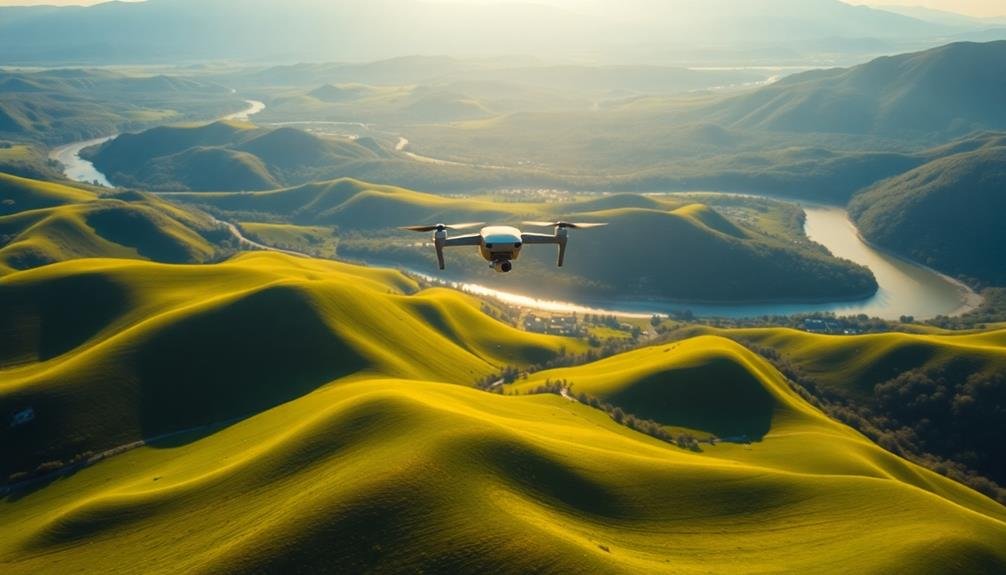
While low-altitude flybys create excitement near the ground, diagonal ascents offer a unique perspective that combines vertical and horizontal movement. To execute this shot, start with your drone close to the subject and gradually move upward and backward simultaneously. This technique reveals more of the surrounding landscape as you ascend, creating a dynamic and expansive view.
Maintain a consistent angle and speed throughout the ascent to achieve a smooth, cinematic effect. You'll want to practice this move several times to perfect your control. As you rise, pay attention to the changing composition and adjust your framing accordingly.
Here's a table to help you understand the emotional impact of diagonal ascents:
| Height | Emotion | Visual Impact |
|---|---|---|
| Low | Intimate | Focused |
| Rising | Curious | Revealing |
| Mid | Excited | Expanding |
| High | Awe | Panoramic |
| Peak | Wonder | Breathtaking |
Diagonal ascents work particularly well for showcasing architectural landmarks, natural landscapes, and urban skylines. They're also effective for revealing hidden features or the scale of a location. Remember to take into account lighting conditions and potential obstacles in your flight path to guarantee a safe and visually striking shot.
The Pull-Back
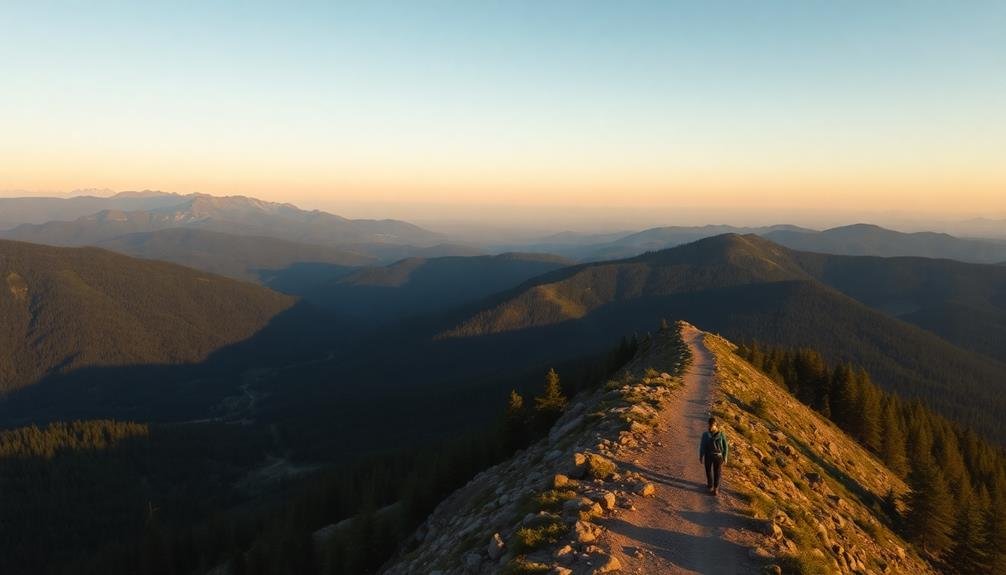
For dramatic reveals and a sense of scale, the pull-back shot is a go-to technique in a drone pilot's arsenal. This maneuver involves starting close to your subject and slowly flying backward, revealing more of the surrounding environment. It's particularly effective for showcasing expansive landscapes, architectural marvels, or the relationship between a subject and its surroundings.
To execute a pull-back shot, position your drone near your point of interest, guaranteeing it's in clear focus. Begin recording and slowly increase your altitude while flying backward. Maintain a steady speed and smooth movement to create a cinematic effect. As you pull away, adjust your camera angle slightly downward to keep the subject centered in the frame.
The key to a successful pull-back is patience and control. Don't rush the movement; allow the scene to unfold gradually. Practice varying your speed and altitude to create different effects.
For added impact, time your pull-back to coincide with sunrise or sunset, leveraging the changing light conditions. Remember to scout your flight path beforehand to avoid obstacles and guarantee a safe, uninterrupted shot.
With practice, you'll master this technique and add a professional touch to your drone footage.
Sideways Tracking Shot
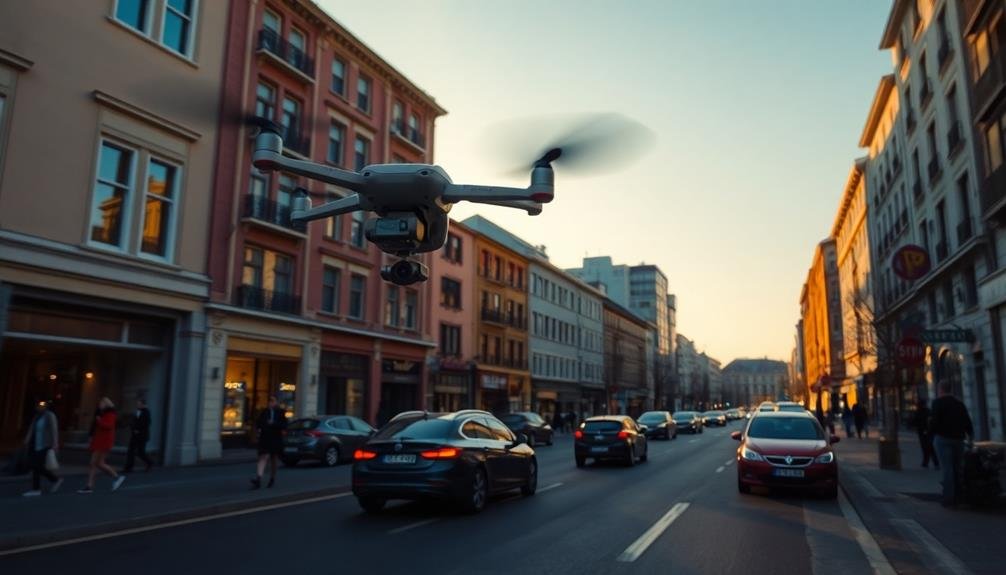
When mastering drone cinematography, you'll want to add the sideways tracking shot to your repertoire. This dynamic move involves flying your drone parallel to a subject while maintaining a consistent distance and height. It's perfect for showcasing landscapes, architecture, or moving subjects like vehicles or athletes.
To execute a sideways tracking shot, start by positioning your drone to one side of your subject. Engage the drone's tracking mode if available, or manually control the aircraft to move sideways while keeping the camera focused on the point of interest. Maintain a steady speed and altitude throughout the shot for a smooth, professional look.
Here's a quick guide to perfecting your sideways tracking shots:
| Aspect | Beginner | Intermediate | Advanced | Expert |
|---|---|---|---|---|
| Speed | Slow, steady | Moderate, consistent | Variable, purposeful | Dynamic, precise |
| Duration | 10-15 seconds | 15-30 seconds | 30-60 seconds | 60+ seconds |
| Subject | Stationary objects | Slow-moving subjects | Fast-moving subjects | Multiple subjects |
| Environment | Open, clear areas | Simple obstacles | Complex terrain | Challenging conditions |
Practice these techniques in open spaces before attempting more complex environments. Remember to always adhere to local drone regulations and prioritize safety.
Spiraling Descent

To capture a stunning spiraling descent shot, you'll need to adjust your camera settings for smooth motion and proper exposure.
Plan your flight path carefully, considering the radius and speed of descent around your point of interest.
Always maintain visual line of sight with your drone and be aware of potential obstacles or restricted airspace as you execute this dynamic maneuver.
Camera Settings and Techniques
Several key camera settings and techniques are essential for capturing stunning point-of-interest drone shots with a spiraling descent. First, set your camera to manual mode for full control over exposure. Use a relatively fast shutter speed (1/500s or faster) to maintain sharpness during the descent. Keep your ISO low to minimize noise, and adjust your aperture to balance exposure and depth of field.
For composition, enable the rule of thirds grid on your drone's camera display. As you spiral down, keep your point of interest positioned at one of the intersecting grid lines. This creates a dynamic and visually appealing shot.
To enhance your spiraling descent footage, consider these techniques:
| Technique | Description |
|---|---|
| Slow Descent | Maintain a steady, slow descent for smooth footage |
| Constant Rotation | Keep a consistent rotation speed throughout |
| Focus Lock | Lock focus on your subject to avoid hunting |
| ND Filters | Use ND filters in bright conditions for proper exposure |
Remember to practice these techniques in a safe, open area before attempting them at your chosen point of interest. With practice, you'll master the art of capturing breathtaking spiraling descent shots that showcase your subject in a unique and enchanting way.
Planning the Flight Path
Planning a successful spiraling descent flight path is essential for capturing stunning point-of-interest drone shots. You'll need to take into account factors like altitude, speed, and the focal point of your shot.
Start by selecting your subject and determining the ideal starting height for your drone. This will depend on the size of your subject and the desired perspective.
Next, plot your flight path. You'll want to create a smooth, circular descent around your point of interest. Aim for a consistent speed and gradual descent to maintain smooth footage. Remember to adjust your camera angle as you descend to keep your subject centered in the frame.
To guarantee a successful spiraling descent, follow these key steps:
- Set your starting altitude and position relative to the subject
- Plan a circular path with a consistent radius around the point of interest
- Gradually decrease altitude while maintaining a steady circular motion
Practice this maneuver in an open area before attempting it with your chosen subject. Pay attention to obstacles and wind conditions that may affect your flight.
As you become more comfortable with the technique, you can experiment with different speeds and descent rates to create varied effects in your footage.
Safety Considerations and Precautions
Safety should be your top priority when executing a spiraling descent for point-of-interest drone shots. Before attempting this maneuver, verify you're familiar with your drone's controls and capabilities. Always maintain visual line of sight with your drone and stay aware of your surroundings, including obstacles, people, and other aircraft.
Start your spiral at a safe altitude and gradually decrease your height as you circle the point of interest. Keep your descent rate slow and steady to maintain control and capture smooth footage. Monitor your drone's battery level closely, as spiraling descents can consume more power than straight flights.
Be mindful of wind conditions, which can affect your drone's stability during the descent. If you encounter strong gusts, abort the maneuver and return to a safe altitude. Avoid flying too close to your subject, respecting privacy and property rights.
Always comply with local drone regulations, including altitude restrictions and no-fly zones. If you're filming in a populated area, consider using a spotter to help monitor your drone and surroundings.
Dynamic Height Change
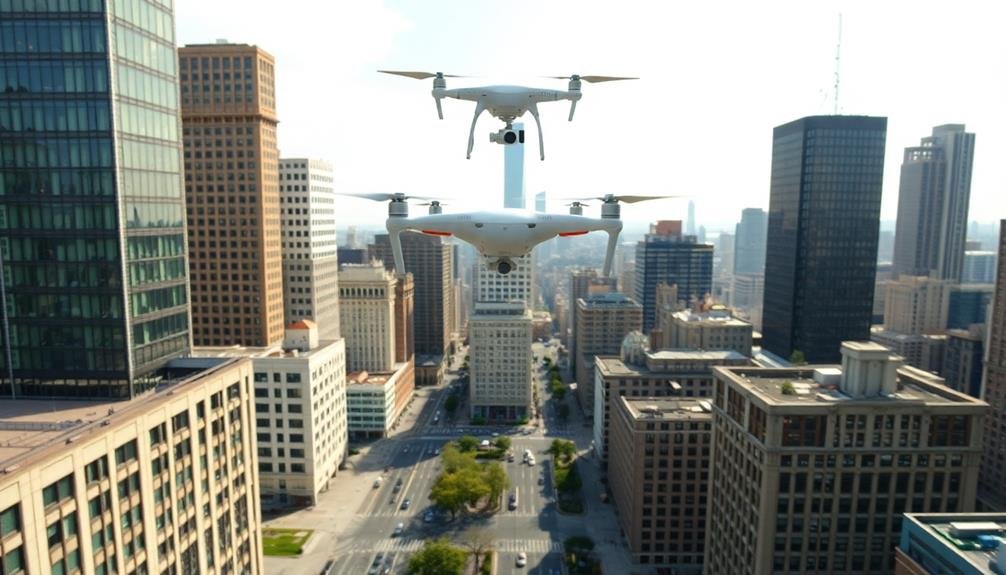
Elevators aren't just for buildings; your drone can create the same vertical movement in your shots. Dynamic height change is a powerful technique that adds depth and drama to your point-of-interest footage. By smoothly ascending or descending, you'll reveal new perspectives and layers of your subject, keeping viewers engaged.
To execute this shot, start with your drone at eye level or lower, focusing on your point of interest. Slowly and steadily increase altitude while maintaining focus on your subject. As you rise, you'll disclose more of the surrounding landscape, providing context and scale. Alternatively, begin high and descend for a dramatic disclosure of your subject.
Here are three key tips for mastering dynamic height changes:
- Maintain a consistent, slow speed for smooth shifts
- Use your drone's intelligent flight modes for precise vertical movements
- Experiment with different starting and ending heights to find the most impactful range
Remember to practice this technique in open areas before attempting it in more complex environments.
With time, you'll develop a keen sense for when and how to incorporate dynamic height changes, elevating your drone footage from amateur to professional quality.
Parallax Pan

Frequently overlooked by beginners, the parallax pan is a fascinating technique that adds depth and dimension to your point-of-interest drone shots. This method involves moving your drone sideways while simultaneously rotating the camera to keep the subject centered in the frame. As you execute this move, foreground elements will appear to shift more quickly than the background, creating a striking 3D effect.
To perform a parallax pan, start by positioning your drone to one side of your subject. Slowly fly the drone sideways while adjusting the yaw (rotation) to maintain focus on your point of interest. It's essential to keep your movements smooth and steady.
Practice flying at different speeds to find the sweet spot that best showcases the parallax effect. This technique works particularly well with subjects that have distinct foreground and background elements. Think of a lighthouse on a clifftop or a monument in a bustling city square.
The key is to use the surrounding environment to enhance the sense of movement and depth. As you master the parallax pan, you'll be able to capture dynamic, eye-catching footage that elevates your drone cinematography to new heights.
Frequently Asked Questions
What Drone Model Is Best for Beginners Learning These Shots?
You'll find the DJI Mini 2 ideal for learning drone photography. It's lightweight, easy to control, and offers excellent image quality. You won't break the bank, and it's perfect for mastering basic shots and techniques.
How Do Weather Conditions Affect the Execution of These Shots?
Weather greatly influences your drone shots. You'll need to contemplate wind, rain, and lighting. Strong winds can destabilize your drone, rain can damage it, and poor lighting affects image quality. Always check conditions before flying.
Are There Specific Camera Settings Recommended for Each Type of Shot?
You'll need to adjust your camera settings for each shot type. For reveal shots, use a slower shutter speed. In orbit shots, maintain a higher aperture. For flyover shots, you'll want to increase your ISO slightly.
What Software Is Best for Post-Processing and Editing Drone Footage?
You'll find several great options for editing drone footage. Popular choices include Adobe Premiere Pro, DaVinci Resolve, and Final Cut Pro X. They offer powerful tools for color grading, stabilization, and special effects. Choose based on your skill level and budget.
How Can I Practice These Shots Safely in Restricted Airspace?
You shouldn't practice drone shots in restricted airspace. It's illegal and dangerous. Instead, find open areas away from airports and populated zones. Use flight simulators to hone your skills safely before flying in real-world conditions.
In Summary
You've now got a solid foundation of essential drone shots to elevate your aerial photography and videography. Remember, practice makes perfect. Don't be afraid to experiment with these techniques and combine them for unique results. As you gain confidence, you'll develop your own style. Always prioritize safety and follow local regulations. With these shots in your toolkit, you're ready to capture stunning point-of-interest footage that'll wow your audience.

As educators and advocates for responsible drone use, we’re committed to sharing our knowledge and expertise with aspiring aerial photographers.

Leave a Reply