To achieve perfect propeller balance for photography, start by choosing high-quality propellers made from durable materials like carbon fiber. Regularly inspect and clean your props before and after each flight, checking for damage or debris. Use a propeller balancing tool to detect and correct imbalances, making precise adjustments with trimming and sanding techniques. After balancing, conduct a test flight in calm conditions to verify the effectiveness of your efforts. Remember to review your footage for any signs of vibration or jitter. By following these tips, you'll be well on your way to capturing smooth, professional-quality aerial shots. Dive deeper to master the art of propeller balance and elevate your aerial photography game.
Key Takeaways
- Choose high-quality, model-specific propellers made from durable materials like carbon fiber or reinforced plastic.
- Regularly inspect and clean propellers, checking for damage before each flight and deep cleaning monthly.
- Use a propeller balancing tool to detect imbalances and make precise adjustments.
- Apply precision trimming and sanding techniques to correct identified imbalances, focusing on symmetry.
- Conduct test flights in calm conditions to verify balancing effectiveness and review footage for vibration signs.
Choose High-Quality Propellers

When it comes to achieving perfect propeller balance in photography, your choice of propellers is essential. High-quality propellers are vital for capturing stunning aerial shots and guaranteeing stable flight. Look for propellers made from durable materials like carbon fiber or reinforced plastic, as they're less prone to warping or damage during use.
Opt for propellers specifically designed for your drone model to secure optimal performance. These propellers are engineered to match your drone's motor specifications, providing the right balance of thrust and efficiency. Consider investing in self-tightening propellers, which reduce the risk of loosening during flight and maintain consistent balance.
Pay attention to the propeller's pitch and diameter, as these factors affect your drone's speed, stability, and power consumption. Higher pitch propellers offer increased speed but may sacrifice stability, while lower pitch propellers provide better control and longer flight times. Choose based on your specific photography needs.
Don't forget to regularly inspect your propellers for signs of wear, chips, or cracks. Even minor damage can greatly impact balance and image quality. Replace propellers at the first sign of damage to maintain optimal performance and guarantee the safety of your aerial photography sessions.
Regular Inspection and Cleaning

Your drone's longevity and performance rely heavily on regular inspection and cleaning. By incorporating these practices into your routine, you'll guarantee your propellers remain perfectly balanced for ideal photography results.
Don't overlook this vital aspect of drone maintenance, as it can greatly impact your aerial shots' quality and stability.
Start by establishing a consistent inspection schedule:
- Before each flight: Check for visible damage, cracks, or chips on the propellers. Look for any debris or foreign objects that might've become lodged in the propeller assembly.
- After each flight: Clean the propellers with a soft, lint-free cloth to remove dust, dirt, or moisture. Pay special attention to the edges and tips, where buildup can occur.
- Monthly deep clean: Remove the propellers and thoroughly clean them with mild soap and water. Dry them completely before reattaching.
During these inspections, you'll want to check for any signs of wear, imbalance, or misalignment. If you notice any issues, address them immediately by replacing the affected propellers.
Use a Propeller Balancing Tool

Regularly using a propeller balancing tool is essential for maintaining perfect propeller balance in drone photography.
These tools come in various forms, but most consist of a precision rod and a magnetic base. To use one, you'll need to remove your drone's propellers and place them on the balancing rod.
Once on the rod, observe how the propeller settles. If it's perfectly balanced, it'll remain level. If one side dips, you've got an imbalance. To correct this, you can add small pieces of tape to the lighter side or sand down the heavier side.
Be careful and make small adjustments, checking the balance after each change.
Some advanced balancing tools come with digital sensors that can detect even the slightest imbalances. These are particularly useful for professional drone photographers who need absolute precision.
Remember to balance each propeller individually and recheck them periodically, especially after crashes or rough landings.
Precision Trimming and Sanding

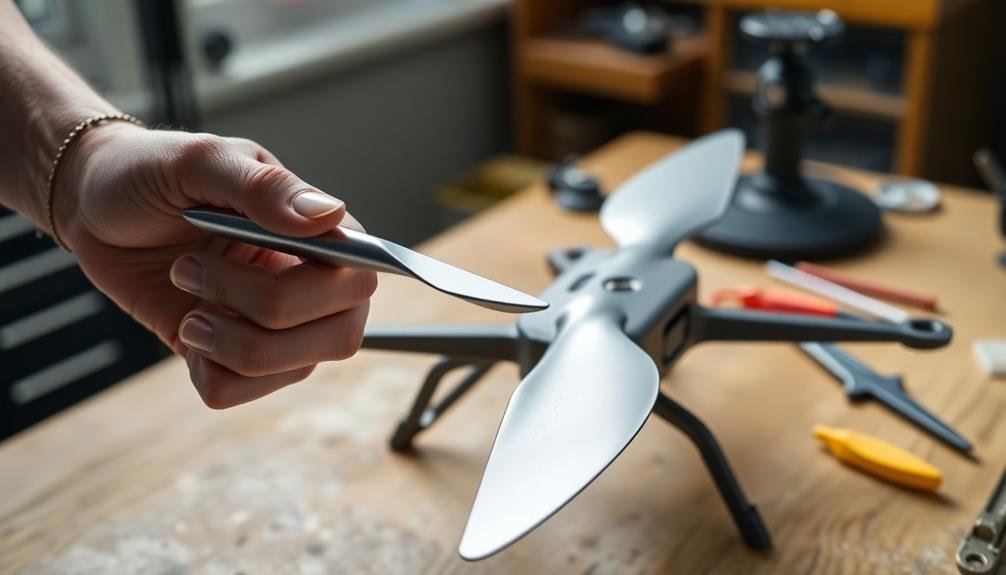
Precision trimming and sanding are vital techniques for achieving perfect propeller balance. Once you've identified imbalances using a balancing tool, it's time to make minute adjustments. You'll need a sharp hobby knife, fine-grit sandpaper, and a steady hand.
Start by trimming excess material from the heavier blade, working slowly and carefully to avoid over-correcting.
After trimming, sand the blade's surface to guarantee smoothness and uniformity. Use light, even strokes, and check your progress frequently. Remember, you're aiming for balance, not perfection in appearance.
As you work, keep these key points in mind:
- Always trim and sand symmetrically on both sides of the blade
- Focus on removing material from the blade's tip and trailing edge
- Recheck balance after each adjustment, no matter how small
Don't rush this process; patience is essential. It's better to make several small adjustments than one drastic change.
Once you've achieved balance, give the propeller a final polish to guarantee ideal aerodynamics. With practice, you'll develop a feel for the right amount of material to remove, resulting in perfectly balanced propellers for your photography drone.
Test Flight After Balancing

After you've balanced your propeller, it's crucial to conduct a test flight. This step allows you to verify the effectiveness of your balancing efforts and guarantee peak performance for your aerial photography. Begin by selecting a calm day with minimal wind to minimize external factors that could affect your results.
Before takeoff, double-check all connections and confirm your camera is securely mounted. During the flight, pay close attention to any vibrations or unusual sounds. Capture test footage at various altitudes and speeds to thoroughly evaluate the propeller's performance.
| Flight Phase | What to Observe |
|---|---|
| Takeoff | Smooth ascent |
| Hovering | Stability |
| Forward Flight | Minimal wobble |
| Landing | Controlled descent |
After landing, review your footage carefully. Look for any signs of vibration or jitter in the images. If you notice persistent issues, you may need to repeat the balancing process or consider replacing the propeller. Remember, achieving perfect balance often requires multiple iterations and fine-tuning.
Frequently Asked Questions
Can Propeller Imbalance Affect Image Quality in Aerial Photography?
Yes, propeller imbalance can affect your image quality in aerial photography. You'll notice vibrations causing blurry shots and reduced sharpness. It's vital to balance your propellers properly to guarantee crisp, clear images during your aerial shoots.
How Often Should I Rebalance My Drone's Propellers?
You should rebalance your drone's propellers every 20-30 flight hours or if you notice any vibrations. It's also wise to check them after crashes or impacts. Don't forget to inspect before important shoots.
What Causes Propeller Imbalance in Photography Drones?
Your drone's propellers can become imbalanced due to wear and tear, damage from crashes, manufacturing defects, or debris accumulation. Uneven weight distribution caused by these factors can lead to vibrations and affect your drone's performance and image quality.
Are There Specific Propeller Materials Best Suited for Photography Drones?
You'll find carbon fiber propellers are ideal for photography drones. They're lightweight, durable, and reduce vibration. Plastic props are budget-friendly but less stable. Some high-end drones use specialized composite materials for peak performance.
Can Weather Conditions Impact Propeller Balance During a Photo Shoot?
Yes, weather can affect your propeller balance during shoots. Wind, temperature changes, and humidity can alter propeller performance. You'll need to monitor and adjust regularly, especially in extreme conditions, to maintain ideal balance and image quality.
In Summary
You've now learned five essential tips for achieving perfect propeller balance in your photography. By choosing quality props, inspecting regularly, using balancing tools, trimming precisely, and test flying, you'll guarantee smooth shots and extended equipment life. Don't overlook this vital aspect of aerial photography. With practice, you'll master the art of prop balancing, leading to cleaner footage and a more professional result. Keep these tips in mind, and you'll elevate your aerial photography game.

As educators and advocates for responsible drone use, we’re committed to sharing our knowledge and expertise with aspiring aerial photographers.


Leave a Reply