
To capture stunning reverse reveal shots with your drone, start by meticulously planning your flight path, considering obstacles and lighting conditions. Master altitude control for smooth, gradual ascents that create dynamic visuals. Optimize your camera settings, using manual mode for full control over exposure and focus. Time your reveal perfectly, moving slowly and steadily to build tension before accelerating for the final impact. Finally, enhance your footage in post-production with color grading, sound design, and precise editing. By mastering these techniques, you'll elevate your drone cinematography to new heights. Dive deeper to access the full potential of reverse reveal shots.
Key Takeaways
- Plan your flight path meticulously, visualizing the final composition and working backward to determine the starting position.
- Master altitude control for smooth ascents, gradually revealing more of the landscape for viewer perspective.
- Optimize camera settings, using manual mode for full control over exposure and focus.
- Time your reveal perfectly, moving slowly and steadily to build tension and create suspense.
- Enhance with post-production techniques, fine-tuning pacing and incorporating sound design to maximize impact.
Plan Your Flight Path

When planning your reverse reveal shot, carefully map out your drone's flight path. Contemplate the starting point, endpoint, and the trajectory between them. You'll want to begin with your subject obscured and gradually disclose it as the drone moves backward. Think about the elements in your frame and how they'll interact as your drone retreats.
Start by visualizing the final composition you want to achieve. Then, work backward to determine where your drone should begin. Take into account any obstacles or potential hazards along the way. You'll need to guarantee a clear path for your drone to move safely and smoothly.
Practice your flight path several times before recording. This will help you fine-tune your movements and timing. Pay attention to your drone's speed and altitude changes throughout the shot. Smooth, consistent motion is key to an enthralling reverse reveal.
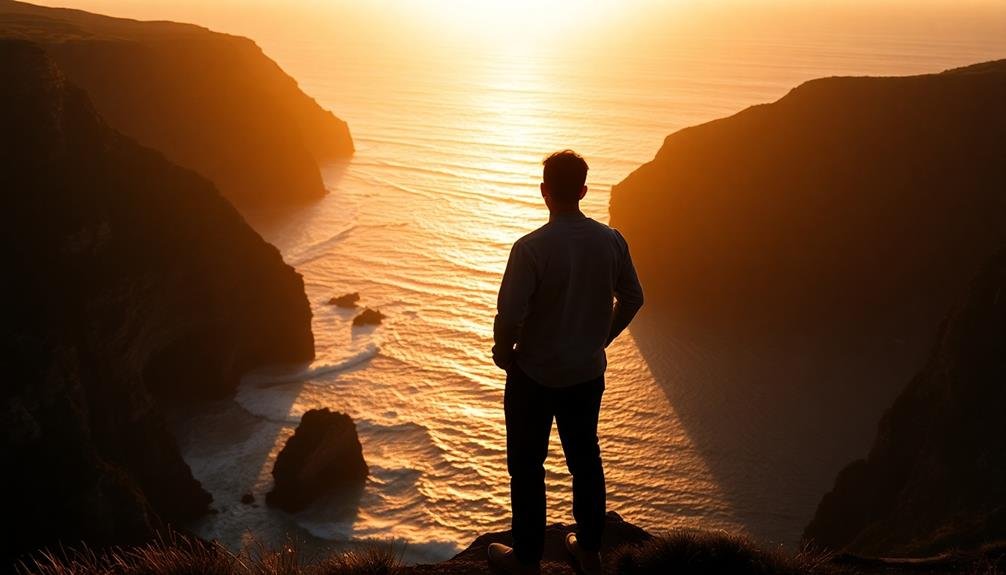
Don't forget to contemplate lighting conditions and how they might change during your flight. The sun's position and any shadows can dramatically affect your shot's mood and quality. Adjust your flight path or timing if necessary to capture the best possible lighting for your subject.
Master Altitude Control
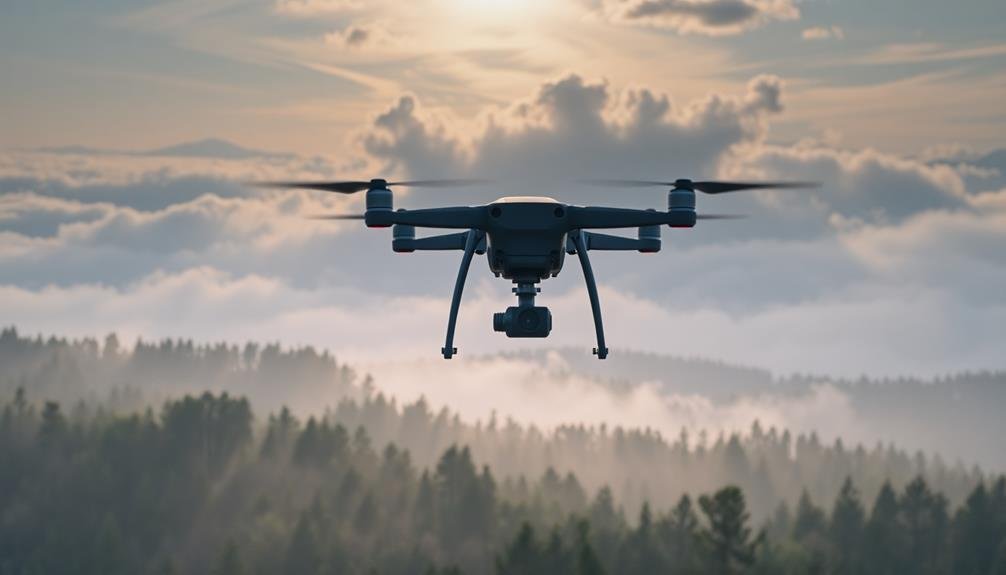
How does altitude affect your reverse reveal shot? The altitude of your drone plays an essential role in creating an intriguing reverse reveal. As you ascend, you'll disclose more of the landscape, gradually expanding the viewer's perspective.
To master altitude control, start by practicing smooth, steady ascents. Use your drone's altitude hold feature to maintain a consistent height while moving backwards.
Begin your shot at a lower altitude, just above your subject. As you pull back, gradually increase your altitude to reveal more of the surroundings. This creates a dynamic and engaging visual experience.
Pay attention to your ascent rate; a slow, controlled rise often works best for dramatic reveals.
Consider the scale of your subject and environment when choosing your maximum altitude. For urban scenes, you might need to climb higher to showcase the cityscape, while natural landscapes may require less altitude to capture their beauty.
Always be aware of local regulations and altitude restrictions in your flying area. Remember, mastering altitude control takes practice, so don't be afraid to experiment with different heights and ascent rates to find what works best for your specific shot.
Optimize Camera Settings

Precision is key when fine-tuning your camera settings for a reverse reveal shot. Start by setting your camera to manual mode, giving you full control over exposure and focus.
Choose a narrow aperture (high f-number) to maintain a deep depth of field, guaranteeing both near and far objects remain sharp throughout the reveal.
Set your shutter speed to at least 1/60th of a second to minimize motion blur, adjusting higher if you're flying in windy conditions. Keep your ISO as low as possible to reduce noise, but be prepared to increase it if lighting conditions require.
Use manual focus and set it to infinity to keep distant subjects sharp. Enable your camera's grid overlay to help maintain straight horizons and proper framing.
If your drone has a flat color profile option, use it to capture more detail and allow for greater flexibility in post-processing.
Consider shooting in RAW format to preserve maximum image data. Finally, adjust your white balance to match the lighting conditions, or set it to auto if you're moving through varied environments.
Remember to periodically check your settings during flight to guarantee ideal results.
Time Your Reveal Perfectly
With your camera settings optimized, it's time to focus on the heart of the reverse reveal shot: perfect timing. The key to a fascinating reveal lies in your ability to pace the movement and build anticipation. Start by planning your shot's duration, considering the subject's complexity and the story you're telling.
As you begin filming, move slowly and steadily. This allows viewers to absorb the details and heightens curiosity about what's being revealed. Pay attention to these essential timing elements:
| Element | Purpose | Execution |
|---|---|---|
| Pace | Build tension | Move camera gradually |
| Pause | Create suspense | Briefly hold at key points |
| Climax | Deliver impact | Accelerate near final reveal |
Remember, timing isn't just about speed; it's about rhythm. Vary your movement to keep the audience engaged. Start slower, then gradually increase your speed as you approach the final reveal. This acceleration creates a sense of excitement and payoff.
Practice your timing repeatedly before capturing the final shot. You'll develop muscle memory and a feel for the perfect pace. Don't be afraid to experiment with different timings to find what works best for your specific subject and story.
Enhance With Post-Production Techniques

Once you've captured your reverse reveal shot, post-production techniques can take it to the next level.
Start by fine-tuning the pacing of your shot in editing. Adjust the speed of the reveal to build tension and maximize impact. You can use speed ramping to gradually increase or decrease the movement speed, creating a more dynamic effect.
Color grading plays an essential role in enhancing the mood and atmosphere of your reverse reveal. Experiment with different color palettes to emphasize the contrast between the initial frame and the final reveal.
Consider using a subtle vignette to draw attention to the center of the frame.
Add depth to your shot with carefully chosen sound design. Incorporate ambient noise, music, or sound effects that complement the visual reveal.
Gradually increase the volume or introduce new audio elements as the shot progresses to heighten anticipation.
Frequently Asked Questions
What Equipment Is Essential for Capturing High-Quality Reverse Reveal Shots?
You'll need a stabilized camera setup, like a gimbal or dolly, for smooth movement. Don't forget a wide-angle lens for better framing. A quality microphone is essential if you're capturing audio. Lighting equipment helps enhance the reveal.
How Do Weather Conditions Affect Reverse Reveal Shots?
Weather conditions greatly impact your reverse reveal shots. You'll need to take into account lighting changes, wind effects, and potential precipitation. Overcast days can provide soft, even light, while sunny conditions may create harsh shadows. Always adapt your setup accordingly.
Are There Legal Restrictions on Flying Drones for Reverse Reveal Shots?
Yes, there are legal restrictions on flying drones for reverse reveal shots. You'll need to check local laws, obtain necessary permits, and follow FAA regulations. Don't fly in restricted areas or near airports without proper authorization.
Can Reverse Reveal Shots Be Achieved With Non-Drone Cameras?
Yes, you can create reverse reveal shots without drones. You'll need a moving camera platform like a dolly, slider, or handheld gimbal. Try walking backwards or using a vehicle to achieve the desired effect for your shot.
What Are Common Mistakes Beginners Make When Attempting Reverse Reveal Shots?
You're likely to make these common mistakes: moving too fast, not planning your shot, failing to stabilize your camera, using jerky movements, and overlooking composition. Don't forget to practice and be patient with yourself!
In Summary
You've now got the tools to create jaw-dropping reverse reveal shots. Remember to plan carefully, control your altitude precisely, and dial in your camera settings. Timing is everything, so practice your reveals until they're perfect. Don't forget to polish your footage in post-production for that extra wow factor. With these tips in your arsenal, you'll be capturing breathtaking aerial cinematography that'll leave your audience in awe. Go out and start creating!
As educators and advocates for responsible drone use, we’re committed to sharing our knowledge and expertise with aspiring aerial photographers.


Leave a Reply