To prevent signal loss during flight photography, you'll want to choose the right antenna and update your drone's firmware regularly. Maintain a clear line of sight and monitor signal strength closely. Avoid electromagnetic interference by keeping your drone away from power lines and other electronic devices. Adjust your flight altitude strategically and plan your path to avoid obstacles. Optimize your drone's settings, including transmission power and frequency bands. Consider weather conditions that could affect signal quality. By implementing these strategies, you'll greatly reduce the risk of losing control or missing that perfect shot. Dive deeper to master these techniques and elevate your aerial photography game.
Key Takeaways
- Choose and configure antennas compatible with your drone's frequency for optimal signal performance.
- Regularly update firmware on all drone components to ensure compatibility and improved signal strength.
- Maintain a clear line of sight between the drone and controller, avoiding obstacles that can block signals.
- Monitor signal strength indicators and take immediate action if the signal weakens to prevent loss of control.
- Use signal boosters or range extenders to enhance connectivity, especially for long-distance flights.
Choose the Right Antenna
Antennas are the lifeline of your signal during flight photography. Selecting the right antenna can make the difference between capturing stunning aerial shots and losing control of your drone. You'll want to choose an antenna that's compatible with your drone's frequency and offers ideal gain for your specific needs.
Consider directional antennas for long-range flights, as they focus the signal in a specific direction, increasing range and reducing interference. Omnidirectional antennas are better for shorter flights where you need coverage in all directions. Pay attention to the antenna's polarization, matching it to your transmitter for the best signal strength.
Don't overlook the importance of antenna placement. Mount your antennas vertically and avoid obstructions that could block the signal. If you're using multiple antennas, space them apart to improve reception.
Invest in high-quality antennas made from durable materials that can withstand the elements. Check your antennas regularly for damage or wear, and replace them when necessary.
Update Firmware Regularly
To maintain ideal signal strength, you'll want to keep your drone's firmware up-to-date.
Before each flight, check for the latest versions and download any updates while you're still connected to reliable internet.
Always follow the manufacturer's instructions carefully when installing new firmware to guarantee a smooth update process.
Check for Latest Versions
Consistency is key when it comes to maintaining your drone's performance, especially in aerial photography. Regularly checking for the latest versions of your drone's software and firmware is essential to prevent signal loss and guarantee ideal functionality.
Manufacturers often release updates that address bugs, improve connectivity, and enhance overall performance.
To stay on top of the latest versions:
- Set up automatic notifications from the manufacturer's website or app
- Follow the drone company's social media accounts for update announcements
- Join online forums or communities dedicated to your specific drone model
- Subscribe to relevant newsletters or blogs focused on drone technology
When you discover a new update, don't delay in implementing it. These updates can greatly improve your drone's signal strength and stability during flight.
Before installing, always read the release notes to understand what changes are being made and how they might affect your device's operation.
Remember that updating isn't just about the drone itself. You'll also need to keep your remote controller and any connected devices, like smartphones or tablets, up to date.
This guarantees all components are compatible and working in sync, reducing the risk of signal loss during your aerial photography sessions.
Download Before Takeoff
Before starting your aerial photography adventure, it's crucial to download and install the latest firmware for your drone. This simple step can greatly improve your device's performance and reduce the risk of signal loss during flight. Manufacturers regularly release firmware updates to address bugs, enhance features, and improve overall stability.
Make it a habit to check for updates a day or two before your planned flight. This gives you ample time to download and install the new firmware without rushing. Don't wait until you're at the location, as you might encounter slow internet speeds or no connection at all.
Once you've downloaded the update, carefully follow the installation instructions provided by the manufacturer. After updating, test your drone's functions on the ground to confirm everything's working correctly.
Up-to-date firmware can offer improved signal strength, better obstacle avoidance, and enhanced camera performance. It may also include new features that can expand your creative possibilities.
Follow Manufacturer's Instructions
Updating your drone's firmware is just the beginning of following manufacturer instructions. To prevent signal loss during flight photography, you'll need to adhere to all guidelines provided by your drone's maker. These instructions are designed to optimize your device's performance and guarantee a stable connection throughout your flight.
Pay close attention to the following aspects:
- Operating temperature range
- Maximum wind speed tolerance
- Recommended flight altitudes
- Interference-prone areas to avoid
By strictly following these guidelines, you'll minimize the risk of signal loss and maintain better control over your drone.
Don't overlook the importance of proper calibration before each flight. This process helps your drone accurately determine its position and orientation, which is essential for maintaining a strong signal connection.
You should also familiarize yourself with your drone's fail-safe features. These built-in safety mechanisms can help protect your equipment if signal loss does occur.
Understanding how they work and when they'll activate can give you peace of mind during your flights.
Maintain Line of Sight

To maintain a strong signal between your drone and controller, keeping a clear line of sight is essential. This means you should always be able to see your drone directly, without any obstructions. Avoid flying behind buildings, trees, or other large objects that can block the signal.
Even seemingly small obstacles like hills or dense foliage can interfere with communication.
When planning your flight path, consider potential barriers in the area. Choose takeoff and landing spots that offer unobstructed views of the sky. If you're flying in an urban environment, be aware of tall structures and try to stay above them when possible.
In rural areas, watch out for dense forests or steep terrain that might impede your line of sight.
Remember that the farther your drone flies, the weaker the signal becomes. Keep your drone within a reasonable distance to maintain a strong connection.
If you need to fly farther, consider using a signal booster or upgrading your antenna. Always monitor your signal strength indicator and be prepared to bring your drone back if the connection starts to weaken.
Monitor Signal Strength

While maintaining line of sight is key, you'll also need to keep a close eye on your drone's signal strength. Most modern drones display signal strength on the controller or connected device. Pay attention to this indicator throughout your flight, as it'll help you avoid sudden signal loss.
If you notice the signal weakening, take immediate action. Move closer to your drone or adjust its position to improve connectivity. Don't wait for the signal to deteriorate further, as this could lead to loss of control or even a crash.
To effectively monitor and maintain strong signal strength:
- Use signal boosters or range extenders
- Fly in areas with minimal interference from other electronic devices
- Keep your drone's antennas properly aligned
- Update your drone's firmware regularly for improved signal performance
Remember that different environmental factors can affect signal strength. Dense urban areas, forests, and areas with high electromagnetic interference may reduce your drone's range.
Plan your flight paths accordingly, and always be prepared to bring your drone back if the signal starts to weaken. By actively monitoring signal strength, you'll greatly reduce the risk of losing connection during your flight photography sessions.
Avoid Electromagnetic Interference
To minimize electromagnetic interference during flight photography, you'll need to take several precautions.
Keep your devices properly shielded, using protective cases or bags designed to block electromagnetic signals.
Maintain a safe distance from other electronic equipment on board, and consistently use airplane mode on all your devices to reduce potential signal conflicts.
Keep Devices Properly Shielded
Electromagnetic interference can wreak havoc on your aerial photography equipment. To mitigate this risk, you'll need to keep your devices properly shielded. Start by investing in high-quality shielding materials designed specifically for electronic equipment. These can include conductive fabrics, metal foils, or specialized coatings that block electromagnetic radiation.
When preparing for your flight, verify that all your sensitive equipment is enclosed in protective cases or bags with built-in shielding. Don't forget to shield your cables and connectors as well, as these can act as antennas for unwanted interference. If you're using a drone, pay special attention to its control systems and communication links.
Here are some additional tips for effective shielding:
- Use ferrite beads on cables to suppress high-frequency interference
- Implement proper grounding techniques for your equipment
- Consider using RF-shielded enclosures for extremely sensitive gear
- Regularly inspect and maintain your shielding materials for peak performance
Maintain Distance From Electronics
Beyond shielding, maintaining an appropriate distance from electronic devices is essential for minimizing electromagnetic interference in flight photography.
You'll want to keep your camera equipment at least a few feet away from other electronic devices whenever possible. This includes laptops, tablets, smartphones, and even in-flight entertainment systems.
Pay attention to where you're positioning your gear in relation to the aircraft's electronic systems. Avoid placing your camera or other sensitive equipment near overhead panels, seat-back screens, or under-seat power outlets.
These areas can emit electromagnetic fields that may interfere with your equipment's signals.
If you're using a drone for aerial photography, be extra cautious. Keep it away from power lines, radio towers, and other sources of electromagnetic radiation.
When not in use, store your drone in a shielded case to protect it from potential interference.
Remember that even small electronic devices can cause issues. Turn off or switch to airplane mode any personal devices you're not actively using for photography.
This will help reduce the overall electromagnetic interference in your immediate surroundings, giving your camera equipment the best chance at maintaining a clear signal.
Use Airplane Mode Consistently
One of the most effective ways to minimize electromagnetic interference during flight photography is to consistently use airplane mode on all your devices.
This simple step can greatly reduce the risk of signal loss and guarantee your camera equipment functions at its best. When you enable airplane mode, you're cutting off all wireless communications, including cellular, Wi-Fi, and Bluetooth signals.
To maximize the benefits of using airplane mode:
- Enable it on all devices, not just your phone
- Turn it on before takeoff and keep it active throughout the flight
- Don't forget about smartwatches and other wearable tech
- Re-enable it immediately if you accidentally turn it off
Use Signal Boosters
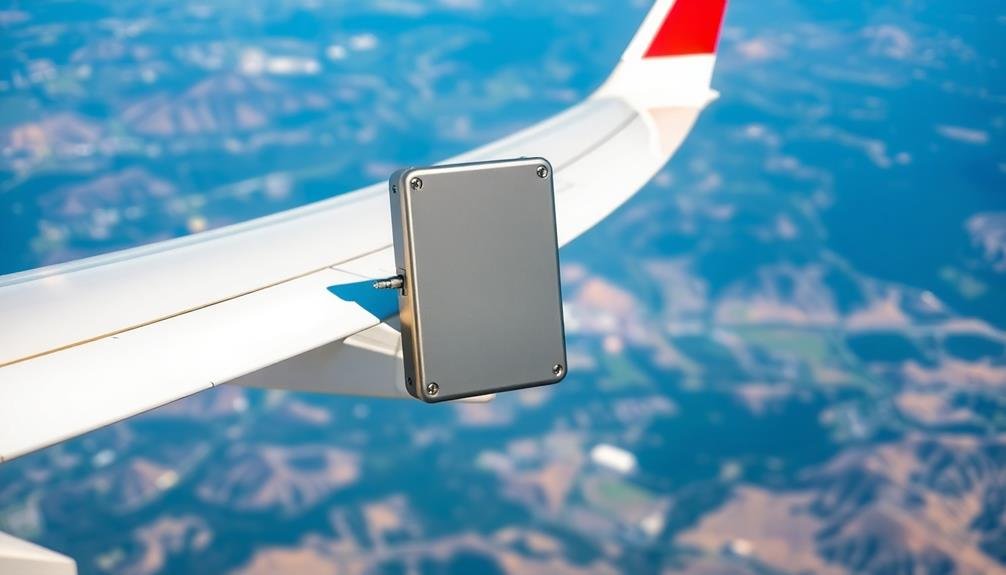
While capturing aerial images, signal boosters can be a game-changer for maintaining a strong connection between your drone and controller. These devices amplify the existing signal, extending your drone's range and improving transmission quality. You'll find various types of signal boosters available, from portable antennas to more sophisticated systems.
When choosing a signal booster, consider factors like compatibility with your drone model, ease of installation, and overall effectiveness. Here's a quick comparison of popular signal booster options:
| Type | Range Increase | Portability | Price Range |
|---|---|---|---|
| Antenna Extensions | 20-30% | High | $20-$50 |
| Parabolic Reflectors | 40-60% | Medium | $30-$80 |
| Active Boosters | 70-100% | Low | $100-$300 |
| Directional Antennas | 50-80% | Medium | $50-$150 |
To maximize the performance of your signal booster, position it correctly and make certain it's free from obstructions. Remember to check local regulations regarding signal amplification devices, as some areas may have restrictions. By incorporating a signal booster into your flight photography setup, you'll enjoy extended range and more reliable connections, allowing you to capture stunning aerial shots with confidence.
Adjust Flight Altitude
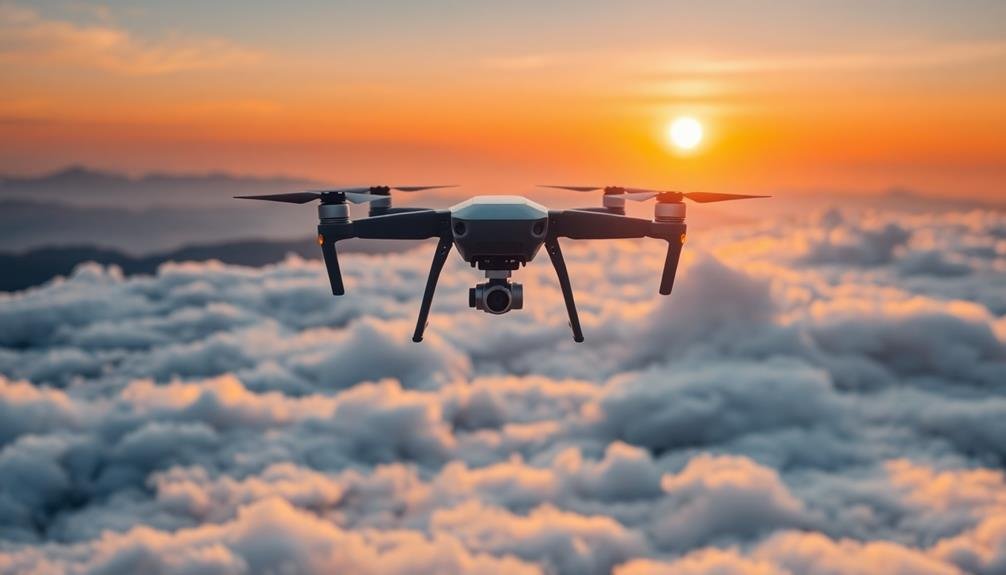
Signal boosters aren't the only way to maintain a strong connection during flight photography. Adjusting your drone's flight altitude can greatly impact signal strength and quality. Generally, flying at higher altitudes improves signal reception by reducing obstacles between your controller and the drone. However, you'll need to balance this with local regulations and the desired composition of your shots.
Consider these factors when adjusting your flight altitude:
- Line of sight: Higher altitudes often provide clearer paths for signals
- Terrain: Fly above hills or buildings that might interfere with transmission
- Weather conditions: Increased altitude can help overcome atmospheric interference
- Distance from controller: Higher flights may allow for extended range
Start by flying at a lower altitude and gradually increase it until you find the sweet spot for signal strength and image quality.
Remember that flying too high may compromise image detail and could violate airspace regulations. Always check local laws and obtain necessary permits before adjusting your flight altitude.
Plan Flight Path Strategically
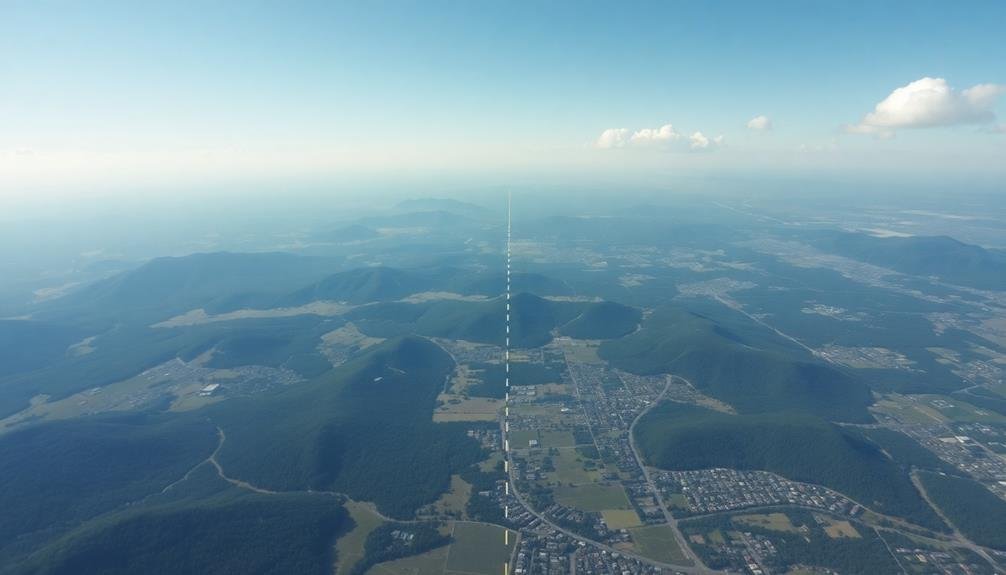
A well-planned flight path is vital for maintaining a strong signal during aerial photography. When planning your route, consider the terrain and potential obstacles that could interfere with your drone's connection. Avoid flying behind large structures, dense forests, or hills that might block the signal between your controller and the aircraft.
Start by identifying areas with clear line-of-sight to your drone throughout the flight. Map out your path to include open spaces and minimize time spent near signal-blocking features. If you're shooting in an urban environment, plan your route to stay above building heights when possible.
In rural areas, be mindful of valleys or deep ravines that could cause signal drop-offs. Include designated waypoints in your flight plan where you can safely pause and reorient if needed. These spots should have strong signal strength and provide good vantage points for photography.
Don't forget to factor in battery life when planning your route. It's essential to maintain enough power for a safe return, even if you encounter unexpected signal issues. By strategically planning your flight path, you'll greatly reduce the risk of signal loss and guarantee a smoother aerial photography experience.
Optimize Drone Settings

To optimize your drone's settings for better signal strength, start by adjusting the transmission power settings.
You'll want to configure the frequency bands properly, ensuring you're using the most effective channels for your location.
These adjustments can greatly improve your drone's communication range and stability during flight photography.
Adjust Transmission Power Settings
Drone operators can greatly improve signal strength by adjusting transmission power settings. Most modern drones allow you to modify the transmission power, which directly affects the strength and range of the signal between your controller and the aircraft. Higher power settings can help maintain a stable connection over longer distances or in areas with potential interference.
When adjusting transmission power, consider the following factors:
- Local regulations: Confirm you're complying with your area's laws regarding radio transmission power
- Battery life: Higher power settings may drain your controller's battery faster
- Environmental conditions: Increase power in areas with obstacles or interference
- Flight distance: Match power settings to your intended flight range
To optimize your transmission power, start with the lowest setting that provides a stable connection for your typical flight conditions. Gradually increase the power if you experience signal issues or plan to fly at greater distances.
Remember that higher power doesn't always equate to better performance, as it can sometimes lead to signal saturation or interference with other nearby devices. Always test your settings in a safe environment before starting on critical flight missions, and be prepared to adjust as needed based on real-time performance.
Configure Frequency Bands Properly
Beyond adjusting transmission power, properly configuring frequency bands is key to maintaining a strong signal during flight.
You'll want to select the appropriate frequency band for your drone's operating environment. Most drones use either 2.4 GHz or 5.8 GHz bands. The 2.4 GHz band offers better range and obstacle penetration but is more susceptible to interference. The 5.8 GHz band provides clearer signal quality but has a shorter range.
Check your drone's manual to see if it supports automatic frequency selection. If it does, enable this feature to let the drone choose the clearest channel. If not, you'll need to manually select the least congested channel. Use a spectrum analyzer app on your smartphone to identify which channels are least crowded in your area.
Consider your surroundings when choosing a frequency. In urban areas with lots of Wi-Fi networks, the 5.8 GHz band might be less crowded. In open areas, 2.4 GHz could offer better range. If you're flying near water or metallic structures, opt for 2.4 GHz for better signal penetration.
Always comply with local regulations regarding frequency usage for drones.
Consider Weather Conditions
Weather plays an essential role in flight photography and can greatly impact signal strength. You'll need to be aware of various weather conditions that can affect your drone's performance and signal quality. Heavy rain, snow, or dense fog can interfere with radio waves, reducing the range and reliability of your drone's connection.
Strong winds can also disrupt signal transmission and make it harder to maintain a stable flight path.
To minimize weather-related signal issues, you should:
- Check the weather forecast before your flight and plan accordingly
- Avoid flying in extreme conditions, such as thunderstorms or high winds
- Use weather-resistant equipment when possible
- Be prepared to cut your flight short if conditions deteriorate
You'll also want to take into account the impact of temperature on your equipment. Extreme heat or cold can affect battery life and electronic components, potentially leading to signal loss.
If you're flying in cold weather, keep your batteries warm until just before use. In hot conditions, prevent overheating by providing shade for your controller and drone when not in use.
Frequently Asked Questions
How Does Signal Loss Affect Image Quality in Flight Photography?
Signal loss can greatly degrade your flight photos. You'll notice reduced sharpness, increased noise, and color distortion. It may also cause dropped frames or incomplete images. These issues can render your aerial shots unusable or less visually appealing.
Can Signal Loss Cause Permanent Damage to the Drone or Camera?
You'll be relieved to know that signal loss typically won't cause permanent damage to your drone or camera. It's more likely to result in temporary issues like lost footage or interrupted control. Always follow safety guidelines when flying.
What's the Maximum Range for Maintaining a Stable Signal During Flight?
You'll find the maximum range for a stable signal varies widely. It depends on your drone model, environment, and obstacles. Generally, you can expect 1-5 miles, but urban areas or interference may reduce this considerably. Always check manufacturer specifications.
Are There Legal Restrictions on Using Signal Boosters for Drones?
Yes, there are legal restrictions on using signal boosters for drones. You'll need to check your local laws, as regulations vary by country and region. Some areas require licenses or permits for certain types of signal amplification equipment.
How Do Different Drone Models Compare in Terms of Signal Reliability?
You'll find that drone models vary considerably in signal reliability. High-end drones often boast better range and stability. DJI's Mavic series is known for strong connections, while budget models may struggle in challenging environments. Always check specs before buying.
In Summary
You've now got a toolkit to combat signal loss during flight photography. Remember, it's all about preparation and awareness. Keep your equipment up-to-date, choose your flight path wisely, and stay mindful of your surroundings. Don't forget to adjust your settings and monitor signal strength constantly. With these tips, you'll maximize your drone's performance and capture stunning aerial shots. Stay safe, follow local regulations, and enjoy your enhanced flying experience!

As educators and advocates for responsible drone use, we’re committed to sharing our knowledge and expertise with aspiring aerial photographers.


Leave a Reply