To capture stunning spiral ascent shots, start with the right equipment: a drone with manual controls, a wide-angle lens, and a sturdy tripod. Plan your location carefully, considering lighting and weather conditions. Set your camera to manual mode, using a fast shutter speed and mid-range aperture. Master speed control for smooth ascents, and maintain a consistent circular flight pattern. Frame your subject in the center, using the rule of thirds for compelling compositions. In post-processing, focus on stabilization and color grading. Always prioritize safety, following local regulations and conducting pre-flight checks. These expert tips will help you soar to new heights in drone photography.
Key Takeaways
- Master circular flight patterns by maintaining a consistent radius and using GPS mode for stable orbiting.
- Adjust drone speed gradually during ascent to achieve smooth spiral shots and maintain visual flow.
- Use a wide-angle lens (14-24mm) to capture the entire spiral and surrounding environment effectively.
- Set camera to manual mode with fast shutter speed, mid-range aperture, and low ISO for optimal image quality.
- Center the subject in the frame and apply the rule of thirds for visually appealing spiral ascent compositions.
Equipment Essentials

Gear selection can make or break your spiral ascent shots. To capture stunning spiral ascents, you'll need a camera with manual controls and the ability to shoot in RAW format. A full-frame DSLR or mirrorless camera is ideal, but crop-sensor cameras can also produce excellent results.
Choose a wide-angle lens, preferably between 14-24mm, to capture the entire spiral and surrounding environment. A sturdy tripod is essential for maintaining stability during long exposures. Opt for a carbon fiber model to reduce weight without sacrificing strength.
You'll also need a remote shutter release or intervalometer to minimize camera shake and automate your shots. For nighttime spiral ascents, invest in a powerful flashlight or LED panel to illuminate your subject.
Neutral density filters are vital for daytime shoots, allowing you to use slower shutter speeds in bright conditions. Don't forget extra batteries and memory cards, as spiral ascent photography often requires numerous shots.
Pre-Flight Planning

Before you take off for your spiral ascent shot, you'll need to carefully plan your pre-flight activities.
Start by selecting an ideal location that offers both safety and visual interest for your ascent.
Next, check the weather conditions to guarantee peak visibility and minimal wind, and prepare a thorough equipment checklist to avoid forgetting any vital gear.
Choose Ideal Location
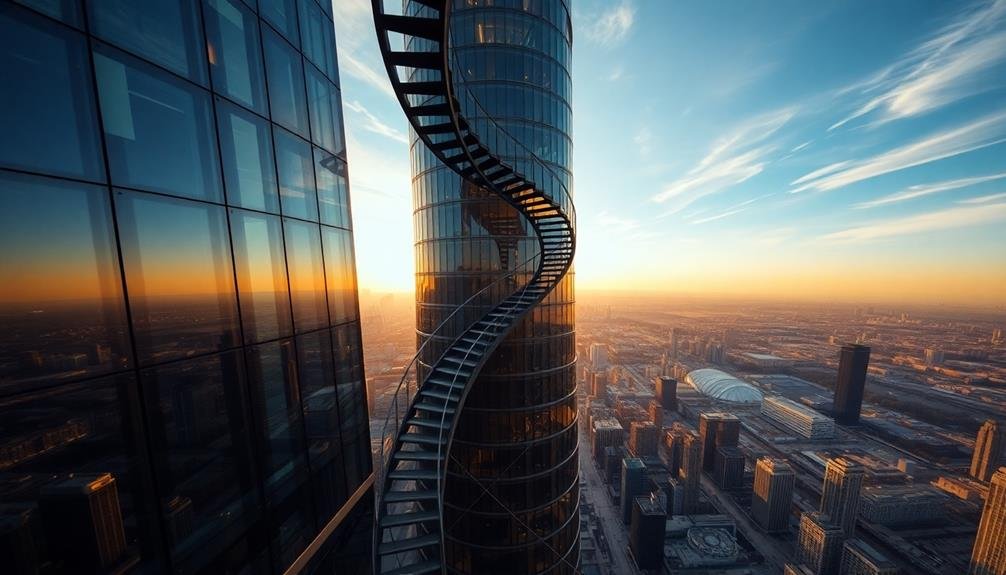
Location scouting is essential for successful spiral ascent shots. You'll want to find an area with minimal obstacles and ample open space to allow for a smooth, uninterrupted ascent. Look for locations with interesting visual elements that will enhance your shot, such as unique landscapes, architectural features, or natural formations.
Consider the time of day and lighting conditions when choosing your location. Early morning or late afternoon often provide the best natural light for dramatic spiral shots. Avoid areas with heavy air traffic or restricted airspace to guarantee your flight is legal and safe.
Scout for potential takeoff and landing spots that are flat and clear of debris. You'll need enough room to safely operate your drone and execute the spiral maneuver. Pay attention to wind patterns and choose a location that offers some protection from strong gusts.
Don't forget to check local regulations and obtain necessary permits before flying. Some locations may require prior approval or have specific restrictions on drone usage.
Check Weather Conditions
Once you've identified the perfect location, it's time to focus on weather conditions. Weather plays an essential role in the success of your spiral ascent shots. Check local forecasts and aviation weather reports for the day of your planned flight. Ideal conditions include clear skies, low wind speeds, and good visibility.
Wind is particularly important for spiral shots. Strong winds can disrupt your drone's flight path and affect image stability. Aim for wind speeds below 10 mph (16 km/h) for best results.
Also, consider the time of day. Early morning or late afternoon often provide the best lighting conditions and calmer winds.
Before takeoff, assess the following on-site:
- Cloud cover and potential for sudden weather changes
- Wind direction and any local wind patterns
- Temperature and humidity, which can affect battery life
Remember that conditions can change rapidly, so continually monitor the weather throughout your shoot. If conditions deteriorate, be prepared to abort the flight and reschedule.
Safety should always be your top priority. By carefully checking and adapting to weather conditions, you'll greatly increase your chances of capturing stunning spiral ascent shots.
Prepare Equipment Checklist
A well-prepared equipment checklist is indispensable for successful spiral ascent shots. Before your flight, confirm you've got all the necessary gear ready.
Start with your drone: check its batteries are fully charged and pack spares. Don't forget the controller and verify its firmware is up to date. Your camera is essential, so verify it's securely mounted and functioning correctly.
Pack your filters, especially neutral density ones, as they'll help manage exposure in bright conditions. Include lens cleaning supplies to maintain image quality throughout your shoot.
Memory cards are critical; bring multiple high-capacity, high-speed cards to capture your spiral ascents without interruption.
Consider your safety gear: high-visibility vest, first-aid kit, and a fire extinguisher for emergencies. A tablet or smartphone with flight planning apps can be invaluable for mapping your spiral route.
Pack a portable power bank to keep your devices charged.
Lastly, don't overlook comfort items like sunglasses, sunscreen, and water. A notepad for logging flight details can be useful.
Camera Settings for Spiral Shots
Getting your camera settings right is essential for capturing stunning spiral ascent shots. Start by setting your camera to manual mode for full control. Choose a fast shutter speed, typically 1/1000th of a second or faster, to freeze motion and maintain sharpness. Select a mid-range aperture (f/8 to f/11) to guarantee both your subject and background are in focus.
For ISO, aim for the lowest possible setting that still allows for proper exposure, usually between 100 and 400. This will help minimize noise in your images. Enable continuous autofocus (AF-C) to track your moving subject effectively. Set your camera to burst mode to capture multiple frames in quick succession, increasing your chances of getting the perfect shot.
Consider these additional tips to enhance your spiral ascent photographs:
- Use a circular polarizing filter to reduce glare and enhance colors
- Experiment with different white balance settings to capture the mood you want
- Enable your camera's electronic level to maintain straight horizon lines
Remember to adjust your settings based on lighting conditions and the specific effect you're aiming for.
Practice and experimentation will help you find the perfect combination for your spiral ascent shots.
Mastering Ascent Speed Control

To create smooth spiral ascent shots, you'll need to master your drone's speed control.
Start with gradual acceleration techniques, slowly increasing your ascent rate as you begin the spiral pattern.
As you gain altitude, adjust your speed to maintain a consistent visual flow, typically slowing down slightly at higher elevations to compensate for the wider arc of your spiral.
Gradual Acceleration Techniques
Mastering gradual acceleration is key to achieving smooth and controlled spiral ascent shots. As you begin your ascent, start with a gentle increase in throttle, allowing your drone to gain altitude slowly. This gradual approach helps maintain stability and gives you better control over the spiral pattern.
To perfect your gradual acceleration technique:
- Begin with a hover and slowly increase altitude
- Initiate a gentle circular motion while gradually increasing speed
- Continuously adjust throttle and yaw to maintain a consistent spiral
As you progress, focus on maintaining a steady rate of ascent while simultaneously widening the spiral. This requires precise coordination between throttle, yaw, and pitch controls.
Practice adjusting your ascent speed in small increments, paying close attention to how your drone responds to each input.
Altitude-Based Speed Adjustments
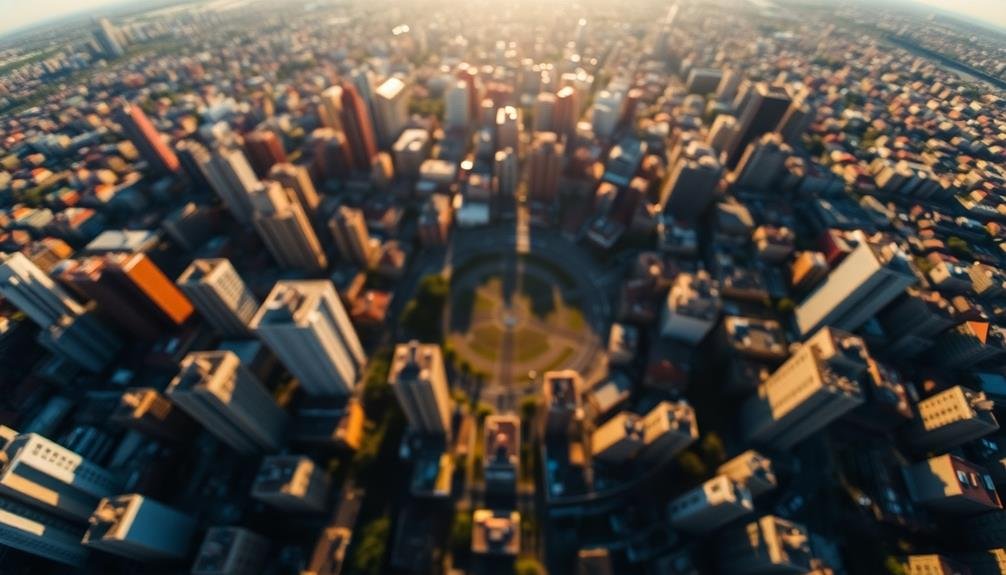
As you ascend in your spiral pattern, adjusting your drone's speed based on altitude becomes a key factor in creating stunning footage. At lower altitudes, you'll want to maintain a slower speed to capture detailed shots of your subject. This allows viewers to take in the intricacies of the scene before the perspective shifts.
As you climb higher, gradually increase your drone's speed. This acceleration creates a dynamic feel, enhancing the sense of upward movement. By the time you reach the peak of your ascent, you should be at your fastest speed, emphasizing the expansive view.
Pay attention to your surroundings and adjust accordingly. If you're shooting in an urban environment, you might need to accelerate more quickly to avoid obstacles. In open landscapes, a more gradual speed increase can create a serene, floating effect.
Use your drone's telemetry data to fine-tune your speed adjustments. Many modern drones display real-time altitude information, allowing you to make precise speed changes at predetermined heights.
Practice these altitude-based speed adjustments to achieve smooth, professional-looking spiral ascent shots that captivate your audience.
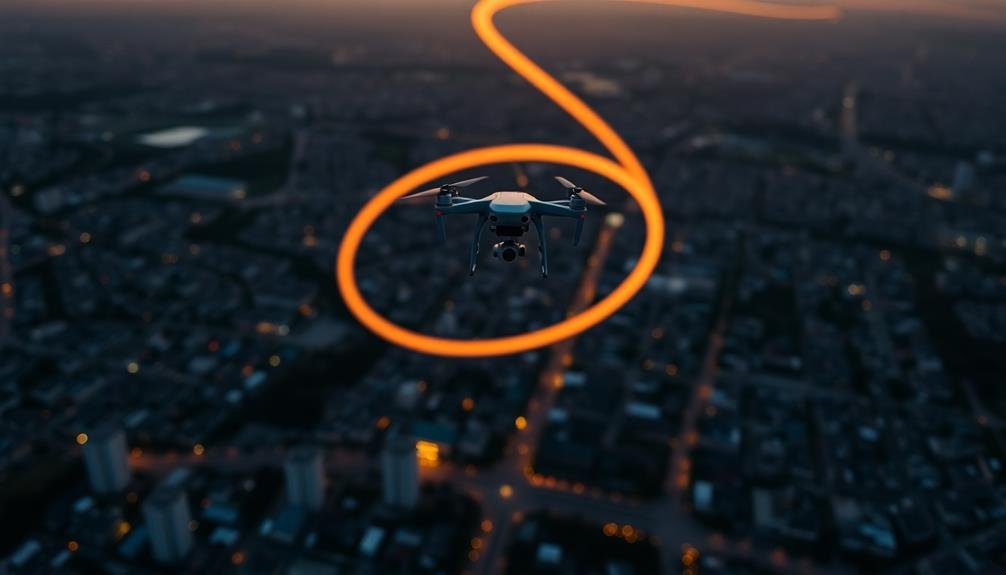
Perfecting Circular Flight Patterns

Circular flight patterns form the backbone of successful spiral ascent shots. To perfect your technique, focus on maintaining a consistent radius throughout your ascent.
Start by choosing a central point or object as your anchor, then fly in a smooth, circular path around it. As you climb, keep your drone's camera fixed on this central point to create a mesmerizing spiraling effect.
To achieve a flawless circular pattern:
- Use your drone's GPS mode or intelligent flight features for stable orbiting
- Practice flying at different speeds to find the ideal pace for your shot
- Experiment with various radii to discover the most visually appealing spiral
Remember to adjust your circular flight pattern based on wind conditions. In stronger winds, you may need to compensate by flying a slightly elliptical path to maintain the appearance of a perfect circle in your footage.
Pay attention to your drone's positioning relative to the sun, as this can affect the lighting and shadows in your shot. By mastering circular flight patterns, you'll elevate your spiral ascent shots to new heights, creating enchanting aerial footage that stands out from the crowd.
Framing Your Subject

Composition is key when framing your subject for spiral ascent shots. As you ascend, keep your subject centered in the frame, allowing the spiraling motion to create dynamic lines around it. Use the rule of thirds to position your subject off-center for a more visually appealing composition.
Pay attention to the background as you rise. You'll want to capture interesting elements that complement your subject without overshadowing it. Look for patterns, textures, or contrasting colors that enhance the overall image.
As you gain altitude, consider how the changing perspective affects your subject's appearance and adjust your framing accordingly. Experiment with different focal lengths to achieve various effects. Wide-angle lenses can emphasize the spiral motion and capture more of the surrounding environment, while telephoto lenses can compress the scene and create a more intimate feel.
Don't forget to leave enough headroom above your subject to accommodate the upward motion. Remember to anticipate the movement of your subject and the drone. Slight adjustments in framing can make a significant difference in the final shot's impact.
Practice smooth, controlled ascents to maintain consistent framing throughout your spiral shot.
Post-Processing Spiral Footage
Once you've captured your spiral ascent footage, it's time to enhance and refine your shots in post-processing.
Start by stabilizing your footage to smooth out any unwanted camera shake. Most video editing software offers built-in stabilization tools that can greatly improve the overall quality of your spiral shots.
Next, focus on color grading to create a cohesive look throughout your footage. Adjust the exposure, contrast, and saturation to enhance the visual appeal of your spiral ascent.
Don't be afraid to experiment with different color profiles to achieve the desired mood and atmosphere.
Consider adding subtle motion effects to emphasize the spiral movement:
- Implement a gentle zoom effect to accentuate the ascending motion
- Apply a slight rotation to enhance the circular path
- Use keyframes to gradually adjust the speed of your footage
Safety Considerations

Safety should be your top priority when capturing spiral ascent shots. Always check local regulations and obtain necessary permits before flying your drone. Familiarize yourself with no-fly zones and restricted airspace in your area.
Don't attempt spiral shots in crowded places or near airports. Before takeoff, inspect your drone thoroughly. Verify batteries are fully charged and propellers are secure. Check weather conditions and avoid flying in strong winds, rain, or low visibility.
Set a maximum altitude and maintain visual line of sight with your drone at all times. Practice spiral maneuvers at lower altitudes before attempting higher shots. Start with gentle ascents and gradually increase speed and height as you gain confidence.
Use obstacle avoidance systems if available, and be prepared to abort the shot if you encounter unexpected obstacles or aircraft. Monitor your drone's battery levels closely during the flight. Plan to land with at least 20% battery remaining.
If you're using automated flight modes, be ready to take manual control if needed. Finally, always respect privacy and don't fly over people without their consent.
Frequently Asked Questions
How Do Weather Conditions Affect Spiral Ascent Shots?
Weather conditions greatly impact your spiral ascent shots. Wind can alter your ball's trajectory, while humidity affects spin. Rain and fog reduce visibility. Temperature changes air density, influencing flight distance. You'll need to adjust your technique accordingly.
Can Spiral Ascent Techniques Be Applied to Indoor Drone Photography?
You can apply spiral ascent techniques to indoor drone photography, but you'll need to adjust for limited space. Focus on tighter spirals, slower movements, and be extra cautious of obstacles. It's challenging but can produce unique perspectives.
What Are the Legal Restrictions for Capturing Spiral Ascent Shots?
You'll need to follow local drone laws, including altitude limits, no-fly zones, and privacy regulations. Don't fly over people or property without permission. Always check current FAA rules and obtain necessary certifications before attempting spiral ascent shots.
How Do Different Drone Models Compare for Spiral Ascent Photography?
You'll find that higher-end drones offer better stability and camera quality for spiral ascent shots. Models with obstacle avoidance and intelligent flight modes excel. Consider battery life, range, and wind resistance when comparing drones for this technique.
Are There Specific Locations That Work Best for Spiral Ascent Shots?
You'll find spiral ascent shots work best in open areas with striking vertical elements. Try urban locations with tall buildings, natural settings with towering trees or cliffs, or landmarks with impressive height. Avoid cluttered or restricted airspaces.
In Summary
You've now got the tools to create stunning spiral ascent shots with your drone. Remember, practice makes perfect. Don't be discouraged if your first attempts aren't flawless. Keep refining your technique, experimenting with different subjects and locations. Always prioritize safety and follow local regulations. With patience and persistence, you'll soon be capturing breathtaking aerial spirals that'll make your footage stand out. So get out there, take flight, and let your creativity soar!
As educators and advocates for responsible drone use, we’re committed to sharing our knowledge and expertise with aspiring aerial photographers.


Leave a Reply