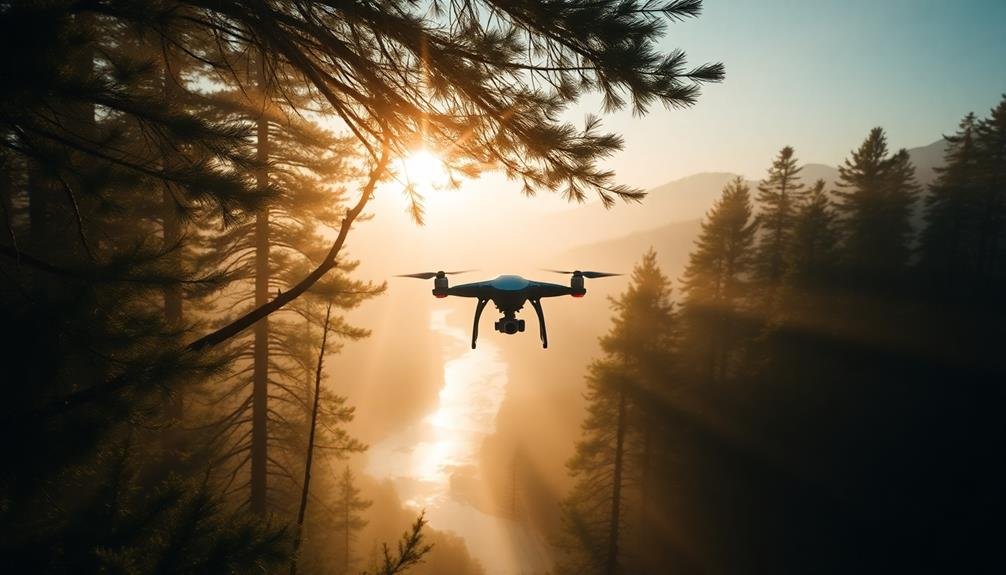
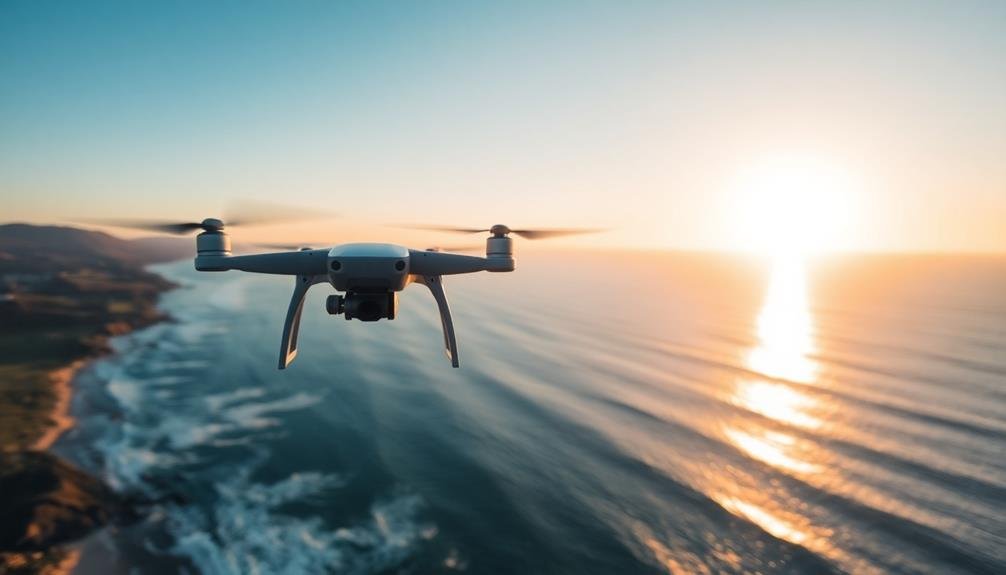
To elevate your drone footage, master these pro tracking shot techniques: The Reveal builds anticipation, while Orbit Shots create dynamic circular movements. Try the Dolly Zoom Effect for a vertigo-inducing perspective, and use Low Altitude Follow for smooth tracking. Vertical Ascent dramatically reveals landscapes, and Point of Interest Circling adds depth. Backwards Tracking and Sideways Glide offer unique angles, while Top-Down Perspective Shifts create dramatic changes. Don't forget Camera Angle Optimization for varied visual narratives. By combining these techniques with careful planning and execution, you'll transform your aerial cinematography from amateur to extraordinary. Discover how to perfect each technique for truly cinematic results.
Key Takeaways
- Master the Low Altitude Follow technique to keep subjects centered while maintaining consistent speed and distance.
- Utilize the Orbit Shot for dynamic circular movement around subjects, maintaining fixed distance and altitude.
- Employ Backwards Tracking by flying away from the subject while gradually increasing altitude for cinematic effect.
- Practice the Sideways Glide technique for unique perspectives, maintaining consistent distance and smooth yaw control.
- Implement the Point of Interest Circling method, adjusting camera tilt to reveal different aspects of the subject.
The Reveal
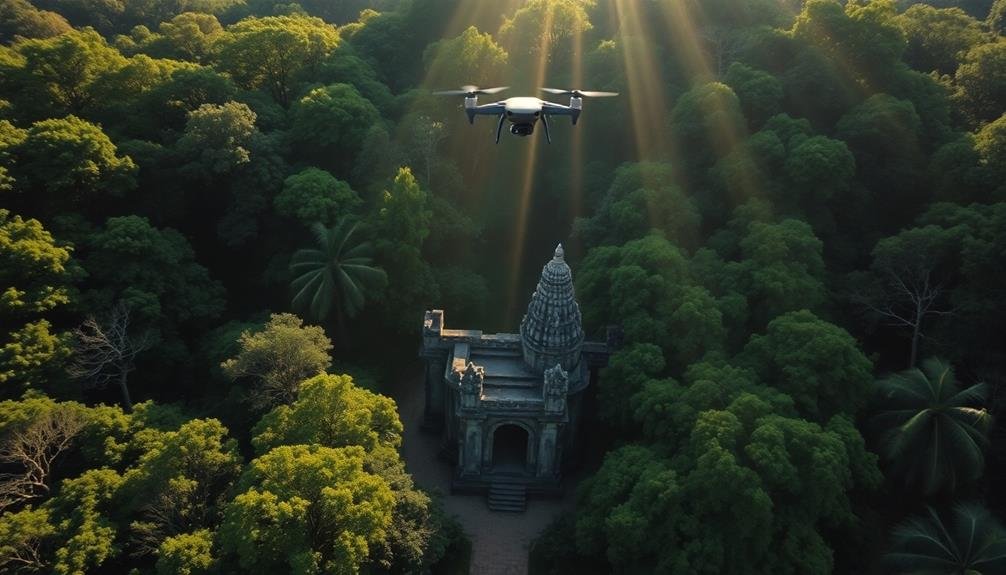
The reveal is a powerful drone shot that builds anticipation and surprises viewers. To execute this technique, you'll start with your drone camera focused on an object or scene that partially obscures the main subject. As you slowly move the drone, you'll gradually disclose the hidden element, creating a sense of drama and discovery.
To nail the reveal, plan your shot carefully. Scout locations in advance to find the perfect obstructing element and final reveal subject. Consider using natural features like trees, buildings, or terrain to hide your main subject. Practice your flight path to guarantee smooth, controlled movement.
Timing is essential for the reveal. Start slow, building tension as you approach the disclosing moment. As you expose the subject, you can speed up slightly for added impact. Experiment with different angles and heights to find the most dramatic perspective.
For added effect, combine the reveal with other drone movements like an orbit or a rise. This creates a multi-dimensional disclosure that can be even more visually striking.
Remember to keep your movements steady and deliberate throughout the shot to maintain a professional, cinematic feel.
Orbit Shot
With an orbit shot, you'll create a dynamic, circular movement around your subject, offering viewers a stunning 360-degree perspective. This technique requires precise control and planning to execute smoothly. Start by positioning your drone at a fixed distance from the subject, then slowly rotate around it while maintaining a constant altitude and radius.
To master the orbit shot, focus on these key aspects:
| Aspect | Beginner Tip | Advanced Tip |
|---|---|---|
| Speed | Slow and steady | Vary speed for dramatic effect |
| Distance | Fixed throughout | Gradually change distance |
| Altitude | Maintain constant | Combine with vertical movement |
Practice different orbit variations to add visual interest. Try clockwise and counterclockwise rotations, or experiment with changing altitudes during the shot. For added complexity, incorporate a reveal by starting the orbit behind an object and slowly exposing your subject.
Remember to reflect on your subject's best angles and the surrounding environment. Use natural or architectural elements to frame your shot as you orbit. With practice, you'll create engaging orbit shots that add depth and dimension to your cinematic drone footage.
Dolly Zoom Effect
You can create a mesmerizing vertigo-inducing aerial perspective with the drone dolly zoom effect.
To achieve this, you'll need to fly your drone towards or away from your subject while simultaneously adjusting the zoom.
Optimizing your camera settings is essential; start with a wide aperture and fast shutter speed, then fine-tune based on lighting conditions and desired effect.
Vertigo-Inducing Aerial Perspective
One of the most striking drone techniques you can employ is the vertigo-inducing aerial perspective, also known as the dolly zoom effect. This shot creates a disorienting sensation by simultaneously moving the drone forward while zooming out, or vice versa.
It's a powerful tool for conveying a character's emotional state or emphasizing the scale of a location.
To execute this technique effectively, you'll need to master smooth drone control and precise camera movements. Start by positioning your drone at a distance from your subject, then slowly fly towards it while adjusting the zoom to maintain the subject's size in the frame.
The background will appear to stretch or compress, creating the vertigo effect.
Here are some key tips for nailing this shot:
- Use a drone with a high-quality zoom lens
- Practice smooth, controlled movements
- Choose a subject with a distinct foreground and background
- Experiment with different speeds and zoom ratios
Camera Settings Optimization
To achieve the dolly zoom effect, optimizing your camera settings is crucial. Start by setting your drone's camera to manual mode, giving you full control over exposure and focus.
Choose a focal length between 24mm and 35mm for a balanced perspective. Set your aperture to f/8 or f/11 to maintain a deep depth of field throughout the shot.
Adjust your shutter speed to twice your frame rate (e.g., 1/50 for 24fps) to create natural motion blur. Keep your ISO as low as possible to minimize noise, typically around 100-400 depending on lighting conditions.
Enable your camera's focus peaking feature to guarantee sharp focus on your subject throughout the zoom.
For smooth footage, activate your drone's gimbal smoothing setting and set it to a medium value. Use your drone's intelligent flight modes, such as Point of Interest or Spotlight, to maintain focus on your subject while executing the dolly zoom.
Remember to shoot in a flat color profile to give yourself more flexibility in post-production.
Low Altitude Follow
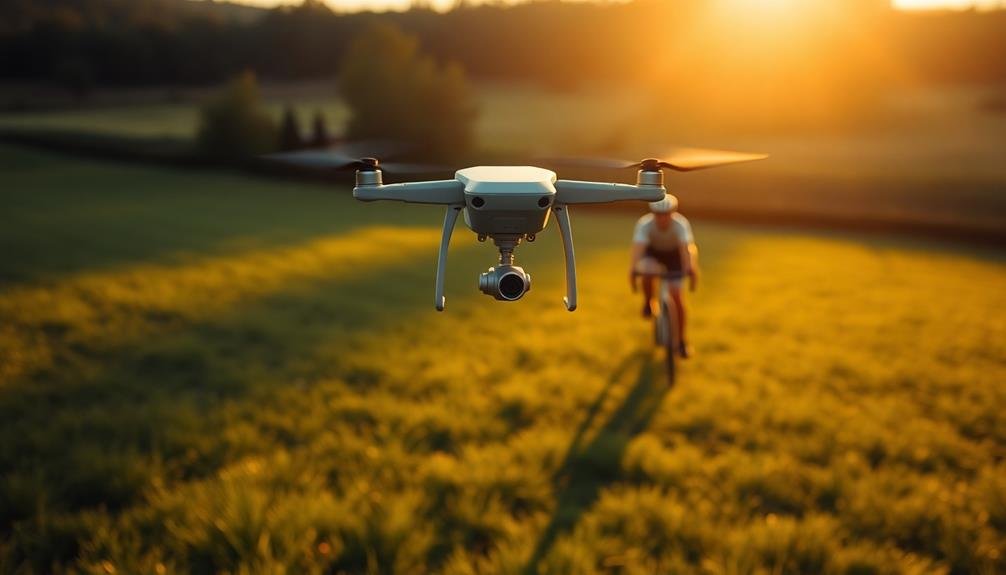
When executing a low altitude follow shot, you'll need to master smooth tracking basics to keep your subject centered.
You should maintain a consistent speed and distance while anticipating your subject's movements.
To avoid obstacles, scout your path beforehand and be prepared to adjust your altitude or trajectory quickly if unexpected barriers arise.
Smooth Tracking Basics
Mastering smooth tracking shots at low altitudes is a fundamental skill for drone pilots. To achieve cinematic footage, you'll need to combine precise control, consistent speed, and awareness of your surroundings. Start by practicing in open areas with minimal obstacles, gradually increasing the complexity of your flight path.
When executing a low altitude follow shot, maintain a consistent height of 3-10 feet above the ground. Use your drone's obstacle avoidance sensors if available, but don't rely on them entirely. Keep your movements slow and deliberate, adjusting your speed to match the subject you're tracking.
To improve your smooth tracking skills:
- Practice flying at a constant speed using GPS mode
- Experiment with different camera angles and movements
- Use natural elements as leading lines in your composition
- Anticipate changes in terrain and adjust your altitude accordingly
Pay attention to your drone's gimbal settings, ensuring smooth shifts between movements. Adjust your camera's shutter speed and frame rate to minimize motion blur and create a cinematic look.
As you gain confidence, try incorporating gentle yaw movements to add dynamic elements to your shots while maintaining a stable flight path.
Obstacle Avoidance Strategies
Maneuvering obstacles during low-altitude follow shots presents unique challenges for drone pilots. To navigate these hurdles effectively, you'll need to master several key strategies.
First, always maintain a safe distance from your subject. This buffer zone allows you to react quickly to unexpected obstacles. Keep your eyes on both the drone's path and the subject, constantly scanning for potential hazards.
Use your drone's obstacle avoidance sensors if available, but don't rely on them entirely. These systems may not detect all obstacles, especially thin branches or wires. When possible, pre-fly your route to identify potential problem areas.
Practice smooth, gradual movements when adjusting your drone's position. Sudden jerks can disrupt your shot and increase the risk of collision. If you encounter an obstacle, slowly ascend or laterally move the drone to avoid it.
Consider using a spotter to help identify obstacles outside your field of view. This extra set of eyes can be invaluable in complex environments.
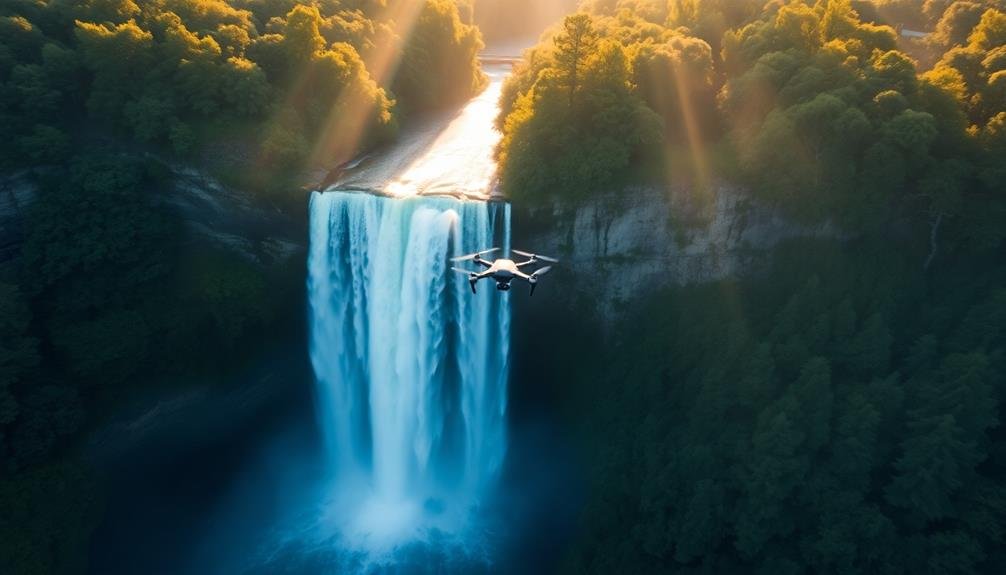
Vertical Ascent
Ascending vertically with a drone creates dramatic reveals and builds anticipation in your shots. To master this technique, you'll need to practice smooth, controlled movements and maintain a consistent speed.
Start with your drone low to the ground, framing your subject or landscape. As you begin the ascent, keep your camera locked on the focal point, gradually revealing more of the surrounding area.
Pay attention to your altitude limits and local regulations. It's essential to plan your shot in advance, considering factors like wind speed and direction at different heights. Use your drone's telemetry data to monitor your ascent rate and maintain a steady climb.
Here are some tips to enhance your vertical ascent shots:
- Use a slower ascent speed for a more cinematic feel
- Experiment with different angles during the climb
- Incorporate foreground elements for added depth
- Try combining vertical movement with a slight horizontal drift
Remember to adjust your camera settings as you climb, accounting for changing light conditions.
With practice, you'll be able to capture breathtaking vertical reveals that add a professional touch to your drone cinematography.
Parallax Movement
Parallax movement can add a dynamic sense of depth to your drone shots.
As you fly your drone laterally, you'll notice foreground elements moving faster than background elements, creating a compelling 3D effect.
This technique allows you to emphasize the spatial relationship between your subject and its surroundings, enhancing the overall visual impact of your footage.
Creating Depth Perception
In order to add depth to your drone footage, mastering parallax movement is essential. This technique creates a sense of depth by having objects in the foreground move faster than those in the background. To achieve this effect, you'll need to fly your drone laterally while maintaining focus on a distant subject.
Start by identifying foreground elements that can frame your main subject. As you move the drone, these elements will shift more quickly, creating a dynamic sense of movement. Experiment with different speeds and distances to find the right balance for your shot.
To enhance your parallax shots:
- Use a wider lens to capture more of the scene
- Maintain a steady altitude throughout the movement
- Incorporate natural obstacles like trees or buildings
- Time your shots during golden hour for added depth
Subject-Background Relationship
A strong subject-background relationship is essential for creating compelling parallax movement in your drone shots. To achieve this effect, you'll need to carefully consider the positioning of your subject in relation to the background elements.
Start by identifying a foreground subject that contrasts with the background, such as a person standing in a vast landscape or a building amid a cityscape.
As you move your drone, maintain a consistent distance from your subject while changing your angle. This technique creates the illusion of the background moving at a different speed than the subject, enhancing the sense of depth and dimension in your footage.
Experiment with different flight paths, such as lateral movements, arcing shots, or push-in/pull-out maneuvers to find the most dynamic parallax effect.
Pay attention to the speed of your drone movement. Slower, more controlled flights often yield the most impressive parallax results.
Additionally, consider the vertical positioning of your drone in relation to the subject and background. Flying at different altitudes can dramatically change the perspective and intensity of the parallax effect, allowing you to create unique and visually striking compositions.
Point of Interest Circling
Point of Interest Circling offers a dynamic way to showcase a subject from multiple angles. This technique involves flying your drone in a circular path around a central subject, creating a fascinating 360-degree view.
To execute this shot effectively, you'll need to maintain a consistent altitude and distance from your subject while smoothly rotating the drone's camera to keep the point of interest centered in the frame.
Start by setting your drone to a slow, steady speed and practice maintaining a circular flight path. As you circle, gradually adjust your camera's tilt to reveal different aspects of your subject. You can vary the shot by changing altitude or distance from the subject during the circle, adding depth and interest to your footage.
Key considerations for Point of Interest Circling:
- Guarantee sufficient clearance around your subject to avoid obstacles
- Use your drone's intelligent flight modes if available for smoother orbits
- Experiment with different circle sizes and speeds for varied effects
- Combine with other techniques like reveal shots or altitude changes for added drama
Master this technique to add a professional touch to your drone cinematography, creating immersive and visually striking sequences that engage your audience.
Backwards Tracking
With Backwards Tracking, you'll create dynamic and engaging footage by flying your drone away from a subject while keeping it in frame. This technique adds depth and reveals the surrounding environment, making it perfect for establishing shots or dramatic reveals.
To execute a Backwards Tracking shot, position your drone close to your subject, then slowly fly backwards while adjusting your camera to maintain focus. As you move away, gradually increase your altitude for a more cinematic effect. Keep your movements smooth and steady to avoid jerky footage.
Pay attention to your surroundings and plan your flight path in advance to guarantee safety and capture the best composition. Use obstacles in the environment to add interest to your shot, flying around or between them as you move backwards.
For best results, fly at a consistent speed and use a gimbal to stabilize your camera. Practice this technique in open areas before attempting it in more challenging locations.
Remember to adjust your camera settings for the changing light conditions as you move away from your subject. With practice, you'll master Backwards Tracking and add a professional touch to your drone footage.
Sideways Glide
While Backwards Tracking adds depth to your shots, the Sideways Glide technique offers a unique perspective that can create stunning cinematic sequences. This move involves flying your drone laterally, parallel to your subject, maintaining a consistent distance and speed. It's perfect for revealing landscapes, following moving subjects, or creating a sense of journey.
To execute a flawless Sideways Glide, you'll need to master smooth yaw control and maintain a steady altitude. Start by positioning your drone perpendicular to your subject's path. As you begin the lateral movement, keep your camera locked on the subject, adjusting the yaw as needed. This technique works best when you have a clear, unobstructed flight path.
Here are some key tips to enhance your Sideways Glide shots:
- Use a slower speed for more stable footage
- Experiment with different altitudes for varied perspectives
- Try combining with a gentle ascent or descent for added dynamism
- Practice maintaining a constant distance from your subject
Top-Down Perspective Shift

Aerial cinematography takes on a whole new dimension with the Top-Down Perspective Shift technique. You'll start with your drone high above the subject, capturing a bird's-eye view. Then, slowly descend while maintaining focus on your target. This creates a dramatic reveal as you change from a distant, abstract perspective to a more intimate, detailed view.
To execute this shot effectively, you'll need to master smooth altitude control. Start by setting your drone to the highest safe altitude for your location. As you begin your descent, keep your movements slow and steady. Use your drone's gimbal to adjust the camera angle, gradually shifting from a top-down view to a more horizontal perspective.
Here's a quick guide to perfecting your Top-Down Perspective Shift:
| Altitude | Camera Angle | Speed |
|---|---|---|
| High | 90° down | Slowest |
| Medium | 45° down | Moderate |
| Low | 0-30° down | Faster |
Remember to plan your shot carefully, considering obstacles and wind conditions. With practice, you'll create stunning reveals that add depth and drama to your aerial footage.
Frequently Asked Questions
How Do Weather Conditions Affect Drone Tracking Shots?
Weather conditions greatly impact your drone tracking shots. Wind can destabilize your drone, while rain or snow can damage equipment. Sunlight affects exposure, and fog limits visibility. You'll need to adjust your flight plan and camera settings accordingly.
What Are the Legal Restrictions for Using Drones in Filmmaking?
You'll need to follow strict regulations when using drones for filmmaking. You're required to register your drone, obtain proper licenses, and adhere to airspace restrictions. Don't fly near airports, crowds, or at night without special permission.
How to Handle Obstacles and Unexpected Interferences During Tracking Shots?
To handle obstacles during tracking shots, you'll need to stay alert and flexible. Be prepared to quickly adjust your flight path, altitude, or speed. Always have a backup plan and practice collision avoidance techniques beforehand.
What Are the Best Drone Models for Cinematic Tracking Shots?
For cinematic tracking shots, you'll want to contemplate drones like the DJI Inspire 2, Mavic 3 Pro, or Autel EVO II Pro. They offer excellent stability, high-quality cameras, and advanced flight modes that'll help you capture smooth, professional-looking footage.
How to Maintain Consistent Lighting When Performing Complex Tracking Movements?
To maintain consistent lighting during complex tracking movements, you'll want to lock your camera's exposure settings. Use ND filters, adjust shutter speed, and plan your flight path to avoid sudden light changes. Practice smooth movements for best results.
In Summary
You've now got a powerful toolkit of cinematic drone shots at your fingertips. Remember, practice makes perfect. Don't be afraid to experiment and combine these techniques to create your unique style. As you master these moves, you'll elevate your footage from amateur to professional. Keep safety in mind, respect local regulations, and always prioritize your subject. With these skills, you're ready to capture breathtaking aerial cinematography that'll wow your audience.
As educators and advocates for responsible drone use, we’re committed to sharing our knowledge and expertise with aspiring aerial photographers.


Leave a Reply