
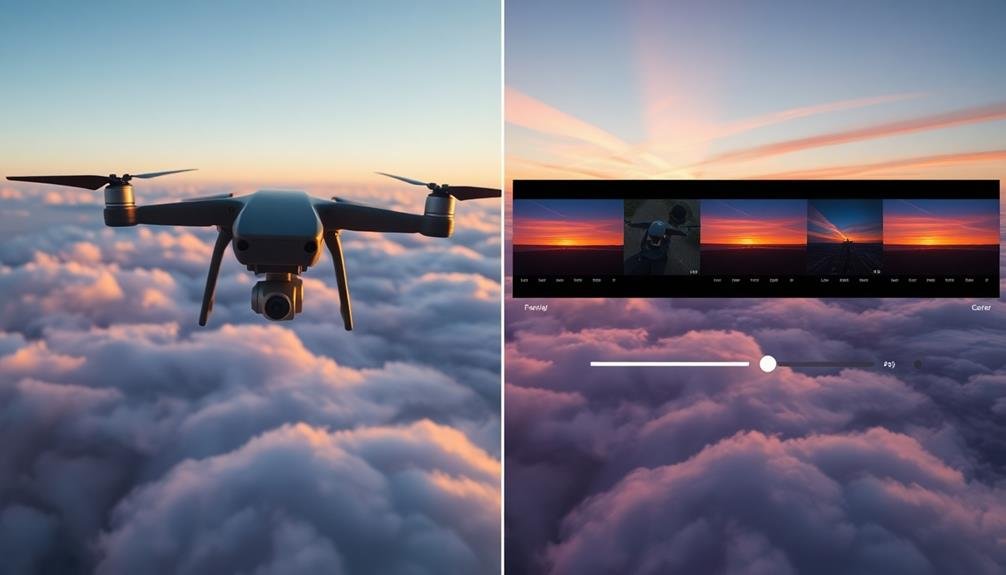
Color grading is essential for elevating your drone footage from ordinary to extraordinary. You'll need to master key concepts like white balance, contrast, saturation, and hue to create specific moods and styles. Start by adjusting white balance to guarantee true colors, then enhance cloud detail and contrast for dramatic skies. Correct aerial haze and fog to reveal hidden details, and preserve natural landscape colors for authenticity. Don't forget to stylize sunset and sunrise shots for that magical touch. With the right tools and techniques, you can transform your aerial footage into enchanting visuals that will mesmerize your audience. The sky's the limit when it comes to perfecting your drone color grade.
Key Takeaways
- Adjust white balance and color temperature to enhance sky colors and correct blue casts in aerial footage.
- Use LUTs designed for aerial footage to quickly transform and optimize sky and landscape colors.
- Enhance cloud detail and contrast by adjusting highlights, shadows, and selective color adjustments.
- Balance ground and sky exposure using gradient masks or luminance keys in post-production.
- Create custom LUTs for drones that focus on vibrant hues and dynamic ranges specific to aerial perspectives.
Understanding Color Grading Basics
Color grading basics form the foundation of professional video editing. When you're working with sky-high footage, understanding these fundamentals is essential to achieving stunning results.
Color grading involves adjusting and enhancing the colors in your video to create a specific mood or style. It's different from color correction, which aims to fix color issues and achieve a neutral starting point.
To begin, you'll need to familiarize yourself with key concepts like white balance, contrast, saturation, and hue. White balance guarantees your whites appear truly white, while contrast affects the difference between light and dark areas. Saturation controls the intensity of colors, and hue allows you to shift colors along the spectrum.
You'll also want to learn about color wheels, scopes, and LUTs (Look-Up Tables). Color wheels help you adjust shadows, midtones, and highlights separately. Scopes, such as waveforms and vectorscopes, provide visual representations of your video's color and luminance. LUTs are pre-made color grading presets that can serve as starting points or reference guides.
Understanding these basics will give you the tools to enhance your sky-high footage effectively, creating visually stunning and professionally graded videos.
Essential Tools for Drone Footage
When color grading your drone footage, you'll need the right tools to achieve professional results.
Start by exploring color correction software options like DaVinci Resolve, Adobe Premiere Pro, or Final Cut Pro X, which offer powerful features for enhancing aerial shots.
To streamline your workflow and achieve specific looks quickly, consider using LUTs (Look-Up Tables) designed specifically for aerial footage, which can provide a great starting point for your color grading process.
Color Correction Software Options
For drone footage enthusiasts, selecting the right color correction software is essential to elevate your aerial shots. Several options are available, each with unique features suited to different skill levels and project requirements.
DaVinci Resolve stands out as a professional-grade, free option. It offers powerful color grading tools and a node-based workflow, allowing for complex adjustments.
Adobe Premiere Pro, part of the Creative Cloud suite, provides seamless integration with other Adobe products and user-friendly color correction features.
Final Cut Pro X, exclusive to Mac users, offers a streamlined interface and robust color grading capabilities.
For beginners, Filmora is an affordable choice with intuitive controls and preset color looks. LUTs (Look-Up Tables) can be applied in most of these software options, providing quick, preset color grades.
Consider your budget, skill level, and specific needs when choosing color correction software. Look for features like curves adjustments, color wheels, and scopes to fine-tune your footage.
Many programs offer free trials, so you can test them before committing. Remember, mastering color correction takes practice, so invest time in learning your chosen software to achieve the best results for your drone footage.
LUTS for Aerial Footage
LUTs (Look-Up Tables) are game-changers for drone videographers looking to streamline their color grading process.
These pre-made color presets can instantly transform your aerial footage, giving it a professional and cinematic look with just a few clicks.
When selecting LUTs for your drone footage, consider the specific conditions you're shooting in.
Many LUT packs are designed explicitly for aerial shots, accounting for the unique lighting and color challenges faced when filming from above.
Look for LUTs that enhance blue skies, bring out cloud details, and balance the often-stark contrast between land and sky.
You'll find LUTs tailored for different times of day, weather conditions, and landscapes.
Sunrise and sunset LUTs can accentuate warm golden tones, while midday LUTs help manage harsh sunlight.
Some packs offer options for urban, rural, or coastal environments, each optimized to bring out the best in these diverse settings.
Adjusting White Balance for Skies
When color grading skies in your footage, understanding temperature and tint is essential.
You'll often need to correct blue casts, especially in overcast conditions, by adjusting the white balance towards warmer tones.
For golden hour scenes, you can enhance the natural warmth by slightly increasing the temperature and adding a touch of magenta tint.
Temperature and Tint Basics
Adjusting white balance in video color grading is essential for creating natural-looking skies and overall color accuracy. Temperature and tint are the two primary components you'll manipulate to achieve proper white balance.
Temperature refers to the warmth or coolness of your image, measured in Kelvin. Lower temperatures produce cooler, bluer tones, while higher temperatures result in warmer, orange hues.
Tint, on the other hand, affects the green-magenta balance. When adjusting tint, you're fine-tuning the image to remove any unwanted color casts. For sky footage, you'll often need to correct for the blue cast inherent in daylight scenes.
To adjust temperature and tint effectively, start by identifying a neutral reference point in your image. This could be a white or gray object. Use the eyedropper tool in your color grading software to sample this area. The software will automatically adjust the temperature and tint to neutralize the selected point.
Fine-tune these settings manually to achieve the desired look for your sky. Remember, slight adjustments can make a significant difference. Don't be afraid to experiment with different combinations to find the perfect balance for your footage.
Correcting Blue Cast
Despite the beauty of a clear blue sky, excessive blue cast can make your footage appear unnatural and cold. To correct this, you'll need to adjust your white balance settings. Start by identifying a neutral reference point in your scene, such as a white or gray object. Use this as your baseline to calibrate the overall color temperature.
In post-production software, utilize the white balance eyedropper tool to select your neutral reference point. This will automatically adjust the temperature and tint to neutralize the blue cast. If you don't have a neutral reference, you can manually adjust the temperature slider towards warmer tones to counteract the blue.
Pay close attention to skin tones and other key elements in your footage. They should appear natural and not overly warm. Use scopes like vectorscopes and waveforms to confirm your adjustments are accurate and consistent across your entire video.
Remember that skies don't always need to be perfectly neutral. A slight blue tint can maintain a natural look while avoiding an overly processed appearance. Experiment with different levels of correction to find the right balance for your specific footage and creative vision.
Enhancing Golden Hour Skies
During the golden hour, nature paints the sky with warm, enchanting hues. Capturing this magic on video is one thing, but enhancing it in post-production can elevate your footage to new heights.
To bring out the best in your golden hour skies, you'll need to focus on adjusting the white balance.
Start by setting your white balance to a warmer temperature, around 5000K to 6000K. This will emphasize the golden tones and create a more inviting atmosphere. Don't overdo it, though; you want to enhance the natural beauty, not create an artificial look.
Next, fine-tune the tint. Slightly push it towards magenta to counteract any green cast and add depth to the sky's colors. Use your scopes to guarantee you're not clipping any channels.
Boost the saturation of the orange and yellow hues, but be subtle. You're aiming for a rich, golden glow, not an oversaturated mess.
Enhancing Cloud Detail and Contrast
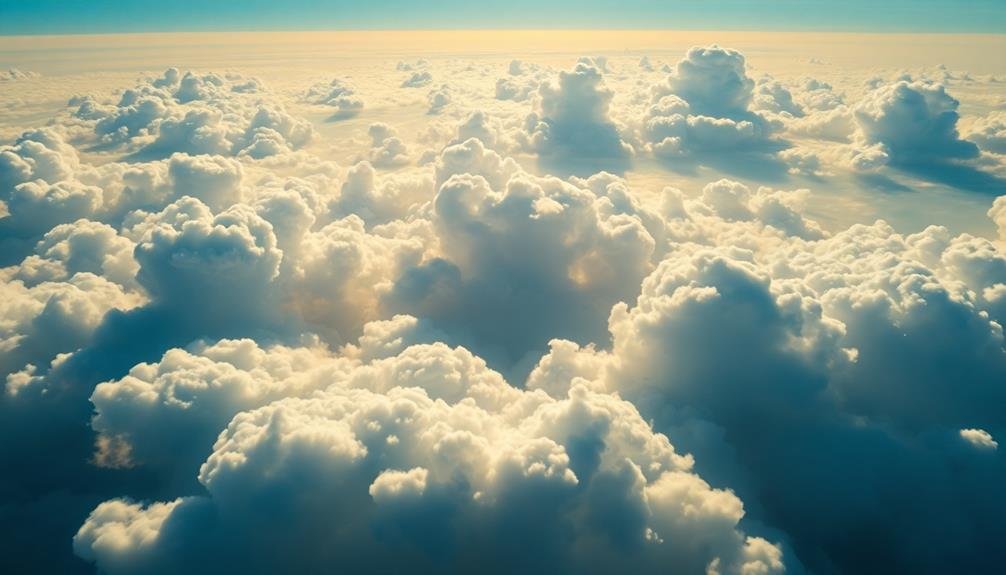
When working with aerial or landscape footage, clouds often play an essential role in setting the mood and atmosphere. To enhance cloud detail and contrast, start by adjusting the highlights and shadows in your video. Increase the highlights to bring out the brighter parts of the clouds, while slightly lowering the shadows to create depth.
Next, focus on the midtones. Use curves or levels to add subtle contrast to the cloud formations. This will help define their shapes and textures. Don't overdo it, though; you want the clouds to look natural, not artificial.
Consider using selective color adjustments to fine-tune the cloud's hues. Slightly desaturating blues and enhancing whites can create a more dramatic sky. For storm clouds, try boosting the blues and grays to emphasize their ominous nature.
Experiment with sharpening tools to bring out fine details in the clouds. Use a light touch and mask out areas where you don't want the effect applied.
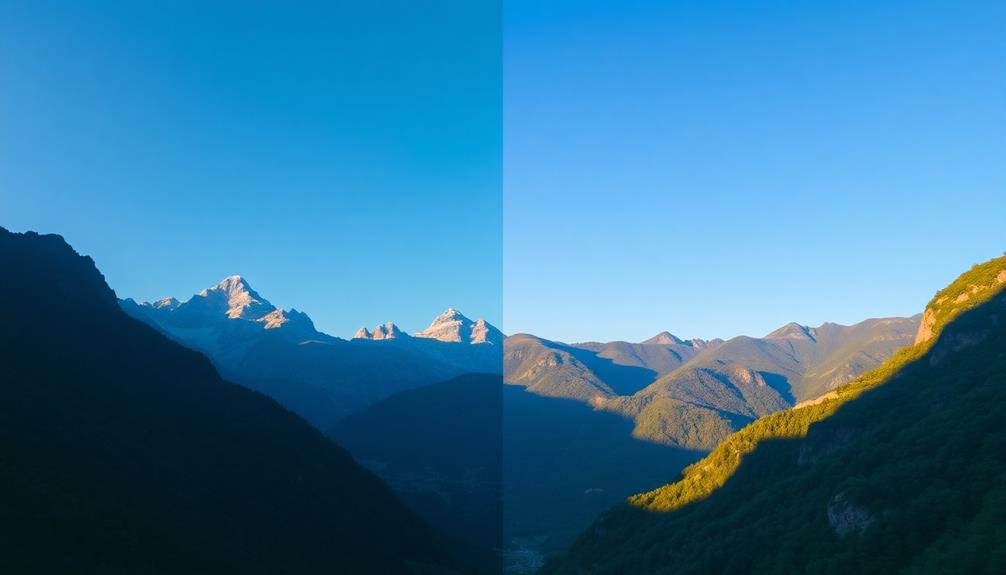
Correcting Aerial Haze and Fog
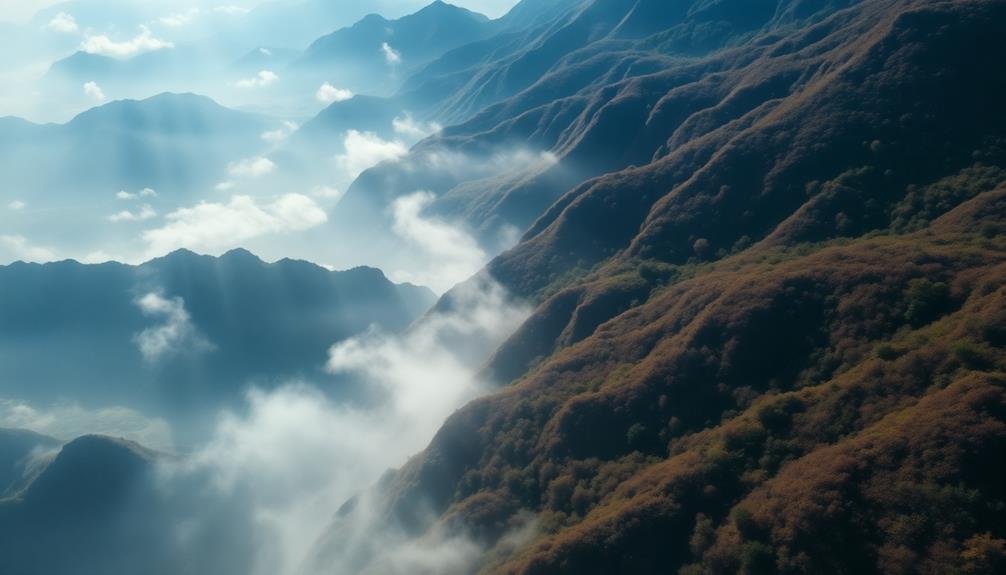
Aerial footage often runs into the challenge of haze and fog, which can obscure details and flatten the overall image. To correct this, you'll need to employ specific color grading techniques.
Start by adjusting the contrast to bring out hidden details. Then, use the dehaze tool in your editing software to reduce the atmospheric haze. Be careful not to overdo it, as too much dehaze can create an unnatural look.
Next, focus on color balance. Haze often adds a blue tint to your footage, so warm up the image slightly to counteract this effect. You can also selectively adjust the saturation of different color channels to bring back vibrancy lost to the haze.
Finally, consider adding a subtle vignette to draw attention to the center of the frame and create depth.
- Witness the landscape emerge from the mist
- Feel the crisp clarity of a fog-free vista
- Experience the breathtaking beauty of unobstructed aerial views
- Immerse yourself in the true colors of nature from above
Balancing Ground and Sky Exposure
Balancing ground and sky exposure presents a common challenge in aerial videography. The stark contrast between bright skies and darker landscapes often results in overexposed skies or underexposed ground elements. To tackle this issue, you'll need to employ a combination of in-camera techniques and post-production adjustments.
Start by using graduated neutral density filters during filming to reduce the sky's brightness without affecting the ground. In post-production, utilize tools like gradient masks or luminance keys to selectively adjust exposure levels. You can brighten the ground while darkening the sky to achieve a more balanced look.
Consider shooting in a log or flat profile to preserve more dynamic range, giving you greater flexibility in post. When editing, use curves adjustments to fine-tune highlights and shadows independently.
Don't hesitate to blend multiple exposures if necessary, creating a composite that captures both sky and ground details effectively.
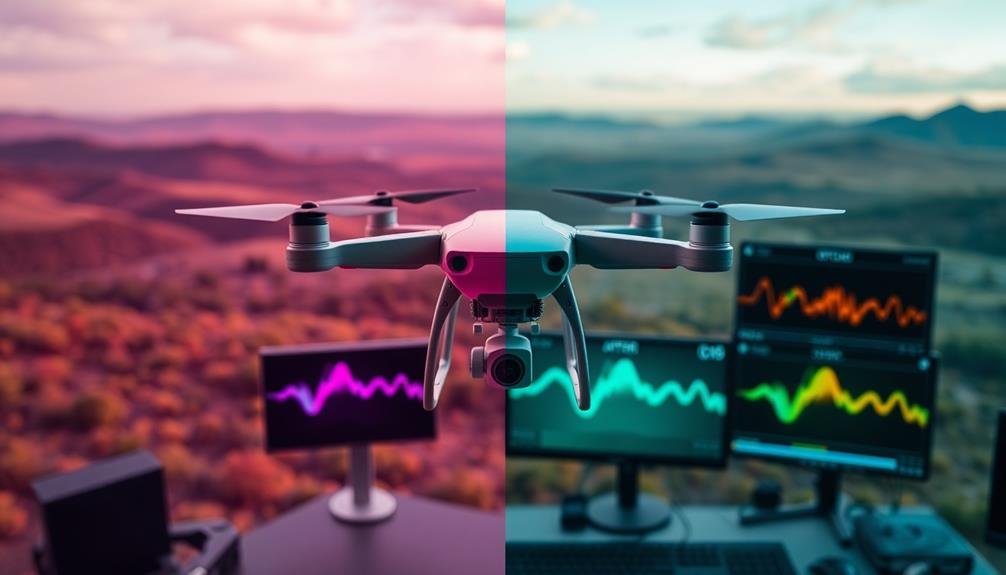
Creating Cinematic LUTs for Drones
When creating cinematic LUTs for drone footage, you'll want to start by choosing ideal color profiles that complement aerial perspectives.
Craft custom LUT presets that enhance the unique qualities of sky and landscape shots, focusing on vibrant hues and dynamic ranges.
As you apply these LUTs, pay close attention to balancing tones across your aerial footage, ensuring consistent and visually striking results throughout your video project.
Choosing Ideal Color Profiles
Selecting the right color profile is essential when creating cinematic LUTs for drone footage. Your choice will greatly impact the final look of your aerial shots, so it's vital to understand the options available.
Most modern drones offer various color profiles, including standard, flat, and log formats. Each profile has its strengths and weaknesses, depending on your intended visual style and post-processing workflow.
When choosing a color profile, consider the lighting conditions, the scene's dynamic range, and your editing capabilities. Flat and log profiles capture more information but require more work in post-production. Standard profiles offer a more finished look straight out of the camera but limit your editing flexibility.
Experiment with different profiles to find the one that best suits your project's needs and your skill level.
- Awe-inspiring: Capture the breathtaking beauty of landscapes from above
- Dramatic: Enhance the mood and atmosphere of your aerial shots
- Immersive: Transport viewers into the heart of the scene
- Unforgettable: Create lasting impressions with stunning visuals
Crafting Custom LUT Presets
Crafting custom LUT presets for drone footage allows you to create a unique cinematic look that sets your work apart. To begin, analyze your favorite drone shots and identify the color characteristics you want to enhance. Consider the landscape, lighting conditions, and overall mood you're aiming for.
Start by adjusting the basic color properties like exposure, contrast, and saturation. Then, fine-tune the highlights, midtones, and shadows to achieve the desired balance. Pay special attention to the sky, as it's often a prominent feature in aerial footage. You might want to enhance blue tones or add warmth to sunset scenes.
Experiment with color curves to create specific looks, such as a teal-orange contrast popular in many films. Don't forget to adjust the white balance to maintain consistency across different shots.
Once you've perfected your adjustments, save them as a custom LUT. Test your LUT on various footage to verify it works well in different lighting conditions. Make minor tweaks as needed, and consider creating multiple LUTs for different scenarios or moods.
With practice, you'll develop a signature style that elevates your drone footage to cinematic heights.
Balancing Tones for Aerials
Balancing tones for aerial footage requires a nuanced approach to create cinematic LUTs for drones.
You'll need to take into account the unique challenges of sky-high shots, including atmospheric haze, varying light conditions, and the dominance of blues and greens. Start by adjusting your white balance to neutralize any color casts, then fine-tune your highlights and shadows to enhance contrast without losing detail in the sky or landscape.
When crafting your LUT, focus on enhancing the natural beauty of aerial scenes while maintaining a cohesive look. Boost saturation in moderation, emphasizing key colors like azure skies or lush greenery.
Pay attention to the shift between sky and land, guaranteeing a smooth gradient that doesn't appear artificial.
To evoke emotion in your audience, think about these elements:
- Soft, golden hues for a warm, nostalgic feel
- Deep, rich blues to convey a sense of vastness
- Muted, pastel tones for a dreamy, ethereal atmosphere
- Dramatic contrast to heighten tension and excitement
Remember to test your LUT across various lighting conditions and landscapes to confirm versatility.
With practice, you'll develop a signature look that elevates your aerial footage to cinematic heights.
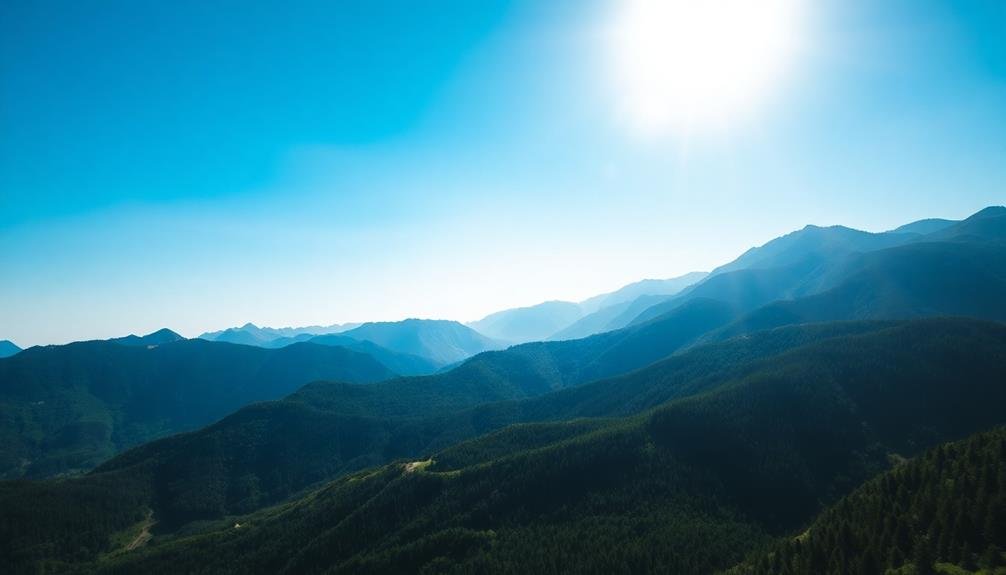
Color Grading for Different Altitudes
When it comes to color grading footage shot at different altitudes, you'll need to take into account the unique atmospheric conditions that affect light and color. At higher altitudes, the air is thinner and clearer, resulting in more vibrant and saturated colors.
You'll often notice a blue shift in your footage due to increased UV light. To compensate, consider warming up your color temperature and reducing blue saturation slightly.
As you descend, atmospheric haze becomes more prominent. This can create a washed-out look, particularly in distant objects.
Combat this by increasing contrast and clarity while subtly enhancing saturation. Pay close attention to your mid-tones, as they're most affected by haze.
For low-altitude shots, you'll encounter more varied lighting conditions. Urban environments may introduce color casts from artificial lighting, while natural settings can have lush greens and earthy tones.
Adjust your white balance accordingly and use selective color adjustments to maintain a consistent look across your footage.
Remember to create altitude-specific LUTs (Look-Up Tables) for quick adjustments. This will help you maintain consistency when grading footage from various heights in your project.
Matching Footage From Multiple Flights
Matching footage from multiple flights presents unique challenges in color grading. When you're working with aerial footage from different days or times, you'll often encounter variations in lighting, weather conditions, and camera settings. These inconsistencies can disrupt the visual flow of your final video, making it essential to harmonize the footage.
To achieve consistency, start by analyzing your clips and identifying the dominant color palette. Use this as a reference point for adjusting other shots. Pay close attention to white balance, exposure, and saturation levels across all footage. You'll need to make subtle adjustments to bring disparate clips into alignment.
Consider using color grading presets or LUTs (Look-Up Tables) as a starting point, but don't rely on them entirely. Fine-tune each clip individually to account for its unique characteristics. Remember, the goal is to create a cohesive look without sacrificing the natural beauty of your aerial footage.
- Soar through seamless shifts that captivate your audience
- Reveal the hidden beauty in every frame, no matter when it was captured
- Transform disjointed clips into a breathtaking aerial masterpiece
- Elevate your storytelling with visually stunning, perfectly matched footage
Preserving Natural Landscape Colors
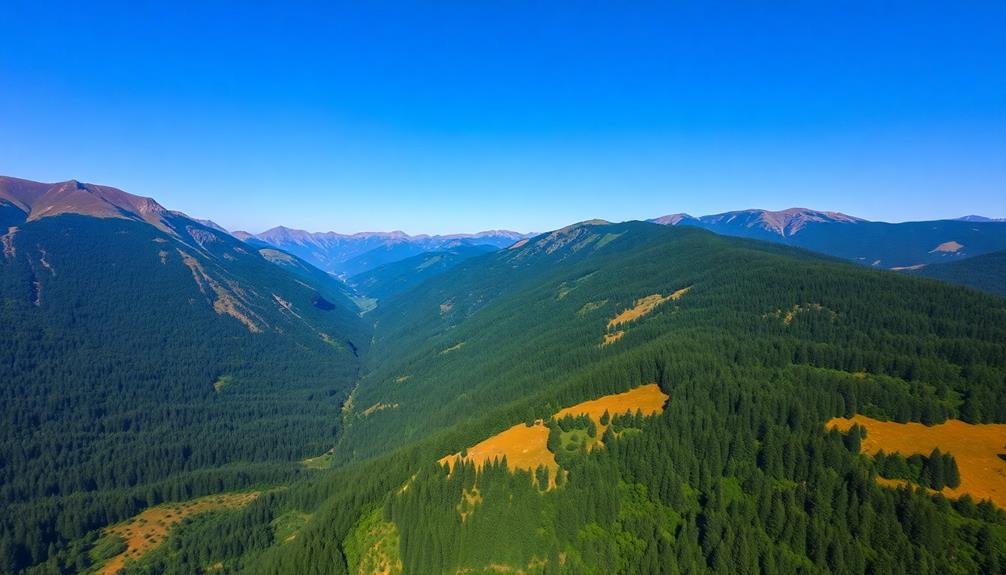
Preserving natural landscape colors in aerial footage requires a delicate touch and an eye for authenticity. When color grading your sky-high shots, you'll want to maintain the true essence of the terrain while enhancing its visual appeal.
Start by adjusting the white balance to guarantee accurate color representation. Pay close attention to the greens of forests, the blues of water bodies, and the earthy tones of soil and rock formations.
Use selective color adjustments to fine-tune specific hues without affecting the entire image. For instance, you can boost the vibrancy of autumn foliage without oversaturating the sky. Be cautious with contrast and saturation levels; subtle adjustments often yield the most natural results.
Utilize color scopes and reference images to maintain color accuracy throughout your footage. Consider the time of day and lighting conditions during your shoot. Golden hour footage may require different grading techniques compared to midday shots.
Remember to preserve the natural shadows and highlights that give depth to landscapes. Finally, apply any necessary noise reduction or sharpening to enhance details without introducing artifacts.
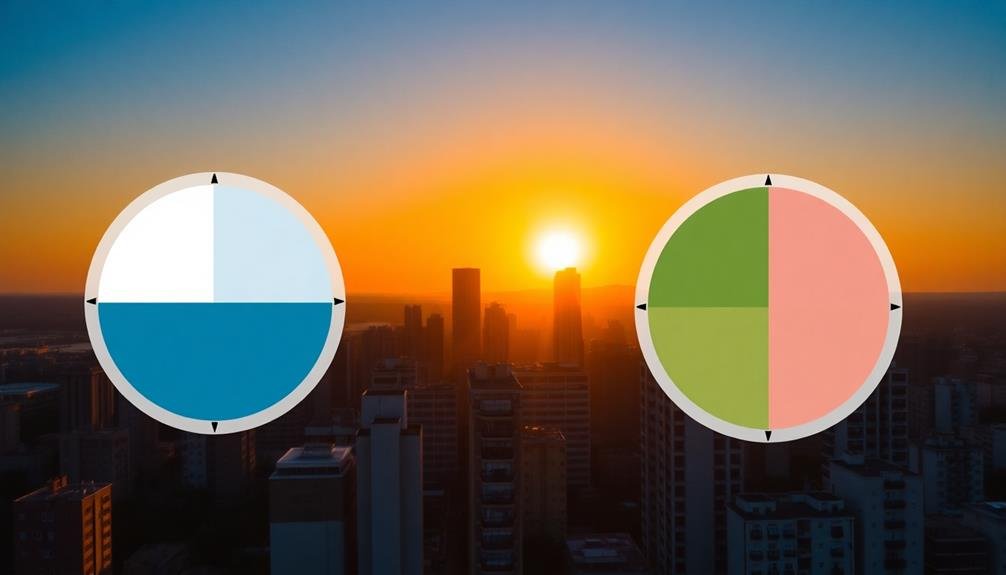
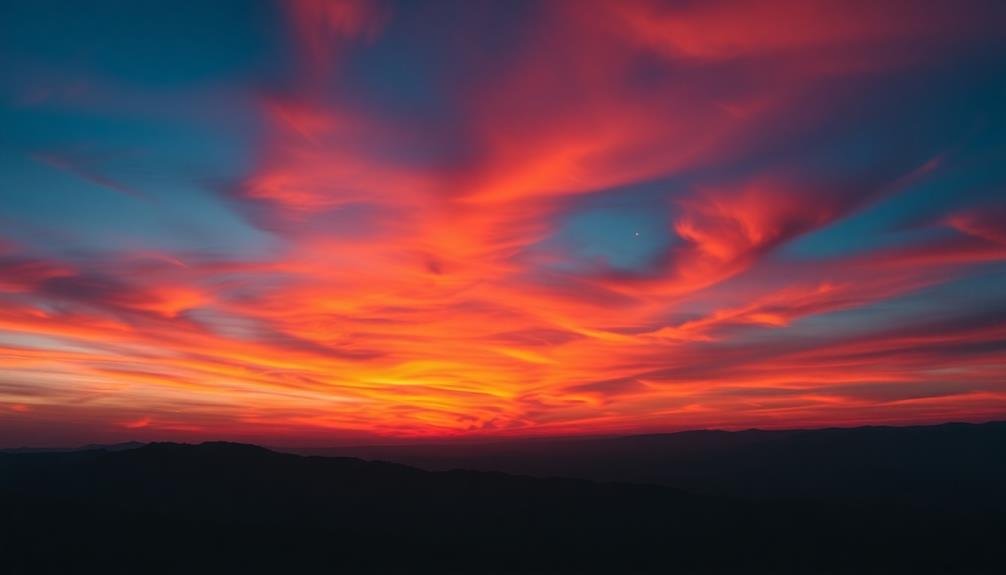
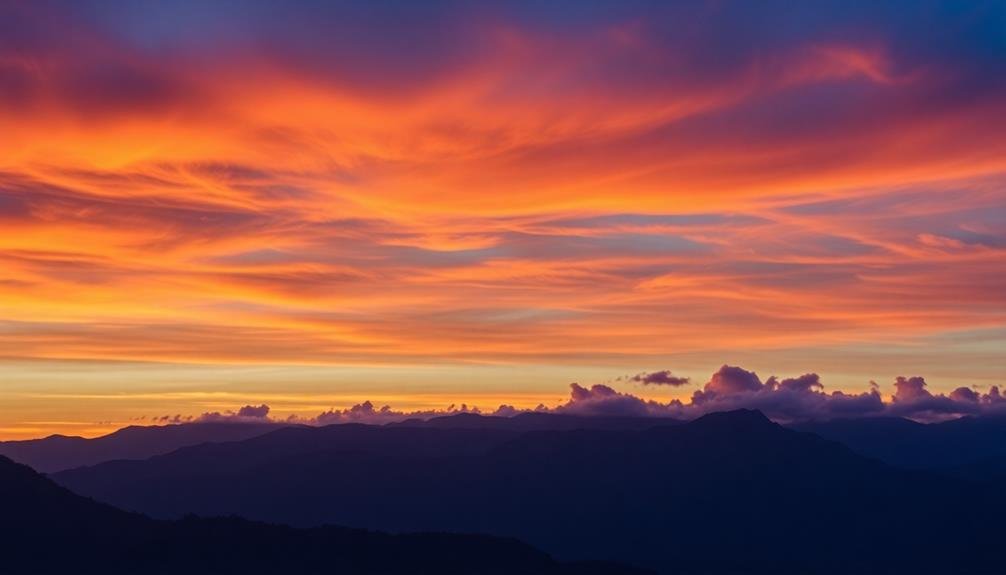
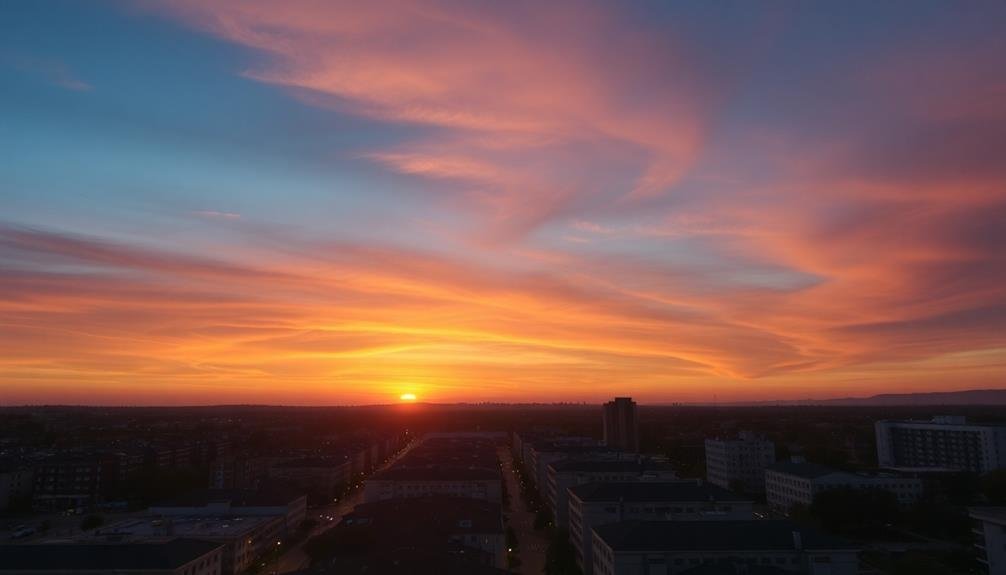
Stylizing Sunset and Sunrise Shots
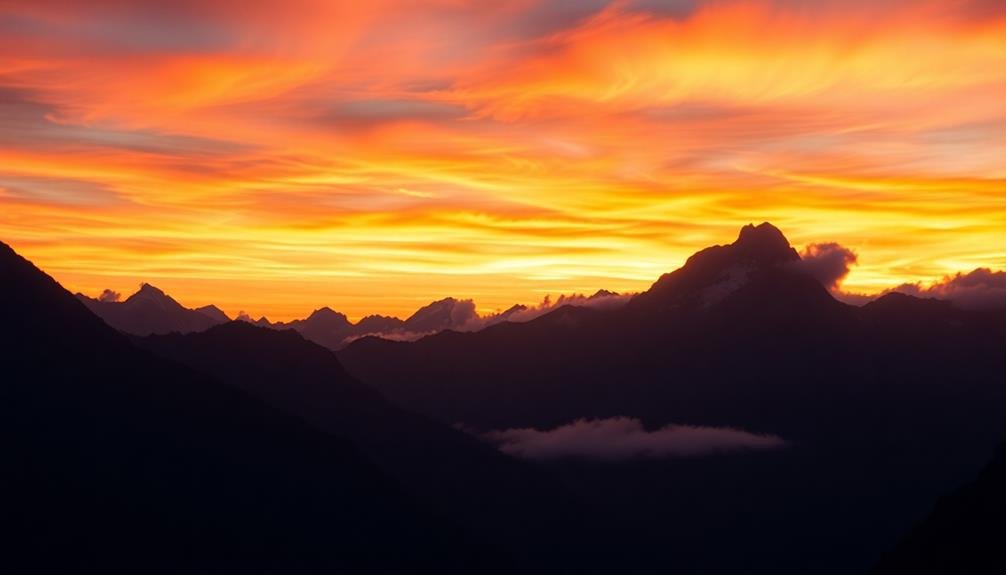
Sunset and sunrise shots offer a unique opportunity to create stunning, dramatic visuals through color grading. When stylizing these scenes, focus on enhancing the natural beauty of the sky while maintaining a balance that doesn't appear overly artificial.
Start by adjusting the white balance to emphasize the warm tones of the sun. Boost the oranges and reds in the highlights, but be cautious not to oversaturate. Soften the shadows to create a dreamy atmosphere, and consider adding a subtle vignette to draw attention to the sky.
Experiment with contrast to make the colors pop, but preserve detail in both highlights and shadows. You can create a cinematic look by slightly desaturating the overall image and then selectively boosting the warm tones.
Don't forget to fine-tune the midtones to achieve a natural shift between the bright sky and darker foreground elements.
To evoke emotion in your audience, consider these techniques:
- Use golden hour lighting to create a sense of warmth and nostalgia
- Emphasize silhouettes for a mysterious, contemplative mood
- Incorporate lens flares to add a touch of magic and wonder
- Gradual color shifts to represent the passage of time and change
Color Grading for Aerial Time-lapses
Aerial time-lapses present a unique set of challenges and opportunities for color grading. As you work with footage captured from high altitudes, you'll need to take into account the atmospheric effects on color and contrast.
Start by adjusting the white balance to neutralize any color casts caused by atmospheric haze or changing light conditions throughout the day.
Next, focus on enhancing the dynamic range of your footage. Use curves or levels adjustments to bring out details in both highlights and shadows, paying special attention to cloud formations and landscape features.
You'll often need to reduce highlights in the sky while boosting shadows in the terrain below.
Color grading for aerial time-lapses requires a delicate balance. Aim to create a cohesive look across the entire sequence, even as lighting conditions change dramatically.
Use gradients and masks to selectively adjust different areas of the frame, such as emphasizing the horizon or enhancing the colors of specific landscape elements.
Don't forget to take into account the mood you want to convey. Cooler tones can create a sense of detachment or serenity, while warmer hues might evoke a more dramatic or energetic feel.
Experiment with different color palettes to find the perfect match for your aerial time-lapse narrative.
Finalizing Your Drone Color Grade
The finishing touches on your drone color grade can make or break your final product. As you near the end of your color grading process, it's vital to step back and evaluate your work with fresh eyes. Take a break if needed, then return to your project and assess the overall look and feel.
Pay close attention to the consistency across your footage. Verify that your color grade enhances the narrative without overpowering it. Adjust any shots that stand out as too different from the rest, aiming for a cohesive visual story.
Don't forget to check your work on different screens and in various lighting conditions. What looks perfect on your calibrated monitor might appear off on a mobile device or TV. Make necessary tweaks to guarantee your grade translates well across platforms.
Finally, consider adding subtle finishing touches like vignettes or film grain to enhance the mood. These effects, when used sparingly, can elevate your footage from good to exceptional.
- Captivate viewers with breathtaking aerial vistas
- Transport audiences to otherworldly landscapes
- Evoke a sense of wonder and exploration
- Inspire dreams of flight and adventure
Frequently Asked Questions
How Does Weather Affect Color Grading for Drone Footage?
Weather greatly impacts your drone footage's color grading. You'll face challenges with overcast skies, harsh sunlight, or fog. You'll need to adjust white balance, exposure, and contrast to compensate for these conditions and achieve your desired look.
Can Color Grading Fix Issues Caused by ND Filters?
Color grading can help fix some issues caused by ND filters, but it's not a cure-all. You'll be able to adjust exposure and color balance, but you can't recover lost details or completely eliminate color casts.
What's the Best Export Format for Color-Graded Drone Footage?
For color-graded drone footage, you'll want to export in a high-quality format. Choose ProRes 422 HQ or DNxHR HQ for maximum color information. If file size is a concern, H.264 or H.265 at a high bitrate work well too.
How Do Different Drone Sensors Impact Color Grading Techniques?
Different drone sensors affect your color grading approach. You'll need to adjust techniques based on your drone's dynamic range, color depth, and sensor size. Larger sensors often provide more flexibility, while smaller ones may require subtler adjustments.
Are There Legal Considerations When Color Grading Footage of Restricted Areas?
When color grading footage of restricted areas, you'll need to take into account legal implications. Avoid enhancing or altering details that could violate security protocols. It's essential to respect privacy laws and obtain necessary permissions before publishing such content.
In Summary
You've now got the tools to take your drone footage from ordinary to extraordinary. Remember, color grading is both an art and a science. Don't be afraid to experiment with different techniques and styles. As you practice, you'll develop your own unique aesthetic. Keep pushing your boundaries, and soon you'll be creating breathtaking aerial visuals that captivate your audience. The sky's the limit – so get out there and start grading!
As educators and advocates for responsible drone use, we’re committed to sharing our knowledge and expertise with aspiring aerial photographers.


Leave a Reply