To capture stunning nighttime shots, start by adjusting your camera settings. Use a higher ISO (800-3200), open your aperture (f/1.4-f/4), and slow down your shutter speed. Shoot in RAW format for better post-processing flexibility. Master long exposure techniques with a tripod to create light trails and star trails. Employ manual focus and focus peaking for sharp images. Manage noise by using in-camera reduction features and selective post-processing. Experiment with creative filters and composition techniques to add depth and atmosphere. Don't forget to include static elements and interesting foreground subjects. These pro tips will help you illuminate the dark and elevate your nighttime photography to new heights.
Key Takeaways
- Adjust camera settings: Increase ISO, open aperture, and use slower shutter speeds to capture more light in low-light conditions.
- Utilize long exposure techniques for light trails, star trails, and astrophotography using a tripod and remote shutter release.
- Master manual focus and focus peaking to achieve sharp images in challenging lighting situations.
- Shoot in RAW format and apply post-processing techniques to manage noise, recover details, and enhance colors.
- Incorporate static elements and interesting foreground objects to create dynamic and well-composed nighttime shots.
Selecting the Right Camera Settings
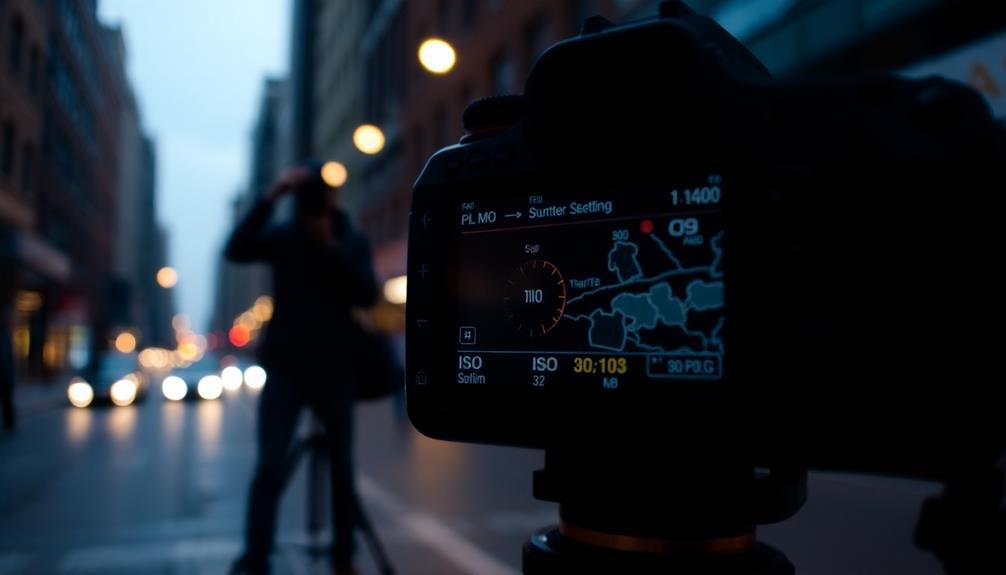
Mastery of camera settings is vital for successful nighttime photography. You'll need to adjust your camera's ISO, aperture, and shutter speed to capture stunning low-light images.
Start by increasing your ISO to make your camera more sensitive to light, but be cautious not to go too high as it can introduce noise. An ISO range of 800-3200 is often suitable for night shots.
Next, open up your aperture as wide as possible to let in more light. A lower f-number (f/1.8 to f/4) will help you achieve this.
For shutter speed, you'll typically want to use slower speeds to allow more light into the sensor. However, this can lead to motion blur, so it's important to use a tripod or stable surface.
Experiment with manual mode to have full control over these settings. Don't forget to shoot in RAW format for greater flexibility in post-processing.
Use your camera's histogram to verify proper exposure, and consider using long exposure techniques for creative effects like light trails or star trails.
Mastering Long Exposure Techniques
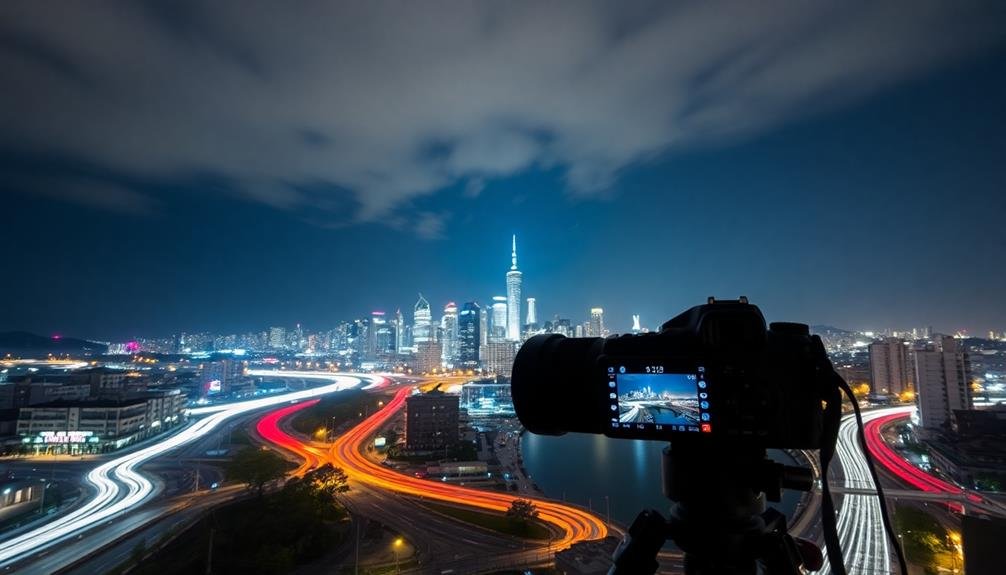
Long exposure techniques open up a world of creative possibilities in nighttime photography.
You can capture stunning light trails from moving vehicles and create mesmerizing motion blur effects in urban scenes.
For more celestial subjects, you'll be able to photograph star trails and engage in astrophotography, revealing the beauty of the night sky in ways invisible to the naked eye.
Light Trails and Motion
In light of the enchanting effects achievable with long exposure techniques, mastering light trails and motion can elevate your nighttime photography to new heights.
To capture stunning light trails, position your camera on a sturdy tripod and use a slow shutter speed, typically between 10 to 30 seconds. Experiment with different apertures and ISO settings to balance exposure and depth of field.
When shooting moving subjects, such as cars or trains, focus on a fixed point where they'll pass through. Use manual focus to guarantee sharpness, and consider using a remote shutter release to minimize camera shake.
For creative effects, try zooming your lens during exposure or intentionally moving your camera to create abstract patterns.
To enhance your light trail photography:
- Scout locations with interesting light sources
- Incorporate static elements for contrast
- Experiment with different shutter speeds
- Use neutral density filters for longer exposures
- Combine multiple exposures in post-processing
Star Trails and Astrophotography
The night sky's enchanting beauty beckons photographers to explore star trails and astrophotography. To capture stunning celestial images, you'll need a sturdy tripod, a wide-angle lens, and a camera with manual settings.
Start by finding a dark location away from light pollution. Set your camera to manual mode and use a high ISO (1600-3200), wide aperture (f/2.8-f/4), and long exposure time (15-30 seconds for single shots, or several hours for star trails).
For star trails, use your camera's bulb mode and a remote shutter release. Expose for 30 minutes to several hours, depending on the desired trail length. Alternatively, take multiple shorter exposures and stack them in post-processing software.
To capture the Milky Way, focus on the brightest star using live view, then recompose your shot. Use the "500 rule" (500 divided by your focal length) to determine the maximum exposure time before stars start to blur.
Experiment with foreground elements to add depth and interest to your compositions.
Don't forget to bring extra batteries and dress warmly, as nighttime shoots can be long and chilly.
Noise Reduction in Low Light
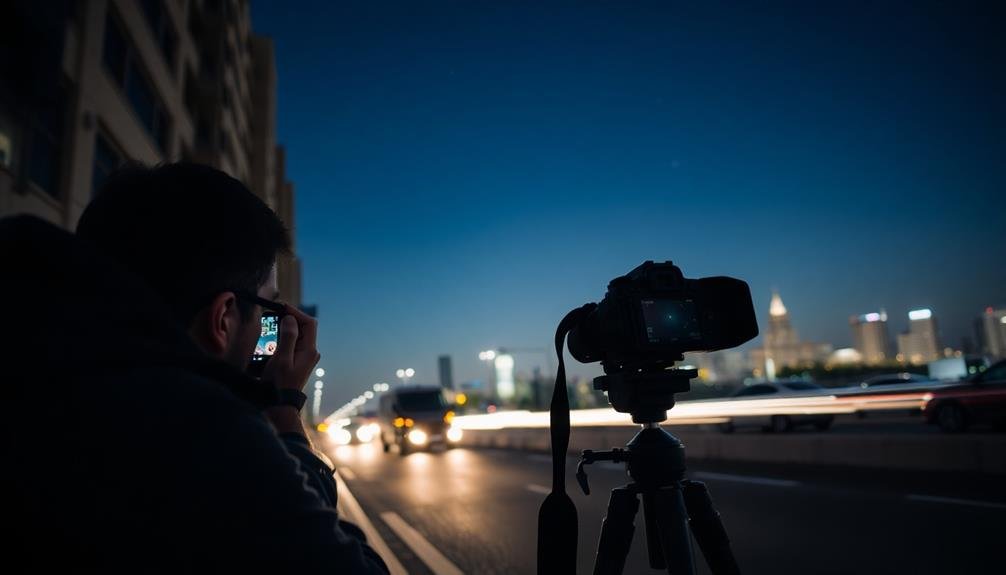
Struggling with grainy photos in low-light conditions? Noise reduction is essential for capturing clear nighttime images. To minimize noise, start by using the lowest ISO setting possible while maintaining a proper exposure. Longer exposures at lower ISOs generally produce cleaner images than shorter exposures at higher ISOs.
Use a sturdy tripod to keep your camera steady during long exposures. This allows you to use slower shutter speeds without introducing camera shake.
Shoot in RAW format to preserve more image data, giving you greater flexibility in post-processing. Many cameras have built-in noise reduction features, but be cautious as they can sometimes soften details.
In post-processing, use noise reduction software or tools in your editing program. Apply noise reduction selectively, focusing on areas with visible noise while preserving important details.
Here are key points to remember:
- Use the lowest ISO possible
- Opt for longer exposures with a tripod
- Shoot in RAW format
- Experiment with in-camera noise reduction
- Apply selective noise reduction in post-processing
Balancing ISO and Shutter Speed
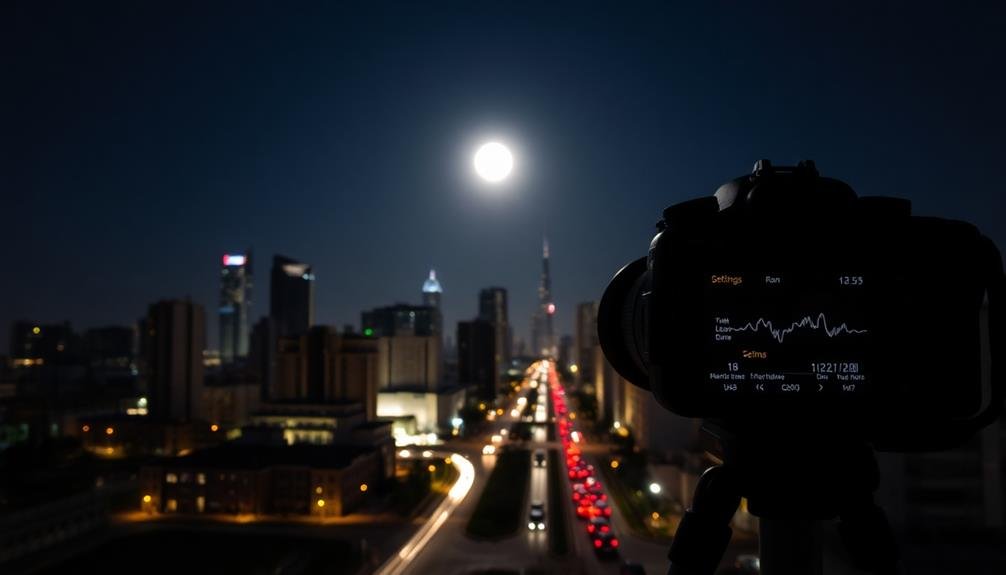
Finding the right balance between ISO and shutter speed is essential for successful nighttime photography. As you increase your ISO to capture more light, you'll need to be mindful of the noise it introduces.
Start with the lowest ISO possible that still allows for a reasonable shutter speed. For handheld shots, aim for a shutter speed of at least 1/focal length to minimize camera shake.
If you're using a tripod, you can afford longer shutter speeds, allowing you to keep your ISO lower. Experiment with different combinations to find the sweet spot for your scene.
For moving subjects, like car trails or star trails, you'll want a longer shutter speed and a lower ISO. For static scenes, you might need to bump up the ISO to avoid excessively long exposures.
Remember that modern cameras handle high ISOs better than older models, so don't be afraid to push your ISO if needed. Use your camera's histogram to verify you're not underexposing your image.
If you're still struggling with noise, consider taking multiple exposures and stacking them in post-processing to reduce noise while maintaining detail.
Utilizing Manual Focus for Sharpness
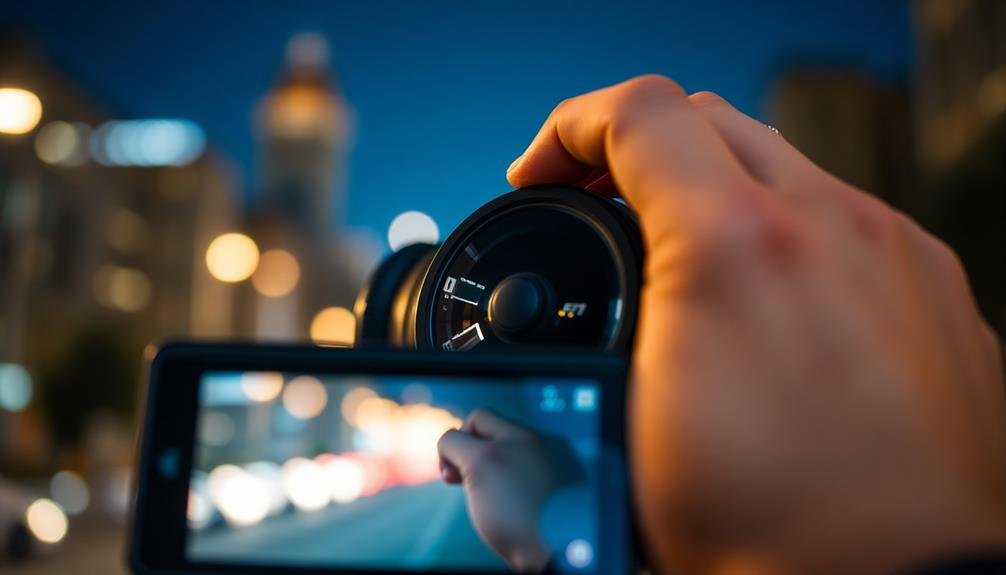
You'll find manual focus essential for sharp nighttime shots, as autofocus often struggles in low light.
To achieve crisp focus, try pre-focusing with a flashlight on your subject before shooting.
If your camera offers focus peaking, enable this feature to highlight in-focus areas, making it easier to fine-tune your manual focus in the dark.
Pre-Focus With Flashlight
Mastering manual focus in low-light conditions can be a game-changer for your nighttime photography. When autofocus struggles in the dark, pre-focusing with a flashlight becomes an invaluable technique.
Here's how to do it: First, set your camera to manual focus mode. Then, shine a bright flashlight on your subject or the area you want in focus. Use the flashlight's beam to illuminate the focal point, making it easier to see and adjust your focus ring.
Once you've achieved sharp focus, turn off the flashlight and lock your focus by taping down the focus ring or switching to back-button focus. This method guarantees your subject remains crisp, even in the darkest scenes.
Remember to use a tripod for stability and consider using a remote shutter release to minimize camera shake.
- Enhances precision in low-light situations
- Overcomes autofocus limitations in the dark
- Allows for creative composition without losing focus
- Reduces frustration and wasted shots
- Improves overall image quality in challenging conditions
Use Focus Peaking
Focus peaking takes manual focus to the next level in nighttime photography. This feature highlights the edges of objects that are in focus, making it easier to achieve sharp images in low-light conditions. If your camera supports focus peaking, you'll find it invaluable for nighttime shots.
To use focus peaking, switch your camera to manual focus mode and enable the feature in your settings. As you adjust the focus ring, you'll see colored outlines appear on your LCD or electronic viewfinder. These outlines indicate which areas are in focus. Experiment with different focus peaking colors to find what works best for your eyes and the scene.
When shooting at night, start by focusing on the brightest element in your composition. Slowly adjust the focus ring until you see the peaking highlights appear on that element. Fine-tune until the highlights are strongest, indicating ideal focus.
For landscape shots, use a smaller aperture to increase depth of field, ensuring both foreground and background elements are sharp. Remember, focus peaking is a tool to assist you, but always review your images at full size to confirm sharpness.
Choosing Appropriate Lens Apertures
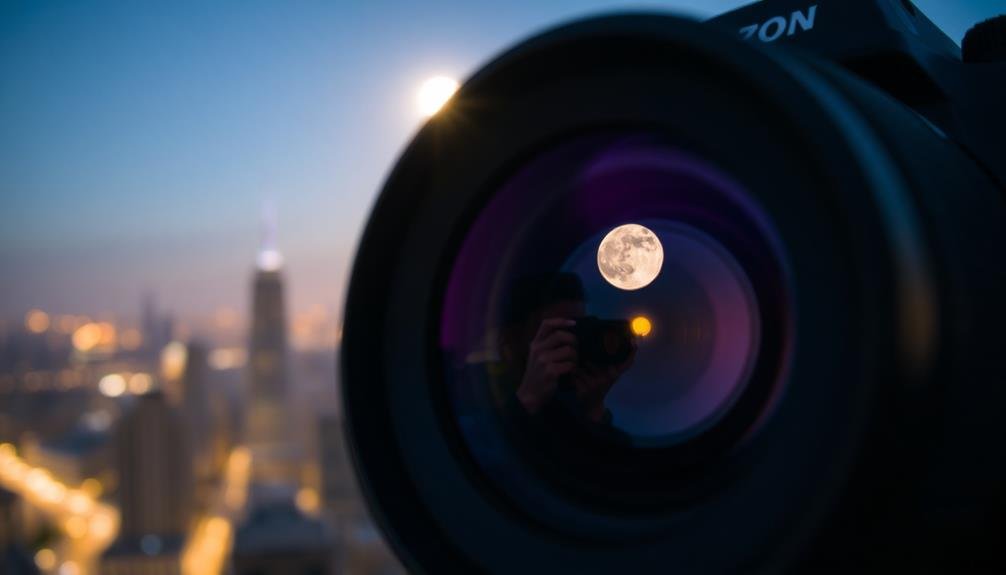
Selecting the right lens aperture is essential for successful nighttime photography. When shooting in low light conditions, you'll often need to use wider apertures to allow more light into your camera.
However, choosing the appropriate aperture isn't just about light gathering; it also affects your depth of field and image sharpness.
For most nighttime scenes, you'll want to use apertures between f/1.4 and f/4. These wider apertures let in more light, allowing you to use faster shutter speeds or lower ISO settings.
Keep in mind that the wider the aperture, the shallower your depth of field will be. This can be great for isolating subjects but may cause issues when shooting landscapes or cityscapes where you want more of the scene in focus.
Consider these factors when choosing your aperture:
- Available light in the scene
- Desired depth of field
- Subject distance and composition
- Lens characteristics and sweet spot
- Presence of point light sources (for starburst effects)
If you're shooting starry skies or light trails, you might opt for slightly narrower apertures like f/5.6 or f/8 to guarantee sharpness across the frame.
Experiment with different apertures to find the right balance between light gathering and depth of field for your specific nighttime photography needs.
Enhancing Colors in Night Scenes
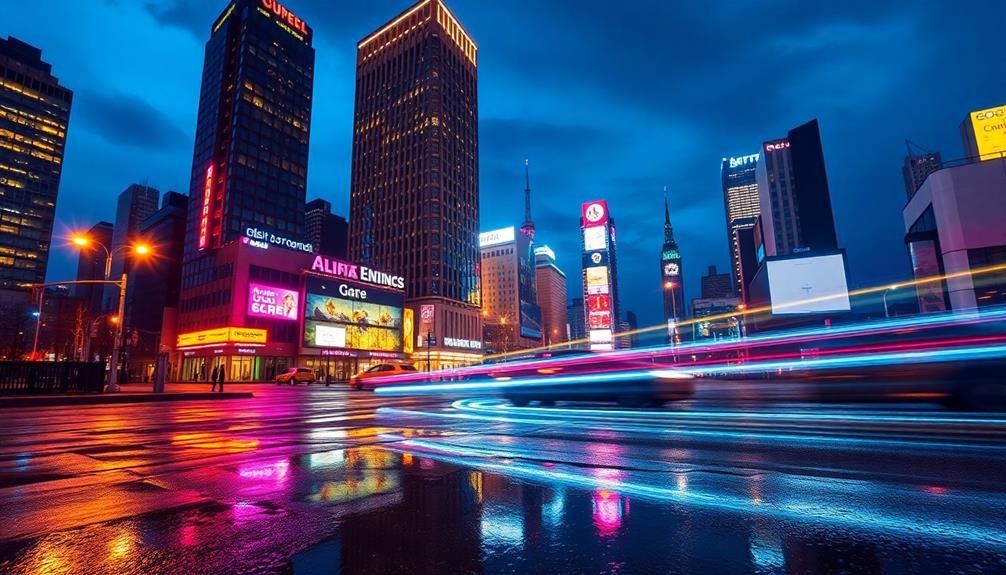
Night scenes burst with hidden color potential that's often overlooked. To enhance these colors, start by shooting in RAW format, which preserves more color information than JPEG.
Experiment with your camera's white balance settings; tungsten or fluorescent modes can bring out unique hues in artificial lighting. Don't shy away from using a longer exposure to capture more light and color, but be mindful of overexposure.
In post-processing, adjust the vibrance and saturation sliders carefully. Vibrance enhances muted colors while preserving skin tones, making it ideal for urban night scenes.
For more dramatic results, use selective color adjustments to target specific hues. Boost the blues in the sky or the warm tones of street lamps.
Consider using color gels on your external flash or LED light to add splashes of color to your night shots. This technique can create striking contrasts or complement existing light sources.
Adjusting White Balance for Accuracy
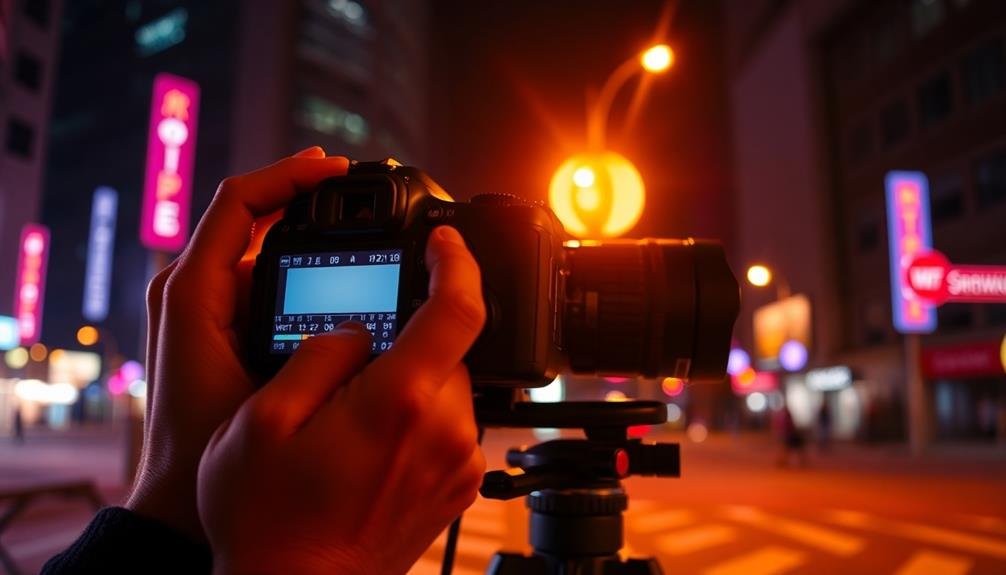
Proper white balance is essential for capturing the true colors of a night scene. When shooting at night, artificial light sources like streetlamps, neon signs, and car headlights can introduce a variety of color casts. To achieve accurate colors, you'll need to adjust your camera's white balance settings.
Start by using your camera's auto white balance feature as a baseline. However, don't rely on it entirely, as it may struggle in mixed lighting conditions. Instead, experiment with different preset white balance options like tungsten, fluorescent, or cloudy. For more precise control, use the Kelvin temperature setting to fine-tune the color temperature.
Consider these tips for better white balance in night photography:
- Use a gray card or white balance target for custom settings
- Shoot in RAW format for greater flexibility in post-processing
- Pay attention to dominant light sources in the scene
- Bracket your white balance settings for multiple options
- Use live view to preview white balance adjustments in real-time
Removing Motion Blur in Post
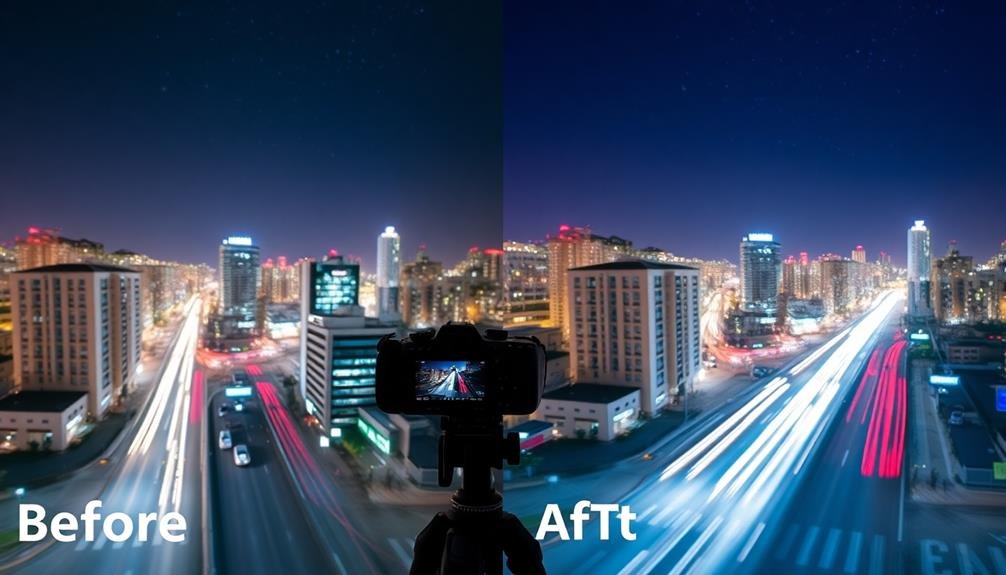
When dealing with motion blur in nighttime shots, you'll often face a choice between long exposure techniques and image stacking.
You can use long exposures to capture light trails and smooth water, while stacking multiple shorter exposures helps reduce noise and increase sharpness.
If you're struggling with unwanted blur, try experimenting with software-based deblurring tools in your post-processing workflow to sharpen and refine your nighttime images.
Long Exposure vs. Stacking
Capturing stunning nighttime images often comes down to a choice between two popular techniques: long exposure and image stacking. Long exposures involve leaving your camera's shutter open for an extended period, allowing more light to hit the sensor. This method is great for creating light trails and capturing motion in the sky.
On the other hand, image stacking involves taking multiple shorter exposures of the same scene and combining them in post-processing.
Each technique has its advantages. Long exposures can produce dreamy, ethereal effects, but they're prone to camera shake and overexposure. Stacking offers more control over noise reduction and dynamic range, but it requires more post-processing time and skill.
When deciding between the two, consider your subject matter, available equipment, and desired outcome.
Here's a quick comparison of long exposure vs. stacking:
- Long exposure: Single shot, in-camera effect, potential for motion blur
- Stacking: Multiple shots, post-processing required, better noise reduction
- Long exposure: Limited by camera's maximum shutter speed
- Stacking: Can simulate extremely long exposures
- Long exposure: Ideal for moving subjects (water, stars)
Software-Based Deblurring Techniques
Software-based deblurring techniques have revolutionized the way photographers can salvage motion-blurred images. When you're shooting at night, even the slightest camera shake can result in unwanted blur. Thankfully, post-processing tools offer powerful solutions to mitigate this issue.
To effectively use deblurring techniques, you'll need to understand the different types of blur and their corresponding fixes. Here's a quick reference guide:
| Blur Type | Cause | Software Solution | Effectiveness | Best For |
|---|---|---|---|---|
| Motion Blur | Camera Movement | Smart Sharpen | High | Slight Blur |
| Focus Blur | Incorrect Focus | Unsharp Mask | Moderate | Soft Images |
| Zoom Blur | Lens Zooming | Radial Blur Removal | High | Zoom Effects |
| Gaussian Blur | Intentional Softening | Deconvolution | Very High | Overly Soft Images |
| Bokeh Blur | Shallow Depth of Field | Selective Sharpening | Low | Artistic Effects |
When applying these techniques, start with subtle adjustments and gradually increase intensity. Remember, excessive sharpening can introduce artifacts and noise. For best results, shoot in RAW format to preserve maximum image data, giving you more flexibility in post-processing. Experiment with different software options like Adobe Photoshop, DxO DeepPRIME, or Topaz Sharpen AI to find the tool that works best for your specific needs.
Highlight and Shadow Recovery
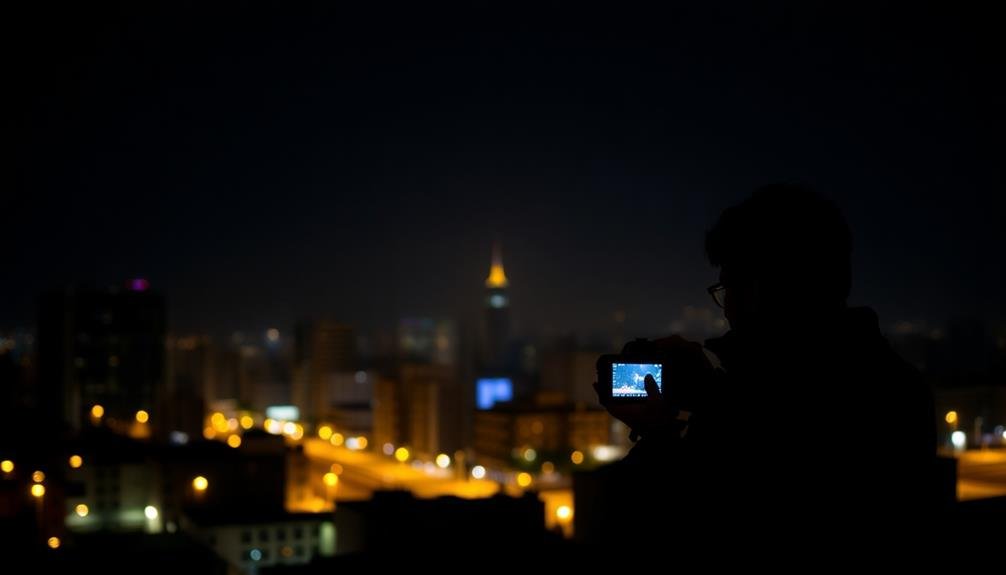
The art of highlight and shadow recovery can make or break your nighttime photos. When shooting in low light conditions, you'll often encounter extreme contrasts between bright and dark areas. To capture the full range of tones, you'll need to master the techniques of recovering details in both highlights and shadows during post-processing.
Start by shooting in RAW format to preserve as much data as possible. When editing, use your software's highlight and shadow sliders carefully. Don't push them too far, as this can lead to unnatural-looking images. Instead, aim for a balanced approach that reveals details without compromising the overall mood of the scene.
Consider using HDR techniques or exposure bracketing to capture a wider dynamic range. You can then blend these exposures in post-processing to achieve a more balanced result. Remember, the goal is to create a natural-looking image that accurately represents the scene as you saw it.
- Shoot in RAW for maximum data retention
- Use highlight and shadow sliders judiciously
- Experiment with HDR and exposure bracketing
- Blend multiple exposures for ideal results
- Maintain a natural look that preserves the scene's mood
Creating Light Trails With Drones
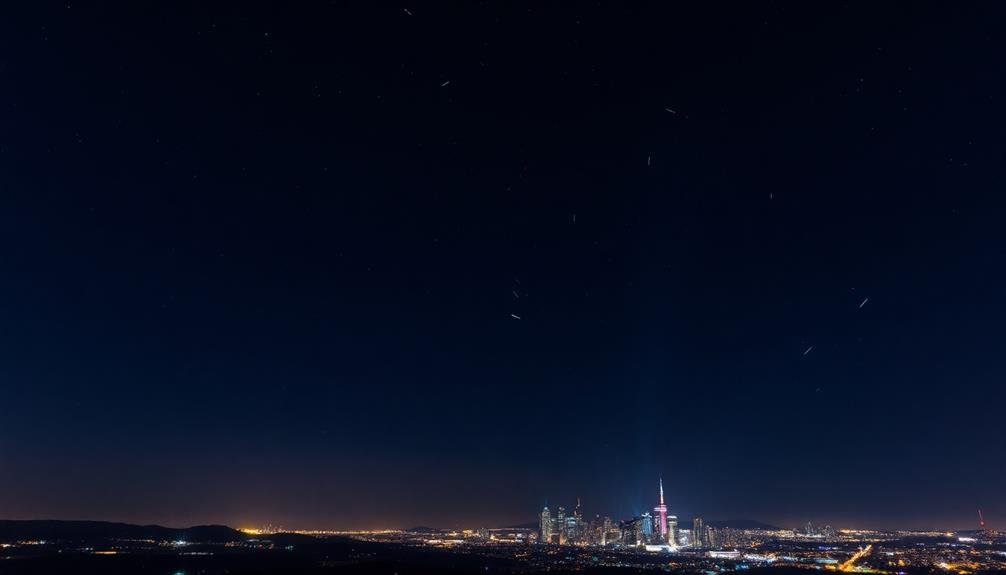
Drones have revolutionized the art of creating light trails in nighttime photography. With their maneuverability and programmable flight paths, you can now craft stunning aerial light paintings that were once impossible. To get started, you'll need a drone equipped with bright LED lights and a camera capable of long exposures.
First, plan your flight path and set up your drone's lights. Choose a color scheme that complements your scene. Next, set your camera to manual mode with a low ISO, small aperture, and long exposure time. Launch your drone and begin its pre-programmed flight path.
Here's a table to inspire your light trail designs:
| Pattern | Effect | Difficulty |
|---|---|---|
| Spirals | Hypnotic vortex | Medium |
| Zigzags | Electric energy | Easy |
| Circles | Celestial orbs | Hard |
| Waves | Flowing ribbons | Medium |
Experiment with different flight speeds and light intensities to achieve various effects. Remember to comply with local drone regulations and avoid flying in restricted areas. With practice, you'll create mesmerizing light trail compositions that push the boundaries of nighttime photography.
Stacking Multiple Exposures for Detail
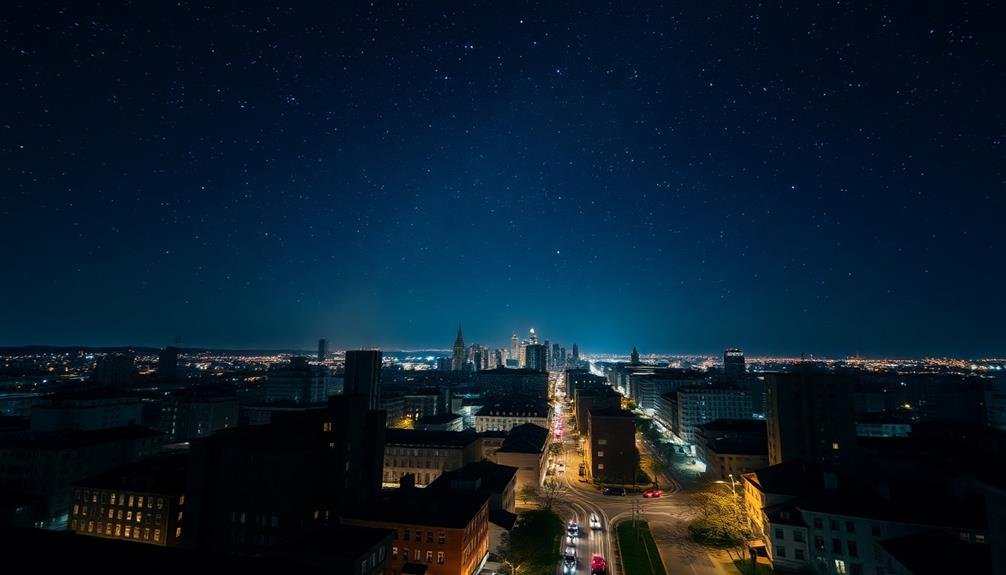
When stacking multiple exposures for nighttime shots, start by capturing a clean base image with ideal settings.
You'll then layer additional exposures on top, each highlighting different aspects of the scene.
This technique allows you to enhance detail in both highlights and shadows, resulting in a final image with greater depth and clarity.
Capturing Clean Base Image
For capturing a clean base image in nighttime photography, stacking multiple exposures can dramatically improve the level of detail in your final shot.
Begin by setting up your camera on a sturdy tripod and using a remote shutter release to minimize camera shake. Choose a low ISO setting to reduce noise, and opt for a wider aperture to capture more light. Take multiple shots of the same scene, keeping your camera perfectly still between exposures.
When you're ready to process your images, use specialized stacking software to align and combine your shots. This technique helps to reduce noise, increase dynamic range, and reveal subtle details that might be lost in a single exposure.
As you refine your stacked image, pay attention to areas of high contrast and verify that star trails aren't inadvertently created during the process.
- Use manual focus to verify sharp images across all exposures
- Experiment with different exposure times to capture varying light levels
- Consider using dark frame subtraction to further reduce noise
- Pay attention to foreground elements for added depth and interest
- Adjust white balance consistently across all shots for seamless blending
Layering for Enhanced Detail
Layering for enhanced detail builds upon the foundation of a clean base image. Once you've captured your base shot, you'll want to take multiple exposures of the same scene. This technique, known as exposure stacking, allows you to combine the best elements from each shot, resulting in a final image with reduced noise and increased detail.
To execute this method effectively, you'll need to:
- Use a tripod to maintain consistent framing
- Take 5-10 exposures of the same scene
- Adjust your camera settings between shots to capture different aspects
Here's a breakdown of what each exposure can focus on:
| Exposure | Focus | Purpose |
|---|---|---|
| 1 | Shadows | Reveal details in dark areas |
| 2 | Midtones | Capture overall scene balance |
| 3 | Highlights | Preserve bright elements |
After capturing your exposures, use photo editing software to align and blend the images. This process will help you achieve a final result with improved dynamic range, reduced noise, and enhanced detail that wouldn't be possible with a single exposure. Remember to experiment with different blending modes and opacity levels to find the perfect balance for your nighttime masterpiece.
Correcting Lens Distortion at Night
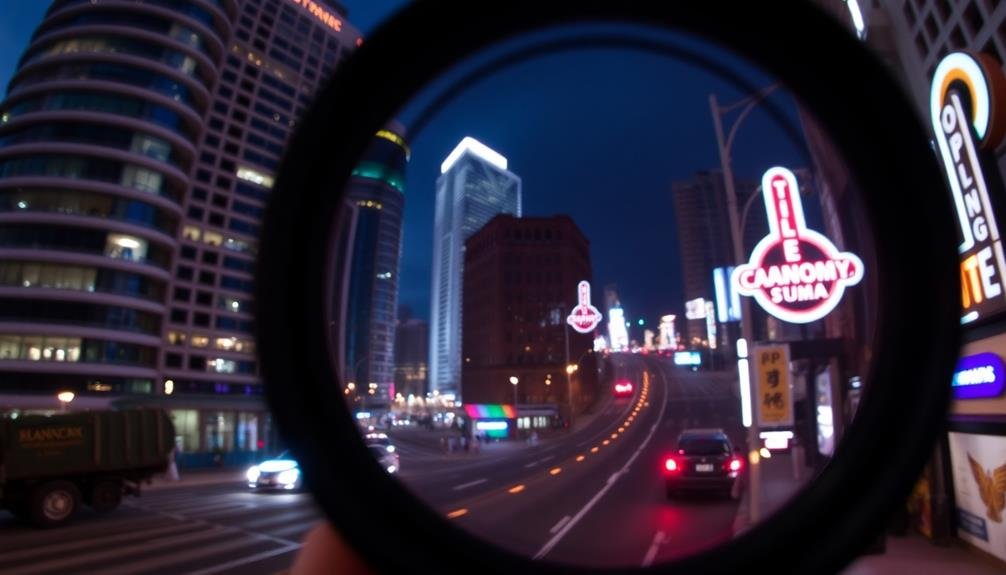
How can you achieve crisp, undistorted night photos? Lens distortion can be particularly noticeable in nighttime shots, especially when capturing cityscapes or starry skies. To correct this, start by understanding your lens's characteristics.
Wide-angle lenses are more prone to distortion, so consider using a mid-range focal length. When shooting, keep your camera level and align it parallel to your subject to minimize perspective distortion.
In post-processing, use lens correction tools in your editing software. These tools often have built-in profiles for specific lenses, automatically adjusting for known distortions. If your software doesn't have a profile for your lens, manually adjust barrel or pincushion distortion settings.
Pay special attention to straight lines in your image, such as building edges or horizon lines, and fine-tune until they appear natural.
Here are key points to remember:
- Use a tripod to maintain camera stability
- Shoot in RAW for more flexibility in post-processing
- Consider using tilt-shift lenses for architectural shots
- Bracket your exposures to capture more detail
- Experiment with different focal lengths to find the sweet spot for your lens
Applying Creative Filters for Atmosphere
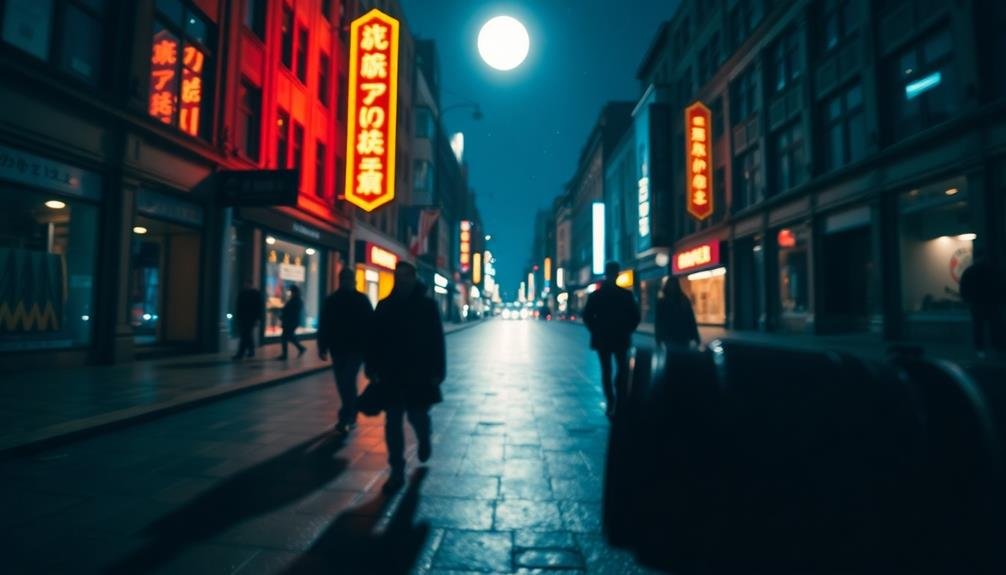
Creative filters can jazz up your nighttime photos, adding atmosphere and mood to your images. Consider using a star filter to transform bright light sources into dazzling starbursts, perfect for capturing city lights or holiday decorations.
For a dreamy effect, try a soft focus filter to create a gentle haze around light sources, ideal for romantic or ethereal scenes.
Color filters can dramatically alter the mood of your nighttime shots. A warm orange filter can simulate the glow of sunset, while a cool blue filter can enhance the feeling of moonlight.
Experiment with graduated filters to balance exposure between bright skies and dark foregrounds.
Don't forget about neutral density filters, which allow you to use longer exposures without overexposing your image. This technique is great for capturing light trails from moving vehicles or smoothing out water in nighttime landscapes.
For a unique twist, try using a prism or fractal filter to create interesting light patterns and reflections. These can add an artistic, abstract quality to your urban night scenes.
Frequently Asked Questions
How Do I Protect My Camera Gear From Moisture During Night Shoots?
You'll want to protect your gear from moisture during night shoots. Use silica gel packets in your camera bag, invest in a waterproof cover, and avoid sudden temperature changes. Don't forget to wipe down equipment after use.
What Safety Precautions Should I Take When Photographing in Unfamiliar Areas at Night?
When shooting in unfamiliar areas at night, you'll want to prioritize your safety. Always bring a friend, research the location beforehand, carry a flashlight, stay aware of your surroundings, and trust your instincts if something feels off.
Are There Legal Restrictions for Nighttime Photography in Certain Locations?
Legal restrictions for nighttime photography vary by location. You'll need to check local laws, as some areas prohibit photography at night or require permits. Always respect private property and be aware of trespassing laws when shooting.
How Can I Plan My Night Shoots Around Moon Phases and Celestial Events?
You'll want to consult a lunar calendar and star charts to plan your night shoots. Track moon phases and celestial events, noting dates and times. Use apps like PhotoPills or The Photographer's Ephemeris for precise location-based planning.
What Are the Best Ways to Light Paint in Night Photography?
You'll want to use a long exposure and a handheld light source. Move the light smoothly to create patterns or illuminate subjects. Experiment with different colors and intensities. Practice your timing to achieve desired effects.
In Summary
You've now got the tools to capture stunning nighttime shots. Don't be afraid to experiment with different settings and techniques. Remember, practice makes perfect. Keep pushing your boundaries, and you'll soon master the art of night photography. Whether you're shooting cityscapes, starry skies, or light trails, these tips will help you illuminate the darkness. So grab your camera, head out after sunset, and start creating magical nighttime images.

As educators and advocates for responsible drone use, we’re committed to sharing our knowledge and expertise with aspiring aerial photographers.


Leave a Reply