
To create drone-powered field borders, start by selecting a suitable drone with high-resolution cameras and GPS accuracy. Plan your flight mission, considering field layout and setting parameters like altitude and speed. Set up ground control points for enhanced accuracy, then execute the aerial survey, maintaining consistent altitude and speed. Process the captured imagery using photogrammetry software to generate orthomosaic maps and digital elevation models. Finally, use GIS software to digitize precise field boundaries based on the processed data. This step-by-step approach enables you to leverage drone technology for accurate field mapping and improved farm management. Discover how this method can revolutionize your agricultural practices.
Understanding Drone Field Mapping
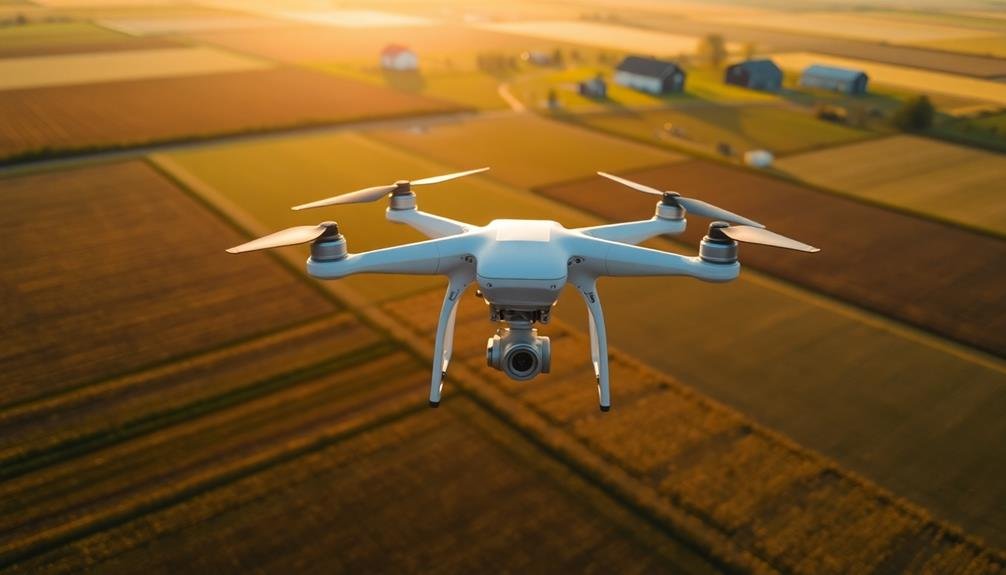
While drone technology has revolutionized many industries, its impact on agriculture is particularly significant. Drone field mapping offers farmers a powerful tool to accurately survey and analyze their land. You'll find that this process involves using unmanned aerial vehicles (UAVs) equipped with high-resolution cameras and GPS technology to capture detailed images of your fields.
To begin drone field mapping, you'll need to plan your flight path. This includes setting waypoints and determining the ideal altitude for image capture. As the drone flies over your fields, it'll take hundreds of overlapping photos. These images are then stitched together using specialized software to create an extensive map of your land.
The resulting map provides valuable information about your field's topography, crop health, and soil conditions. You'll be able to identify areas of poor drainage, pest infestations, or nutrient deficiencies with unprecedented accuracy.
This data allows you to make informed decisions about irrigation, fertilization, and pest management strategies. By leveraging drone field mapping, you're empowering yourself to enhance crop yields and reduce resource waste, ultimately improving your farm's efficiency and profitability.
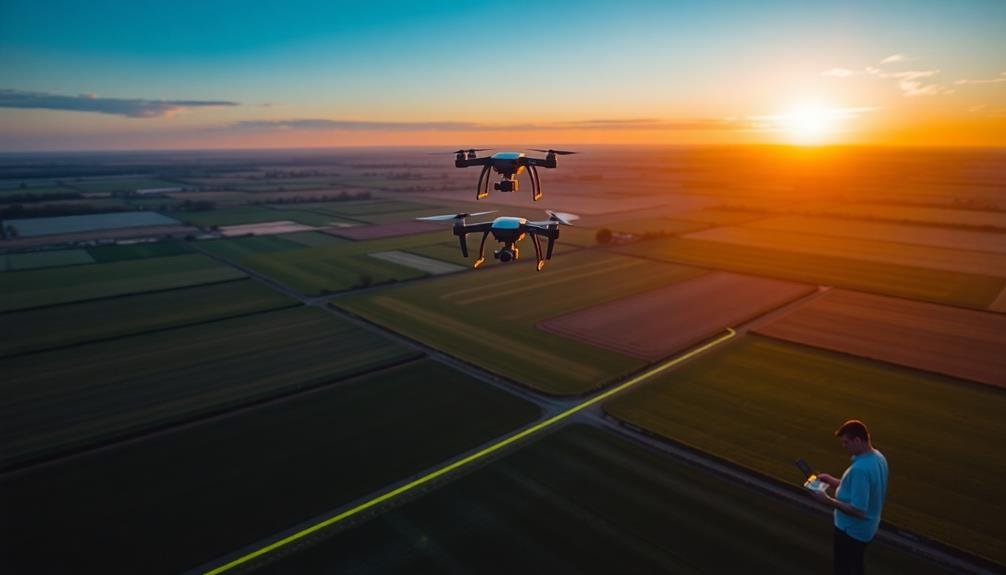
Selecting the Right Drone
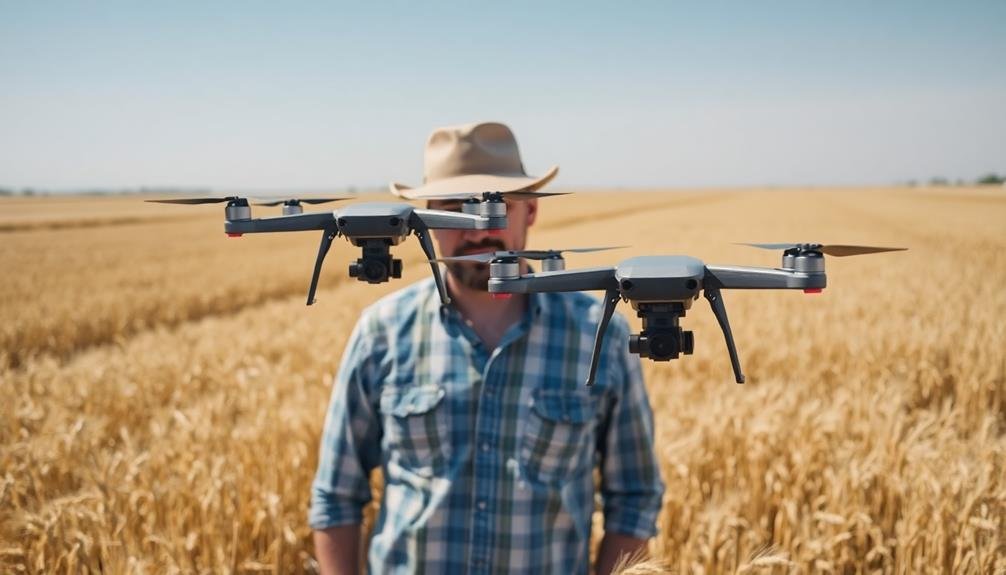
Selecting the right drone for field border mapping is essential to secure accurate and efficient results. You'll want to focus on three key factors: flight time, camera quality, and GPS accuracy.
Look for drones with extended flight times, ideally 30 minutes or more, to cover large areas without frequent battery changes. A high-resolution camera, preferably 20MP or higher, will guarantee clear, detailed images of your field borders. GPS accuracy is critical, so opt for drones with RTK (Real-Time Kinematic) positioning for centimeter-level precision.
Consider the drone's ease of use and compatibility with mapping software. User-friendly interfaces and automated flight modes can simplify your mapping process. Weather resistance is also important, as you'll likely be operating in various conditions.
Popular models for agricultural mapping include the DJI Phantom 4 RTK, Parrot Bluegrass Fields, and senseFly eBee X. These drones offer a balance of features suited for field border mapping.
Don't forget to check local regulations regarding drone use in agriculture. Confirm you're compliant with any licensing or registration requirements before starting your mapping project.
Planning Your Flight Mission
With your drone selected, it's time to map out your flight mission. Begin by examining your field's layout and identifying key features that'll influence your flight plan. Consider obstacles, terrain variations, and any areas requiring special attention.
Next, determine your flight parameters:
- Altitude: Choose a height that balances image resolution with coverage area
- Speed: Set a pace that guarantees image quality without compromising battery life
- Flight pattern: Decide between grid, circular, or custom patterns based on field shape
- Overlap: Establish sufficient image overlap for accurate stitching and analysis
Use your drone's companion app or specialized mapping software to create a detailed flight plan. Input your chosen parameters and any no-fly zones or areas of interest. Review the generated route, making adjustments as needed to guarantee thorough coverage.
Before launching, conduct a thorough pre-flight check. Verify battery levels, camera settings, and GPS signal strength. Ensure you're complying with local regulations and have necessary permissions.
With your mission planned and equipment ready, you're set to capture high-quality imagery for precise field border mapping. Remember to monitor weather conditions and be prepared to abort if necessary for safety.
Setting Up Ground Control Points
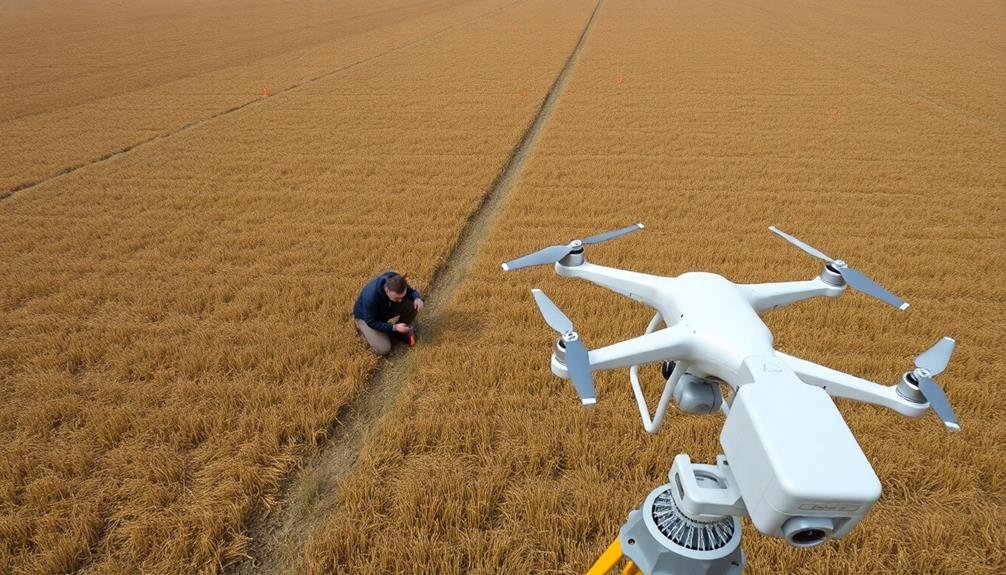
Ground Control Points (GCPs) are often vital for achieving high accuracy in drone mapping projects. They're fixed points on the ground with known coordinates that help calibrate and correct your drone imagery.
To set up GCPs effectively, you'll need to follow a few key steps.
First, determine the number of GCPs you need based on your field size and desired accuracy. Generally, aim for at least five GCPs, with more for larger or complex areas. Choose locations that are easily visible from the air and spread them evenly across your field.
Next, mark your GCPs using high-contrast targets like painted plywood squares or specialized survey markers. Make certain they're at least 3-5 times the size of your drone's ground sampling distance (GSD) for visibility.
Measure the precise coordinates of each GCP using a survey-grade GPS device or RTK system. Record these coordinates carefully, as they'll be essential for processing your drone data later.
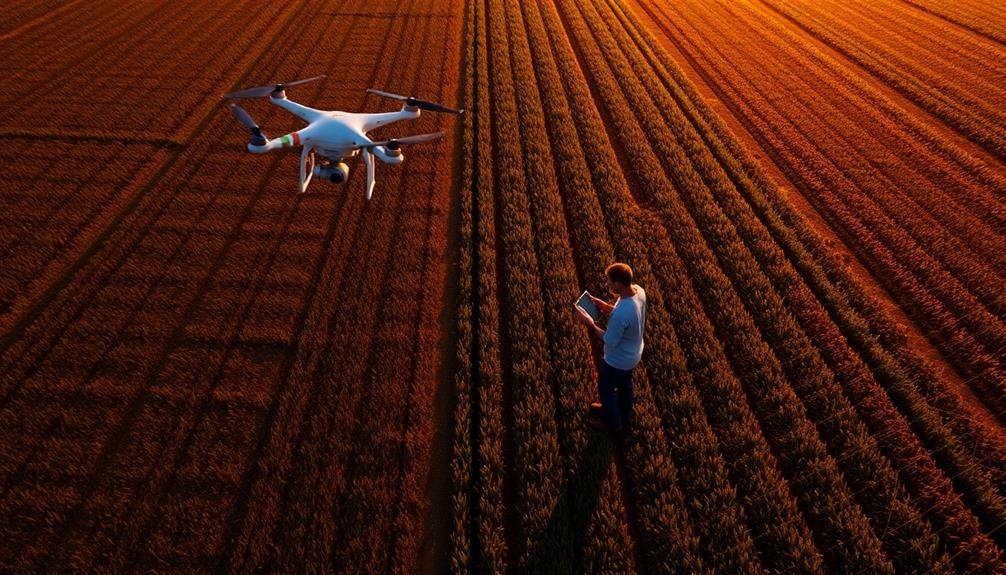
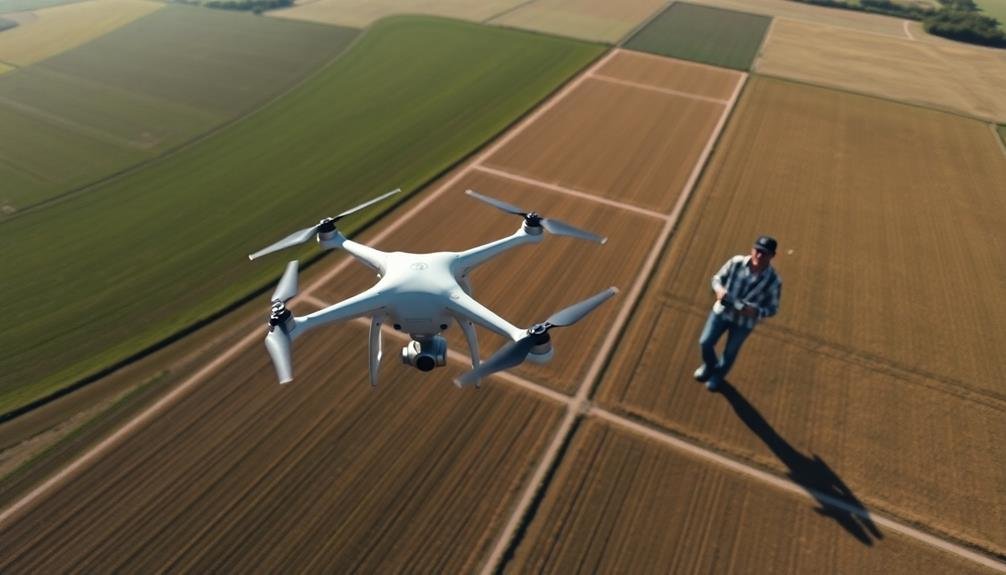
Executing the Aerial Survey
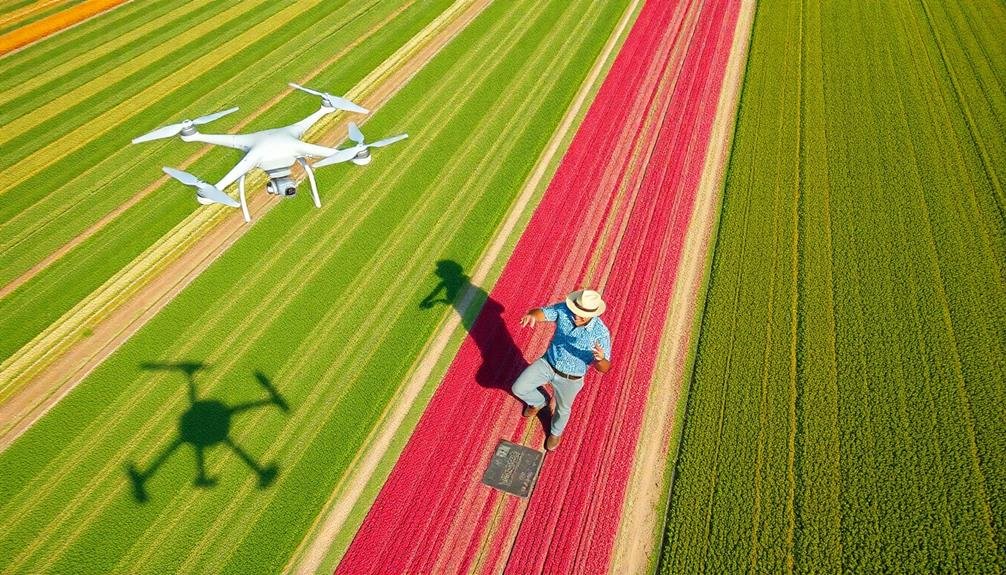
Once you've set up your ground control points, it's time to take to the skies. Begin by checking your drone's battery life and confirming all settings are correct for your field survey. Launch your drone and navigate to your predetermined starting point.
Start the aerial survey by flying in a systematic pattern, typically using parallel lines or a grid formation. Maintain a consistent altitude and speed throughout the flight to guarantee uniform image quality. As you fly, your drone will automatically capture images at set intervals, creating an overlapping series of photos that will later be stitched together.
During the survey, keep these key points in mind:
- Monitor your drone's battery level closely
- Watch for unexpected obstacles or changes in weather conditions
- Maintain visual line of sight with your drone at all times
- Be prepared to manually intervene if necessary
After completing the survey pattern, land your drone safely and immediately back up the collected data.
Review the captured images to confirm they're clear and cover the entire area of interest. If any gaps or issues are detected, plan a follow-up flight to address them.
With the aerial survey complete, you're ready to move on to processing and analyzing the collected data.
Processing Drone Imagery Data
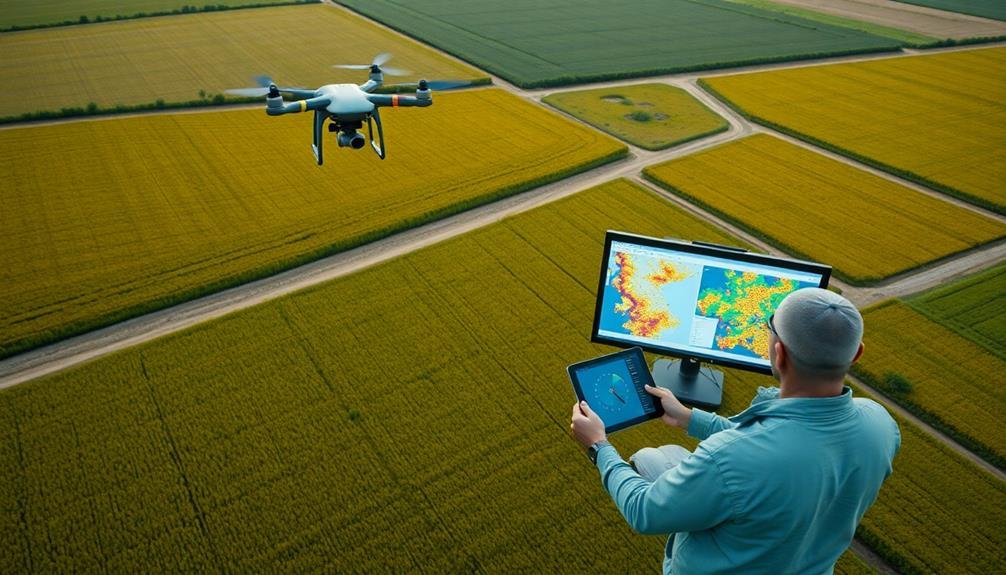
After landing your drone, it's time to transform the raw aerial images into usable data.
Begin by transferring the captured images from your drone's memory card to your computer. Next, import these files into your chosen photogrammetry software. Popular options include Pix4Dmapper, Agisoft Metashape, or DroneDeploy.
Once imported, the software will process the images, aligning them and creating a point cloud. This step may take several hours, depending on the number of images and your computer's processing power.
After the initial processing, you'll generate an orthomosaic map and a digital elevation model (DEM).
Review the output for any anomalies or misalignments. If necessary, adjust ground control points or remove problematic images to improve accuracy.
Export your processed data in appropriate file formats, such as GeoTIFF for the orthomosaic and DEM.
Creating Accurate Field Boundaries
With your processed drone imagery in hand, you're ready to create accurate field boundaries. Begin by importing your georeferenced images into a Geographic Information System (GIS) software. Popular options include QGIS, ArcGIS, or specialized agricultural mapping tools. These platforms offer powerful features for digitizing field borders with precision.
Next, use the software's drawing tools to trace the visible boundaries of your fields. Pay close attention to natural and man-made features that define the edges, such as:
- Treelines or hedgerows
- Roads or access paths
- Watercourses or drainage ditches
- Fences or property lines
As you digitize, zoom in frequently to guarantee accuracy. Use snapping tools to connect boundaries seamlessly and avoid gaps or overlaps. If your drone imagery includes multiple flights, cross-reference them to capture seasonal changes that might affect boundary visibility.
Once you've traced all field boundaries, review your work for consistency and completeness. Use the software's measurement tools to verify acreages and compare them with existing records.
Implementing Results in Farm Management
The true value of drone-powered field boundaries lies in their practical application. Once you've created accurate field borders, it's time to put this data to work in your farm management strategies. Start by importing your boundary data into your preferred farm management software. This integration allows you to precisely calculate field sizes, plan crop rotations, and estimate input needs.
Use your new field boundaries to create detailed prescription maps for variable rate applications. You'll be able to apply fertilizers, pesticides, and seeds with pinpoint accuracy, reducing waste and optimizing yields. These boundaries also enable you to track crop performance within specific zones, helping you identify areas that may need extra attention or different management practices.
When it comes to record-keeping, your drone-derived field borders provide a solid foundation. You can now accurately document crop histories, yields, and input applications for each field. This detailed information is invaluable for compliance reporting, crop insurance claims, and long-term farm planning.
Additionally, these precise boundaries can improve communication with contractors, ensuring they work within the correct areas and avoid overlaps or missed spots.
Frequently Asked Questions
How Do Drone Field Borders Compare to Traditional GPS Mapping Methods?
You'll find drone field borders offer greater accuracy and efficiency compared to traditional GPS mapping. They're faster, provide higher resolution imagery, and can access hard-to-reach areas. You'll also get real-time data and more frequent updates.
Are There Any Legal Restrictions on Using Drones for Agricultural Mapping?
Yes, you'll face legal restrictions when using drones for agricultural mapping. You must follow FAA regulations, obtain proper licenses, respect privacy laws, and adhere to local ordinances. Don't forget to check for any specific agricultural drone rules.
Can Drones Be Used for Mapping in Adverse Weather Conditions?
You can use drones for mapping in some adverse weather, but it's not ideal. Rain, strong winds, and extreme temperatures can affect flight stability and sensor accuracy. It's best to operate in calm, clear conditions for best results.
How Often Should Field Boundaries Be Remapped Using Drone Technology?
You should remap field boundaries with drones annually or after significant changes. It's best to do it before planting season. If you've made alterations or experienced erosion, you'll want to update your maps more frequently.
What Are the Potential Environmental Impacts of Frequent Drone Mapping Flights?
You'll notice some environmental impacts from frequent drone mapping. They can disturb wildlife, create noise pollution, and potentially harm birds. There's also energy consumption to take into account. However, these effects are generally minimal compared to traditional surveying methods.
In Summary
You've now mastered the process of using drones for field mapping. With your new skills, you'll create precise field boundaries and improve your farm management. Remember to stay up-to-date with drone regulations and technology advancements. As you continue to refine your technique, you'll find countless ways to integrate this valuable data into your farming practices. Embrace this cutting-edge technology, and watch your agricultural efficiency soar to new heights.
As educators and advocates for responsible drone use, we’re committed to sharing our knowledge and expertise with aspiring aerial photographers.


Leave a Reply