To fix overexposed photos in post-processing, you've got several effective options. Start by adjusting exposure in a raw editor, which allows for significant corrections without quality loss. Recover highlights using sliders to bring back lost details. Apply graduated filters for selective adjustments across the image. Use masking techniques to target specific overexposed areas. Try HDR tone mapping to enhance overall dynamic range. Employ luminosity masks for precise brightness-based adjustments. Finally, blend multiple exposures to combine the best parts of different shots. These techniques can dramatically improve your overexposed images, transforming them from washed-out to wow-worthy. Dive deeper to master these powerful tools.
Key Takeaways
- Adjust exposure and recover highlights using RAW editor tools to restore details in bright areas without quality loss.
- Apply selective exposure adjustments with graduated filters or masking techniques to target specific overexposed regions.
- Utilize luminosity masks for precise control over brightness levels, allowing focused adjustments on highlight areas.
- Blend multiple exposures or use HDR tone mapping to combine details from different exposure levels.
- Fine-tune contrast, clarity, and shadow details to balance the overall image after reducing exposure in bright areas.
Adjust Exposure in Raw Editor

When you're faced with an overexposed photo, diving into a Raw editor should be your first move. Raw files contain all the data captured by your camera's sensor, giving you more flexibility to adjust exposure without losing quality.
Start by reducing the overall exposure slider, which will darken the entire image. Be careful not to go too far, as you'll want to maintain detail in the shadows.
Next, focus on recovering highlights. Use the highlights slider to bring back detail in the brightest areas of your photo. If you're still seeing blown-out areas, try adjusting the whites slider for additional control.
To balance the image, you may need to lift the shadows slightly.
Don't forget about the contrast and clarity sliders. Increasing contrast can help restore some depth to your image, while adjusting clarity can bring back texture and definition.
If specific areas of your photo need more attention, use adjustment brushes or graduated filters to make localized corrections.
Recover Highlights With Sliders

After adjusting the overall exposure, it's time to focus on recovering those blown-out highlights. Most modern photo editing software offers powerful sliders specifically designed for this purpose. Look for options like "Highlights," "Whites," or "Recovery" in your editing program's adjustment panel.
Start by gradually decreasing the Highlights slider. This will bring back detail in the brightest areas of your image without affecting the overall exposure. If you're still seeing overexposed areas, try lowering the Whites slider as well. This targets the brightest pixels in your photo and can help recover additional detail.
For more precise control, use the Recovery slider if available. This tool is specifically designed to bring back information in overexposed areas. Be cautious not to overdo it, as excessive recovery can lead to unnatural-looking results or introduce noise.
Remember to balance your adjustments with other parts of the image. As you recover highlights, you may need to tweak shadows or midtones to maintain overall contrast.
Use the histogram as a guide to guarantee you're not clipping highlights while making these adjustments. With practice, you'll develop a keen eye for finding the right balance in your recovered highlights.
Use Graduated Filters

Graduated filters are powerful tools for fixing overexposed photos, allowing you to blend sky and foreground seamlessly.
You'll be able to adjust exposure selectively, darkening bright areas while preserving details in shadowy regions.
This technique helps create balanced compositions, ensuring your images have a more natural and professional look.
Blend Sky and Foreground
Ever noticed how challenging it can be to capture both a bright sky and a darker foreground in a single shot? This common problem often results in overexposed skies or underexposed landscapes. Blending the sky and foreground is an effective technique to overcome this issue and create a balanced, well-exposed image.
To blend sky and foreground, start by taking multiple exposures of the same scene. Capture one image exposed for the sky and another for the foreground. In post-processing, layer these images in your editing software. Use layer masks to selectively reveal or hide parts of each exposure, creating a seamless blend.
You can also employ luminosity masks to target specific tonal ranges for more precise blending. This technique allows you to maintain natural-looking shifts between the sky and foreground.
Experiment with different blending modes like "Soft Light" or "Overlay" to fine-tune the result. Don't forget to adjust the overall contrast and color balance after blending to guarantee a cohesive look.
With practice, you'll master this technique and produce stunning images that showcase both dramatic skies and detailed foregrounds.
Adjust Exposure Selectively
Photographers often face the challenge of uneven lighting across a scene. When parts of your image are overexposed while others are properly exposed, you'll need to adjust exposure selectively. Graduated filters are an excellent tool for this task, allowing you to make precise adjustments to specific areas of your photo.
In photo editing software, you can apply graduated filters to create a smooth gradient between exposed and overexposed areas. Start by selecting the graduated filter tool and dragging it across your image where you want the exposure adjustment to begin and end.
You can then fine-tune the filter's intensity, feathering, and direction to achieve the desired effect. For more complex scenes, you might need to use multiple graduated filters. Apply them strategically to address different areas of overexposure.
Don't forget to adjust other settings like highlights, shadows, and contrast within the filter to maintain a natural look. By mastering the use of graduated filters, you'll be able to salvage overexposed photos and create balanced, well-exposed images that capture the scene as you envisioned it.
Create Balanced Compositions
Frequently, the key to fixing overexposed photos lies in creating balanced compositions. One powerful tool to achieve this balance is the graduated filter. You'll find this feature in most post-processing software, and it's particularly useful when dealing with landscape photos where the sky is overexposed.
To use a graduated filter, start by selecting the tool in your editing software. Draw a line across your image where you want the filter to begin. Adjust the filter's intensity and feathering to create a natural-looking shift. You can then fine-tune various settings like exposure, highlights, shadows, and color temperature within the filtered area.
For example, if you have an overexposed sky, apply a graduated filter from the top of the image downward. Reduce the exposure and highlights in the sky while leaving the foreground untouched. This technique helps balance the overall exposure of your photo.
Don't limit yourself to just one filter. You can apply multiple graduated filters to different areas of your image, creating a more complex and balanced composition.
Experiment with various settings and filter placements to achieve the best results for your specific photo.
Apply Selective Masking Techniques
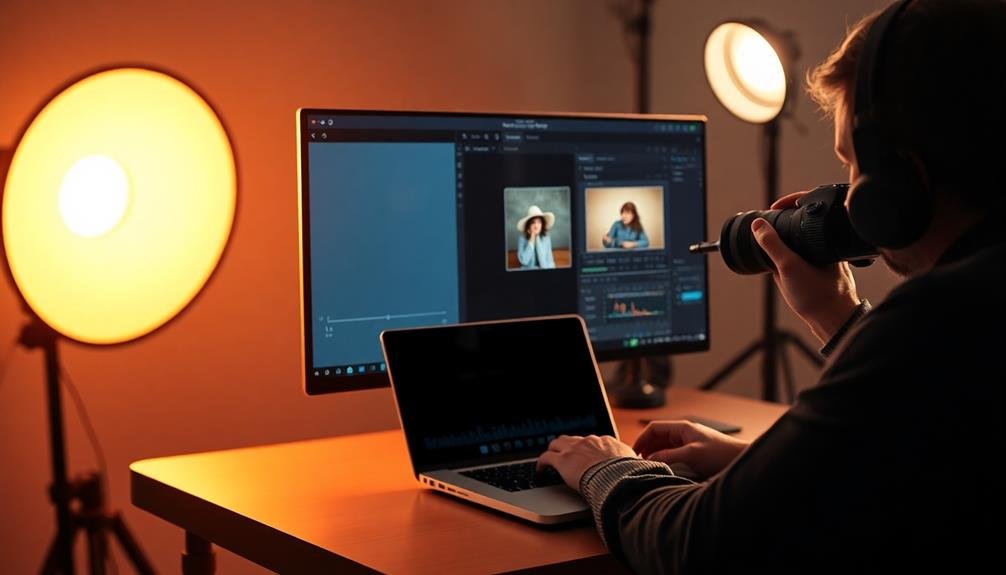
Selective masking techniques allow you to target specific areas of your overexposed photo for adjustment.
You can create masks to isolate bright regions and apply corrections only where needed.
Target Specific Image Areas
Precision is key when fixing overexposed photos, and that's where selective masking techniques come in handy. By targeting specific image areas, you'll have more control over your edits and achieve a more natural-looking result.
Start by identifying the overexposed regions in your photo, which are typically the brightest parts of the image. Use your editing software's masking tools to create a selection around these areas. You can employ brush tools, lasso selections, or even luminosity masks for more advanced control.
Once you've isolated the overexposed areas, apply adjustments specifically to these regions. Reduce highlights, lower exposure, or recover blown-out details using the appropriate tools in your software.
Don't forget to feather the edges of your masks to create smooth shifts between the adjusted and untouched areas. This will help your edits blend seamlessly with the rest of the image.
As you work, toggle the mask visibility on and off to compare your changes with the original. This will guarantee you're not overcorrecting and maintaining a natural look.
Blend Multiple Exposure Layers
Building on the concept of selective masking, blending multiple exposure layers takes your photo editing to the next level. This technique involves combining two or more versions of the same image with different exposure levels to create a well-balanced final result.
Start by creating duplicate layers of your overexposed photo in your editing software. Adjust each layer's exposure differently, focusing on recovering details in highlights, midtones, and shadows.
Use layer masks to blend these exposures seamlessly. Paint with a soft brush on the mask to reveal or hide specific areas from each layer. For instance, you might use a darker exposure layer to bring back detail in blown-out skies while keeping the properly exposed foreground from a brighter layer.
Pay close attention to edges where different exposures meet, ensuring smooth transitions. Experiment with layer opacity and blending modes to fine-tune the effect. Overlay or Soft Light modes can help integrate the layers more naturally.
Don't hesitate to add adjustment layers for further refinement of contrast, color, and tone. This method gives you precise control over every part of your image, allowing you to salvage even severely overexposed photos with remarkable results.
Leverage HDR Tone Mapping
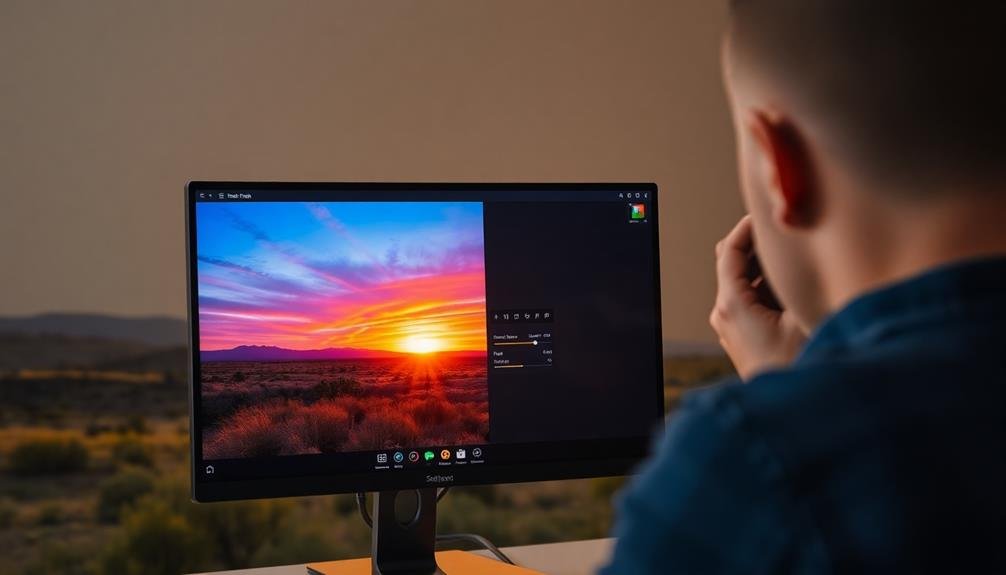
HDR tone mapping is a powerful technique that can breathe new life into overexposed photos. This method works by combining multiple exposures of the same scene to create a high dynamic range image, which is then compressed into a single photo with improved detail and balanced lighting.
To leverage HDR tone mapping, you'll need to capture several shots of your scene at different exposure levels. If you don't have multiple exposures, you can create them from a single RAW file by adjusting the exposure in post-processing.
Once you have your exposures, use specialized HDR software or built-in tools in programs like Photoshop or Lightroom to merge them. After merging, you'll have access to a wide range of tonal information.
Adjust the tone mapping settings to recover details in both highlights and shadows. Be careful not to overdo it, as excessive HDR can lead to unnatural-looking results. Fine-tune contrast, saturation, and local adjustments to achieve a balanced, realistic image.
Remember that HDR tone mapping isn't just for fixing overexposure; it can also enhance the overall dynamic range of your photo, creating a more visually striking result.
Employ Luminosity Masks
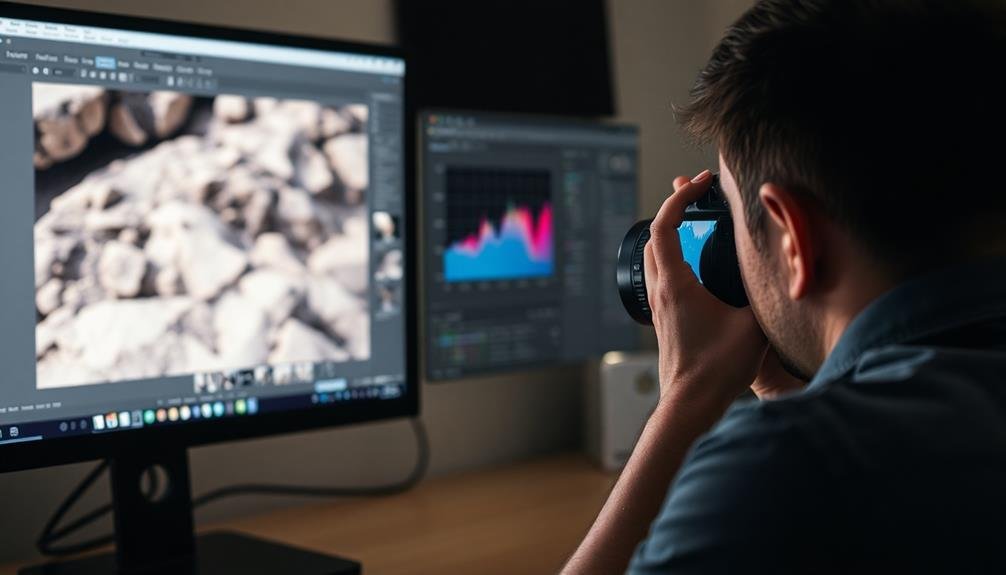
While HDR tone mapping offers a thorough approach, luminosity masks provide a more targeted solution for fixing overexposed photos. These masks allow you to make selective adjustments based on the brightness levels in your image, giving you precise control over exposure correction.
To employ luminosity masks, you'll first need to create them in your editing software. Most advanced photo editors like Photoshop offer this feature. Once generated, these masks separate your image into different luminosity ranges, typically highlights, midtones, and shadows.
You can then use these masks to apply adjustments selectively. For overexposed areas, focus on the highlight masks. By darkening only the brightest parts of your image, you'll recover lost details without affecting properly exposed regions.
Experiment with different mask strengths and blend modes to achieve the most natural-looking results. You might combine multiple luminosity masks or refine them further for even more precise control.
Remember to make subtle adjustments; overdoing it can lead to an unnatural appearance.
With practice, you'll find that luminosity masks offer a powerful and flexible tool for fixing overexposed photos, allowing you to salvage images that might otherwise be unusable.
Blend Multiple Exposures
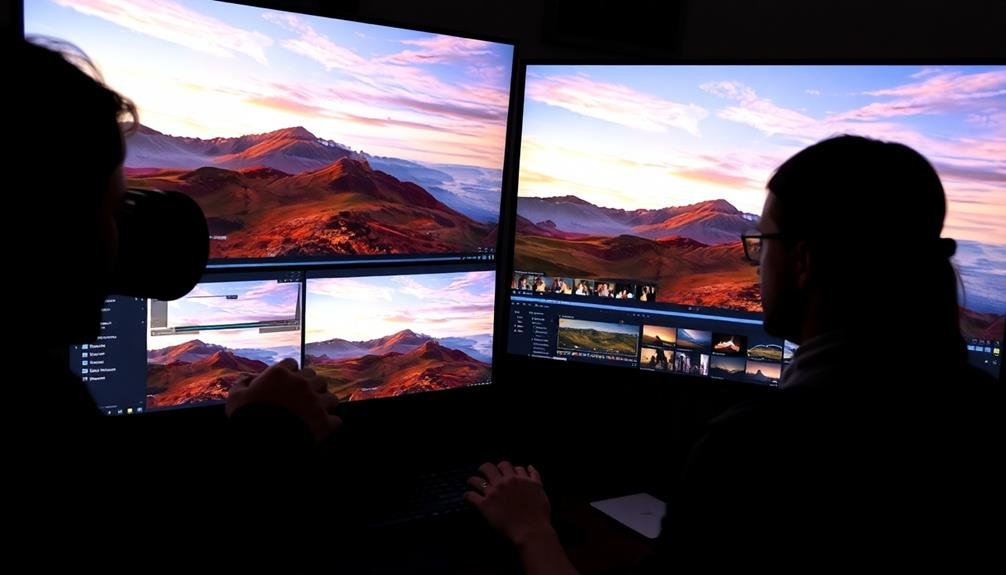
Another powerful technique for fixing overexposed photos is to blend multiple exposures. This method involves combining two or more images of the same scene taken at different exposure levels. To use this technique, you'll need to have captured bracketed shots or have access to a RAW file with enough dynamic range to create multiple exposures in post-processing.
Start by selecting the best-exposed image for the highlights and another for the shadows. Open these images as layers in your editing software. Align the layers precisely, then use layer masks to blend them seamlessly.
Paint with a soft brush on the mask to reveal or hide portions of each layer, focusing on balancing the exposure across the entire image. Pay special attention to areas where the exposures meet, ensuring smooth shifts.
You can also use gradient tools or luminosity masks to create more precise blends. This technique allows you to recover detail in both highlights and shadows, resulting in a well-balanced final image with a wider dynamic range.
It's particularly effective for high-contrast scenes where a single exposure can't capture all the details.
Frequently Asked Questions
Can Overexposed Photos Be Fixed on a Smartphone?
Yes, you can fix overexposed photos on your smartphone. Most modern phones have built-in editing tools that allow you to adjust exposure, brightness, and contrast. You'll also find numerous photo editing apps available for quick fixes.
How Do I Prevent Overexposure When Taking Photos?
To prevent overexposure, you'll want to adjust your camera settings. Lower your ISO, use a faster shutter speed, or decrease your aperture. If it's too bright, try using a neutral density filter or shooting in the shade.
Are There Free Software Options for Fixing Overexposed Photos?
Yes, you've got several free options to fix overexposed photos. Try GIMP, Pixlr, or Fotor for desktop editing. If you prefer mobile apps, check out Snapseed or Adobe Lightroom Mobile. These tools offer exposure adjustments and other editing features.
Can Ai-Powered Tools Automatically Correct Overexposed Images?
Yes, AI-powered tools can automatically correct overexposed images. You'll find many options that use machine learning to analyze and adjust brightness, contrast, and other elements. They're not perfect but can save you time and effort.
What's the Difference Between Overexposure and High-Key Photography?
Overexposure's a mistake, while high-key photography's intentional. You'll see overexposed images as washed out with lost details. High-key shots are deliberately bright, but maintain contrast and details in highlights. They're stylistic choices for a light, airy feel.
In Summary
You've now got a toolbox of techniques to rescue overexposed photos. Whether you're tweaking raw files, using advanced masking, or blending multiple exposures, there's always hope for salvaging those bright shots. Remember, practice makes perfect, so don't be afraid to experiment with these methods. With time, you'll develop an eye for which approach works best for each image. Keep refining your skills, and soon you'll be turning those overexposed mishaps into stunning photographs.

As educators and advocates for responsible drone use, we’re committed to sharing our knowledge and expertise with aspiring aerial photographers.



Leave a Reply