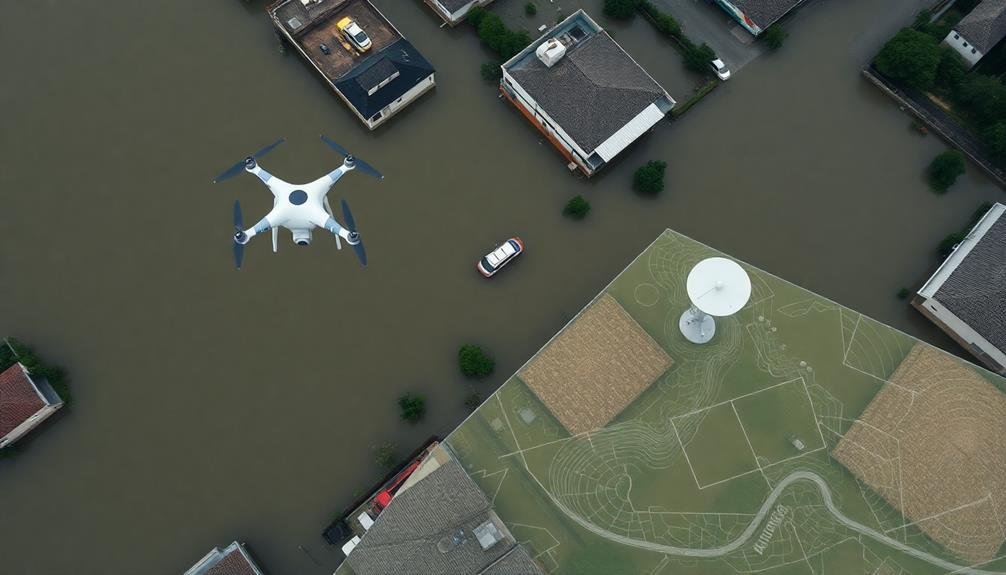
When mapping floods from above, start by selecting a waterproof drone with long flight time and high-resolution camera. Optimize your camera settings for crisp, detailed images. Plan your flight path strategically, using a grid pattern for complete coverage. Time your mission during peak water levels and ideal lighting conditions. Process your data with GIS software to create thorough flood extent maps. Validate your results on the ground through field surveys and high-water mark collection. Finally, share your findings with relevant authorities to support flood management efforts. These seven tips will set you on the path to effective aerial flood mapping and analysis.
Choose the Right Drone
Selecting the right drone is essential for effective flood mapping. You'll want to take into account several key factors when making your choice.
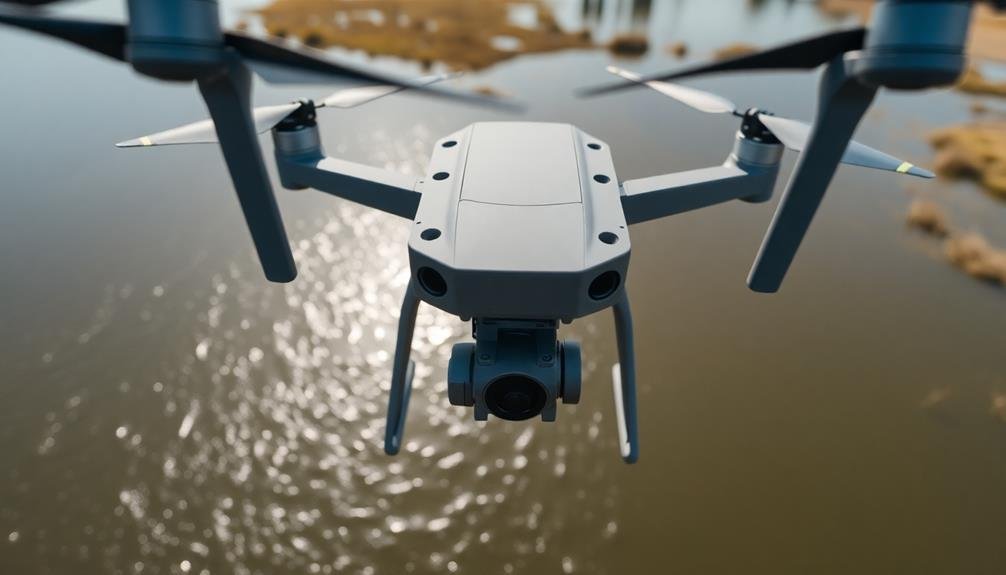
First, opt for a waterproof drone that can withstand potential splashes or light rain. Look for models with an IP rating of at least IP43 or higher.
Battery life is critical, as flood mapping often requires covering large areas. Choose a drone with a flight time of at least 30 minutes per battery. Make sure you have multiple batteries to swap out for extended missions.
Camera quality matters greatly. Select a drone with a high-resolution camera capable of capturing clear, detailed imagery. A minimum of 12 megapixels is recommended, but higher is better. Look for drones with adjustable camera angles to capture both vertical and oblique shots.
GPS capabilities are essential for accurate mapping. Choose a drone with built-in GPS and GLONASS support for precise positioning and stable hovering.
Additionally, take into account drones with obstacle avoidance systems to navigate safely in challenging environments.
Optimize Camera Settings
Once you've chosen the right drone, it's time to fine-tune your camera settings for ideal flood mapping results. Start by setting your camera to capture RAW images, which provide more data for post-processing. Adjust your ISO to the lowest possible setting to minimize noise, typically between 100-400. Set your aperture between f/5.6 and f/8 for peak sharpness across the frame.
For shutter speed, aim for 1/1000s or faster to guarantee crisp images, even with drone movement. Use manual focus and set it to infinity to keep the entire scene in focus. Adjust your white balance to match the lighting conditions, or use auto white balance if conditions are changing rapidly.
Here's a quick reference table for ideal camera settings:
| Setting | Recommendation |
|---|---|
| Image Format | RAW |
| ISO | 100-400 |
| Aperture | f/5.6 – f/8 |
| Shutter Speed | 1/1000s or faster |
Remember to conduct test flights and adjust settings as needed based on your specific conditions and drone model. By maximizing your camera settings, you'll capture high-quality images that are vital for accurate flood mapping and analysis.
Plan Flight Path Strategically
When planning your drone's flight path for flood mapping, prioritize maximizing coverage efficiency.
You'll want to guarantee your route captures all necessary areas while minimizing flight time and battery usage.
Don't forget to take into account obstacle avoidance in your planning, accounting for buildings, trees, or other structures that might interfere with your drone's path.
Maximize Coverage Efficiency
Your drone's flight path is essential for maximizing coverage efficiency during flood mapping. To achieve ideal results, plan your route to cover the entire area systematically. Use a grid pattern with overlapping flight lines to guarantee complete coverage and reduce the risk of missed spots.
Consider the following factors when planning your flight path:
| Factor | Consideration |
|---|---|
| Altitude | Higher altitude covers more area but reduces detail |
| Speed | Slower speeds increase image quality but extend flight time |
| Battery life | Plan for multiple flights if necessary |
| Overlap | 60-80% overlap guarantees accurate stitching |
Adjust your flight parameters based on the specific requirements of your flood mapping project. For large areas, divide the region into smaller sections and map them individually. This approach allows for more manageable data processing and reduces the risk of data loss due to equipment failure or unexpected issues.
Utilize automated flight planning software to enhance your coverage efficiency. These tools can calculate the most efficient path based on your drone's capabilities and the area's topography. Remember to account for obstacles, restricted airspace, and potential landing zones when planning your flight path.
Consider Obstacle Avoidance
Carefully planning your flight path to avoid obstacles is essential for successful flood mapping. When charting your course, identify potential hazards like tall buildings, power lines, trees, and radio towers. Use up-to-date maps and satellite imagery to pinpoint these obstacles and plan routes that maintain a safe distance.
Consider the height at which you'll be flying and adjust your path accordingly. Higher altitudes may allow you to clear some obstacles, but remember that increased elevation can affect image resolution. Balance safety with data quality when making these decisions.
Be aware of temporary obstacles that may not appear on maps, such as construction cranes or emergency response vehicles. If possible, conduct a preliminary ground survey to identify any recent changes in the area.
Don't forget to account for weather conditions that could create additional obstacles, like low-hanging clouds or fog. Plan alternative routes in case you encounter unexpected visibility issues during your flight.
Lastly, program your drone with fail-safe measures, such as return-to-home functions and obstacle detection sensors, to minimize risks if you encounter unforeseen barriers during your mapping mission.
Time Your Mapping Mission
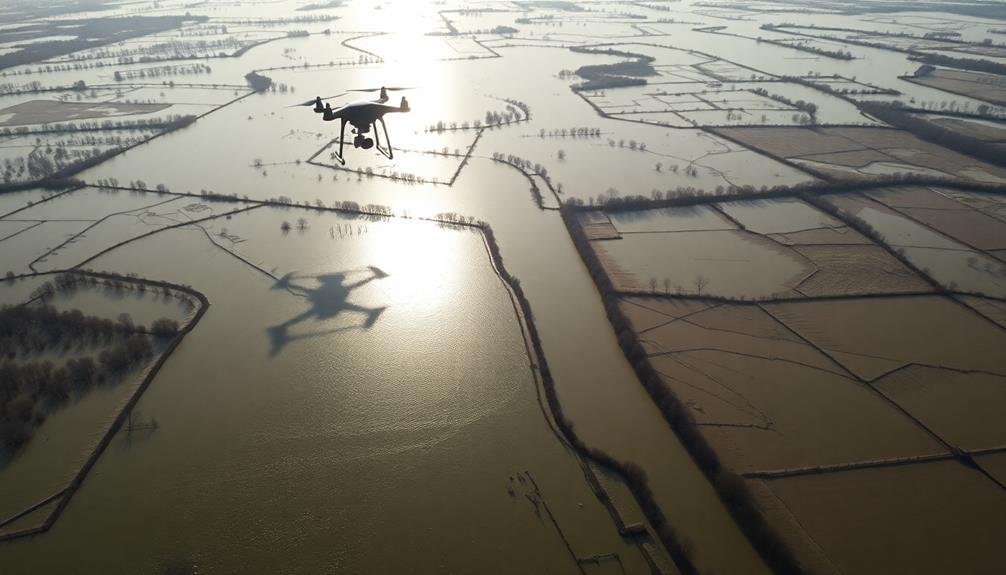
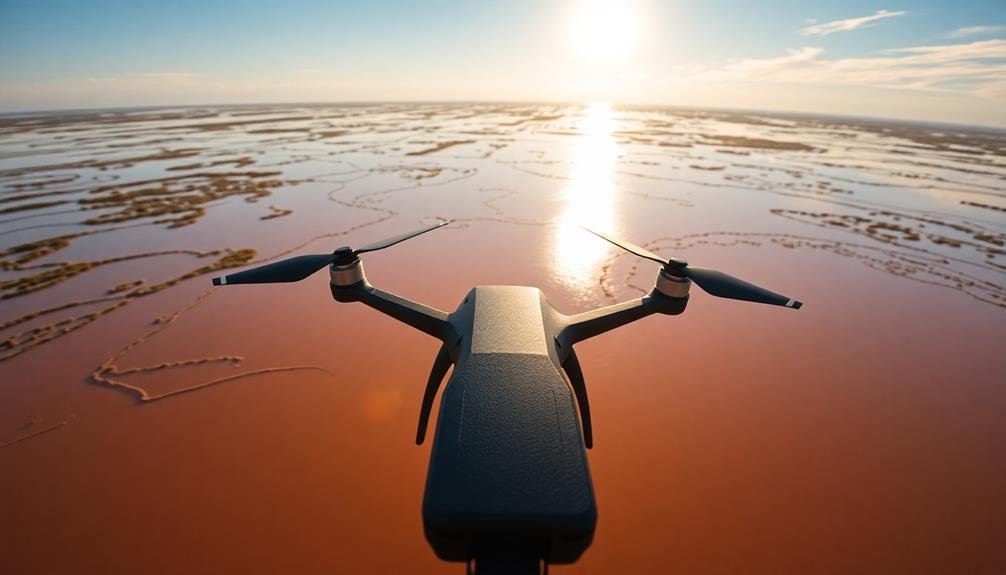
For ideal flood mapping results, timing is essential. You'll want to conduct your mission when water levels are at their peak to capture the full extent of flooding. This typically occurs shortly after the heaviest rainfall or when rivers crest. Keep a close eye on weather forecasts and local flood warnings to pinpoint the best time for your mapping flight.
Consider the time of day for your mission as well. Early morning or late afternoon flights often provide the best lighting conditions, minimizing glare and shadows that can interfere with image quality. Avoid midday sun, which can create harsh contrasts and reduce visibility of water boundaries.
Don't forget to factor in tidal influences if you're mapping coastal areas. Schedule your flight during high tide to capture the maximum flood extent. In rapidly changing flood situations, you may need to conduct multiple mapping missions over several days to track the flood's progression and recession. This sequential data can be invaluable for emergency responders and recovery efforts.
Lastly, ascertain you have the necessary permissions and comply with local regulations regarding drone flights during emergency situations.
Process Data With GIS Software
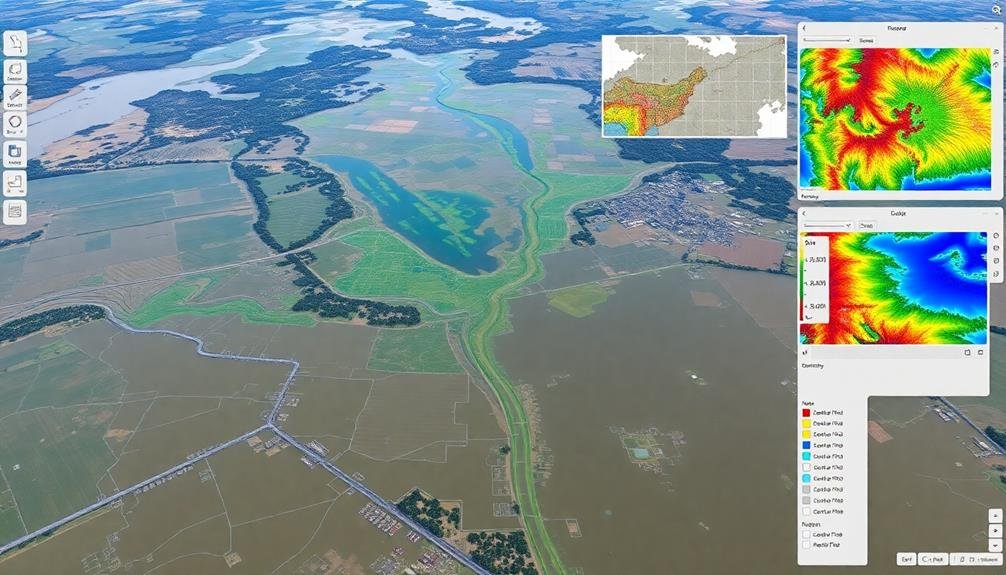
Once you've collected flood data, you'll need to process it using GIS software.
Start by layering your flood extent data over existing maps to visualize the affected areas. You can then analyze water depth information to assess severity and generate detailed inundation maps that show the full impact of the flooding.
Layer Flood Extent Data
The next essential step in flood mapping involves layering flood extent data using GIS software. You'll need to import your processed flood extent data into your chosen GIS platform. This data typically comes from satellite imagery, aerial photographs, or ground surveys.
Once imported, create a new layer specifically for the flood extent. Apply appropriate symbology to clearly distinguish the flooded areas from non-flooded regions. Use contrasting colors or patterns to make the flood extent easily visible. You might choose blue shades for inundated areas and keep dry land in neutral tones.
Adjust the layer's transparency to allow underlying base maps or other relevant layers to show through. Next, overlay additional layers that provide context and enhance your flood map's usefulness. These may include topographic data, infrastructure locations, population density, or land use information.
Ascertain each layer is properly georeferenced and aligns correctly with your flood extent data. Use layer blending modes to create informative visual combinations that highlight the flood's impact on various aspects of the affected area.
Analyze Water Depth Information
How can you gain deeper insights into flood severity? Analyzing water depth information is essential for understanding the true impact of a flood.
Start by importing your flood extent data into GIS software. You'll need to combine this with high-resolution digital elevation models (DEMs) of the affected area.
Use raster calculation tools to subtract the DEM values from the flood water surface elevation. This will give you a new raster layer showing water depth across the flooded area.
Apply a color ramp to visualize depth variations easily. Don't forget to set appropriate depth intervals for your map legend.
Next, utilize zonal statistics to calculate average depths for different areas or land use types. This can help prioritize emergency response efforts.
You can also create depth-damage curves by overlaying the depth data with infrastructure and building footprints.
For temporal analysis, compare depth information from multiple dates to track flood progression.
Consider using 3D visualization tools to create compelling representations of flood depth.
Generate Inundation Maps
Inundation map creation is an essential step in flood analysis and communication. Using Geographic Information Systems (GIS) software, you'll process the water depth data you've collected to generate these vital maps.
Start by importing your depth measurements and relevant geographic data into your chosen GIS platform.
Next, interpolate the water depth data across the study area. This process fills in gaps between measured points, creating a continuous surface of flood depths. Choose an appropriate interpolation method based on your data's characteristics and the terrain's complexity.
When creating inundation maps, consider including:
- Flood extent boundaries
- Water depth gradients
- Key infrastructure and landmarks
Once you've generated the initial map, refine it by incorporating additional data layers such as topography, land use, and building footprints. This will improve accuracy and provide context for interpreting the flood's impact.
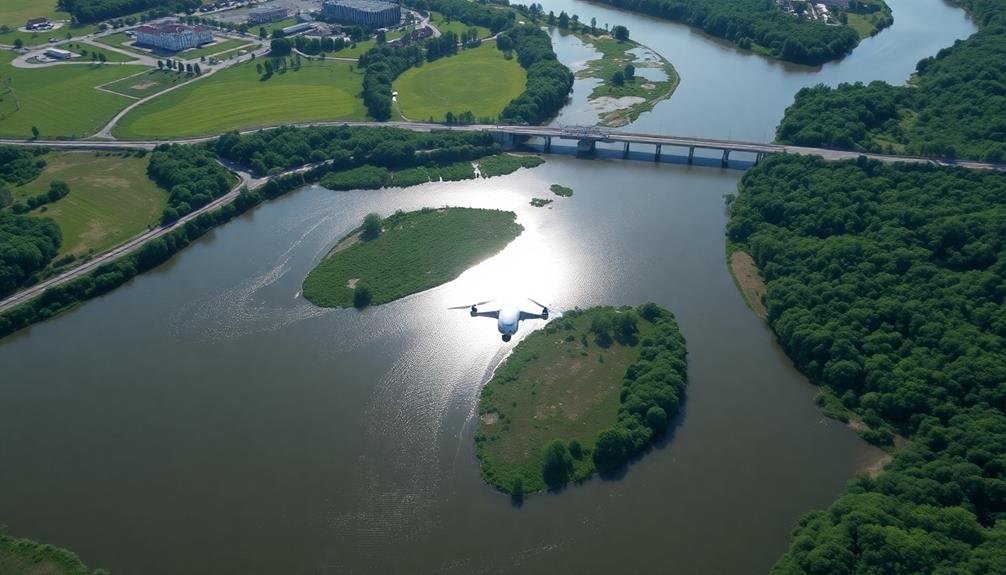
Validate Results on the Ground
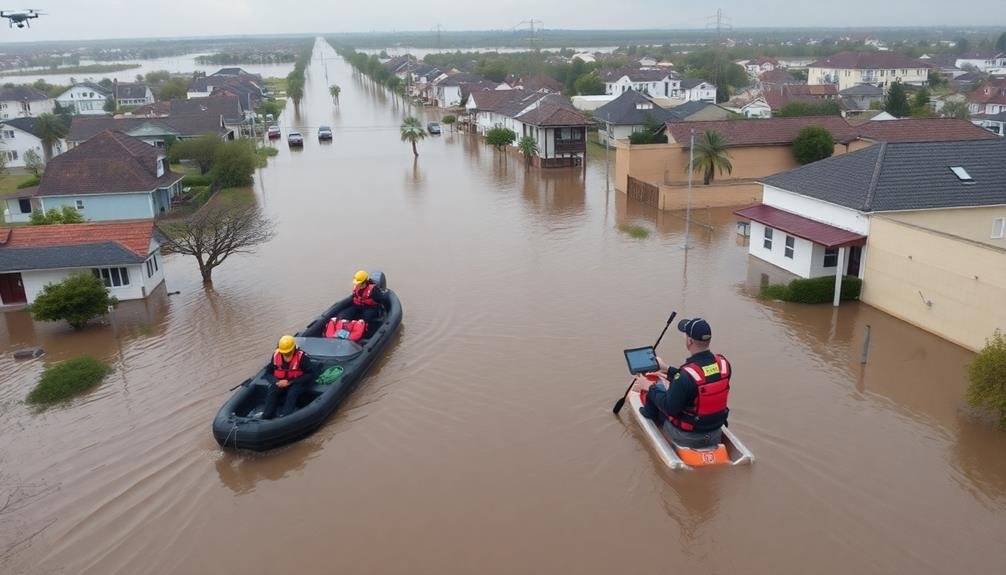
Frequently, remote sensing and modeling techniques require ground-truthing to guarantee accuracy. To validate your flood mapping results, you'll need to conduct field surveys. Start by identifying key locations where you can compare your inundation maps with actual flood levels. These spots should include areas with varying topography, land use, and flood severity.
When visiting these sites, bring GPS equipment to record precise locations. Take photographs and measurements of high-water marks, such as debris lines or water stains on buildings. Interview local residents to gather eyewitness accounts of flood extent and timing. This information can help you refine your models and improve future predictions.
Compare your field observations with your remotely sensed data and modeled results. Look for discrepancies and try to understand their causes. Are there systematic errors in your mapping approach? Did local factors, like drainage systems or temporary flood barriers, affect the results?
Use this analysis to calibrate your models and enhance their accuracy.
Share Findings With Authorities
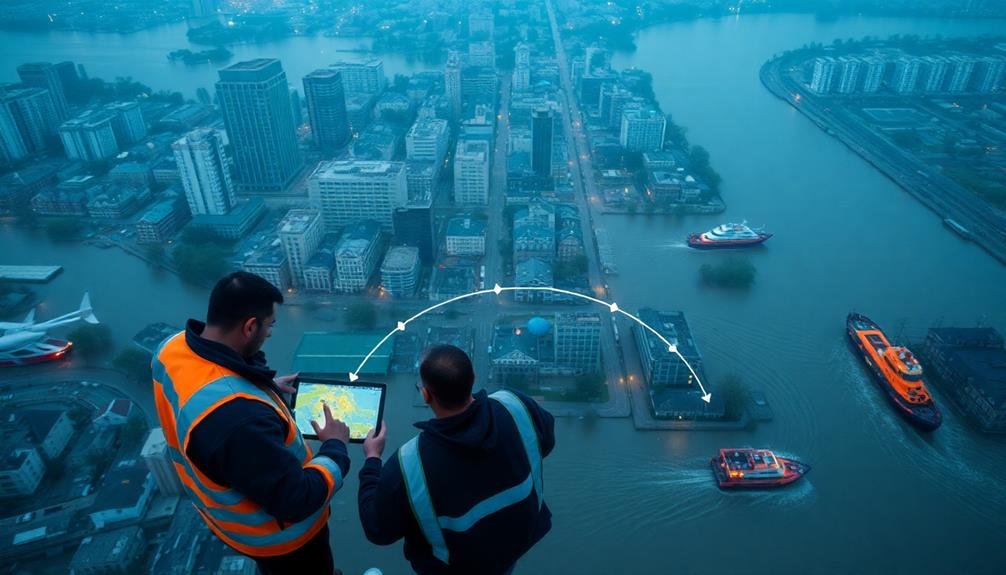
Sharing your flood mapping results with relevant authorities is an essential step in the disaster management process. Your data can help emergency responders, city planners, and relief organizations make informed decisions and allocate resources effectively.
To guarantee your findings have the maximum impact, it's imperative to present them in a clear, concise, and actionable format.
When preparing to share your flood mapping results, consider the following:
- Identify the appropriate local, state, and federal agencies responsible for flood management and disaster response
- Summarize your key findings, including the extent of flooding, affected areas, and potential risks
- Create visual aids like maps, charts, and graphs to illustrate your data clearly
Remember to provide context for your findings, explaining your methodology and any limitations of your data.
Be prepared to answer questions and offer additional information if requested. It's also important to follow up with the authorities after sharing your results to confirm they've been received and understood.
Frequently Asked Questions
How Accurate Are Flood Maps Created Using Drones?
You'll find drone-created flood maps can be highly accurate. They provide detailed, real-time imagery and elevation data. However, accuracy depends on factors like drone quality, flight height, and weather conditions. Always verify with ground-truthing when possible.
What Weather Conditions Are Ideal for Flood Mapping Missions?
You'll want clear skies and minimal wind for ideal flood mapping conditions. Avoid rain, fog, or strong gusts that could interfere with your drone's operation. Early morning or late afternoon light can enhance image quality and contrast.
Can Flood Mapping Drones Operate at Night?
You can operate flood mapping drones at night, but it's challenging. You'll need specialized thermal or night vision cameras. Be aware of local regulations, as many areas restrict nighttime drone flights. Consider safety risks in low-light conditions.
How Often Should Flood Maps Be Updated During an Ongoing Event?
You'll want to update flood maps frequently during an ongoing event. Aim for hourly updates in rapidly changing situations. If conditions are more stable, updates every 3-6 hours can suffice. Always prioritize safety when collecting data.
What Legal Considerations Exist for Drone-Based Flood Mapping in Populated Areas?
You'll need to take into account privacy laws, airspace regulations, and property rights when using drones for flood mapping in populated areas. It's essential to obtain necessary permits and follow local guidelines to avoid legal issues.
In Summary
You've now got the key steps for effective flood mapping using drones. Remember, it's all about preparation, execution, and follow-through. Choose your equipment wisely, plan your flight carefully, and process your data thoroughly. Don't forget to verify your findings on the ground and share them with relevant authorities. With these tips, you'll be well-equipped to provide valuable information during flood events. Keep practicing and refining your techniques for even better results.
As educators and advocates for responsible drone use, we’re committed to sharing our knowledge and expertise with aspiring aerial photographers.


Leave a Reply