
HDR photography for drones combines multiple exposures to capture a wider range of tones, enhancing details in both bright and dark areas. You'll need a drone with bracketing capabilities, ND filters, and fast memory cards. Shoot in RAW using Auto Exposure Bracketing, ideally with at least three exposures. Post-processing software like Adobe Lightroom or Aurora HDR is essential for merging and adjusting your images. Common challenges include exposure balancing and motion blur, but techniques like graduated filters and increased shutter speeds can help. By mastering HDR drone photography, you'll create stunning aerial images with enhanced dynamic range and professional quality. There's a world of aerial artistry waiting to be explored.
Key Takeaways
- HDR photography for drones combines multiple exposures to capture a wider range of tones in high-contrast scenes.
- It requires a drone with bracketing capabilities and post-processing software to merge images for enhanced detail.
- Shooting in RAW format with Auto Exposure Bracketing (AEB) is essential for capturing the necessary exposure range.
- Proper techniques include using manual mode, maintaining drone stability, and adjusting settings for optimal exposure.
- Post-processing involves merging bracketed images, tone mapping, and careful adjustment to achieve a natural-looking result.
Understanding HDR Photography Basics
If you're new to HDR photography, you're in for a treat. HDR, or High Dynamic Range, is a technique that combines multiple exposures of the same scene to create a single image with a wider range of tones and details. This method is particularly useful in high-contrast situations where a single exposure can't capture all the details in both bright and dark areas.
To create an HDR image, you'll typically take at least three photos of the same scene: one underexposed, one correctly exposed, and one overexposed. These images are then merged using specialized software to produce a final photo with enhanced detail and dynamic range.
When shooting for HDR, it's essential to use a tripod or, in the case of drones, a stable hovering position to guarantee your images align perfectly.
You'll also want to shoot in RAW format to preserve as much data as possible. Many modern drones now offer built-in HDR modes, which can simplify the process by automatically capturing and merging multiple exposures.
However, understanding the basics of manual HDR shooting will give you more control over your final results.
Benefits of HDR for Drone Shots

Frequently, drone photographers encounter challenging lighting conditions that make it difficult to capture scenes with a wide dynamic range. HDR photography for drones offers several benefits that can help you overcome these obstacles and produce stunning aerial images.
HDR techniques allow you to capture a broader range of tones, from deep shadows to bright highlights, resulting in more balanced and detailed photographs. You'll be able to preserve information in both the darkest and brightest areas of your shots, creating images that more closely resemble what the human eye sees.
By using HDR for your drone shots, you can:
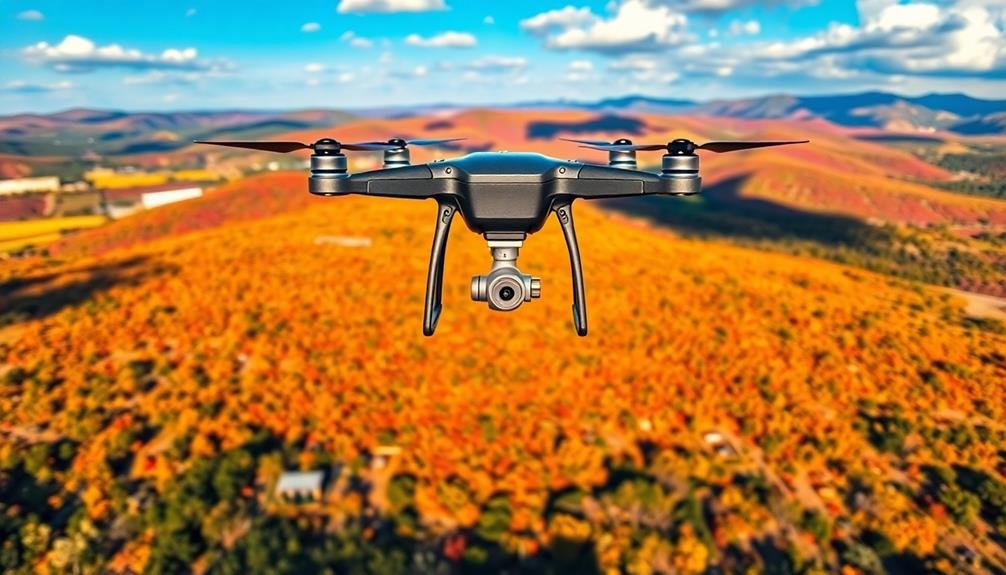
- Enhance landscape details, revealing textures in both sky and terrain
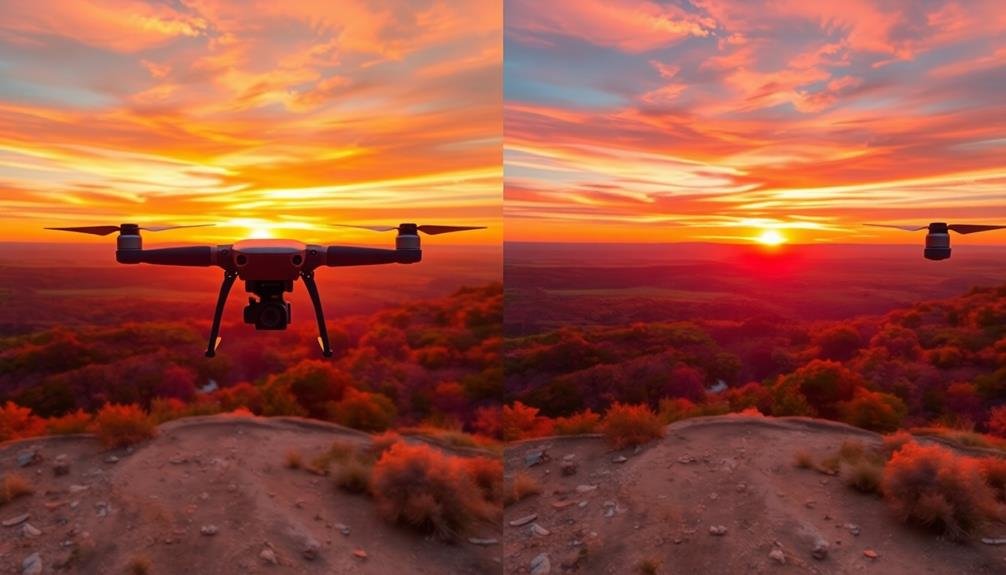
- Capture dramatic sunsets without losing foreground details
- Improve indoor-outdoor shifts when shooting through windows or doorways
- Reduce glare and reflections on water surfaces
- Create more vibrant and eye-catching images for real estate or architectural photography
HDR drone photography also gives you more flexibility in post-processing, allowing you to fine-tune your images and achieve your desired look.
With practice, you'll be able to produce professional-quality aerial photographs that stand out from standard drone shots.
Essential Equipment for HDR Drone Photography
To capture stunning HDR drone photographs, you'll need a few essential pieces of equipment beyond just your drone.
First and foremost, make certain your drone has a camera capable of bracketing exposures. Many modern drones come with this feature built-in, but if yours doesn't, you may need to upgrade.
A reliable remote controller with a clear display is vital for adjusting camera settings and framing your shots. Consider investing in a controller with a built-in screen or one that can securely hold your smartphone or tablet.
ND filters are indispensable for controlling light in bright conditions. They'll help you achieve longer exposures and create smoother motion blur in your HDR images. A set of filters with varying strengths will give you more flexibility in different lighting situations.
Don't forget about storage. High-capacity, fast-writing memory cards are essential for storing multiple bracketed exposures. Opt for cards with at least 64GB capacity and UHS-I or UHS-II speed ratings.
Lastly, invest in extra batteries. HDR photography often requires multiple shots, which can drain your drone's battery quickly. Having spares will extend your shooting time and make certain you don't miss any perfect moments.
Capturing HDR Images With Your Drone

To capture stunning HDR images with your drone, you'll need to master the essential camera settings and bracketing techniques.
Start by adjusting your drone's camera to shoot in RAW format and use the AEB (Auto Exposure Bracketing) feature to take multiple exposures of the same scene.
Once you've captured your bracketed images, you'll combine them in post-processing software to create a final HDR photo with enhanced dynamic range and detail.
Camera Settings for HDR
Capturing stunning HDR images with your drone requires careful attention to camera settings. You'll need to adjust your camera to bracket exposures, typically taking at least three shots at different exposure levels.
Set your drone's camera to manual mode, allowing you full control over aperture, shutter speed, and ISO.
For ideal HDR results, consider these key settings:
- Aperture: Choose a mid-range f-stop (f/8 to f/11) for good depth of field
- ISO: Keep it low (100-400) to minimize noise
- Shutter speed: Vary this for your exposure brackets
- Bracketing: Set 1-2 stop intervals between exposures
- White balance: Use a fixed setting, not auto
Start with a base exposure, then capture underexposed and overexposed images.
You'll want to guarantee your slowest shutter speed is fast enough to avoid motion blur from the drone's movement. If your drone has an AEB (Auto Exposure Bracketing) feature, use it to streamline the process.
Remember to shoot in RAW format for maximum flexibility in post-processing.
Bracketing Exposure Techniques
When it comes to bracketing exposure techniques for HDR drone photography, precision is key. You'll need to capture multiple images of the same scene at different exposure levels to create a high dynamic range composite.
Start by setting your drone's camera to Aperture Priority mode, which allows you to control the depth of field while the camera adjusts shutter speed.
For most scenes, a three-shot bracket is sufficient. Set your camera to take one properly exposed shot, one underexposed by 1-2 stops, and one overexposed by 1-2 stops.
If you're shooting a high-contrast scene, consider a five-shot bracket with -2, -1, 0, +1, and +2 EV (exposure value) steps.
Use your drone's auto-bracketing feature if available, as it'll streamline the process and reduce the risk of movement between shots.
If your drone doesn't have this feature, you'll need to adjust exposure compensation manually between shots.
Remember to keep your drone as still as possible during the bracketing sequence to guarantee sharp, aligned images.
With practice, you'll master the art of capturing perfectly bracketed exposures for stunning HDR drone photography.
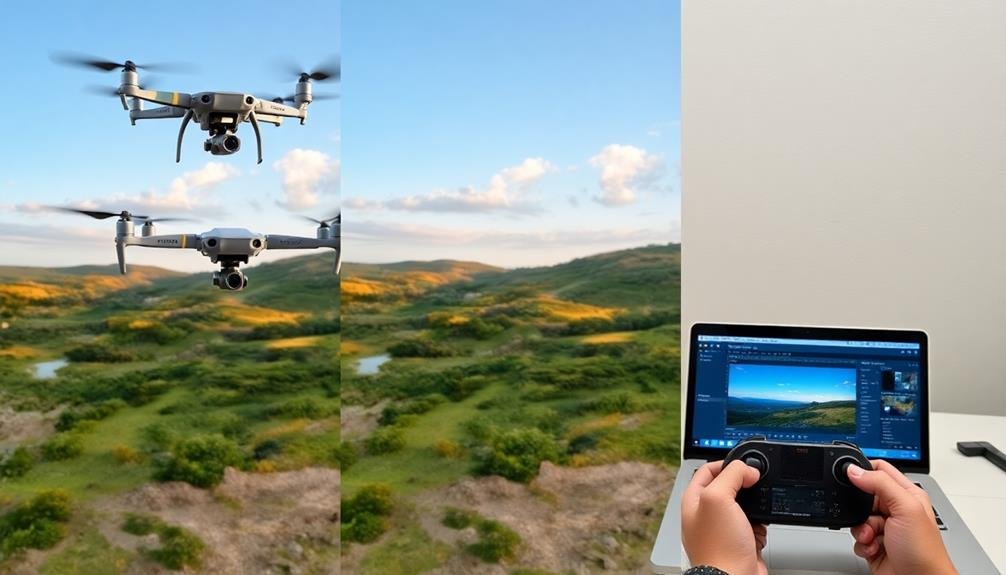
Post-Processing HDR Photos
After capturing your bracketed exposures, it's time to plunge into post-processing your HDR drone photos. You'll need specialized software like Adobe Lightroom, Photomatix, or Aurora HDR to merge your bracketed images into a single HDR photo. These programs align your shots and combine the best-exposed parts of each image.
Start by importing your bracketed exposures into your chosen software. Select the images you want to merge and initiate the HDR process. Adjust settings like deghosting, alignment, and tone mapping to fine-tune your result. Once you're satisfied with the merged image, you can further enhance it using standard editing tools.
When post-processing your HDR drone photos, keep these key points in mind:
- Maintain a natural look by avoiding over-saturation
- Pay attention to shadow and highlight details
- Reduce noise that may have been amplified during the HDR process
- Correct any lens distortion or chromatic aberration
- Crop and straighten your image for best composition
Post-Processing HDR Drone Photos

The real magic of HDR drone photography happens during post-processing. After capturing your bracketed exposures, you'll need to merge them into a single HDR image.
Start by importing your RAW files into specialized HDR software like Adobe Lightroom, Photomatix, or Aurora HDR. These programs will align your images and blend them, creating a high dynamic range composite.
Once merged, you'll need to tone map the HDR image to make it suitable for display on standard screens. This process involves adjusting contrast, highlights, shadows, and color saturation.
Be careful not to overdo it; aim for a natural look that maintains the expanded dynamic range without appearing artificial.
Pay special attention to the sky in your drone HDR photos. You'll often need to balance the bright sky with darker ground elements.
Use graduated filters or masks to selectively adjust different areas of the image. Don't forget to remove any artifacts or ghosting caused by moving objects between exposures.
Common Challenges and Solutions
When creating HDR drone images, you'll likely encounter exposure balancing issues, particularly in scenes with extreme contrast.
To address this challenge, you can bracket your exposures more widely or use graduated neutral density filters to even out the light.
For motion blur mitigation, increase your shutter speed, use a drone with a stabilized gimbal, and shoot in calm weather conditions to guarantee sharp, well-aligned images for your HDR composition.
Exposure Balancing Issues
As you venture into HDR drone photography, exposure balancing issues can quickly become a frustrating roadblock. These challenges arise from the extreme contrasts in lighting conditions you'll encounter while shooting from the air.
To overcome these hurdles, you'll need to master the art of balancing exposures across multiple shots.
When facing exposure balancing issues, you might encounter:
- Overexposed skies
- Underexposed foregrounds
- Loss of detail in shadows
- Blown-out highlights
- Color inconsistencies between frames
To address these problems, start by using your drone's bracketing feature to capture a range of exposures. Aim for at least three shots: one underexposed, one properly exposed, and one overexposed.
If your scene has particularly high contrast, consider taking five or seven bracketed shots.
Next, use post-processing software to merge your bracketed images. Many programs offer automatic HDR merging, but you'll often need to fine-tune the results manually.
Pay close attention to highlight and shadow recovery, and use local adjustments to balance exposure across different areas of your image.
With practice, you'll develop an eye for creating natural-looking HDR drone photos that capture the full dynamic range of your aerial scenes.
Motion Blur Mitigation
While mastering exposure balancing is key, another significant challenge in HDR drone photography is motion blur. When capturing multiple exposures for HDR, even slight movement can result in misaligned images and ghosting effects. To mitigate this issue, you'll need to employ several techniques.
First, guarantee your drone is as stable as possible. Use GPS positioning and hover mode to maintain a fixed position. If available, activate any built-in image stabilization features. Consider using a higher shutter speed for each exposure, which will help freeze motion but may require adjusting your ISO or aperture to compensate.
You can also try bracketing your shots more quickly. Many drones offer automatic exposure bracketing (AEB) modes that capture multiple exposures in rapid succession, reducing the chance of movement between frames. If your drone doesn't have AEB, practice taking manual exposures quickly.
In post-processing, use software with advanced alignment and deghosting tools. These can help correct minor misalignments and remove artifacts caused by movement.
However, remember that prevention is better than cure – aim for the cleanest possible shots in-camera to minimize reliance on post-processing fixes.
Inspiring HDR Drone Photography Examples
Over the years, HDR drone photography has evolved to produce stunning, eye-catching images that push the boundaries of aerial imagery. These alluring shots showcase the full potential of combining high dynamic range techniques with the unique perspectives offered by drones.
When you're seeking inspiration for your own HDR drone photography, consider these awe-inspiring examples:
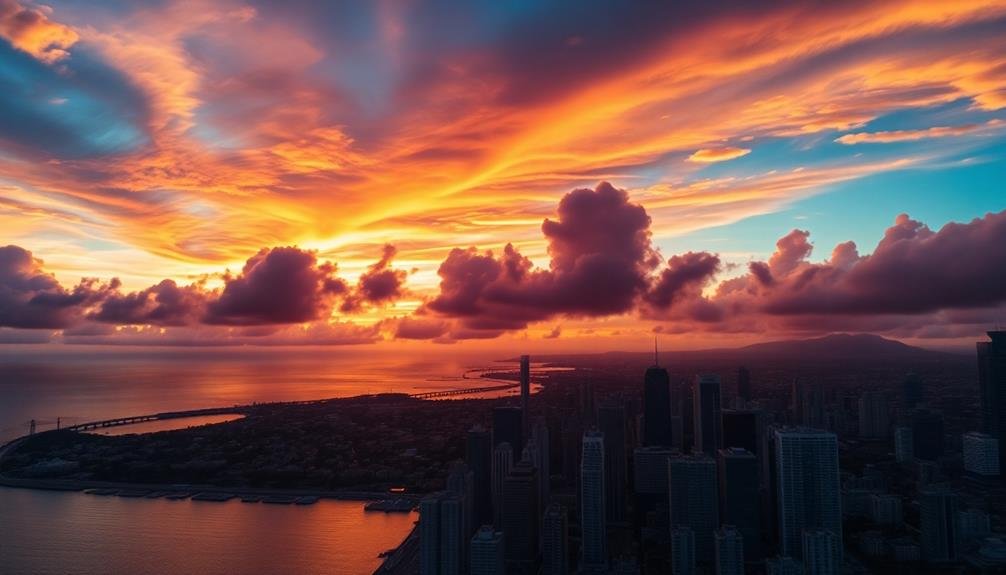
- Cityscapes at twilight, where the fading sunlight contrasts with illuminated buildings
- Dramatic landscapes featuring both shadowy valleys and sun-drenched mountaintops
- Seascapes that capture the interplay of light on water, from deep ocean blues to foamy white breakers
- Industrial zones with intricate details in both bright metal structures and dark recesses
- Agricultural fields with vibrant colors and textures spanning vast areas
These examples demonstrate how HDR techniques can reveal details in both highlights and shadows, creating images with depth and dimensionality that traditional photography often misses.
By studying these shots, you'll gain insights into composition, lighting, and post-processing techniques that can elevate your own drone photography.
Frequently Asked Questions
Can HDR Drone Photography Be Done in Low-Light Conditions?
Yes, you can use HDR drone photography in low-light conditions. It'll help capture details in both shadows and highlights. However, you'll need a drone with good low-light performance and may need to use longer exposure times.
How Does HDR Affect Battery Life When Shooting With Drones?
HDR can drain your drone's battery faster because it's taking multiple shots for each image. You'll need to capture several exposures, which increases processing time and power consumption. Plan for shorter flight times when using HDR.
Are There Any Legal Restrictions for HDR Drone Photography?
You'll find that HDR drone photography itself doesn't have specific legal restrictions. However, you must follow general drone laws regarding flight altitude, no-fly zones, privacy concerns, and local regulations when capturing HDR images with your drone.
Can HDR Be Applied to Drone Videos, or Only Still Images?
Yes, you can apply HDR to drone videos. It's not just for still images. You'll need capable drone hardware and video editing software to achieve this effect. It'll enhance your footage's dynamic range and visual impact.
What File Formats Are Best for Storing HDR Drone Photographs?
For HDR drone photos, you'll want to use RAW formats like DNG or ARW. They preserve more data and give you greater editing flexibility. For finished HDR images, consider 16-bit TIFF or high-quality JPEG formats.
In Summary
You've now got the tools to elevate your drone photography with HDR techniques. Remember to experiment with exposure bracketing, invest in quality equipment, and master post-processing skills. Don't be discouraged by initial challenges; practice makes perfect. As you apply these methods, you'll capture stunning images with enhanced detail and dynamic range. Keep pushing your creative boundaries, and soon you'll be producing breathtaking HDR drone shots that stand out from the crowd.
As educators and advocates for responsible drone use, we’re committed to sharing our knowledge and expertise with aspiring aerial photographers.


Leave a Reply