To edit your sky-high photography, start by selecting suitable editing software that supports raw files. Import and organize your images using a consistent folder structure. Adjust white balance and exposure to enhance overall brightness and color accuracy. Fine-tune colors and contrast to make your aerial shots pop. Correct any lens distortion to guarantee straight lines and proper perspective. Apply sharpening and noise reduction techniques to improve image clarity. Experiment with creative filters for unique effects. Crop and straighten your images to perfect composition. Finally, export your edited photos in appropriate formats for various platforms. Mastering these steps will transform your aerial images into stunning works of art.
Key Takeaways
- Select appropriate editing software based on your skill level and requirements, considering options like Adobe Photoshop or budget-friendly alternatives.
- Import and organize raw files using a logical folder structure and consistent naming conventions for efficient workflow management.
- Adjust white balance, exposure, and color enhancement to optimize the overall look of your aerial photographs.
- Apply lens correction techniques and remove unwanted objects to refine composition and improve image quality.
- Finalize images with sharpening, noise reduction, and creative filters before exporting in appropriate formats for various platforms.
Choose Your Editing Software
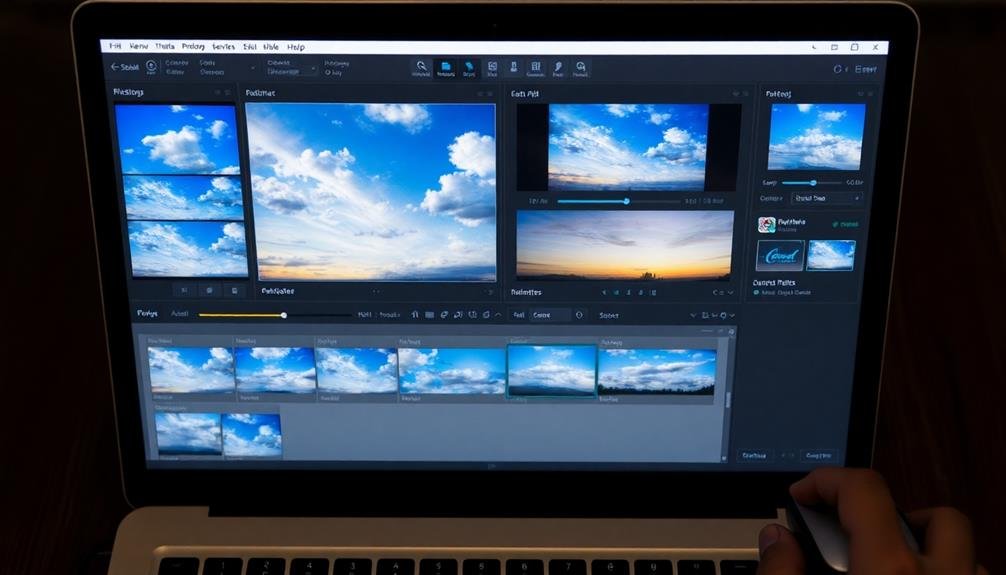
Photographers face a significant decision when it comes to editing their aerial shots: selecting the right software. You'll want to choose a program that offers powerful tools specifically designed for enhancing sky-high imagery. Consider industry-standard options like Adobe Photoshop and Lightroom, which provide extensive features for color correction, sharpening, and perspective adjustments.
If you're looking for more specialized software, DxO PhotoLab and Capture One excel in raw file processing and lens correction, essential for aerial photography. For those on a budget, free alternatives like GIMP and Darktable offer robust editing capabilities without the price tag.
When making your choice, factor in your skill level and workflow preferences. Beginners might prefer user-friendly interfaces with guided tutorials, while seasoned editors may prioritize advanced features and customization options.
Consider the software's compatibility with your camera's raw files and your computer's operating system.
Don't overlook the importance of organization tools. Aerial shoots often generate numerous images, so software with efficient cataloging and tagging features can streamline your workflow.
Ultimately, select a program that aligns with your editing style and helps you achieve your creative vision for sky-high photography.
Import and Organize Raw Files

To kickstart your aerial photo editing workflow, you'll need robust photo management software to handle your raw files efficiently.
Select a program that offers strong organizational features and seamless integration with your chosen editing software.
Once you've picked your tool, create a logical folder structure that makes it easy to locate and sort your sky-high captures, ensuring you can quickly access the images you need when it's time to edit.
Choose Photo Management Software
Nearly every aerial photographer needs robust photo management software to handle the influx of raw files from a shoot.
You'll want to choose a program that can efficiently organize, tag, and edit your sky-high captures. Popular options include Adobe Lightroom, Capture One, and ON1 Photo RAW.
When selecting your software, consider these key factors:
- Raw file support: Verify the program can handle your camera's specific raw format.
- Organizational tools: Look for features like keyword tagging, star ratings, and smart collections.
- Non-destructive editing: Choose software that allows you to make changes without altering original files.
- Batch processing: This feature saves time when applying edits to multiple images.
- Cloud integration: If you're often on the go, cloud storage and syncing capabilities are essential.
- User interface: Pick a program with an intuitive layout that suits your workflow.
- Performance: Opt for software that can handle large files without lag on your system.
- Cost: Consider both one-time purchases and subscription-based models.
Test drive a few options before committing.
Many programs offer free trials, allowing you to find the best fit for your aerial photography needs.
Create Efficient Folder Structure
Organization is the backbone of efficient aerial photo management. To create an effective folder structure for your sky-high photography, start by establishing a root folder for all your aerial projects.
Within this main folder, create subfolders for each specific shoot or location. Name your folders using a consistent format, such as "YYYY-MM-DD_Location" or "ProjectName_Date". This naming convention will make it easier to locate specific shoots later.
Inside each project folder, create additional subfolders for raw files, edited images, and final exports. When importing your raw files, use your chosen photo management software to automatically sort them into these pre-established folders.
Consider creating separate subfolders for different cameras or drone models if you're using multiple devices. To further streamline your workflow, implement a rating or color-coding system for your images during the import process.
This will help you quickly identify your best shots and prioritize your editing tasks. Regularly back up your folder structure to an external hard drive or cloud storage service to protect your valuable aerial photography work.
Adjust White Balance and Exposure
Almost every aerial photograph requires adjustments to white balance and exposure. These fundamental edits can dramatically improve your sky-high shots, ensuring colors are accurate and details are visible in both highlights and shadows.
Start with white balance. Use your editing software's eyedropper tool to select a neutral gray or white area in your image. This will automatically adjust the color temperature, removing any unwanted color casts. If you're not satisfied, manually adjust the temperature slider, moving it towards blue for cooler tones or yellow for warmer ones.
Next, tackle exposure. Begin by adjusting the overall brightness using the exposure slider. Be careful not to blow out highlights or crush shadows. Use the highlights and shadows sliders to fine-tune these areas separately. The whites and blacks sliders can help increase contrast and add depth to your image.
Don't forget about the clarity, texture, and dehaze tools. These can enhance the details in your aerial shots, making clouds more defined and landscapes crisper. However, use these sparingly to avoid an over-processed look.
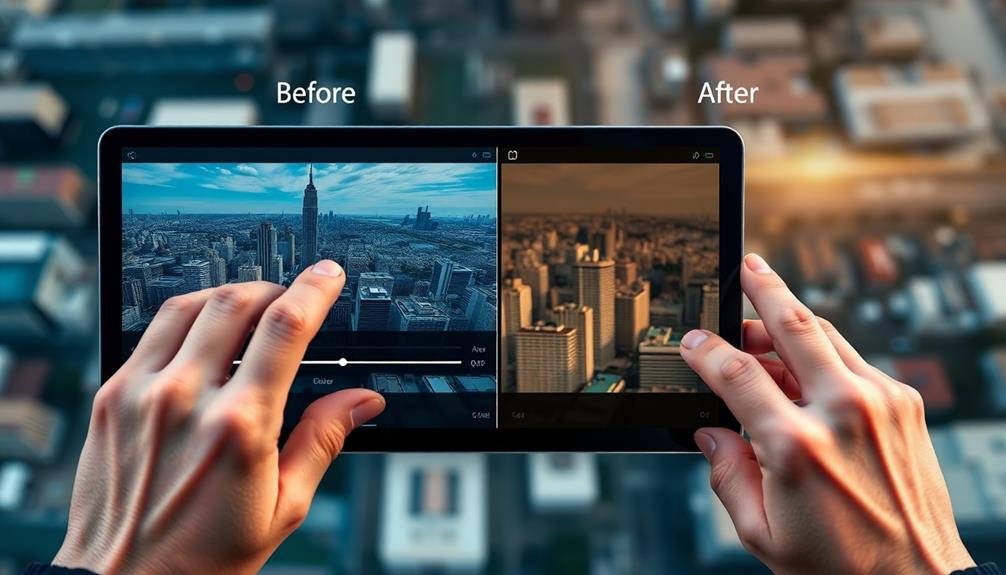
Enhance Colors and Contrast
To enhance colors and contrast in your sky-high photography, you'll want to focus on three key areas.
First, adjust the saturation and vibrancy to make your colors pop without appearing unnatural.
Next, fine-tune the white balance to guarantee accurate color representation across your image.
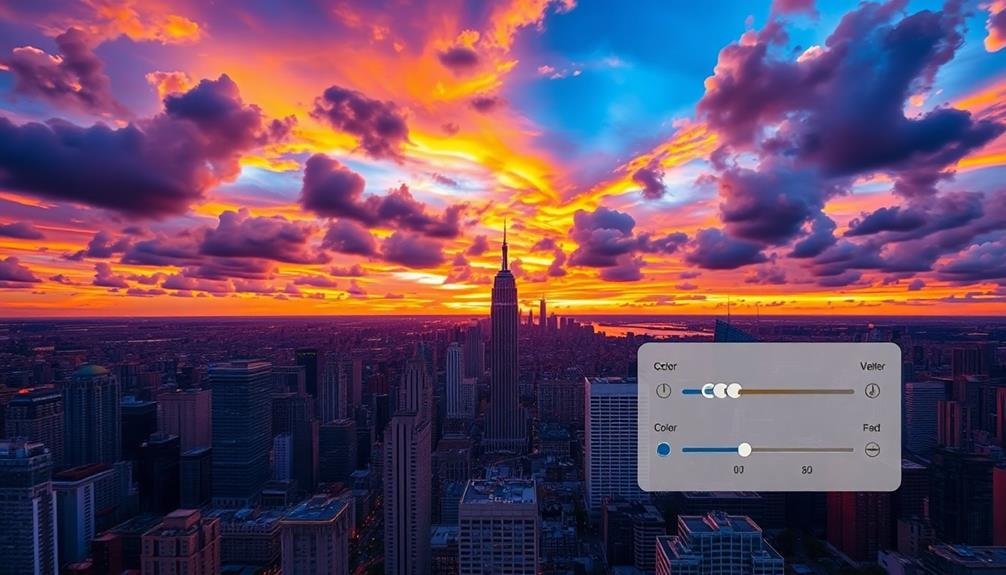
Adjust Saturation and Vibrancy
When enhancing aerial photos, adjusting saturation and vibrancy can dramatically transform your images. These two tools, though similar, affect your photos differently. Saturation increases the intensity of all colors uniformly, while vibrancy selectively boosts less saturated colors and protects skin tones.
Start by tweaking the saturation slider. Be cautious, as oversaturation can make your aerial shots look unnatural and garish. Instead, aim for a subtle boost that enhances the existing colors without overpowering them.
Pay special attention to blue skies and green landscapes, as these often benefit most from careful saturation adjustments.
Next, fine-tune the vibrancy. This tool is particularly useful for aerial photography, as it can bring out muted colors in distant landscapes without affecting areas that are already colorful.
It's especially effective for enhancing sunrise or sunset shots, where you want to accentuate the warm hues without oversaturating the entire image.
Fine-tune White Balance
After adjusting saturation and vibrancy, fine-tuning the white balance is crucial for enhancing colors and contrast in your aerial photos.
White balance guarantees that the colors in your image appear natural and true to life, regardless of the lighting conditions during your shoot. To achieve this, you'll need to adjust the color temperature and tint of your image.
Start by selecting a neutral reference point in your photo, such as a white or gray area. Use your editing software's white balance tool to click on this point, allowing the program to automatically adjust the overall color balance.
If you're not satisfied with the result, manually adjust the temperature slider to make the image warmer (more yellow) or cooler (more blue).
Fine-tuning white balance can dramatically improve your aerial shots:
- Eliminate color casts caused by atmospheric haze or sunlight
- Enhance the natural beauty of landscapes and cityscapes
- Create a cohesive look across a series of photos taken at different times
Don't be afraid to experiment with different white balance settings to achieve your desired look.
Remember that aerial photography often involves unique lighting conditions, so trust your artistic vision while maintaining a natural appearance in your final image.
Optimize Highlights and Shadows
How can you make your aerial photos truly pop? The key lies in optimizing highlights and shadows. Start by adjusting the exposure to balance the overall brightness. Then, focus on recovering details in the brightest and darkest areas of your image.
Use the highlights slider to bring back details in overexposed areas like clouds or bright reflections. For shadows, increase the slider to reveal details in darker regions, such as forests or building shadows. Be careful not to overdo these adjustments, as they can lead to unnatural-looking results.
Here's a quick guide to highlight and shadow adjustments:
| Adjustment | Effect | Recommended Range |
|---|---|---|
| Highlights | Recovers bright areas | -100 to +50 |
| Shadows | Brightens dark areas | -50 to +100 |
| Whites | Adjusts white point | -50 to +50 |
| Blacks | Adjusts black point | -50 to +50 |
| Contrast | Enhances overall contrast | -50 to +50 |
Don't forget to use the clarity slider to add mid-tone contrast, which can enhance texture and definition in your aerial shots. Finally, experiment with dehaze to cut through atmospheric haze and reveal distant details in your sky-high photography.
Correct Lens Distortion
Lens distortion can be the bane of aerial photographers. It's especially noticeable in wide-angle shots, causing straight lines to appear curved and objects near the edges to look stretched. To correct this issue, you'll need to use your editing software's lens correction tools.
Start by identifying the type of distortion you're dealing with:
- Barrel distortion: Lines bow outward, creating a bulging effect
- Pincushion distortion: Lines bow inward, creating a pinched effect
- Mustache distortion: A combination of barrel and pincushion distortion
Once you've identified the distortion, apply the appropriate correction. Most editing software offers automatic lens profiles that can fix distortion based on your camera and lens model. If these aren't available, you'll need to manually adjust the distortion parameters.
Pay close attention to horizontal and vertical lines in your image, such as building edges or horizons. Adjust the correction until these lines appear straight.
Be careful not to overcorrect, as this can lead to unnatural-looking results. After applying lens correction, you may need to crop your image slightly to remove any blank areas created by the adjustment.
Remove Unwanted Objects

Aerial photography often captures more than intended, including distracting elements that can detract from your composition. To create a cleaner, more impactful image, you'll need to remove these unwanted objects during post-processing.
Start by identifying the objects you want to remove. These might include power lines, vehicles, or random debris on the ground. Use your editing software's selection tools to isolate these elements precisely. The clone stamp tool is ideal for replacing small objects with nearby textures.
For larger areas, try the content-aware fill feature, which intelligently replaces the selected area with surrounding content. When removing objects, pay close attention to shadows and reflections. These can often reveal the presence of a removed object, so be sure to address them as well.
Use healing brushes to smooth out any remaining imperfections or blend edges seamlessly. For complex removals, consider using multiple layers. This approach allows you to work non-destructively and fine-tune your edits.
Remember to zoom in and out frequently to guarantee your changes look natural at different scales. With practice, you'll be able to create pristine aerial images that showcase only the elements you want to highlight.
Sharpen and Reduce Noise
Sharpening and noise reduction are vital steps in refining your aerial images. These techniques can greatly enhance the overall quality of your sky-high photography, bringing out details and reducing unwanted graininess.
Start by applying a gentle sharpening filter to your image, focusing on edges and textures. Be cautious not to over-sharpen, as this can create artificial-looking results.
Next, address noise reduction. High-altitude shots often suffer from digital noise due to low light conditions or high ISO settings. Use your editing software's noise reduction tool to smooth out grainy areas while preserving important details. It's important to find the right balance between noise reduction and maintaining image sharpness.
When working on sharpening and noise reduction, keep these key points in mind:
- Zoom in to 100% to accurately assess the effects of your adjustments
- Work on a duplicate layer to preserve your original image
- Use a mask to selectively apply sharpening and noise reduction to specific areas
Apply Creative Filters
Creative filters can transform your aerial images and enhance their overall impact.
You'll find that applying mood-enhancing filters can dramatically alter the atmosphere of your shots, while experimenting with color effects allows you to push boundaries and create unique visuals.
For a timeless appeal, try adding vintage or retro looks to give your sky-high photographs a nostalgic charm.
Enhance Mood With Filters
With the right filters, you can transform the mood of your aerial shots and create stunning visual effects. Filters allow you to manipulate colors, contrast, and textures, giving your sky-high photography a unique atmosphere.
Start by experimenting with preset filters in your editing software, then fine-tune the settings to achieve your desired look.
Consider using warm filters to enhance golden hour shots, creating a cozy and inviting ambiance. For a more dramatic effect, try high-contrast filters that accentuate the shadows and highlights in your aerial landscapes.
Cool-toned filters can add a sense of mystery or tranquility to your images, perfect for misty mountain views or serene ocean scenes.
When enhancing mood with filters, keep these tips in mind:
- Adjust the filter intensity to maintain a natural look
- Pay attention to how filters affect different elements in your composition
- Combine multiple filters for more complex effects
Experiment With Color Effects
Beyond enhancing mood, you can push your aerial photography even further by experimenting with creative color effects. Start by adjusting the hue and saturation sliders in your editing software to create unique color palettes.
Try shifting the overall color temperature to cooler or warmer tones, dramatically altering the atmosphere of your image.
Explore split-toning techniques to add contrasting colors to the highlights and shadows, creating a surreal or cinematic look. You can also experiment with selective color adjustments, enhancing or muting specific hues to draw attention to particular elements in your aerial shots.
Consider applying gradient filters to simulate dramatic lighting conditions or create a color wash effect across your image. For a more artistic approach, try creating double exposures or using blend modes to overlay textures or patterns onto your sky-high photographs.
Don't shy away from bold color grading techniques like cross-processing or emulating vintage film looks. These effects can add character and uniqueness to your aerial imagery.
Remember to save your original file and work on a copy, allowing you to revert changes or try multiple color variations without losing your initial edit.
Add Vintage/Retro Looks
While modern aerial photography often emphasizes crisp, clean imagery, adding vintage or retro looks can give your shots a unique and nostalgic charm. To achieve this effect, you'll need to experiment with various filters and adjustments in your editing software.
Start by reducing the overall saturation of your image to create a faded look. Then, adjust the color balance to introduce a slight tint, such as sepia or cool blue, depending on the era you're trying to emulate.
Add grain or noise to simulate the texture of old film, and consider applying a vignette effect to darken the edges of your photo.
Many editing programs offer preset vintage filters, which can serve as a great starting point. However, don't be afraid to fine-tune these presets to suit your specific image.
Some popular vintage looks include:
- 1970s-style warm, golden hues
- Black and white with high contrast for a classic 1950s feel
- Faded pastels reminiscent of old postcards
Crop and Straighten Images
Cropping and straightening your aerial images can dramatically improve their composition and visual appeal. Start by opening your photo in your preferred editing software.
Look for the crop tool, usually represented by a square icon. As you adjust the crop, pay attention to the rule of thirds, placing key elements along the gridlines or at their intersections.
Consider the aspect ratio that best suits your image and intended use. For Instagram, a 1:1 square crop might be ideal, while a wider panoramic crop could work well for landscape shots.
Don't be afraid to crop tightly to eliminate distractions and focus on the most interesting parts of your aerial scene.
Next, use the straighten tool to correct any tilted horizons or misaligned elements. Most editing software allows you to draw a line along what should be straight, automatically adjusting the image.
For aerial shots, look for natural straight lines like coastlines, roads, or building edges to guide your straightening.
Export for Various Platforms

Once you've perfected your aerial image's composition, it's time to prepare it for sharing. Different platforms have varying requirements for image size, resolution, and file format. To guarantee your sky-high photography looks its best across all mediums, you'll need to export multiple versions.
Start by creating a high-resolution version for printing or professional use. Export a large TIFF or PSD file with a resolution of 300 DPI to preserve maximum quality.
For web and social media, compress your image to reduce file size without sacrificing too much quality. Export a JPEG at 72 DPI, keeping the longest side under 2000 pixels for most platforms.
Consider these platform-specific guidelines:
- Instagram: Square format (1:1 aspect ratio), 1080×1080 pixels
- Facebook: Landscape format (1.91:1 aspect ratio), 1200×630 pixels
- Twitter: 16:9 aspect ratio, 1200×675 pixels
Remember to embed color profiles and metadata in your exports. This guarantees accurate color representation across devices and preserves important information like copyright and camera settings.
Frequently Asked Questions
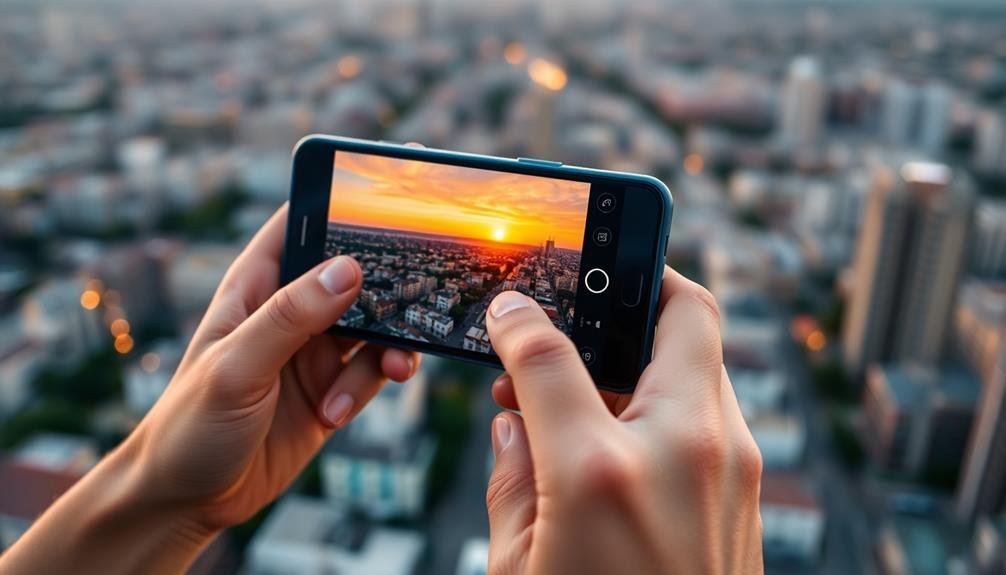
How Do I Capture the Best Sky-High Photos for Editing?
To capture the best sky-high photos for editing, you'll want to use a wide-angle lens, shoot in RAW format, and experiment with different angles. Don't forget to adjust your camera settings for ideal exposure and focus.
What Equipment Is Essential for High-Quality Aerial Photography?
For high-quality aerial photography, you'll need a drone with a good camera, extra batteries, and ND filters. Don't forget a reliable controller, memory cards, and a tablet or smartphone for live view and control.
Are There Legal Restrictions for Taking Sky-High Photographs?
Yes, there are legal restrictions for sky-high photography. You'll need to check local regulations, obtain permits if necessary, and respect privacy laws. Don't fly drones in restricted airspace or over sensitive areas without permission.
How Can I Maintain Image Quality When Enlarging Sky-High Photos?
To maintain quality when enlarging sky-high photos, you'll want to shoot in RAW format, use a high-resolution camera, and apply noise reduction. Don't over-enlarge, and use specialized software for upscaling to preserve details.
What Are the Best Techniques for Stabilizing a Camera During Aerial Shoots?
To stabilize your camera during aerial shoots, you'll want to use a high shutter speed, image stabilization, and a sturdy mount. Don't forget to brace yourself, use a remote trigger, and consider a gyro stabilizer for smoother footage.
In Summary
You've now mastered the essentials of editing your sky-high photography. Remember, practice makes perfect, so don't be afraid to experiment with different techniques. As you refine your skills, you'll develop your unique style. Keep pushing your creative boundaries and stay up-to-date with the latest editing trends. With patience and persistence, you'll transform your aerial shots into stunning works of art that captivate viewers and showcase the world from above in breathtaking detail.
As educators and advocates for responsible drone use, we’re committed to sharing our knowledge and expertise with aspiring aerial photographers.


Leave a Reply