To capture stunning aerial hyperlapses, start by planning your flight path carefully. Master manual camera settings, focusing on shutter speed, ISO, and aperture. Optimize your drone's speed for smooth footage and experiment with acceleration patterns. Adapt to changing light conditions and use ND filters effectively. Vary your altitude to add dynamic elements to your shots. Incorporate foreground elements for depth and create compelling shifts between scenes. Don't forget to fine-tune your post-processing workflow for professional results. By combining these techniques, you'll elevate your aerial hyperlapse photography. The following tips will help you take your skills to new heights.
Key Takeaways
- Master manual camera settings, focusing on shutter speed, ISO, and aperture for optimal hyperlapse results.
- Choose the right flight path, combining straight lines for speed and curved paths for fluidity.
- Optimize drone speed and experiment with acceleration patterns to add dynamic movement to your hyperlapse.
- Incorporate foreground elements and create compelling transitions to enhance visual interest and depth.
- Adapt to changing light conditions and use ND filters effectively for smooth motion blur in bright environments.
Choose the Right Flight Path
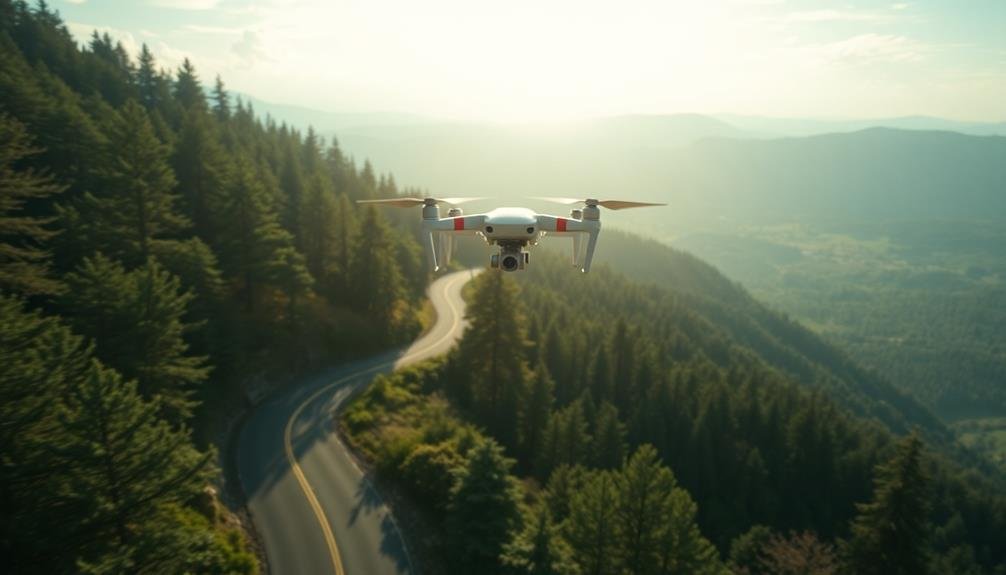
The right flight path can make or break your hyperlapse. When planning your route, consider the subject matter and the story you want to tell. Straight lines work well for showcasing distance and speed, while curved paths can add a sense of fluidity and grace to your footage.
Start by scouting your location and identifying key points of interest. Choose a path that incorporates these elements while maintaining a smooth, consistent motion. Avoid sudden changes in direction or altitude, as these can disrupt the flow of your hyperlapse.
For urban environments, try flying along streets or following architectural lines. In natural settings, use landforms like coastlines or mountain ranges to guide your path. Remember to factor in obstacles and no-fly zones when planning your route.
Experiment with different altitudes to create varied perspectives. Low-altitude flights can capture intricate details, while higher altitudes offer sweeping vistas.
Consider the time of day and lighting conditions when choosing your flight path, as these factors can dramatically impact the mood and visual appeal of your hyperlapse.
Master Manual Camera Settings
To master manual camera settings for aerial hyperlapses, you'll need to focus on three key areas.
Start by adjusting your shutter speed effectively to control motion blur and create smooth shifts between frames.
Next, fine-tune your ISO settings to balance image quality with light sensitivity, ensuring crisp shots even in challenging conditions.
Adjust Shutter Speed Effectively
Mastering shutter speed is essential for creating stunning aerial hyperlapses. As you fly your drone, you'll need to adjust this setting to achieve the desired effect. For smooth, flowing motion, use slower shutter speeds around 1/30 to 1/60 of a second. This creates a slight blur between frames, enhancing the sense of movement.
If you're aiming for crisp, detailed shots, opt for faster shutter speeds of 1/250 or higher. This approach works well when capturing fast-moving subjects or when you want to freeze action in each frame. Remember, faster shutter speeds require more light, so you may need to adjust your ISO or aperture accordingly.
Consider the speed of your drone and the distance it's traveling. For slower movements, you can use longer shutter speeds without introducing too much blur. As you increase speed, you'll need to shorten the shutter time to maintain clarity.
Experiment with different shutter speeds to find the sweet spot for your specific hyperlapse. Don't be afraid to push the boundaries – sometimes unexpected results can lead to stunning creative effects in your final aerial hyperlapse.
Fine-Tune ISO Settings
ISO settings play an essential role in achieving the perfect exposure for your aerial hyperlapse. When fine-tuning your ISO, start with the lowest possible setting to minimize noise and maximize image quality. For most daytime aerial shots, you'll want to keep your ISO between 100 and 400. However, if you're shooting in low-light conditions or need a faster shutter speed, you may need to increase your ISO.
Remember that higher ISO values can introduce digital noise, which can be especially noticeable in the sky or other smooth areas of your hyperlapse. To mitigate this, try to balance your ISO with your aperture and shutter speed settings. If you're using a drone with a smaller sensor, you'll need to be even more cautious with high ISO values.
When shooting a hyperlapse sequence, maintain a consistent ISO throughout to avoid flickering in your final video. If lighting conditions change dramatically during your shoot, consider using auto ISO with upper and lower limits set. This will help maintain a more consistent exposure while still allowing for some flexibility.
Always review your footage and make adjustments as needed to guarantee the best possible results for your aerial hyperlapse.
Optimize Aperture Control
Aperture control is a key element in creating stunning aerial hyperlapses. By mastering this setting, you'll have greater control over depth of field and exposure, enhancing the overall quality of your footage. Start by understanding your camera's aperture range and how it affects your images.
For aerial hyperlapses, you'll often want a deeper depth of field to keep more of the scene in focus. Begin with a mid-range aperture like f/8 or f/11, which provides a good balance between depth of field and image sharpness. As you become more comfortable, experiment with different apertures to achieve various effects.
For sweeping landscape shots, try using smaller apertures (higher f-numbers) to keep everything in focus. Conversely, if you want to isolate specific subjects, use larger apertures (lower f-numbers) to create a shallower depth of field.
Remember that changing your aperture will affect your exposure, so you'll need to adjust your shutter speed and ISO accordingly. Use your camera's histogram to guarantee proper exposure across your hyperlapse sequence.
Optimize Drone Speed
To create stunning aerial hyperlapses, you'll need to optimize your drone's speed.
Start by maintaining a consistent flight velocity throughout your shot to guarantee smooth shifts.
Adjust your speed based on the subjects you're capturing, slowing down for intricate details or speeding up for vast landscapes.
Don't be afraid to experiment with different acceleration patterns to add dynamic movement to your hyperlapse sequences.
Maintain Consistent Flight Velocity
Keeping up with a steady speed throughout your drone flight is essential for creating smooth hyperlapse footage. You'll want to maintain a consistent velocity to guarantee each frame is captured at equal intervals, resulting in a fluid final video. Use your drone's intelligent flight modes, such as waypoint or track, to automate the flight path and maintain a constant speed.
To achieve the best results, consider these factors when setting your drone's velocity:
| Factor | Consideration |
|---|---|
| Wind | Adjust speed for wind resistance |
| Subject | Match speed to subject movement |
| Terrain | Slow down for complex landscapes |
| Altitude | Higher altitudes allow faster speeds |
| Battery | Factor in power consumption |
Practice flying at different speeds to find the sweet spot for your specific shot. Remember, slower speeds generally produce smoother footage but require longer flight times. Faster speeds can create more dynamic results but may introduce motion blur. Always monitor your drone's telemetry data to guarantee you're maintaining the desired velocity throughout the flight. If you're flying manually, use visual reference points to help gauge your speed and make subtle adjustments as needed.
Adjust Speed for Subjects
Adjusting your drone's speed to match your subject's movement is essential for creating compelling hyperlapse footage. You'll need to take into account the pace of your subject and adjust your drone's velocity accordingly.
For slow-moving subjects like clouds or shadows, fly your drone at a slower speed to capture subtle changes over time. Conversely, for fast-moving subjects like cars or boats, increase your drone's speed to maintain a consistent visual flow.
Remember to experiment with different speeds to find the perfect balance between capturing detail and creating a smooth, flowing effect. You can also vary your drone's speed throughout the hyperlapse to add dynamism to your footage.
For instance, start slow and gradually increase speed as you approach your subject, then decelerate as you move away.
Don't forget to factor in your camera settings when adjusting speed. A faster shutter speed may be necessary for quicker drone movements to avoid motion blur.
Additionally, contemplate using manual exposure settings to maintain consistent lighting throughout your hyperlapse sequence, especially when flying at varying speeds or altitudes.
Experiment With Acceleration Patterns
Beyond maintaining a constant speed, experimenting with acceleration patterns can elevate your hyperlapse footage to new heights.
Try gradually increasing your drone's speed as the shot progresses, creating a sense of building momentum. This technique works well when approaching a subject or landmark, intensifying the viewer's anticipation.
Conversely, you can start fast and slowly decelerate, which can be effective when revealing a vast landscape or cityscape. It allows viewers to absorb more details as the scene unfolds.
For a dynamic effect, alternate between acceleration and deceleration throughout your flight path. This creates a rhythmic flow that can enhance the visual interest of your hyperlapse.
Don't shy away from sudden speed changes either. Quick bursts of acceleration can add excitement to your footage, especially when paired with dramatic scene shifts.
Experiment with different acceleration curves in your drone's settings or post-processing software. S-curves can provide smooth, organic speed changes, while linear acceleration offers a more robotic feel.
Plan for Changing Light Conditions
The ever-changing light conditions during a hyperlapse shoot can make or break your aerial footage. To guarantee stunning results, you'll need to plan ahead and adapt to shifting light throughout your shoot.
Start by researching sunrise and sunset times, as well as the sun's position relative to your flight path. This knowledge will help you anticipate shadows and highlights.
Consider shooting during the golden hour for warm, soft light that adds depth to your scenes. If you're capturing a day-to-night shift, gradually adjust your camera settings to maintain proper exposure. Use graduated ND filters to balance bright skies with darker foregrounds.
Don't forget to account for sudden changes in cloud cover, which can greatly alter your lighting.
For longer hyperlapses, you might encounter multiple lighting scenarios. In these cases, break your shoot into segments, adjusting your camera settings between each one.
Pay attention to white balance, as it can shift notably from daylight to artificial lighting.
Use ND Filters Effectively
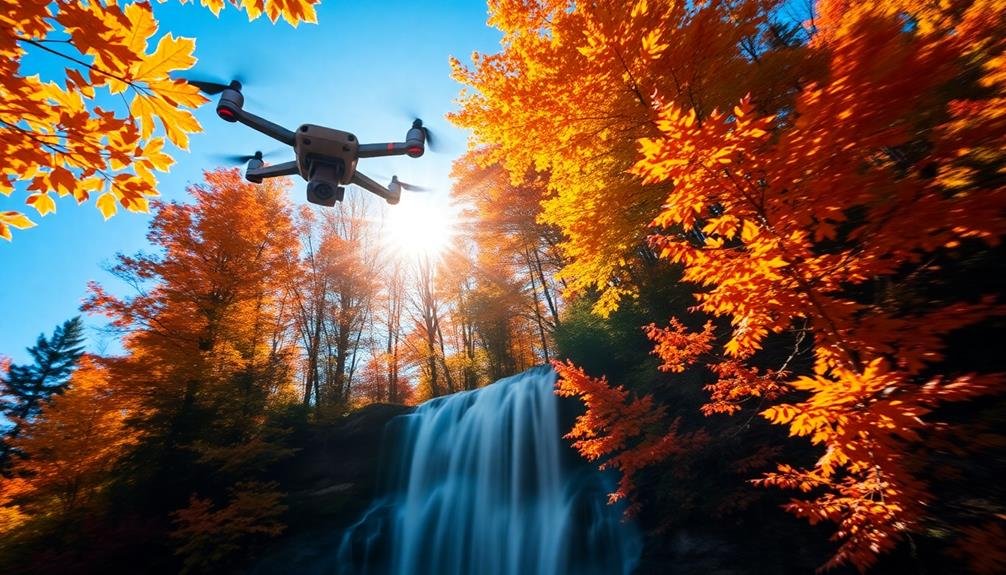
To achieve smooth motion blur in your aerial hyperlapse, you'll want to use ND filters effectively.
These filters allow you to maintain longer shutter speeds even in bright conditions, creating that cinematic flow in your footage.
Smooth Motion Blur
Achieving smooth motion blur is a game-changer for aerial hyperlapse photography, and ND filters are your secret weapon. These filters reduce the amount of light entering your camera's sensor, allowing you to use slower shutter speeds without overexposing your shots.
For hyperlapse sequences, this creates a silky, fluid motion that adds a professional touch to your footage.
To master smooth motion blur, start by selecting the right ND filter strength. You'll want to aim for shutter speeds around 1/30 to 1/60 of a second, depending on your drone's speed and altitude.
Experiment with different filter densities to find the sweet spot for your specific conditions.
When shooting, maintain a consistent flight path and speed to guarantee seamless shifts between frames. Use your drone's intelligent flight modes, like waypoints or orbit, to achieve steady movement.
Don't forget to adjust your camera settings accordingly; increase your ISO or open up your aperture to compensate for the reduced light.
Balanced Exposure Control
While ND filters are key for motion blur, they're equally important for balanced exposure control in aerial hyperlapse photography. As you shoot your sequence, changing light conditions can wreak havoc on your footage's consistency. ND filters help maintain a consistent exposure throughout your shoot.
Start by selecting the appropriate ND filter strength based on your shooting conditions. Here's a quick reference guide:
| Light Condition | ND Filter Strength | Shutter Speed | Aperture |
|---|---|---|---|
| Bright Sunlight | ND64 (6-stop) | 1/30s | f/8 |
| Overcast | ND16 (4-stop) | 1/60s | f/5.6 |
| Golden Hour | ND8 (3-stop) | 1/120s | f/4 |
| Blue Hour | ND4 (2-stop) | 1/250s | f/2.8 |
As you fly, keep an eye on your histogram to guarantee your exposure remains balanced. If you notice shifts, adjust your ND filter or camera settings accordingly. Remember, it's better to slightly underexpose than overexpose, as you can recover shadow details more easily in post-processing. By maintaining consistent exposure throughout your hyperlapse sequence, you'll create a smoother, more professional-looking final product.
Employ Intelligent Flight Modes
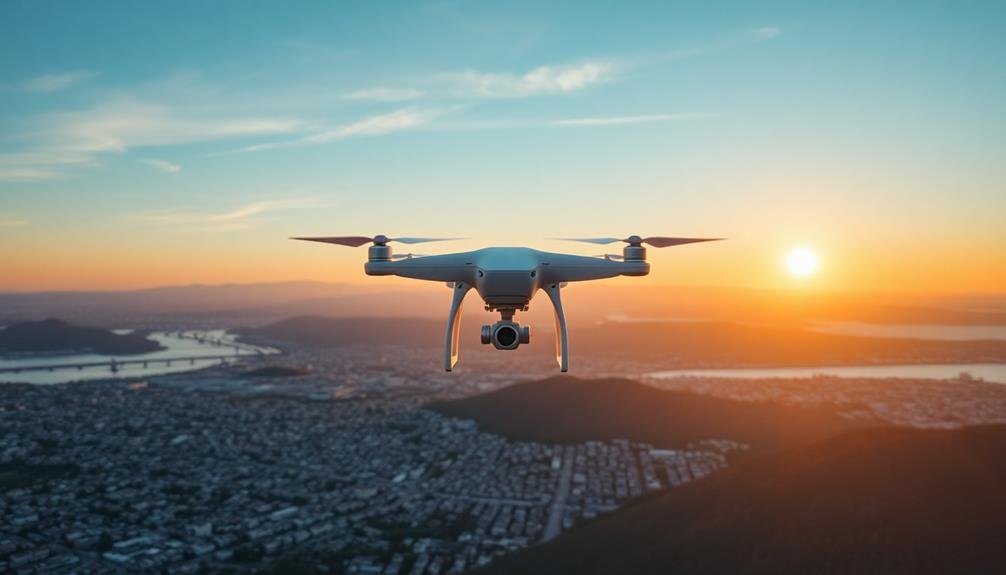
Modern drones come equipped with a variety of intelligent flight modes that can greatly enhance your hyperlapse photography. These modes automate complex flight patterns, allowing you to focus on capturing stunning imagery.
You'll want to explore options like Point of Interest, Waypoints, and Orbit modes to create smooth, professional-looking hyperlapses.
Point of Interest mode is perfect for creating circular hyperlapses around a central subject. Set your drone to orbit a landmark or landscape feature, adjusting the radius and altitude to achieve your desired composition.
Waypoints mode lets you plan a precise flight path, ideal for linear hyperlapses that showcase progression along a route. You can set multiple points and adjust speed between them for dynamic results.
Orbit mode is similar to Point of Interest but offers more control over the drone's movement. It's excellent for spiraling hyperlapses that gradually change altitude or distance from the subject.
When using these modes, remember to maintain a consistent interval between shots and adjust your camera settings to accommodate changing light conditions.
Experiment With Different Altitudes
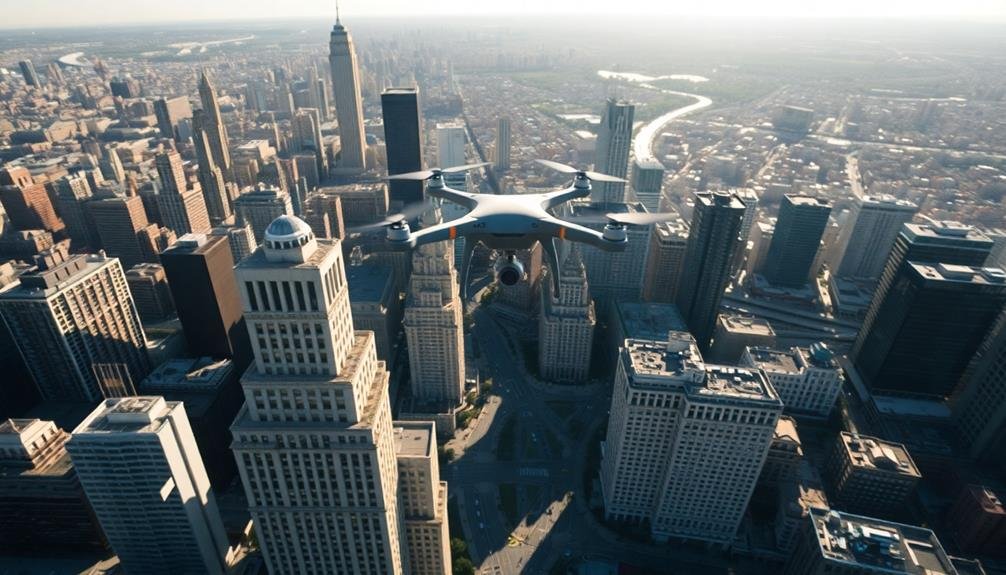
Altitude variation is a powerful tool in your aerial hyperlapse arsenal. By experimenting with different heights, you'll add depth and dimension to your footage, creating a more dynamic and engaging viewing experience.
Start by planning your altitude changes in advance, considering the landscape and subjects you're capturing.
When executing your hyperlapse, try these techniques:
- Begin low and gradually ascend for a dramatic reveal
- Descend from a high altitude to focus on specific details
- Maintain a constant altitude for smooth, linear movement
- Alternate between high and low altitudes for a rhythmic effect
- Use sudden altitude changes to create surprising shifts
Remember to adjust your camera settings as you change altitudes. Higher altitudes often require wider angles and slower shutter speeds to capture the broader landscape, while lower altitudes may benefit from faster shutter speeds and tighter framing to highlight details.
Pay attention to local regulations and airspace restrictions when flying at different altitudes. Always prioritize safety and respect for others' privacy.
With practice, you'll develop an intuitive sense of how altitude changes can enhance your hyperlapse sequences, elevating your aerial photography to new heights.
Perfect Your Post-Processing Workflow
In light of capturing stunning aerial hyperlapse footage, your post-processing workflow is vital for transforming raw sequences into polished, professional results.
Start by importing your footage into your preferred editing software and stabilize the sequence to smooth out any unwanted camera movements. Next, adjust the playback speed to achieve the desired time-lapse effect, typically ranging from 5x to 20x faster than real-time.
Color correction is essential for maintaining consistency across frames. Apply a base color grade to enhance the overall look, then fine-tune individual shots if necessary. Consider using LUTs (Look-Up Tables) to quickly achieve a specific aesthetic.
To further enhance your hyperlapse, add subtle motion blur between frames for a smoother shift. Don't forget to address any remaining jitters or alignment issues using warp stabilizer or manual keyframing.
Experiment with dynamic transitions between scenes to maintain viewer engagement. Finally, export your project at a high bitrate to preserve the quality of your aerial footage.
Incorporate Foreground Elements
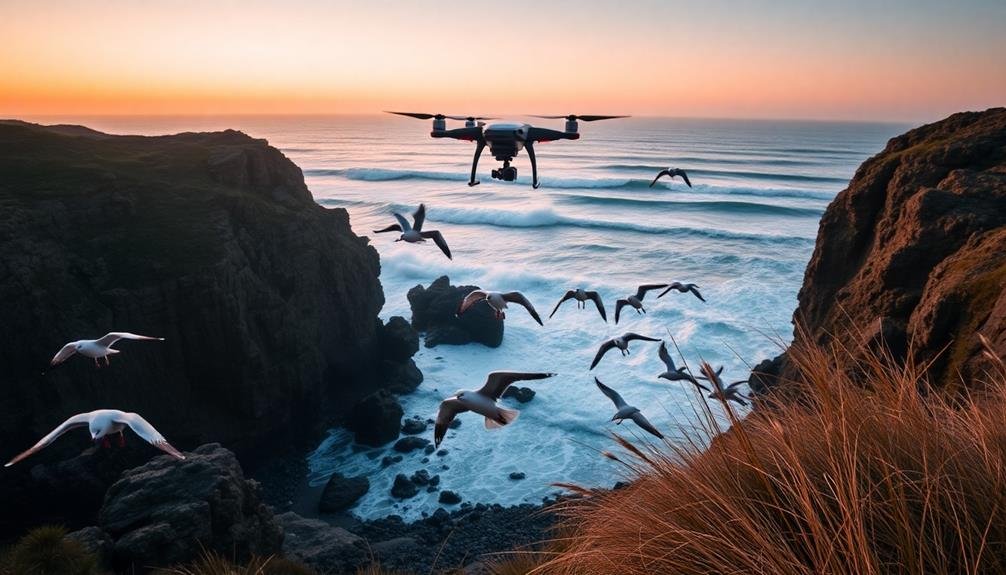
Despite the focus on aerial shots, incorporating foreground elements can add depth and context to your hyperlapse footage. When planning your hyperlapse sequence, look for opportunities to include interesting objects or features in the foreground. These elements can serve as anchors, guiding the viewer's eye and creating a sense of scale and movement.
To effectively incorporate foreground elements:
- Scout locations beforehand to identify potential subjects
- Experiment with different angles and heights
- Use leading lines to draw attention to the main subject
- Consider the interplay between foreground and background
- Adjust your camera settings to maintain focus on both elements
As you fly your drone, maintain a consistent distance from the foreground object while moving along your chosen path. This technique creates a dynamic effect where the foreground remains relatively stable while the background shifts dramatically.
You can also try flying towards or away from the foreground element to create a sense of reveal or departure.
Remember to balance the prominence of foreground elements with your aerial subject. The goal is to enhance your hyperlapse, not overshadow the main focus.
With practice, you'll develop an eye for integrating foreground elements seamlessly into your aerial hyperlapse sequences.
Create Compelling Transitions

Moving beyond stationary elements, your aerial hyperlapse can truly shine with well-crafted movement between shots. To create compelling changes, focus on smooth, deliberate shifts in altitude, direction, or speed.
Try gradually ascending or descending your drone while maintaining a consistent forward motion. This technique adds depth and dimension to your footage, creating a dynamic visual journey.
Experiment with slow, sweeping turns to reveal new landscapes or subjects. As you rotate, keep your main point of interest centered in the frame to maintain continuity.
For more dramatic changes, incorporate quick shifts in direction or sudden altitude adjustments, but use these sparingly to avoid disorienting viewers.
Leverage natural elements like clouds or passing vehicles to mask changes between scenes. Time your shots to coincide with these moving objects, creating a seamless flow from one location to another.
Additionally, play with your drone's speed settings to create unique effects. Gradually increase or decrease speed throughout your hyperlapse to build tension or emphasize specific moments.
Frequently Asked Questions
How Do I Handle Wind Interference During Hyperlapse Flights?
To handle wind interference during hyperlapse flights, you'll want to use a stabilized drone, plan your route carefully, and fly on calmer days. Adjust your camera settings, increase flight speed, and use post-processing stabilization for smoother results.
What's the Ideal Interval Between Shots for Smooth Hyperlapse Footage?
For smooth hyperlapse footage, you'll want to set your interval between 2-5 seconds. It depends on your drone's speed and the scene's complexity. Experiment with different intervals to find what works best for your specific shot.
Can I Create Hyperlapses With Consumer-Grade Drones?
Yes, you can create hyperlapses with consumer-grade drones. You'll need to use your drone's automated flight modes and time-lapse settings. Practice smooth movements and consistent intervals between shots for the best results. It's definitely achievable with patience.
How Do I Maintain Consistent Exposure in Changing Weather Conditions?
To maintain consistent exposure in changing weather, you'll want to use manual settings. Lock your ISO and shutter speed, and adjust aperture as needed. You can also use ND filters and bracket your shots for more flexibility in post-processing.
What Software Is Best for Stitching and Stabilizing Aerial Hyperlapse Sequences?
You'll find Adobe After Effects and Premiere Pro excellent for stitching and stabilizing aerial hyperlapse sequences. For more specialized tools, try LRTimelapse or Panolapse. Don't forget DaVinci Resolve, which offers powerful stabilization features too.
In Summary
You've now got the tools to take your aerial hyperlapse game to new heights. Don't be afraid to experiment and push your creative boundaries. Remember, practice makes perfect, so get out there and start flying! With these pro tricks up your sleeve, you'll be capturing stunning, cinematic hyperlapses in no time. Keep honing your skills, and soon you'll be producing breathtaking aerial content that'll leave viewers in awe.

As educators and advocates for responsible drone use, we’re committed to sharing our knowledge and expertise with aspiring aerial photographers.
Leave a Reply