To create breathtaking sky-high images, master color theory and use advanced editing tools like DaVinci Resolve or Adobe Premiere Pro. Balance exposure and contrast to reveal details in highlights and shadows. Enhance sky colors with hue and saturation adjustments, and use gradient filters for localized improvements. Adjust landscape tones to complement the sky, ensuring natural hues and vibrant greens. Create mood through thoughtful color palettes, experimenting with unexpected combinations while maintaining a realistic appearance. Fine-tune color balance, add finishing touches like selective adjustments, and apply gentle film grain for a cinematic effect. Dive deeper to access the full potential of your aerial masterpieces.
Key Takeaways
- Understand color theory, including complementary colors and color temperature, to enhance visual harmony in aerial footage.
- Use advanced color grading tools like color wheels, curves, and HSL controls for precise adjustments.
- Balance exposure and contrast to reveal details in highlights and shadows without crushing blacks or blowing out highlights.
- Employ gradient filters for selective sky enhancements, allowing smooth transitions between sky and ground.
- Create mood with color palettes, using warm tones for comfort and cool tones for calmness or mystery.
Understanding Color Theory for Drones

Three key principles of color theory are essential for drone photographers and videographers to master.
First, understand the color wheel and how complementary colors create visual harmony. When grading aerial footage, you'll often work with blue skies and green landscapes. Pairing these with their complementary colors, orange and red, can create striking contrasts that make your images pop.
Second, grasp the concept of color temperature. Drone footage captured during golden hour will have a warmer tone, while blue hour shots tend to be cooler. You can adjust white balance in post-production to enhance or neutralize these temperature shifts, dramatically altering the mood of your footage.
Lastly, familiarize yourself with color schemes like monochromatic, analogous, and triadic. A monochromatic scheme using various shades of blue can create a serene atmosphere in ocean shots.
Analogous colors, like green, blue, and purple, work well for lush forest scenes. Triadic schemes can add visual interest to urban landscapes.
Essential Color Grading Tools
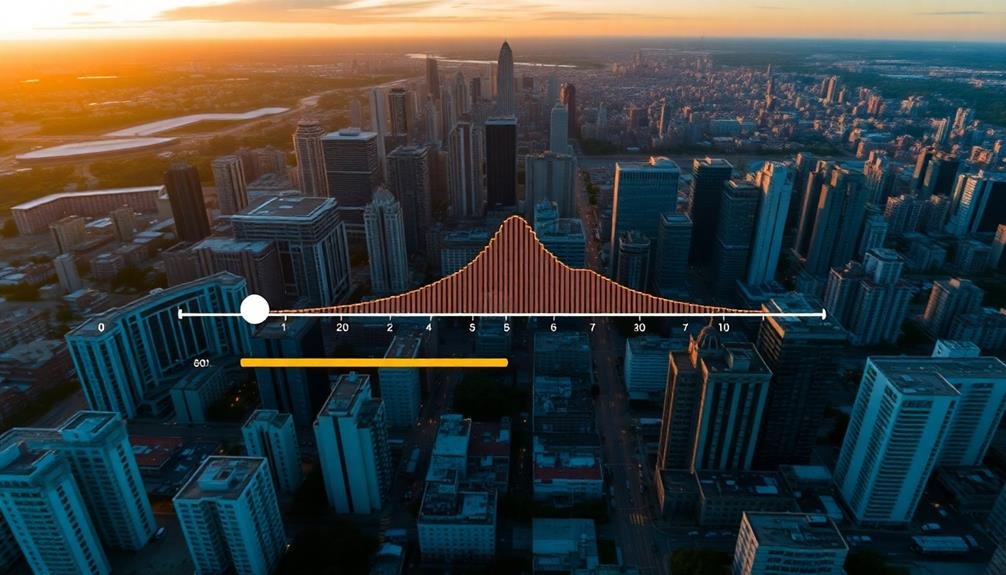
With a solid grasp of color theory, let's explore the tools you'll need to apply these principles to your drone footage. The most essential color grading tools include a robust video editing software with advanced color correction capabilities. Popular options are DaVinci Resolve, Adobe Premiere Pro, and Final Cut Pro X.
Within these programs, you'll find several key tools. The color wheels allow you to adjust the shadows, midtones, and highlights separately. Curves give you precise control over individual color channels and luminance. LUTs (Look-Up Tables) provide preset color grades that you can apply and tweak.
Don't overlook the importance of scopes. Waveform monitors help you analyze luminance, while vectorscopes display color information. These tools guarantee your adjustments stay within broadcast-safe levels and maintain color accuracy.
For more nuanced adjustments, use HSL (Hue, Saturation, Luminance) controls. These let you target specific colors without affecting others. Vignettes and power windows help draw attention to certain areas of your frame.
Lastly, invest in a color-accurate monitor. It's vital for confirming what you see is what your audience will see. Calibrate it regularly for consistent results.
Balancing Exposure and Contrast
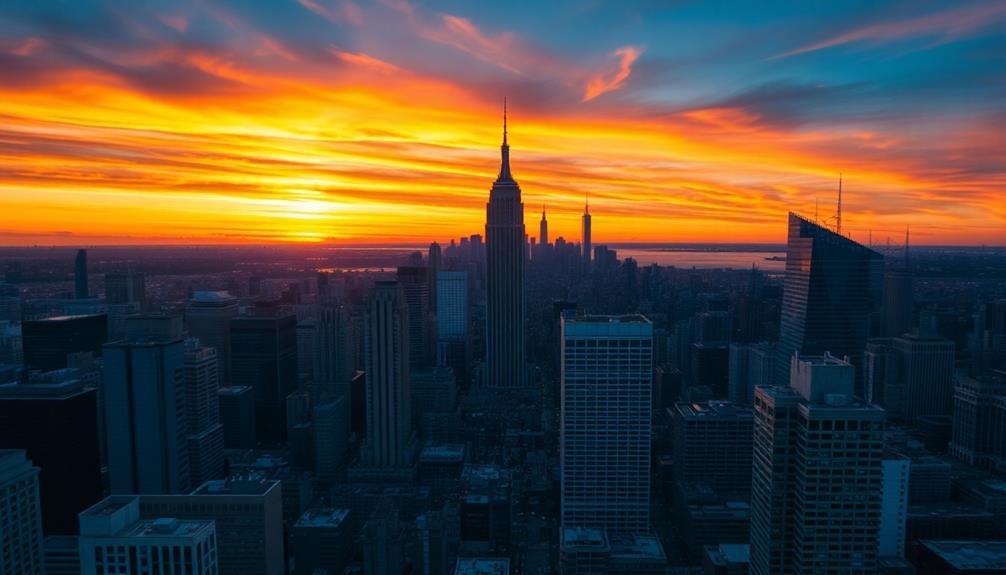
In light of your newfound understanding of color grading tools, let's explore balancing exposure and contrast. When working with sky-high images, you'll often encounter scenes with extreme brightness variations. To tackle this, start by adjusting your image's overall exposure. Use the exposure slider to bring out details in both highlights and shadows without clipping.
Next, focus on contrast. Increase it to add depth and dimension to your sky, but be careful not to crush the blacks or blow out the highlights. Use the whites and blacks sliders to fine-tune the brightest and darkest parts of your image.
For more nuanced control, leverage the highlights and shadows sliders to balance the mid-tones.
Don't forget about the curve tool. It's perfect for making precise adjustments to specific tonal ranges. Use it to create an S-curve for added contrast or to selectively brighten or darken certain areas of your sky.
Enhancing Sky Colors
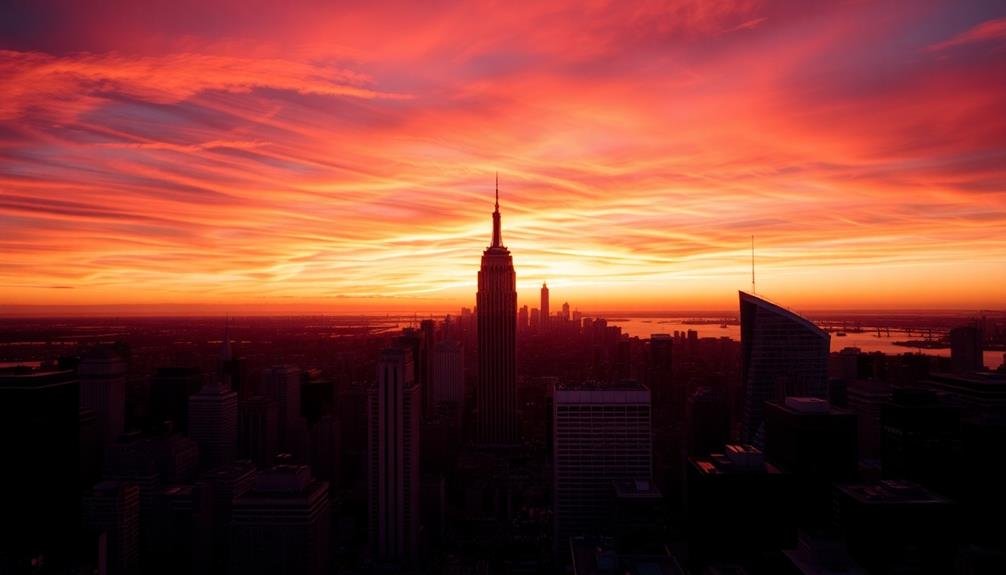
When enhancing sky colors, you'll want to focus on adjusting hue and saturation to achieve the desired look.
You can start by fine-tuning the blue channel to create a more vibrant or subdued sky, depending on your artistic vision.
For more localized control, try using gradient filter techniques to selectively enhance specific areas of the sky without affecting the rest of your image.
Adjust Hue and Saturation
Adjusting hue and saturation can dramatically enhance sky colors in your footage. By fine-tuning these elements, you'll bring out the subtle nuances of the sky, creating a more vibrant and enchanting image.
Start by identifying the dominant color in your sky, then use the hue adjustment to shift it slightly towards your desired tone. Be careful not to overdo it, as unnatural-looking skies can quickly ruin the authenticity of your shot.
Next, focus on saturation. Increasing saturation will intensify the colors, making them pop, while decreasing it can create a more muted, ethereal look. Pay attention to different areas of the sky, as you may want to adjust saturation selectively to achieve the best results.
When working with hue and saturation, keep these key points in mind:
- Use a reference image to guide your adjustments
- Pay attention to how changes affect other elements in the frame
- Always step back and assess the overall impact on your composition
Gradient Filter Techniques
Gradient filter techniques offer a powerful way to enhance sky colors in your footage. They allow you to selectively adjust the top portion of your frame, creating a smooth shift between the sky and the rest of your image. Start by applying a gradient filter to your footage, positioning it to cover the sky area. Adjust the filter's intensity and feathering to achieve a natural-looking blend.
Experiment with different color adjustments within the gradient filter to enhance the sky's appearance:
| Adjustment | Effect | Best For |
|---|---|---|
| Exposure | Darkens or brightens | Balancing sky and ground |
| Temperature | Warms or cools tones | Enhancing sunsets or blue skies |
| Tint | Adds green or magenta | Fine-tuning color balance |
Don't limit yourself to a single gradient filter. Try using multiple filters with varying intensities and colors to create more complex and dynamic sky effects. For instance, combine a warm-toned filter at the horizon with a cooler one at the top of the frame to mimic the natural color gradation of the sky during golden hour. Remember to keep your adjustments subtle and realistic, avoiding oversaturation or unnatural color shifts that can detract from the overall image quality.
Adjusting Landscape Tones
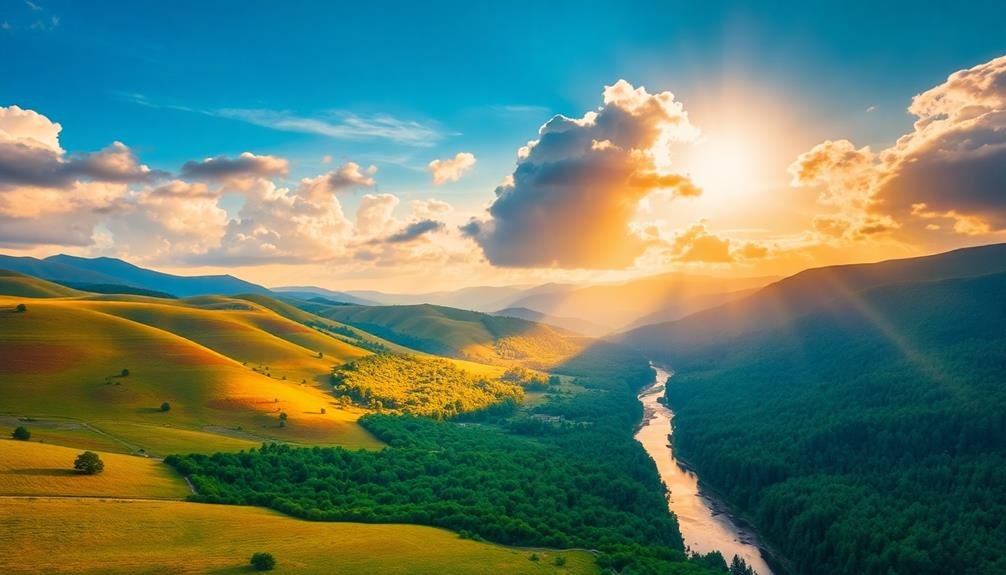
Landscapes offer a unique canvas for color grading, with their vast expanses of sky, earth, and foliage. When adjusting landscape tones, you'll want to focus on enhancing the natural beauty while maintaining a realistic appearance.
Start by evaluating the overall color balance and temperature of your image. Warm up sunsets and cool down twilight scenes to accentuate the time of day.
Pay close attention to the greens in your landscape. Adjust the hue and saturation to create lush, vibrant foliage without making it appear artificial. For earth tones, enhance the richness of browns and ochres to add depth and texture to the terrain.
To create a cohesive look, consider these three key aspects:
- Contrast: Boost shadows and highlights to add dimension
- Saturation: Selectively increase color intensity in focal areas
- Luminance: Adjust brightness levels for different elements
Don't forget to fine-tune the sky's appearance. Enhance blue tones for clear days or add drama to cloudy scenes by adjusting contrast and clarity.
Use gradient filters to blend the sky seamlessly with the landscape below. Remember, subtle adjustments often yield the most natural and appealing results in landscape color grading.
Creating Mood With Color Palettes
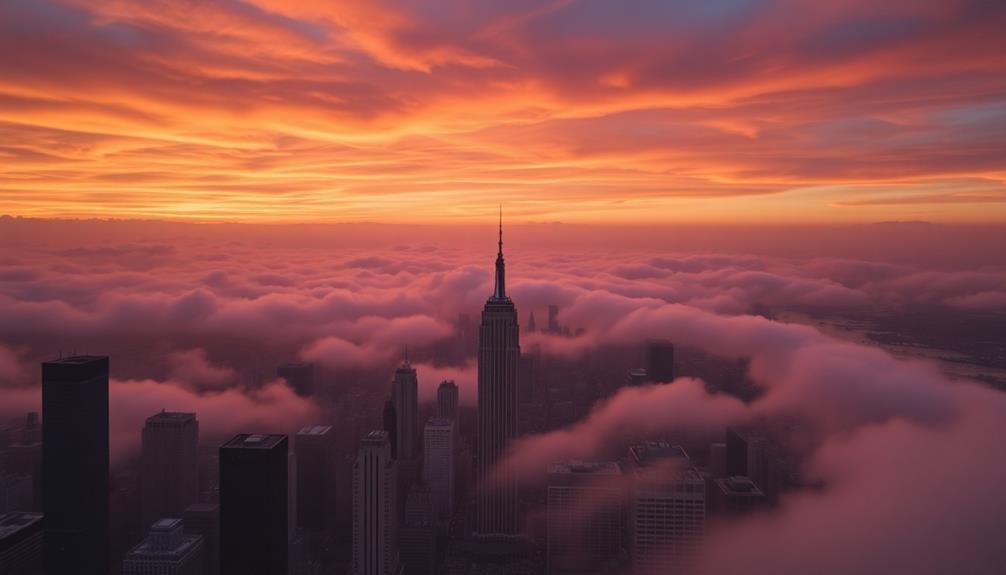
Color palettes serve as powerful tools in creating specific moods within your imagery. When working with sky-high images, you'll want to reflect on the emotional impact you're aiming for. Warm tones like oranges and yellows can evoke feelings of comfort and excitement, while cooler blues and purples often create a sense of calm or mystery.
To craft a cohesive mood, start by identifying the primary colors in your image. Then, adjust complementary hues to enhance the overall atmosphere. For instance, if you're going for a serene sunset vibe, amplify the golden hues and soften the blues in the sky. Conversely, for a dramatic storm scene, boost the contrast between dark clouds and brighter areas.
Don't be afraid to experiment with unexpected color combinations. Sometimes, a touch of teal in a mainly warm palette can add depth and intrigue.
Remember to maintain consistency across your image series if you're working on a set. Use tools like color wheels and pre-made LUTs to guide your choices, but trust your instincts when fine-tuning. The key is to strike a balance between visual impact and natural appearance, ensuring your sky-high images captivate viewers while remaining believable.
Finalizing Your Aerial Masterpiece
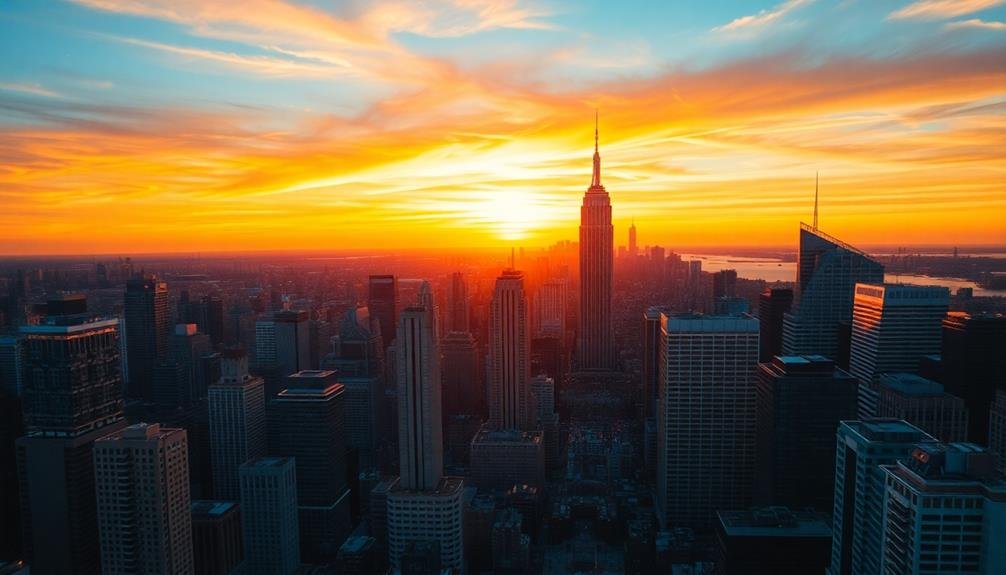
As you approach the final stages of your aerial color grading, focus on balancing exposure and contrast to guarantee your footage looks its best.
Next, fine-tune the color balance, adjusting the warmth or coolness of your shots to achieve the desired atmosphere.
Balancing Exposure and Contrast
The final touch in your aerial color grading journey involves mastering the delicate balance between exposure and contrast.
You'll need to carefully adjust these elements to guarantee your sky-high images maintain their breathtaking quality while preserving detail in both highlights and shadows.
Start by evaluating your image's overall exposure. If it's too dark or bright, use the exposure slider to make global adjustments.
Next, fine-tune the contrast to add depth and dimension to your aerial shots. Remember, contrast can make or break the mood of your image, so use it judiciously.
To achieve ideal balance, consider these three key techniques:
- Use curves adjustment to target specific tonal ranges
- Apply selective adjustments to different areas of your image
- Utilize graduated filters to balance exposure between sky and land
Don't forget to check your histogram frequently as you work.
It'll help you avoid clipping in the highlights or crushing the shadows. As you refine your exposure and contrast, pay close attention to how these adjustments affect color saturation and overall image clarity.
With practice, you'll develop an intuitive sense for creating perfectly balanced aerial masterpieces that captivate viewers and showcase the beauty of your sky-high perspective.
Fine-Tuning Color Balance
With your exposure and contrast dialed in, it's time to focus on fine-tuning your color balance. Start by adjusting the white balance to guarantee your sky and landscape colors appear natural. Use the temperature and tint sliders to correct any unwanted color casts, aiming for neutral whites and realistic skin tones if people are present in your aerial shots.
Next, fine-tune your individual color channels. Enhance the blues of the sky, the greens of vegetation, or the warm tones of a sunset by adjusting their respective hue, saturation, and luminance values. Be careful not to oversaturate, as this can make your image look artificial. Instead, aim for subtle enhancements that bring out the natural beauty of the scene.
Consider using selective color adjustments to target specific areas of your image. This technique allows you to modify colors in shadows, midtones, and highlights independently, giving you greater control over the overall color palette.
Adding Finishing Touches
In light of the color grading steps you've taken, it's time to add those final touches that'll elevate your aerial image from good to great.
Focus on enhancing specific elements that'll make your sky-high shot truly stand out. Pay attention to the sky's gradient, ensuring a smooth shift from horizon to zenith. Adjust the highlights to accentuate cloud details without overexposing them.
Don't forget about the ground below. Fine-tune shadows to reveal textures and patterns in landscapes or cityscapes. Use selective adjustments to draw the viewer's eye to key points of interest. Consider applying a subtle vignette to frame the image and direct attention to the center.
To complete your aerial masterpiece, remember these essential steps:
- Add a gentle film grain for a cinematic look
- Apply sharpening selectively to enhance crisp details
- Experiment with split toning to create a unique mood
Frequently Asked Questions
How Do Weather Conditions Affect Color Grading for Drone Footage?
Weather conditions greatly influence your drone footage's color grading. You'll need to adjust for overcast skies, harsh sunlight, or hazy conditions. It's essential to balance exposure, contrast, and saturation to capture the scene's true essence.
Can Color Grading Fix Issues Caused by Incorrect Camera Settings?
Color grading can't fully fix issues from incorrect camera settings. You'll have limited ability to recover blown-out highlights or crushed shadows. It's best to get your exposure and white balance right in-camera for ideal results.
What's the Best Color Profile to Use When Shooting Drone Footage?
You'll want to use a flat color profile like Log or Cine when shooting drone footage. It'll give you more flexibility in post-processing, allowing you to capture a wider dynamic range and achieve better color grading results.
How to Maintain Consistent Color Grading Across Multiple Drone Flights?
To maintain consistent color grading across multiple drone flights, you'll want to use preset LUTs, stick to the same camera settings, and shoot in RAW. Always color grade in the same environment and use reference images.
Are There Specific Color Grading Techniques for Night or Low-Light Aerial Photography?
You'll want to focus on noise reduction and preserving details in shadows. Enhance contrast carefully, boost saturation selectively, and use split toning to add warmth. Don't overdo it; maintain a natural look for your night aerial shots.
In Summary
You've now got the tools to transform your aerial shots into stunning works of art. Remember, color grading is both a science and an art. Don't be afraid to experiment and develop your unique style. With practice, you'll create breathtaking sky-high images that captivate viewers. Keep pushing your boundaries, and soon you'll be producing professional-grade drone footage that stands out from the crowd. The sky's the limit for your creativity!

As educators and advocates for responsible drone use, we’re committed to sharing our knowledge and expertise with aspiring aerial photographers.
Leave a Reply