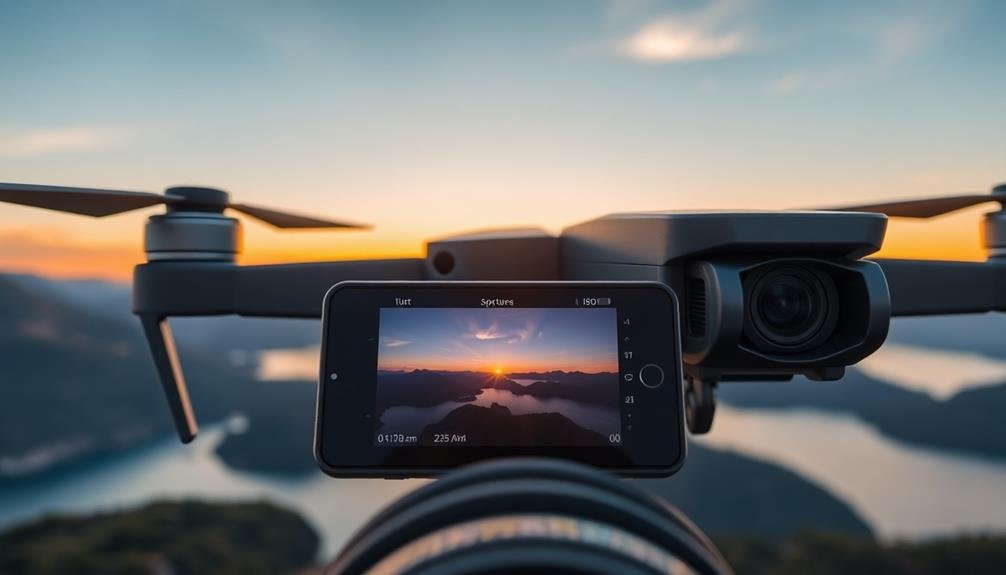
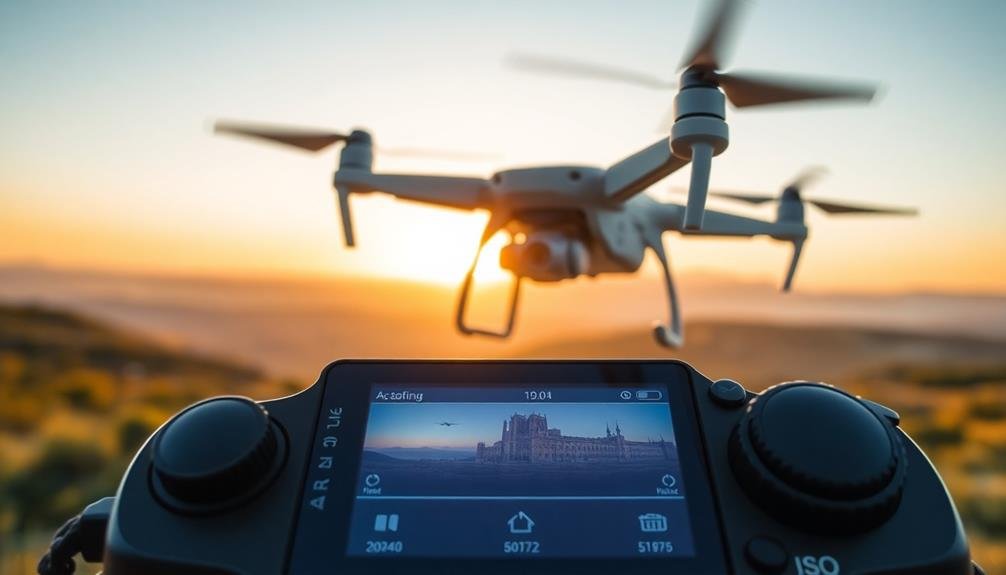
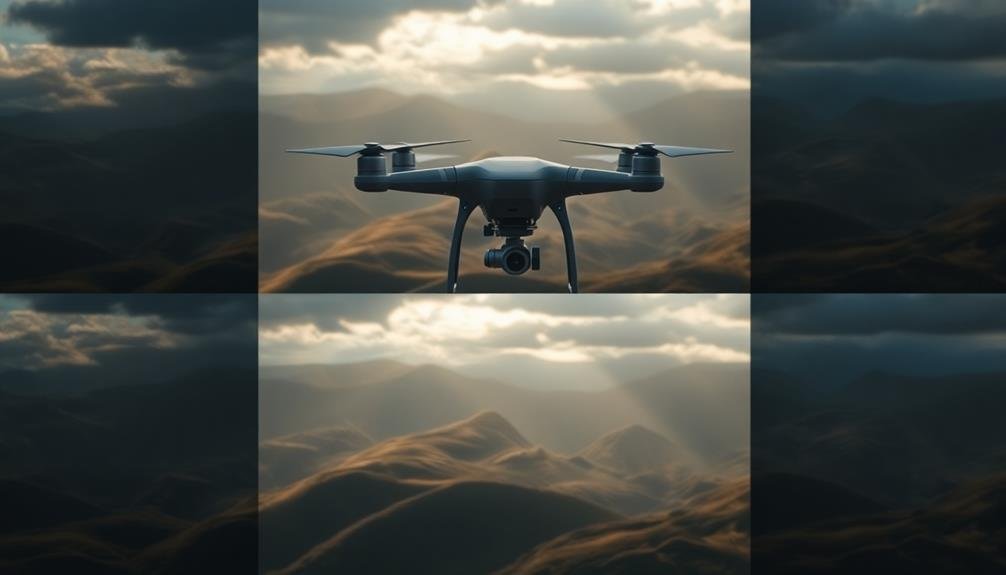
To master drone photography exposure, start by understanding your drone's camera settings, including ISO, shutter speed, and aperture. Next, focus on mastering the exposure triangle, learning how these three elements interact to create well-exposed images. Finally, use bracketing techniques for challenging scenes with high contrast or tricky lighting. This involves taking multiple shots at different exposures to capture details in both highlights and shadows. By practicing these essential tips, you'll quickly improve your aerial photography skills and produce stunning images. Dive deeper into each technique to reveal your drone's full potential and elevate your aerial shots to professional quality.
Key Takeaways
- Understand the exposure triangle: ISO, shutter speed, and aperture work together to control light and image quality.
- Start with auto mode to familiarize yourself with drone settings, then progress to manual for greater control.
- Use lower ISO values (100-400) for cleaner images, increasing only when necessary in low light conditions.
- Aim for faster shutter speeds (at least 1/250s) to capture sharp images and freeze motion in aerial photography.
- Experiment with bracketing techniques to capture well-exposed images in challenging lighting situations.
Understand Your Drone's Camera Settings

Mastery of your drone's camera settings is essential for capturing stunning aerial photographs. Familiarize yourself with the key settings: ISO, shutter speed, and aperture. These form the exposure triangle, which determines how much light enters your camera sensor.
ISO controls your camera's sensitivity to light. Lower ISO values (100-400) produce cleaner images but require more light, while higher values (800+) allow shooting in dimmer conditions but may introduce noise.
Shutter speed affects motion blur and exposure. Fast speeds (1/1000s or higher) freeze action, while slower speeds (1/60s or lower) create motion blur. For sharp aerial shots, aim for at least 1/250s.
Aperture controls depth of field and light intake. Wider apertures (lower f-numbers) let in more light and create a shallow depth of field, while smaller apertures (higher f-numbers) increase depth of field but reduce light.
Most drones offer automatic, semi-automatic (aperture or shutter priority), and manual modes. Start with auto mode, then gradually experiment with semi-automatic and manual modes as you gain confidence.
This progression will help you understand how each setting affects your images and give you greater creative control.
Master the Exposure Triangle

The exposure triangle is the cornerstone of photography, and it's equally essential in drone photography. It consists of three key elements: aperture, shutter speed, and ISO. Understanding how these elements interact will help you capture stunning aerial images in various lighting conditions.
Aperture controls the amount of light entering the camera and affects depth of field. A wider aperture (smaller f-number) lets in more light and creates a shallow depth of field, while a narrower aperture (larger f-number) reduces light intake and increases depth of field.
Shutter speed determines how long your drone's camera sensor is exposed to light. Faster shutter speeds freeze motion, while slower speeds can create motion blur effects.
ISO adjusts your camera's sensitivity to light. Higher ISO values brighten your image but can introduce noise, while lower values maintain image quality but require more light.
To master the exposure triangle:
- Experiment with different combinations of aperture, shutter speed, and ISO
- Practice in various lighting conditions to understand their effects
- Use your drone's histogram to guarantee proper exposure
Use Bracketing for Challenging Scenes

Embrace bracketing to conquer challenging scenes in drone photography. This technique involves taking multiple shots of the same scene at different exposures, guaranteeing you capture all the details in both highlights and shadows.
When you're faced with high-contrast landscapes or tricky lighting conditions, bracketing can be your secret weapon.
To use bracketing effectively, set your drone's camera to automatic exposure bracketing (AEB) mode if available. This will typically take three to five shots in quick succession, each with a different exposure value.
If your drone doesn't have AEB, you can manually adjust the exposure compensation between shots.
Start with a standard three-shot bracket: one at the metered exposure, one underexposed by 1-2 stops, and one overexposed by 1-2 stops.
For more extreme lighting situations, consider a five-shot bracket with wider exposure variations.
After your flight, you can choose the best single image or combine the bracketed shots in post-processing to create a high dynamic range (HDR) image.
This approach guarantees you'll have plenty of data to work with, allowing you to produce stunning drone photos even in the most challenging lighting conditions.
Frequently Asked Questions
How Do Weather Conditions Affect Drone Photography Exposure?
Weather conditions greatly impact your drone photography exposure. You'll need to adjust for bright sunlight, overcast skies, or low light. Wind can affect stability, while rain or fog may reduce visibility and require different camera settings.
What Are the Best Times of Day for Drone Photography?
You'll get the best drone shots during the golden hours—just after sunrise and before sunset. The soft, warm light enhances colors and textures. Midday can work for certain scenes, but avoid harsh shadows. Blue hour's also great for moody shots.
How Can I Capture Motion Blur in Drone Photos?
To capture motion blur in drone photos, you'll want to use a slower shutter speed. Try setting it between 1/15 and 1/60 of a second. Pan your drone smoothly while shooting to create a sense of movement in still objects.
Are ND Filters Necessary for Drone Photography?
You'll find ND filters essential for drone photography in bright conditions. They'll help you control exposure, slow shutter speeds, and capture motion blur. Without them, you're limited in achieving certain creative effects and balanced exposures.
How Do I Achieve Proper Exposure When Photographing Reflective Surfaces From Above?
When photographing reflective surfaces from above, you'll want to use a polarizing filter to reduce glare. Adjust your exposure compensation, shoot in RAW, and consider bracketing your shots. Don't forget to monitor your histogram for accurate exposure.
In Summary
You've now got the basics of drone photography exposure under your belt. Remember to familiarize yourself with your drone's camera settings, master the exposure triangle, and use bracketing for tricky shots. Don't be afraid to experiment and practice regularly. As you gain experience, you'll develop an intuitive feel for the right settings in various conditions. Keep pushing your boundaries, and you'll soon be capturing stunning aerial images that truly stand out.

As educators and advocates for responsible drone use, we’re committed to sharing our knowledge and expertise with aspiring aerial photographers.


Leave a Reply