
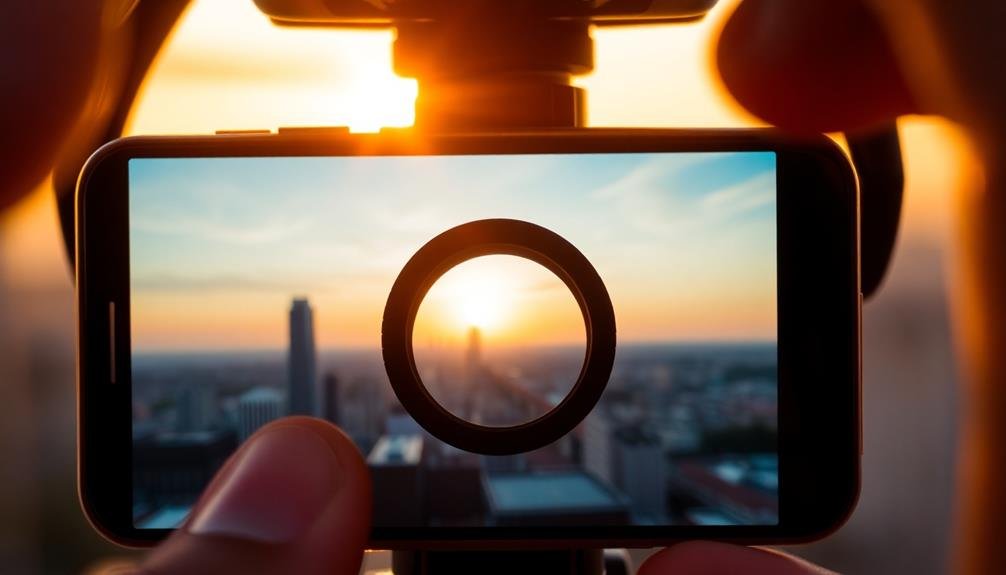
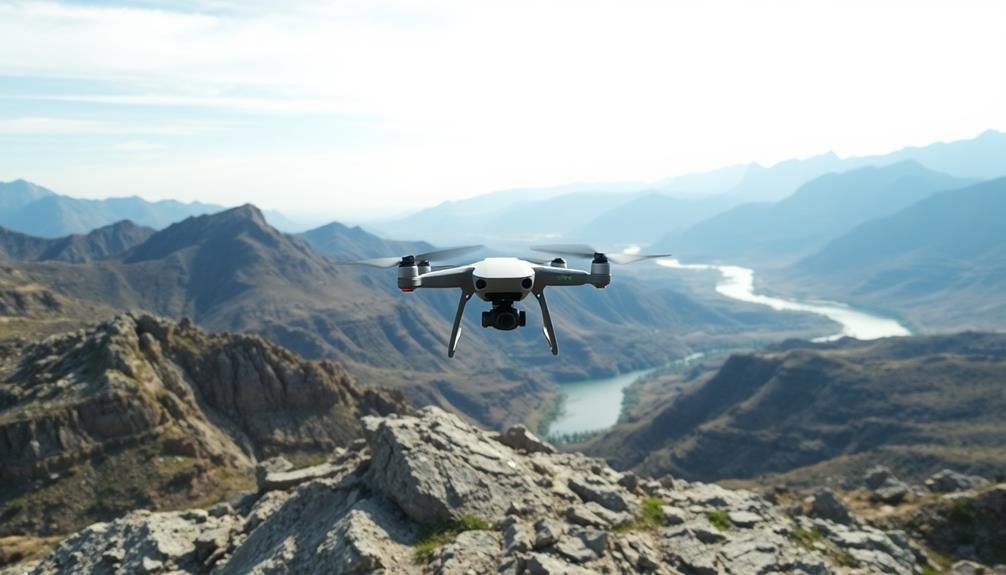
To achieve perfect manual focus in drone shots, start by understanding your drone's focus system. Use focus peaking to highlight sharp areas and leverage digital zoom for precision. Practice pre-flight focus checks and master the hyperfocal distance technique for maximum depth of field. Optimize your camera settings for sharpness and employ focus stacking for landscapes. Don't forget to adjust focus during flight as needed. Always review your footage to learn and improve. By mastering these techniques, you'll capture stunningly sharp aerial images and videos. Dive deeper into each tip to elevate your drone photography skills to new heights.
Key Takeaways
- Utilize focus peaking to highlight sharp edges, making it easier to identify in-focus areas during manual adjustments.
- Practice pre-flight focus checks on high-contrast objects at various distances to calibrate your camera before takeoff.
- Use digital zoom strategically to magnify details and achieve precise focus without physically moving the drone.
- Master hyperfocal distance techniques to maximize depth of field and keep both foreground and background elements sharp.
- Experiment with focus stacking by capturing multiple images at different focus points and blending them in post-processing.
Understand Your Drone's Focus System
To master manual focus in drone photography, you'll first need to get familiar with your drone's focus system. Different drone models have varying focus capabilities, so it's essential to understand your specific device.
Many consumer drones use fixed-focus lenses, which don't require manual adjustment. However, higher-end models often feature adjustable focus systems.
If your drone has manual focus, locate the focus ring on the camera lens or identify the focus controls in your drone's app interface. Learn how to adjust focus smoothly and precisely.
Some drones offer focus peaking, which highlights in-focus areas on your screen, making it easier to achieve sharp images.
Understand your drone's minimum focus distance, as this affects how close you can fly to subjects while maintaining clarity.
Also, familiarize yourself with any autofocus features your drone may have, as these can serve as a starting point for manual adjustments.
Practice switching between manual and autofocus modes, and experiment with different focus techniques in various lighting conditions.
Use Focus Peaking Feature
Focus peaking is a photographer's secret weapon for achieving razor-sharp images. When using this feature on your drone's camera, you'll see highlighted edges where the image is in focus. It's an invaluable tool for manual focusing, especially when shooting from a distance.
To use focus peaking effectively, first enable it in your drone's camera settings. You'll typically see red, blue, or white highlights outlining sharp edges in your frame. As you adjust your focus, pay attention to where these highlights appear. The more intense the highlight, the sharper that area will be in your final image.
Remember, focus peaking isn't foolproof, so combine it with other focusing techniques for best results. It's particularly useful in challenging lighting conditions or when shooting subjects with low contrast.
Here are five tips to make the most of focus peaking:
- Adjust the peaking sensitivity to suit your shooting conditions
- Use a higher intensity setting for low-contrast scenes
- Combine with focus magnification for precise adjustments
- Practice with different colors to find what works best for you
- Don't rely solely on peaking; trust your eyes too
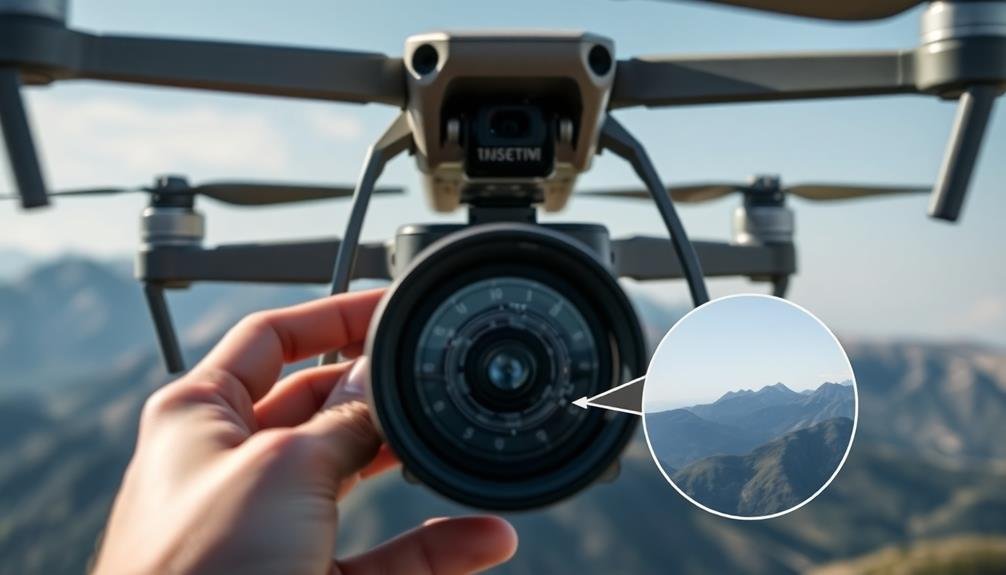
Leverage Digital Zoom for Precision
You'll find digital zoom invaluable for achieving critical focus in your drone shots.
By magnifying details effectively, you can spot even the smallest focus inconsistencies.
This tool also allows you to fine-tune your composition precisely, ensuring every element in your frame is exactly where you want it.
Zoom for Critical Focus
Digital zoom, often overlooked, can be a powerful tool for achieving precise manual focus in drone photography. By zooming in on your subject, you'll magnify details and make it easier to spot focus issues.
Use your drone's digital zoom feature to get a closer look at your subject's critical focus points. This technique is especially useful when shooting distant objects or landscapes where fine details matter.
When using digital zoom for focus, remember to zoom back out before capturing your final shot. This guarantees you maintain the full resolution and quality of your image.
Practice this technique regularly to improve your manual focusing skills and achieve sharper results in your drone photography.
Here are five key benefits of using digital zoom for critical focus:
- Enhances visibility of fine details
- Helps identify focus issues more easily
- Improves accuracy in manual focusing
- Allows for precise adjustments in challenging conditions
- Increases overall sharpness in your final images
Magnify Details Effectively
Precision is key when magnifying details in drone photography. To effectively magnify details, use your drone's digital zoom feature strategically. While optical zoom is preferable, most drones rely on digital zoom.
Start by framing your shot at the widest angle possible, then gradually zoom in to focus on specific elements. As you zoom, pay close attention to your drone's display. Look for fine details like textures, patterns, or specific objects you want to capture.
Use the zoom function to bring these elements into sharper focus, allowing you to compose your shot more accurately. Remember that excessive digital zoom can degrade image quality. Zoom in just enough to achieve the desired framing and focus, without pushing beyond your drone's capabilities.
If you're shooting in RAW format, you'll have more flexibility to crop and enhance details during post-processing. For maximum precision, combine digital zoom with your drone's focus peaking feature if available.
This will highlight areas of sharp focus, making it easier to ascertain your subject is perfectly crisp. By mastering the art of magnifying details effectively, you'll elevate your drone photography and capture stunning, precisely focused images.
Fine-Tune Composition Precisely
Building on the concept of magnifying details, leveraging digital zoom allows you to fine-tune your drone shot's composition with remarkable precision. By zooming in digitally, you can adjust your framing without physically moving the drone, ensuring you capture exactly what you want. This technique is especially useful when you're dealing with tight spaces or need to maintain a specific distance from your subject.
When using digital zoom for precise composition, keep these tips in mind:
- Start with a wider shot and gradually zoom in
- Use the rule of thirds grid for balanced framing
- Pay attention to leading lines and symmetry
- Avoid over-zooming, which can degrade image quality
- Combine digital zoom with subtle drone movements for dynamic shots
Remember that digital zoom may reduce image quality, so use it judiciously. It's best to zoom in just enough to perfect your composition without compromising the overall shot.
Practice Pre-Flight Focus Checks
Before you take off, make certain you've calibrated your drone camera's focus to guarantee sharp images throughout your flight.
You'll want to test different focus points on the ground, mimicking the distances and subjects you plan to shoot in the air.
Calibrate Focus Before Flight
To guarantee crisp, clear footage, you'll want to calibrate your drone's focus before taking off into the sky. This vital step makes sure your camera is primed to capture the sharpest images possible during flight.
Start by placing a focus target or a high-contrast object at a distance similar to your intended shooting range. Power up your drone and camera, then use the live view on your controller to manually adjust the focus until the target appears sharp and clear.
Don't rush this process; take your time to achieve ideal focus. If your drone has a focus peaking feature, use it to highlight the areas in sharp focus.
Once you've set the focus, test it by moving the camera slightly and refocusing to confirm consistency. Remember that different lighting conditions can affect focus, so repeat this calibration if the environment changes considerably.
- Use a focus target with clear, defined edges
- Set focus at your primary shooting distance
- Utilize focus peaking if available
- Double-check focus consistency
- Recalibrate if lighting or conditions change
Test Different Focus Points
While calibrating focus before flight is important, mastering pre-flight focus checks across various points in your frame will elevate your drone photography. Before takeoff, set up your drone in a location similar to your intended shooting environment. Practice focusing on different points within your frame, from foreground elements to distant subjects.
Use this table to guide your focus practice:
| Foreground | Midground | Background |
|---|---|---|
| Rocks | Trees | Mountains |
| Flowers | People | Buildings |
| Water | Vehicles | Horizon |
Start by focusing on a foreground element, then quickly shift to a midground object, and finally to a distant background feature. Pay attention to how quickly your drone's camera adjusts and how accurately it locks focus. You'll develop muscle memory for manual focus adjustments and learn your equipment's limitations.
Don't forget to test focus at different altitudes and angles. Low-angle shots may require different focusing techniques than high-altitude perspectives. By practicing these pre-flight focus checks, you'll be better prepared to capture sharp, well-focused images once you're airborne. Remember, consistent practice leads to improved performance and more stunning drone photography results.
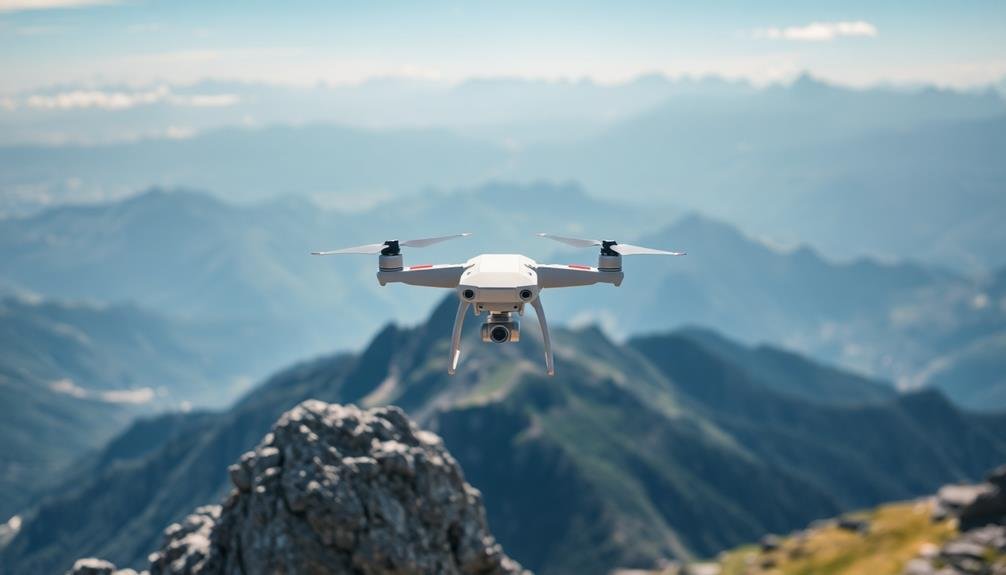
Master the Hyperfocal Distance Technique
For mastering manual focus in drone photography, understanding the hyperfocal distance technique is essential. This method allows you to maximize your depth of field, guaranteeing that everything from a certain distance to infinity remains in focus.
By setting your focus to the hyperfocal distance, you'll achieve sharp images throughout your frame, even when shooting vast landscapes or complex scenes from above.
To implement this technique effectively, you'll need to calculate the hyperfocal distance based on your drone camera's focal length and aperture. Many smartphone apps and online calculators can help you determine this quickly.
Once you've found the hyperfocal distance, set your focus manually to that point. This approach works particularly well for aerial photography, where you're often dealing with expansive views and varying distances.
Here are five key benefits of mastering the hyperfocal distance technique:
- Maximizes depth of field in your drone shots
- Guarantees both foreground and background elements are sharp
- Reduces the need for constant focus adjustments
- Improves overall image quality and clarity
- Allows for quicker composition and shooting process
Utilize Manual Focus Assist Tools
Modern drones come equipped with a range of manual focus assist tools that can greatly improve your ability to achieve perfect focus in your aerial shots.
Take advantage of these features to enhance your aerial photography and videography skills.
Focus peaking is a powerful tool that highlights the areas of your image that are in sharp focus. When enabled, you'll see colored outlines around the edges of objects that are in focus. This visual aid helps you quickly identify which parts of your frame are sharp, allowing you to make precise adjustments.
Another useful feature is focus magnification. This tool lets you zoom in on a specific area of your image to check focus accuracy. By enlarging a portion of your frame, you can fine-tune your focus with greater precision.
Many drones also offer a focus guide or focus assist indicator. This on-screen display shows you the direction and amount of focus adjustment needed to achieve sharp focus. It's particularly helpful when you're dealing with subjects at varying distances.
Lastly, don't overlook the importance of your drone's live view feed. A high-quality, lag-free transmission allows you to see exactly what your camera sees, making manual focusing much more accurate and responsive.
Optimize Camera Settings for Sharpness
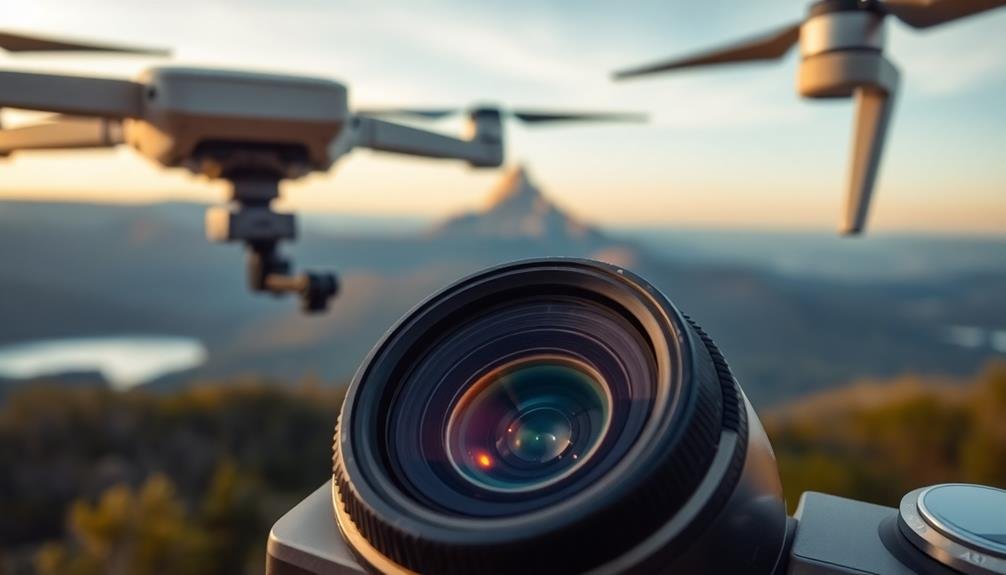
To achieve razor-sharp drone shots, you'll need to refine your camera settings. Start by setting your camera's ISO as low as possible to reduce noise and maintain image quality.
Adjust your shutter speed to match your drone's movement and the subject you're capturing. For stationary subjects, use a slower shutter speed, while faster-moving objects require quicker speeds to freeze motion.
Aperture plays an important role in depth of field. Choose a smaller aperture (higher f-number) for landscape shots to keep more elements in focus. For subjects with specific focal points, opt for a wider aperture to create a shallow depth of field.
Don't forget to fine-tune your white balance to guarantee accurate colors in your footage.
Here are five key points to remember when refining camera settings for sharpness:
- Use the lowest possible ISO to minimize noise
- Match shutter speed to subject movement and drone speed
- Select appropriate aperture for desired depth of field
- Adjust white balance for accurate color representation
- Experiment with different settings to find the best combination
Employ Focus Stacking for Landscapes
To achieve stunning landscape shots with your drone, you'll want to employ focus stacking techniques.
Start by capturing multiple images of the same scene, each focused on different points from foreground to background.
Then, blend these images in post-processing software to create a final photograph with maximum depth of field and sharpness throughout.
Capture Multiple Focus Points
Landscape photographers often face the challenge of capturing sharp focus throughout their entire scene. When using a drone, this becomes even more complex due to the distance and perspective. To overcome this, you'll need to capture multiple focus points using a technique called focus stacking.
Start by positioning your drone at the desired height and angle. Then, take a series of shots, adjusting the focus for each one. Begin with the closest elements in your frame and gradually move to the farthest. Ascertain there's some overlap between each focus point to create a seamless final image.
Here are key points to remember when capturing multiple focus points:
- Use manual focus mode for precise control
- Keep your drone as stable as possible during the process
- Take more shots than you think you'll need for better results
- Pay attention to changing light conditions between shots
- Use a lower aperture (higher f-number) for increased depth of field
After capturing your series of images, you'll need to blend them in post-processing software. This will combine the sharpest areas from each shot, resulting in a final image that's in focus from foreground to background.
With practice, you'll master this technique and create stunning, sharp drone landscapes.
Blend Images in Post-Processing
Focus-stacking software brings your multi-shot drone landscapes to life. After capturing multiple images at different focus points, you'll need to blend them seamlessly. Import your images into a focus-stacking program like Helicon Focus or Photoshop. These tools analyze your photos and combine the sharpest areas from each, resulting in an image that's crisp from foreground to background.
When blending, pay attention to alignment issues caused by slight drone movements. Most software offers auto-alignment features, but you may need to fine-tune manually. Adjust masking and opacity to smooth shifts between focus areas. Don't forget to check for artifacts or ghosting, especially around high-contrast edges.
Here's a quick guide to focus stacking workflow:
| Step | Action | Tips |
|---|---|---|
| 1. Import | Load images into software | Verify correct order |
| 2. Align | Auto-align or manual adjust | Check for misalignments |
| 3. Stack | Run focus-stacking algorithm | Experiment with settings |
| 4. Refine | Adjust masks and blending | Focus on problem areas |
Maximize Depth of Field
While blending focus-stacked images is a powerful technique, it's equally important to capture the right set of photos in the field. To maximize depth of field in your drone shots, you'll need to plan your approach carefully.
Start by identifying the nearest and farthest points of interest in your composition. Then, determine the number of shots you'll need to cover the entire range of focus.
When capturing your focus stack, begin with the closest point and gradually move your focus point towards the background. Make sure there's enough overlap between each shot to create a seamless blend later.
It's vital to maintain consistent camera settings, including aperture, shutter speed, and ISO, throughout the series.
Here are five key tips to help you maximize depth of field in your drone shots:
- Use a smaller aperture (higher f-number) for greater depth of field
- Stabilize your drone using tripod mode or hover lock
- Take more shots than you think you'll need for flexibility in post-processing
- Pay attention to changing light conditions and adjust exposure accordingly
- Consider using a focus rail for precise incremental focus adjustments
Adjust Focus During Flight
Mastering in-flight focus adjustments is essential for capturing stunning aerial footage. As you pilot your drone, you'll often encounter scenes that require quick focus changes. To adjust focus during flight, use your remote controller's focus wheel or slider. Practice smooth, gradual movements to avoid jarring shifts in your footage.
Keep an eye on your camera's live feed and monitor the focus as you fly. When approaching a subject, start adjusting focus before you reach your desired composition. This technique allows you to fine-tune as you get closer. For moving subjects, anticipate their path and adjust focus accordingly.
If your drone has a tap-to-focus feature, use it sparingly during flight. It's more reliable when hovering or moving slowly. For complex shots, consider using focus pulling techniques. Set focus points in advance and smoothly move between them during your flight.
Remember that wind and vibrations can affect your ability to achieve precise focus. Compensate by making slightly larger adjustments than you think necessary.
Review and Learn From Footage
After landing your drone, reviewing your footage is an essential step in perfecting your manual focus technique. Carefully analyze each shot, paying close attention to the sharpness and clarity of your subjects. Look for areas where focus may have slipped or where you've nailed it perfectly. This critical evaluation will help you identify patterns in your technique and areas for improvement.
Take note of challenging scenes or lighting conditions that affected your focus. Consider how you handled shifts between subjects at different distances. By learning from your successes and mistakes, you'll refine your skills for future flights.
Don't hesitate to compare your footage with professional drone shots to gain insights into industry standards. Remember, every flight is an opportunity to learn and grow as a drone photographer.
- Identify sharp vs. soft focus areas in each shot
- Analyze focus accuracy during subject shifts
- Note challenging scenes or lighting conditions
- Compare your work with professional drone footage
- Keep a log of lessons learned for future reference
Use this review process to develop a keen eye for perfect focus. With practice, you'll intuitively adjust your manual focus settings mid-flight, capturing stunning, crisp footage that rivals the pros.
Frequently Asked Questions
How Does Weather Affect Manual Focus in Drone Photography?
Weather can greatly impact your manual focus in drone photography. You'll face challenges with rain obscuring your lens, wind causing vibrations, and temperature changes affecting your camera's focus. Bright sunlight might also make your screen hard to see.
Can Third-Party Apps Improve Manual Focus Capabilities for Drones?
Yes, you can improve your drone's manual focus with third-party apps. They often offer advanced features like focus peaking, zoom assistance, and custom focusing modes. You'll find these apps expand your control over image sharpness and precision.
What Are the Best Focal Lengths for Manual Focus in Aerial Shots?
You'll find that wider focal lengths, like 24mm to 35mm, work best for aerial shots. They'll give you a broader view and more depth of field, making manual focus easier. Don't forget to experiment with different lengths, though!
How Do Different Drone Sensors Impact Manual Focusing Techniques?
You'll find that larger drone sensors offer better low-light performance and depth of field control. They'll make manual focusing easier, while smaller sensors require more precision. Adjust your techniques based on your drone's sensor size for ideal results.
Are There Specific Manual Focus Challenges When Filming Fast-Moving Subjects With Drones?
You'll face challenges tracking fast subjects while manually focusing your drone. It's hard to keep them sharp as they zip across the frame. You're often better off using autofocus or pre-focusing on a specific area.
In Summary
You've now got a toolbox of techniques to nail manual focus in your drone shots. Remember, practice makes perfect. Don't get discouraged if your first attempts aren't flawless. Keep experimenting with these tips, and you'll soon find your focus skills improving dramatically. Whether you're capturing landscapes or close-ups, mastering manual focus will elevate your drone photography to new heights. So get out there, start focusing, and watch your footage soar!
As educators and advocates for responsible drone use, we’re committed to sharing our knowledge and expertise with aspiring aerial photographers.


Leave a Reply