To fly camera-equipped UAVs at night, you'll need to follow essential guidelines. Start with a thorough pre-flight checklist, ensuring your drone's lights meet FAA visibility regulations. Navigate cautiously in low-light environments, maintaining a higher altitude to avoid obstacles. Adjust your camera settings for ideal night photography, experimenting with ISO and long exposure techniques. Use obstacle avoidance systems and plan your flight path in advance. Monitor weather conditions and manage your battery life, especially in cold temperatures. Familiarize yourself with emergency procedures and recovery techniques. By mastering these guidelines, you'll capture stunning nocturnal imagery while prioritizing safety and compliance.
Key Takeaways
- Equip UAVs with anti-collision lighting visible from 3 statute miles to meet FAA regulations.
- Adjust camera settings for low-light conditions, including ISO, shutter speed, and aperture optimization.
- Fly slower and higher than daytime operations to enhance safety and avoid obstacles.
- Utilize obstacle avoidance systems and conduct pre-flight area assessments to identify potential hazards.
- Establish clear communication protocols and emergency procedures for night flight incidents.
Pre-Flight Checklist for Night Operations
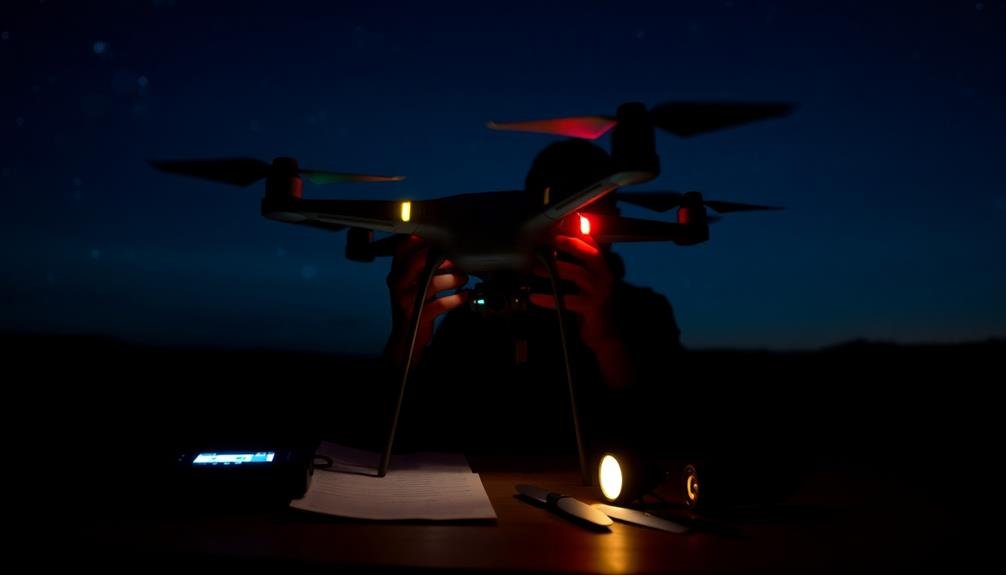
Before taking off into the night sky, a thorough pre-flight checklist is essential for safe UAV operations.
Begin by inspecting your drone's physical condition, paying close attention to propellers, motors, and body integrity. Confirm all batteries are fully charged, including those for your remote control and any auxiliary devices.
Check that your UAV's lights are functioning correctly, as they're critical for visibility and orientation during night flights.
Verify that your camera settings are optimized for low-light conditions, adjusting ISO, shutter speed, and aperture as needed.
Test your drone's GPS and compass calibration, as these systems are fundamental for maintaining stable flight in darkness.
Review local regulations regarding night flights and confirm you have the necessary permissions.
Check weather conditions, paying particular attention to wind speed and potential fog or mist.
Plan your flight path carefully, identifying any obstacles or restricted areas.
Familiarize yourself with emergency procedures and have a contingency plan ready.
Finally, confirm your mobile device or tablet is fully charged and your flight control app is up-to-date.
Lighting Requirements for Night Drones
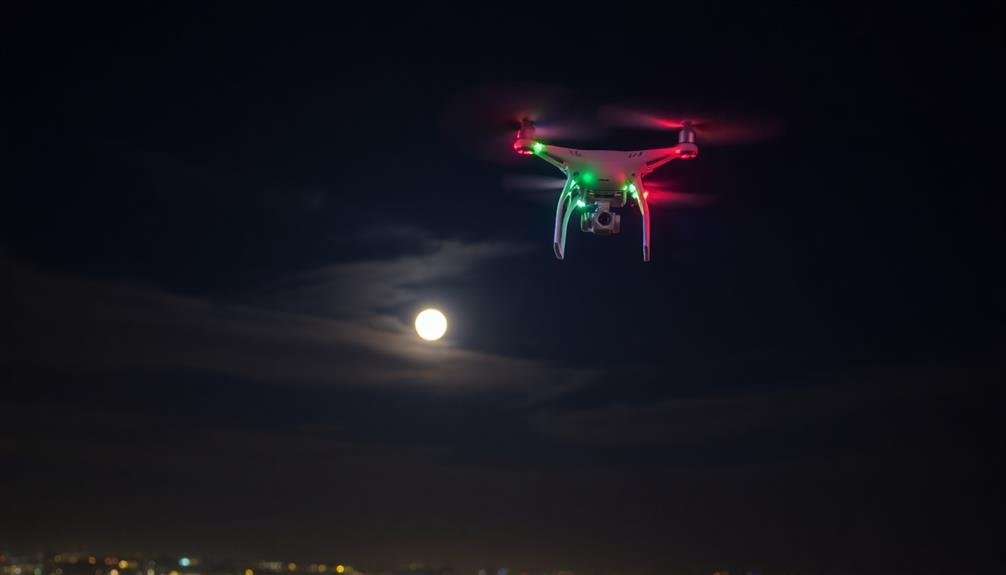
When flying your UAV at night, you'll need to equip it with anti-collision lighting systems to guarantee visibility and safety.
These lights must meet FAA visibility regulations, which typically require them to be visible from at least 3 statute miles away.
You're responsible for maintaining these lights in working order and guaranteeing they're activated throughout your night flight operations.
Anti-Collision Lighting Systems
Anti-collision lighting systems are essential for night drone operations. They're designed to make your UAV visible to other aircraft and ground observers, reducing the risk of collisions and increasing safety.
When selecting an anti-collision lighting system for your drone, you'll need to evaluate factors like brightness, visibility range, and power consumption.
Most anti-collision lights for drones use LED technology, which offers high visibility and low power draw. You'll typically need a combination of steady and flashing lights to comply with regulations. The FAA requires drones to have red or white anti-collision lights visible from 3 statute miles away for night operations.
Here are four key aspects of anti-collision lighting systems to keep in mind:
- Placement: Install lights on multiple sides of your drone for maximum visibility
- Color: Use a combination of red and white lights to enhance contrast
- Flash patterns: Incorporate both steady and strobe lights to increase noticeability
- Battery life: Choose energy-efficient LEDs to minimize impact on flight time
FAA Visibility Regulations
To comply with FAA regulations for night drone operations, you'll need to guarantee specific visibility requirements.
The FAA mandates that your drone must be equipped with anti-collision lighting visible for at least 3 statute miles. This lighting should flash at a rate of 40 to 100 cycles per minute and must be visible from all directions.
You're required to install position lighting on your drone as well. This includes a steady green light on the right side and a steady red light on the left side, both visible from at least 2 statute miles away. These lights help other aircraft determine your drone's direction of flight.
Don't forget that your anti-collision lighting must remain on throughout the entire flight, while position lights can be dimmed if it affects your ability to control the drone safely.
You'll also need to guarantee your drone's registration number is visible and illuminated, either by the anti-collision lighting or by a separate light source.
Navigating Low-Light Environments Safely
Maneuvering low-light environments can throw up unique challenges for UAV operators. You'll need to adapt your flying techniques and rely heavily on your drone's instruments and sensors. Make sure your UAV is equipped with proper lighting, including navigation lights and anti-collision strobes. These not only help you maintain visual contact but also make your drone visible to others.
When traversing in low light, it's essential to:
- Fly slower and more cautiously than during daylight hours
- Maintain a higher altitude to avoid obstacles
- Use your drone's obstacle avoidance system, if available
- Regularly check your video feed for any potential hazards
Familiarize yourself with your drone's night mode settings and learn to interpret the camera's low-light imagery. Consider using thermal or infrared cameras for enhanced visibility in darkness.
Always plan your flight path in advance, identifying potential obstacles and no-fly zones. Be prepared for sudden changes in visibility due to fog, mist, or cloud cover.
Camera Settings for Night Photography
To capture stunning night shots with your UAV, you'll need to optimize your camera settings.
Start by adjusting your ISO to balance light sensitivity and noise reduction, typically between 800 and 3200 depending on ambient light.
Experiment with long exposure techniques, using slower shutter speeds to allow more light into the sensor, but be mindful of potential motion blur from the drone's movement.
Optimal ISO Settings
Three key factors determine ideal ISO settings for night UAV photography: light conditions, desired image quality, and your drone's camera capabilities.
When flying at night, you'll typically need higher ISO settings to capture enough light. However, increasing ISO also introduces more noise to your images, so it's essential to find the right balance.
Start by testing your drone's camera at different ISO settings to understand its limitations. In general, aim for the lowest ISO that still allows for a properly exposed image. For most consumer drones, this range often falls between 800 and 3200 ISO. If your drone has a larger sensor or newer technology, you might be able to push it higher without significant quality loss.
To optimize your ISO settings for night UAV photography:
- Use a tripod or gimbal to stabilize your drone, allowing for longer exposures at lower ISO.
- Experiment with different shutter speeds to find the sweet spot between exposure and motion blur.
- Consider using post-processing noise reduction techniques to clean up higher ISO images.
- Bracket your shots with different ISO settings to guarantee you capture the best possible image.
Long Exposure Techniques
Long exposure techniques open up a world of creative possibilities for night UAV photography. You'll need to stabilize your drone and use a slow shutter speed to capture more light. Start with exposures between 2-10 seconds, adjusting based on your subject and available light. Use your drone's built-in ND filters or attach external ones to prevent overexposure in brighter areas.
For successful long exposures, you'll need to:
- Set your drone to manual mode
- Lower your ISO to minimize noise
- Use a narrow aperture (high f-number) for greater depth of field
- Enable your drone's obstacle avoidance system
Here's a quick reference guide for common night scenes:
| Scene Type | Shutter Speed | Aperture | ISO |
|---|---|---|---|
| City Lights | 2-5 seconds | f/8-f/11 | 100-400 |
| Star Trails | 30+ seconds | f/2.8-f/4 | 800-1600 |
| Light Painting | 10-30 seconds | f/5.6-f/8 | 400-800 |
Remember to shoot in RAW format for maximum flexibility in post-processing. Experiment with different settings and compositions to achieve stunning night-time aerial images that showcase motion, light trails, and the unique perspective only drones can provide.
Avoiding Obstacles in Darkness
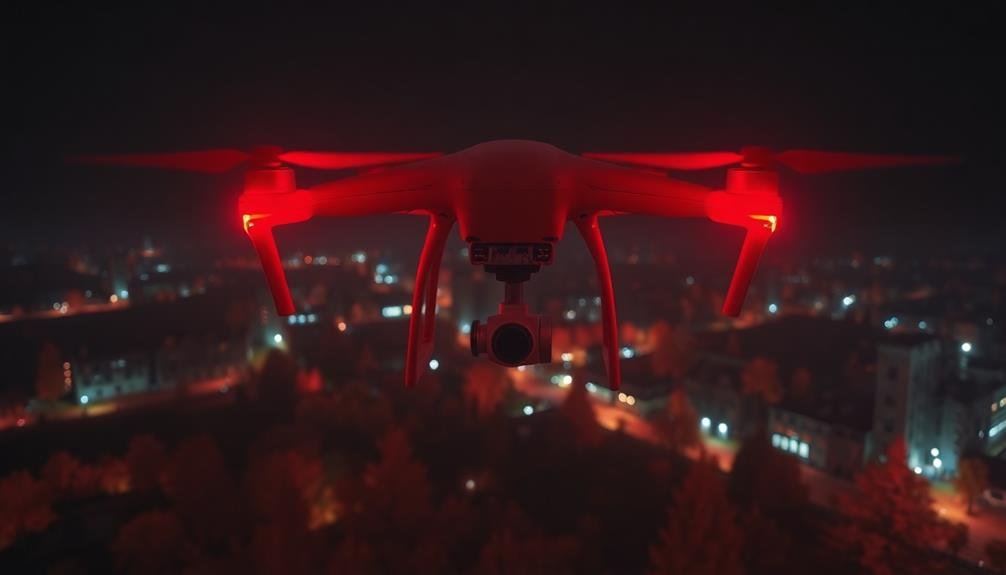
While flying UAVs at night presents unique challenges, avoiding obstacles in darkness is essential for safe operation. You'll need to rely on technology and careful planning to navigate safely. Use obstacle avoidance sensors, which emit infrared beams to detect objects in your drone's path. These sensors work well in low-light conditions and can help prevent collisions.
Pre-flight planning is vital. Study your flight area during daylight hours to identify potential hazards like trees, power lines, or tall structures. Use GPS and mapping software to create a flight plan that avoids these obstacles. Always maintain visual line of sight with your drone, using its built-in lights to track its position.
To further enhance your night flying safety:
- Equip your drone with additional LED lights for better visibility
- Fly at a higher altitude to reduce the risk of hitting ground-level obstacles
- Use first-person view (FPV) goggles with night vision capabilities
- Practice flying in simulated night conditions before attempting real night flights
Communication Protocols During Night Flights
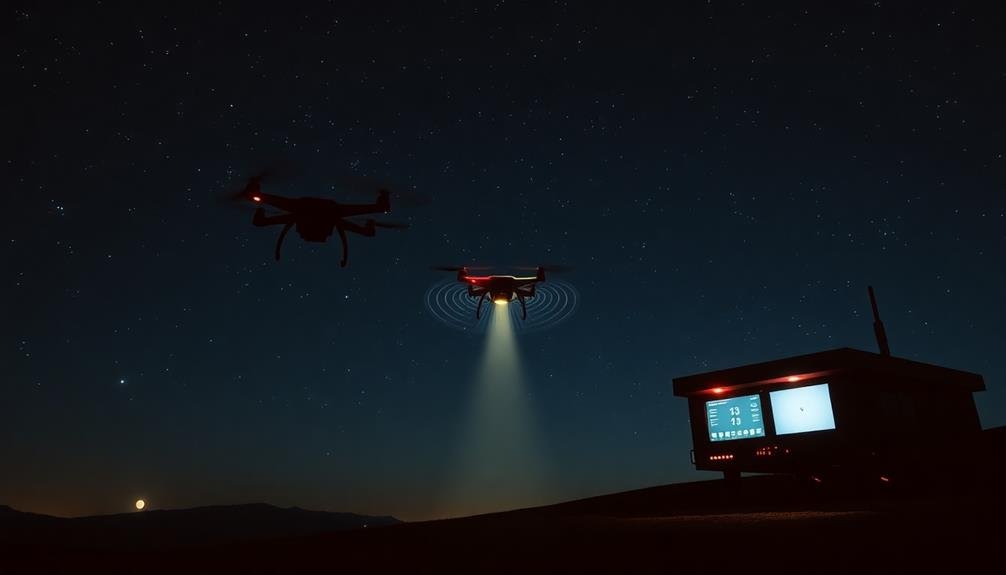
How do you guarantee clear communication during night flights with UAVs?
Establish a robust communication system before takeoff. Use reliable radio frequencies and make certain your transmitter and receiver are fully charged. Set up a clear chain of command, designating who'll communicate with the pilot and ground crew.
Implement a standardized set of voice commands and responses for different scenarios. Use concise, unambiguous language to avoid misunderstandings. Incorporate a phonetic alphabet for clarity when spelling out important information. Establish regular check-ins at predetermined intervals to maintain situational awareness.
Utilize visual signals as a backup. Equip your UAV with high-visibility LED lights in different colors to indicate various states or messages. Train your team to recognize these light patterns and their meanings. Consider using hand signals with glow sticks or flashlights for ground crew communication.
In case of communication failure, have a predetermined emergency protocol in place. This should include actions for the UAV to take, such as returning to a designated landing zone or hovering in place.
Always prioritize safety and be prepared to abort the mission if communication can't be re-established.
Weather Considerations for Nocturnal Missions
Weather plays an essential role in nocturnal UAV missions. You'll need to carefully consider atmospheric conditions before and during your night flights. Wind speed and direction can greatly impact your drone's performance and battery life.
Temperature changes can affect your equipment's functionality, especially in colder nights when batteries may drain faster. Humidity levels can lead to condensation on camera lenses and electronic components, potentially compromising image quality and equipment reliability.
To guarantee safe and successful nocturnal missions, follow these weather-related guidelines:
- Check detailed weather forecasts specifically for your flight area and time
- Monitor real-time weather data using mobile apps or portable weather stations
- Set predetermined weather thresholds for wind speed, temperature, and precipitation
- Establish a contingency plan for sudden weather changes during your flight
Remember that certain weather phenomena, like fog or low clouds, can be more prevalent at night and may severely limit visibility.
Always prioritize safety and be prepared to abort the mission if conditions deteriorate. By staying vigilant and adapting to changing weather conditions, you'll maximize your chances of capturing high-quality footage while maintaining the safety of your UAV and surrounding areas.
Battery Management in Cold Conditions
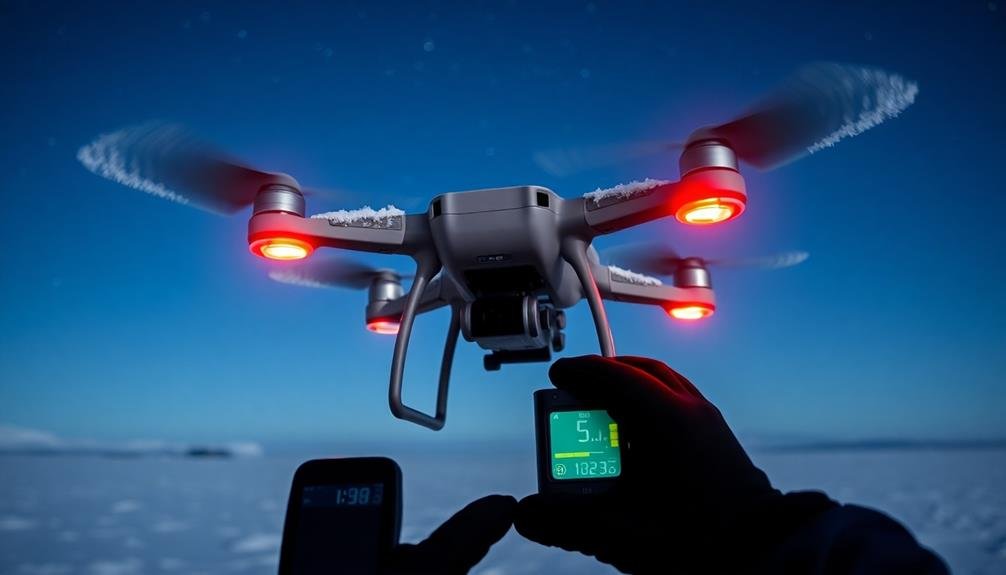
Cold temperatures pose a significant challenge for UAV batteries during night flights. You'll need to take extra precautions to maintain peak battery performance and extend flight time. Keep your batteries warm before takeoff by storing them in an insulated container or using battery warmers. During flight, monitor battery temperature and voltage closely, as cold conditions can cause rapid discharge and reduced capacity.
To maximize battery life in cold weather, consider these strategies:
| Strategy | Description | Benefit |
|---|---|---|
| Pre-warm batteries | Use warmers or insulated cases | Improves initial performance |
| Reduce flight time | Shorten missions by 20-30% | Prevents over-discharge |
| Increase landing voltage | Set higher minimum voltage | Protects battery health |
| Use higher capacity batteries | Choose LiPo with more mAh | Extends flight duration |
| Install battery insulation | Add foam or neoprene wrap | Maintains temperature |
You should also carry spare batteries and rotate them frequently during extended missions. Remember to land your UAV when the battery reaches 30-40% capacity in cold conditions, as voltage can drop rapidly below this point. By implementing these battery management techniques, you'll guarantee safer and more reliable night flights in cold weather.
Emergency Procedures for Night Incidents
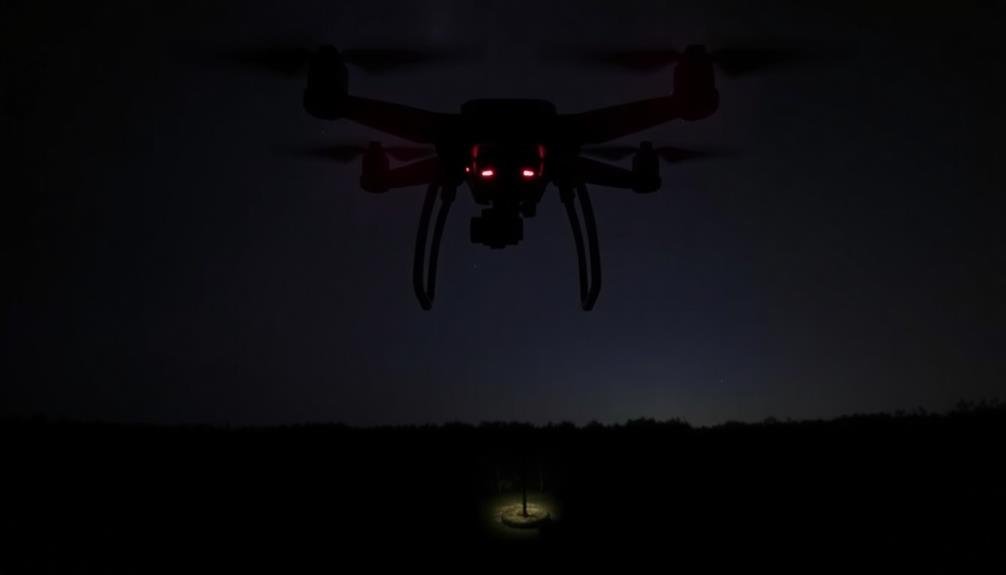
When flying UAVs at night, you'll need to be prepared for potential emergencies unique to low-light conditions.
You should have a plan for regaining control if you lose visual contact with your drone, and know how to respond to equipment malfunctions in darkness.
It's essential to practice emergency landings in low-light settings to guarantee you can safely recover your UAV if needed.
Lost Visual Contact
Losing visual contact with your UAV during night operations can quickly escalate into a significant situation. When you can't see your drone, it's essential to remain calm and follow a structured approach to regain control.
First, check your remote control's telemetry data for altitude, battery level, and GPS coordinates. If you've lost signal, attempt to reestablish connection by adjusting your position or antenna orientation.
If you can't regain visual or signal contact, initiate your UAV's return-to-home function immediately. This automated feature should guide your drone back to its launch point.
While waiting, maintain your position and scan the sky for any lights or movement that might indicate your UAV's location.
To prevent losing visual contact in future night flights:
- Use bright, contrasting LED lights on your drone
- Keep your UAV within a manageable distance and altitude
- Practice night flying in a controlled environment first
- Always have a spotter to assist in maintaining visual contact
Equipment Malfunction Response
Equipment malfunctions during night flights require swift, decisive action. You must be prepared to handle various issues that can arise with your UAV's systems.
If you experience a sudden loss of power, immediately initiate a controlled descent to a safe landing area. For GPS failures, switch to manual control and rely on your visual orientation skills to navigate back to your launch point.
In case of camera malfunction, prioritize maintaining control of the drone over capturing footage. If your FPV feed cuts out, switch to line-of-sight flying and return home. For control signal interference, try changing frequencies or moving to a different location. If the issue persists, initiate an emergency landing.
Always carry a flashlight to locate your drone in case of an unplanned landing. Keep spare batteries and a basic repair kit on hand for minor fixes.
If you encounter a critical failure, such as motor malfunction or structural damage, activate the drone's return-to-home function if available. If not, attempt a controlled crash landing in a clear area away from people and property.
Landing in Darkness
Despite careful planning, emergency landings in darkness can become necessary during night UAV operations. When faced with this situation, you'll need to act quickly and decisively to guarantee the safety of your UAV and surrounding areas.
First, activate your UAV's emergency lighting system if equipped. This will help you maintain visual contact and aid in locating the drone after landing.
Next, identify the safest possible landing site within range. Look for open areas free of obstacles, people, and structures. Use your camera's night vision capabilities to scout potential landing zones. If possible, choose a location with some ambient light to assist your visibility.
Here are four vital steps to follow when landing your UAV in darkness:
- Reduce your altitude slowly and steadily to maintain control
- Decrease your speed gradually to minimize impact upon landing
- Use your camera's live feed to guide your descent and avoid obstacles
- Perform a controlled crash landing if necessary, prioritizing safety over equipment preservation
After landing, immediately power down your UAV to prevent any unintended movement or interference with rescue efforts.
Mark your UAV's location using GPS coordinates or visual markers to facilitate recovery.
Post-Flight Inspection and Maintenance
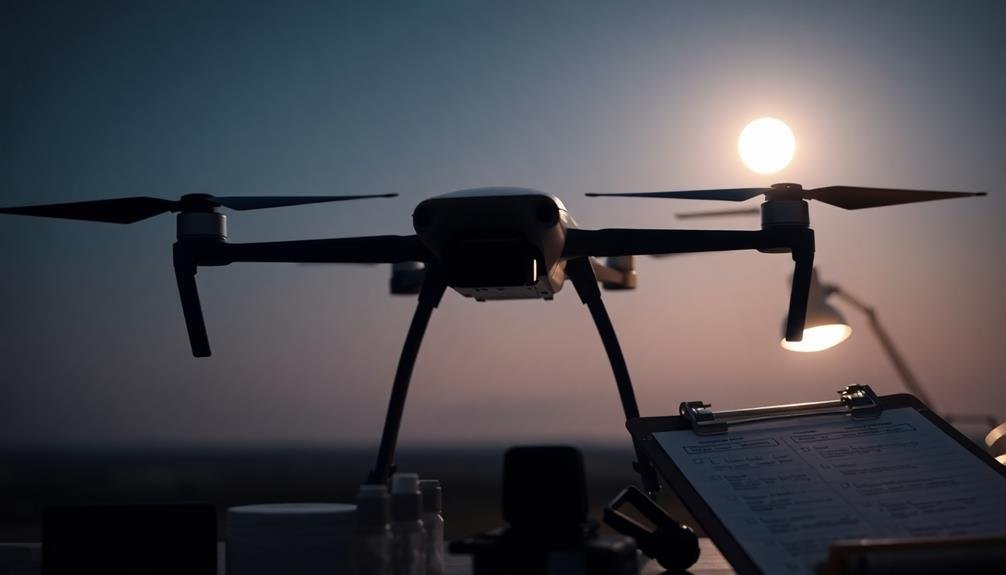
After landing your UAV, a thorough post-flight inspection and maintenance routine is essential.
Begin by checking the aircraft's exterior for any visible damage or debris accumulated during the flight. Pay close attention to the propellers, confirming they're free from cracks or chips. Examine the camera and gimbal for proper alignment and functionality.
Next, inspect the battery for signs of swelling, punctures, or excessive heat. Remove it from the drone and store it properly.
Clean the UAV's body, camera lens, and sensors using appropriate tools and solutions. Don't forget to check and clean the landing gear.
Review your flight logs and recorded data for any anomalies or performance issues. Address any warnings or errors promptly. Update your maintenance log with details of the inspection and any repairs made.
Recharge batteries if needed, and ascertain all equipment is stored in a cool, dry place. If you've flown in dusty or humid conditions, consider using a dehumidifier in your storage area.
Frequently Asked Questions
Are Special Permits Required for Night Drone Flights?
You'll typically need special permits for night drone flights. Check with your local aviation authority for specific requirements. They often involve additional lighting, pilot training, and safety measures. Don't fly at night without proper authorization.
How Does Night Flying Affect Drone Insurance Coverage?
You'll find that night flying can impact your drone insurance coverage. It's often considered higher risk, so you may need additional coverage or pay higher premiums. Check with your insurer to understand how your policy handles nighttime operations.
What Are the Noise Regulations for Night Drone Operations?
You'll need to be extra cautious about noise at night. Check local regulations, as many areas have stricter noise limits after dark. You're often required to use quieter drones or limit flight times to reduce disturbances.
Can Thermal Imaging Cameras Be Used for Night Drone Photography?
Yes, you can use thermal imaging cameras for night drone photography. They're excellent for capturing heat signatures in low-light conditions. You'll need to follow regulations and obtain necessary permits for night operations with this specialized equipment.
How Do Wildlife Protection Laws Impact Night Drone Flights?
You'll need to be careful with night drone flights near wildlife. Many laws protect animals from disturbance, especially at night. You're often required to maintain distance and avoid using bright lights that could disrupt wildlife.
In Summary
You've now got the essentials for safe and effective night drone flights. Remember to always prioritize safety, follow regulations, and respect privacy. Keep honing your skills in low-light conditions and stay up-to-date with evolving technology. With practice, you'll capture stunning nocturnal imagery while maintaining control of your UAV. Don't forget to review and learn from each flight. Happy night flying, and may your aerial adventures be both thrilling and secure!

As educators and advocates for responsible drone use, we’re committed to sharing our knowledge and expertise with aspiring aerial photographers.


Leave a Reply