For stunning night aerial shots, start with a high-performance camera and fast lens (f/2.8 or wider). Set your ISO between 1600-3200, adjusting based on available light. Use slower shutter speeds (1/60th to 1 second) to capture more light, but be mindful of motion blur. Keep your aperture wide open (f/2.8 to f/4) for maximum light gathering. Shoot in RAW for post-processing flexibility, and use manual focus for sharper images. Employ noise reduction techniques and exposure compensation to fine-tune your results. Stabilization is essential, so use a gimbal or drone with built-in stabilization. Master these settings, and you'll reveal the secrets to breathtaking low-light aerial photography.
Key Takeaways
- Use a high ISO setting between 1600 and 3200 to capture more light in low-light conditions.
- Set aperture to f/2.8 or wider to maximize light gathering while maintaining image quality.
- Opt for slower shutter speeds (1/15 to 1 second) to allow more light, but use stabilization techniques.
- Shoot in RAW format for greater flexibility in post-processing and noise reduction.
- Employ manual focus techniques, using live view to focus on bright light sources for sharp images.
Understanding Low-Light Aerial Photography
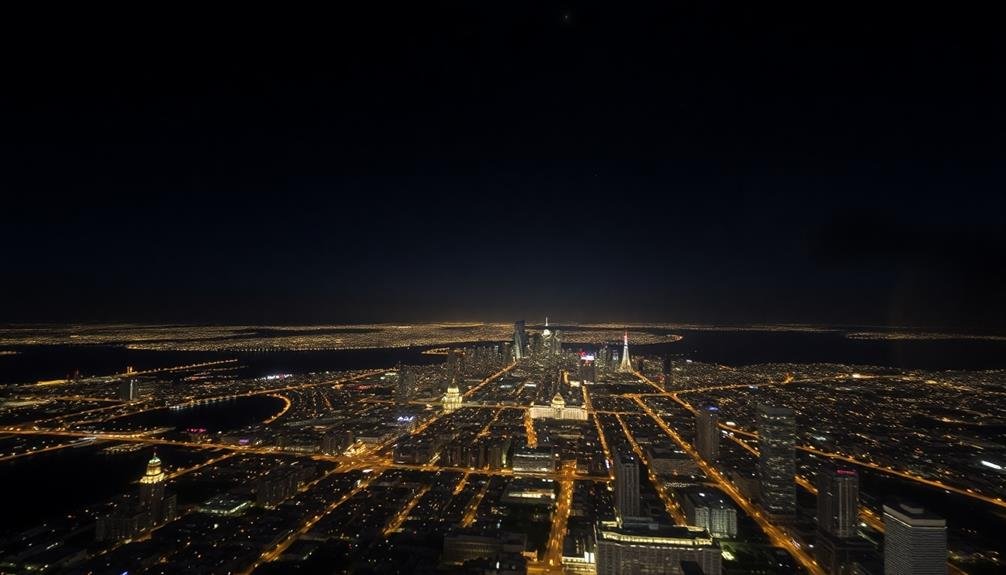
Mastering low-light aerial photography requires a solid understanding of how light behaves in nighttime conditions. When you're shooting from an aircraft at night, you're dealing with minimal available light and constantly changing scenes.
The challenge lies in capturing sharp, well-exposed images while battling camera shake and motion blur. You'll need to grasp the concept of long exposures and how they affect your aerial shots. As you increase your exposure time, you'll let more light into your camera, but you'll also risk introducing blur from the aircraft's movement.
It's vital to find the right balance between exposure and sharpness. Understanding ISO sensitivity is equally important. Higher ISO settings can help you capture more light, but they also introduce digital noise.
You'll need to experiment to find the sweet spot for your camera. Lastly, you should familiarize yourself with your camera's manual settings. Auto modes often struggle in low-light conditions, so you'll need to take control of aperture, shutter speed, and ISO to achieve the best results.
Practice adjusting these settings quickly, as night aerial scenes can change rapidly.
Essential Equipment for Night Flights
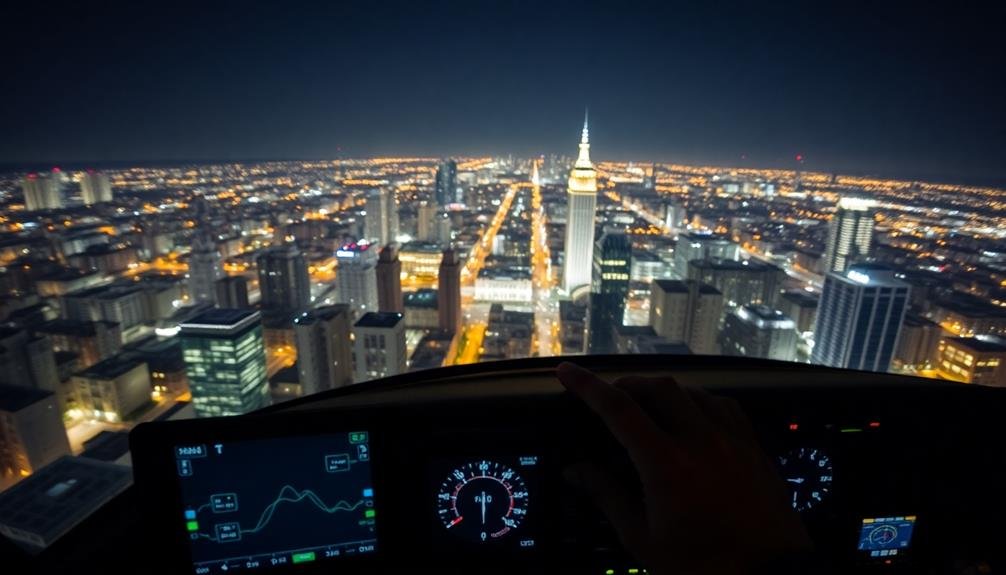
To gear up for night aerial photography, you'll need specialized equipment that caters to low-light conditions. Start with a camera that performs well in high ISO settings, such as full-frame DSLRs or mirrorless cameras. Invest in fast lenses with wide apertures (f/2.8 or wider) to maximize light capture. A sturdy tripod or gimbal is essential for stability during long exposures.
Don't forget essential accessories like extra batteries, as cold temperatures can drain power quickly. Carry multiple memory cards with high write speeds to handle large RAW files. A remote shutter release or intervalometer helps minimize camera shake during long exposures.
Consider using lens filters, particularly neutral density filters, to control exposure in varying light conditions. For safety, equip yourself with a headlamp featuring a red light mode to preserve night vision. Bring warm, dark clothing to stay comfortable and avoid reflections.
If you're shooting from a helicopter or small aircraft, invest in a quality harness and tether system to secure your gear. Finally, pack a GPS device or smartphone app to track your flight path and geotag your images for easier location reference later.
ISO Settings for Night Aerials

When shooting night aerials, you'll need to carefully balance your ISO settings to achieve ideal results.
You're aiming for a sweet spot between sensitivity and noise, as higher ISOs can capture more light but also introduce unwanted graininess.
For most night aerial photography, you'll find an ISO range of 1600 to 3200 provides a good starting point, but don't hesitate to adjust based on your specific conditions and equipment capabilities.
Balancing Noise and Sensitivity
Night aerial photography's success hinges on finding the perfect balance between noise and sensitivity. As you increase your ISO to capture more light, you'll inevitably introduce digital noise into your images. Your goal is to find the sweet spot where you're getting enough light without compromising image quality.
Start by testing your camera's ISO performance. Take test shots at various ISO settings and examine them closely for noise levels. You'll likely find that modern cameras can handle higher ISOs better than older models. Aim for the highest ISO that produces acceptable noise levels for your standards.
Remember, some noise is often preferable to a blurry or underexposed image. You can reduce noise in post-processing, but you can't fix motion blur or lack of detail. Consider using noise reduction software to clean up your images later.
If you're still struggling with noise, try using longer exposures or wider apertures to allow more light in without pushing the ISO too high. You can also experiment with in-camera noise reduction settings, but be aware that these may affect image sharpness.
ISO Range Recommendations
For night aerial photography, ISO settings typically range from 800 to 6400, depending on your camera's capabilities and the available light.
Start with ISO 1600 as a baseline and adjust from there. If you're shooting in urban areas with bright city lights, you might be able to use a lower ISO, around 800-1000. For darker scenes or rural areas, you'll likely need to push it higher, possibly up to 3200 or 6400.
Remember, higher ISO values introduce more noise, so you'll need to find a balance between sensitivity and image quality. Modern full-frame cameras often perform well at higher ISOs, so don't be afraid to experiment.
If you're using a crop sensor camera, you might want to keep your ISO lower to maintain image quality.
When shooting at night, it's essential to test your camera's ISO performance beforehand. Take test shots at various ISO settings and examine them closely on a large screen.
This will help you determine the highest usable ISO for your specific camera. Always shoot in RAW format to give yourself more flexibility in post-processing, especially when dealing with high ISO noise reduction.
Shutter Speed in Dark Conditions
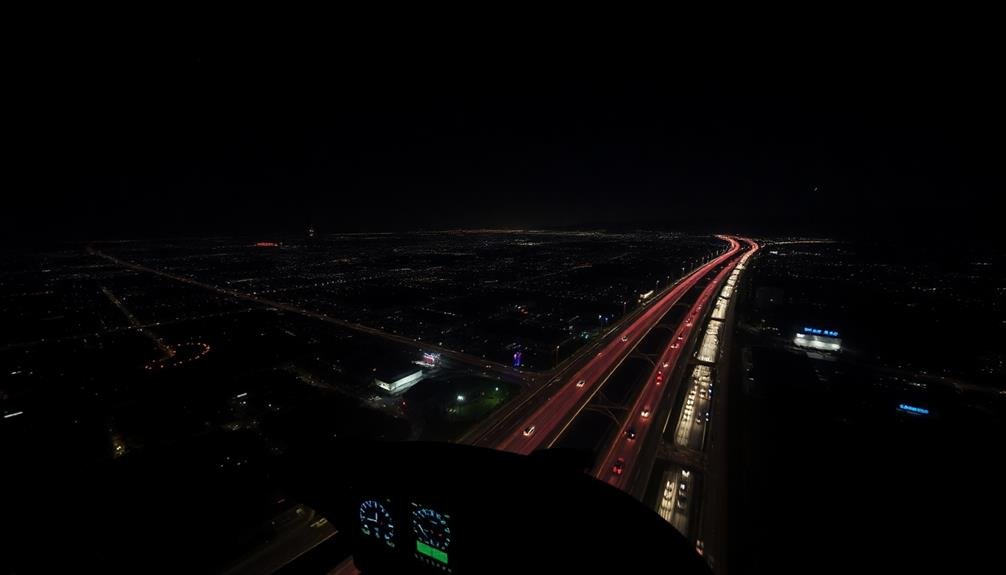
When shooting night aerials, you'll need to master the art of balancing exposure and blur through your shutter speed settings.
You can employ slow shutter techniques to capture more light, but be aware that this may introduce unwanted motion blur.
To combat this, you'll want to explore motion compensation strategies, such as using a gimbal or increasing your camera's stability.
Balancing Exposure and Blur
Capturing stunning night aerials requires a delicate balance between exposure and motion blur. You'll need to find the sweet spot where your image is well-exposed without introducing unwanted blur from camera shake or subject movement.
Start by setting your ISO as high as you're comfortable with, considering your camera's noise performance. This allows for a faster shutter speed, reducing the risk of blur. Next, open your aperture wide to let in more light. A lens with a large maximum aperture, like f/2.8 or wider, is ideal for night aerials.
With these settings in place, adjust your shutter speed to achieve proper exposure. Aim for a minimum of 1/60th of a second to minimize camera shake, but be prepared to go slower if necessary. If you're shooting from a moving aircraft, you may need even faster shutter speeds to freeze motion.
Use your camera's histogram to guarantee you're not clipping highlights or shadows. If you're still struggling to achieve a balanced exposure, consider using techniques like exposure bracketing or shooting in RAW format to give yourself more flexibility in post-processing.
Slow Shutter Techniques
Slow shutter techniques open up a world of creative possibilities for night aerial photography. When shooting from an aircraft at night, you'll often need to use slower shutter speeds to capture enough light.
Start by setting your camera to shutter priority mode and experimenting with speeds between 1/15 and 1 second.
At these slower speeds, you'll need to be extra mindful of camera shake. Use a stabilizer or brace your camera against a stable surface in the aircraft. If possible, use a remote shutter release to minimize vibrations.
For cityscapes, try even longer exposures of 2-10 seconds to create light trails from moving vehicles.
To capture sharp images of stationary subjects while blurring motion, use panning techniques. Follow the movement of your subject as you release the shutter. This works well for capturing other aircraft or ground vehicles with streaking lights behind them.
Remember that slower shutter speeds will increase your ISO requirements. Balance this by opening up your aperture as wide as possible.
Use your camera's live view mode to check exposure and adjust settings as needed for each unique night scene you encounter.
Motion Compensation Strategies
Motion compensation becomes a key challenge when shooting night aerials with slower shutter speeds. To combat blur and maintain image sharpness, you'll need to employ various techniques.
First, stabilize your camera using a sturdy tripod or mount specifically designed for aerial photography. If possible, use a gyroscopic stabilizer to counteract the aircraft's vibrations and movements.
When shooting handheld, increase your ISO to allow for faster shutter speeds, but be mindful of noise. Image stabilization (IS) or vibration reduction (VR) features on your lens or camera body can also help reduce shake. Additionally, consider using burst mode to capture multiple shots, increasing your chances of getting a sharp image.
Here are five motion compensation strategies to try:
- Use a remote shutter release to minimize camera shake
- Shoot in RAW format for greater flexibility in post-processing
- Employ panning techniques to follow moving subjects
- Experiment with exposure bracketing for HDR composites
- Try using neutral density filters to balance exposure in mixed lighting conditions
Aperture Considerations for Night Drones
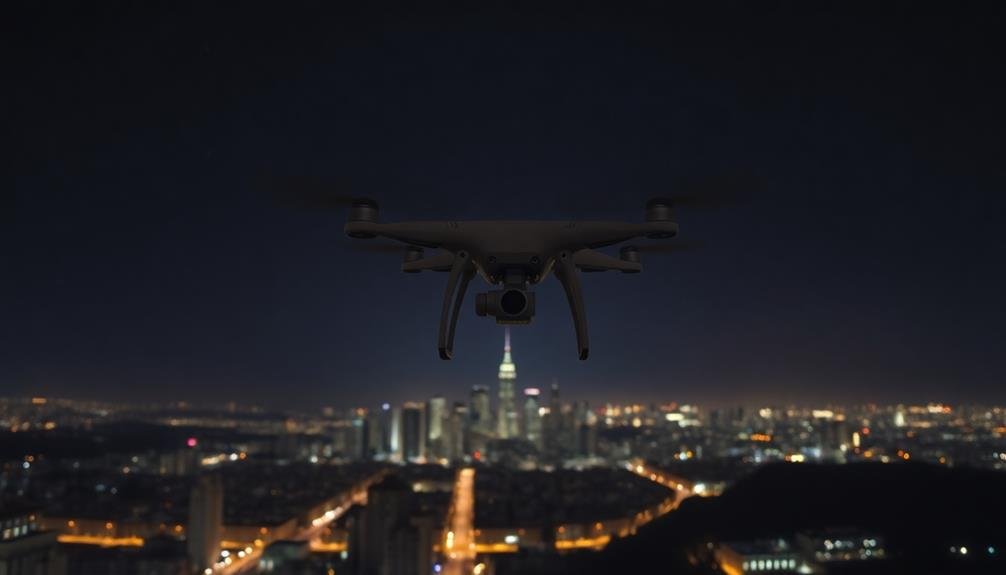
When it comes to night drone photography, aperture settings play a significant role in determining the quality of your aerial shots. You'll want to balance light sensitivity with depth of field to capture stunning nighttime images. Generally, a wider aperture (lower f-number) allows more light to enter the camera, which is essential in low-light conditions.
For night aerials, start with an aperture between f/2.8 and f/4. This range provides a good balance between light gathering and sharpness. However, you may need to adjust based on your specific scene and desired effect. Here's a quick reference guide:
| Aperture | Light Gathering | Depth of Field | Best For |
|---|---|---|---|
| f/1.8 | Excellent | Very Shallow | Isolating subjects |
| f/2.8 | Very Good | Shallow | General night shots |
| f/4 | Good | Moderate | Balancing light and DoF |
| f/5.6 | Moderate | Deep | Sharper cityscapes |
| f/8 | Limited | Very Deep | Daytime or well-lit scenes |
White Balance for Nighttime Scenes
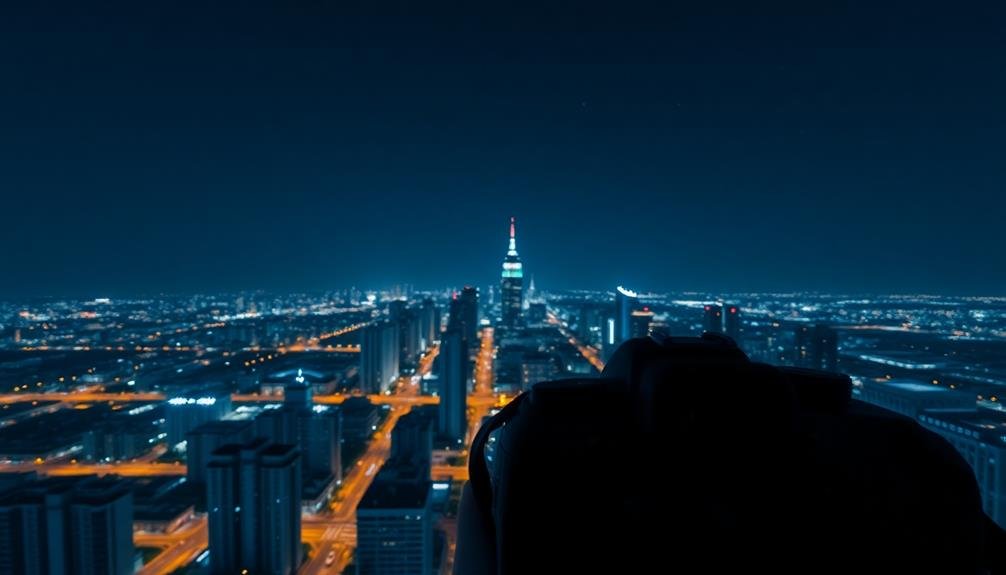
For nighttime aerial photography, white balance is essential in capturing accurate colors and mood. Nighttime scenes often have mixed lighting sources, making it challenging to achieve a natural-looking image. You'll need to adjust your camera's white balance settings to compensate for these varying light temperatures.
When shooting at night, consider using these white balance options:
- Auto White Balance (AWB): A good starting point, but may struggle with mixed lighting
- Tungsten: Ideal for city scenes with warm street lighting
- Fluorescent: Useful for areas with cooler artificial lighting
- Kelvin: Allows precise control over color temperature
- Custom: Set a manual white balance using a gray card for accuracy
Experiment with different settings to find what works best for your specific scene. Remember that you can always fine-tune white balance in post-processing, especially if you're shooting in RAW format.
However, getting it right in-camera will save you time and effort later.
Pay attention to how white balance affects the overall mood of your image. Cooler tones can create a mysterious or eerie atmosphere, while warmer tones might evoke a cozy, inviting feeling.
Don't be afraid to use creative white balance settings to achieve your desired aesthetic in your nighttime aerial shots.
RAW Vs JPEG for Nocturnal Shots
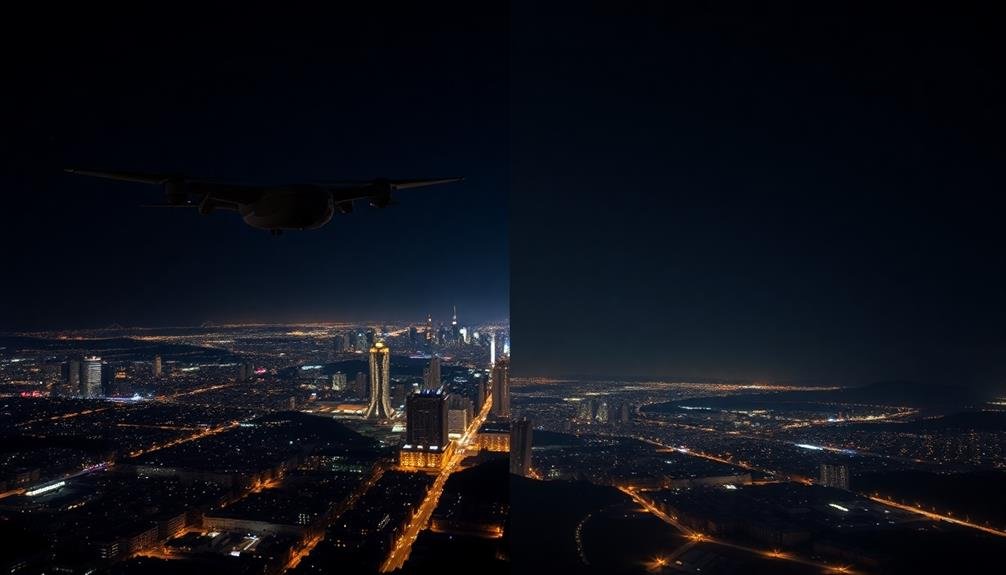
The choice between RAW and JPEG formats can greatly impact your nighttime aerial photography. When shooting in low-light conditions, RAW files offer significant advantages. They capture a wider dynamic range, allowing you to recover more details from shadows and highlights during post-processing. This is essential for night aerials, where you'll often encounter extreme contrasts between city lights and dark surroundings.
RAW files also provide greater flexibility in adjusting white balance, which is particularly useful for correcting mixed lighting sources common in nocturnal urban landscapes. However, RAW files are larger and require processing before sharing or printing.
JPEG, on the other hand, offers smaller file sizes and immediate usability. Your camera applies in-camera processing, which can be beneficial if you need to quickly share images or have limited storage. However, JPEGs compress data, reducing your ability to make significant adjustments in post-processing without degrading image quality.
For night aerials, shooting in RAW is generally recommended. It gives you more control over the final image and helps mitigate challenges associated with low-light photography. If storage isn't an issue, consider shooting in RAW+JPEG to have both options available.
Focusing Techniques in Low Light
Focusing in the dark presents unique challenges for aerial photographers. When you're capturing night aerials, traditional autofocus systems often struggle to find contrast. To overcome this, you'll need to employ specialized techniques to guarantee sharp images.
One effective method is to switch to manual focus and use your camera's live view function. Zoom in on a bright light source or high-contrast area in your frame, then carefully adjust the focus until it's crisp. Once set, avoid touching the focus ring for the remainder of your shoot.
For more reliable results, consider these additional focusing techniques:
- Use your camera's focus peaking feature if available
- Pre-focus on a distant object before takeoff
- Utilize hyperfocal distance for maximum depth of field
- Try focus stacking for ultra-sharp images across the entire frame
- Experiment with infrared focusing aids in extremely low light
Noise Reduction Strategies
High ISO settings are often necessary for night aerial photography, but they can introduce unwanted noise into your images. To combat this, you'll need to employ effective noise reduction strategies. Start by using your camera's built-in noise reduction feature, which can help minimize both luminance and color noise. However, be aware that this may slow down your shooting speed.
For even better results, shoot in RAW format. This allows you to apply more advanced noise reduction techniques during post-processing without sacrificing image quality. When editing, use a combination of luminance and color noise reduction sliders in your software of choice. Be careful not to overdo it, as excessive noise reduction can lead to loss of detail.
Another effective strategy is to take multiple exposures of the same scene and stack them in post-processing. This technique averages out the noise across multiple images, resulting in a cleaner final photo.
You can also try using a lower ISO and longer exposure time when possible, though this may require additional stabilization for your camera. Finally, invest in a high-quality lens with a wide maximum aperture, as this will allow you to use lower ISO settings while still capturing enough light.
Exposure Compensation for Night Skies
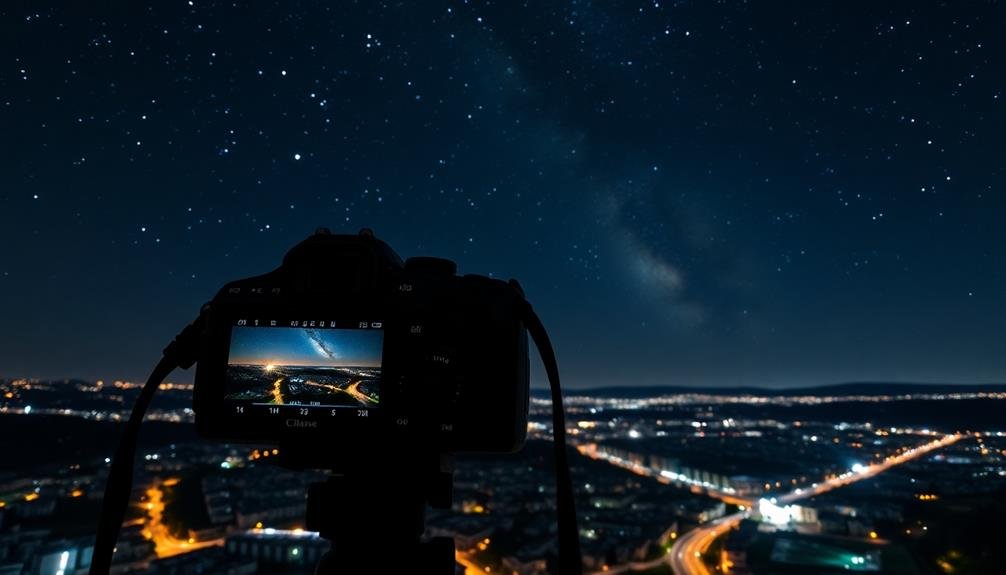
While managing noise is important, properly exposing your night sky images is equally essential.
When shooting night aerials, you'll often need to use exposure compensation to capture the scene accurately. Start by setting your camera to manual mode and adjusting your exposure settings based on the ambient light.
To effectively use exposure compensation for night skies:
- Underexpose slightly to preserve star details
- Use the histogram to check for clipping in highlights and shadows
- Bracket your exposures to guarantee you capture the full dynamic range
- Adjust your ISO to balance exposure and noise levels
- Experiment with longer shutter speeds to capture more light
Long Exposure Drone Photography
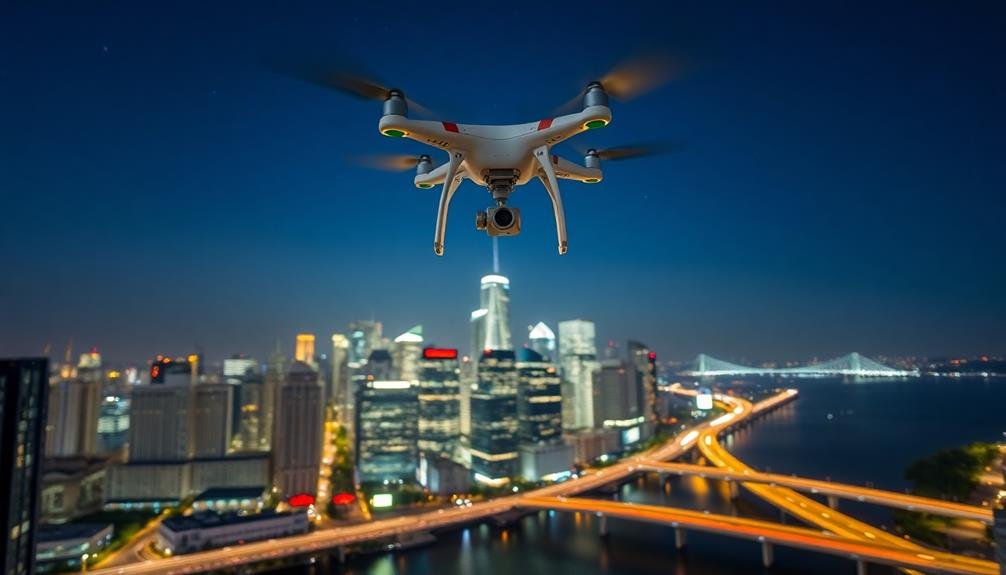
When capturing long exposure drone shots at night, you'll want to experiment with shutter speeds between 2 to 30 seconds for best results.
These extended exposures allow you to create stunning light trails and capture the motion of cityscapes or stars.
To achieve sharp images, you'll need to master stabilization techniques, including using a gimbal and minimizing drone movement during the exposure.
Optimal Shutter Speed Ranges
Mastery of shutter speed is vital for capturing stunning night aerials with your drone. When shooting in low-light conditions, you'll need to experiment with longer exposure times to allow enough light into your camera's sensor. For night aerials, ideal shutter speeds typically range from 1 to 30 seconds, depending on your subject and desired effect.
Start with a shutter speed of 2-4 seconds and adjust based on the results. Slower shutter speeds will produce more light trails and motion blur, while faster speeds will freeze action but may require higher ISO settings. Remember, longer exposures can introduce camera shake, so it's important to keep your drone as stable as possible.
Consider these factors when selecting your shutter speed:
- Available light sources (city lights, moon, stars)
- Drone movement and stability
- Subject motion (traffic, water, clouds)
- Desired level of motion blur or light trails
- ISO and aperture settings
As you fine-tune your shutter speed, pay attention to image sharpness and overall exposure.
Don't be afraid to push your drone's capabilities, but always prioritize safety and local regulations when flying at night.
Light Trails and Motion
One of the most enchanting techniques in night aerial photography is capturing light trails and motion. To achieve this effect, you'll need to use longer exposure times, typically ranging from 2 to 30 seconds. As you increase the exposure time, you'll notice more pronounced light trails from moving vehicles and create a sense of motion in your images.
Here's a quick reference guide for light trail photography:
| Exposure Time | Effect | Best for |
|---|---|---|
| 2-5 seconds | Short, distinct trails | Busy urban streets |
| 6-10 seconds | Medium, flowing trails | Highways and main roads |
| 11-20 seconds | Long, dramatic trails | Less trafficked areas |
| 21-30 seconds | Extended, blended trails | Rural or quiet scenes |
| >30 seconds | Extreme, abstract patterns | Artistic experimentation |
Remember to use a stable drone platform and avoid windy conditions when shooting long exposures. You'll also want to decrease your ISO to minimize noise and adjust your aperture to balance exposure. Experiment with different compositions, focusing on leading lines and patterns created by the light trails to add depth and interest to your night aerial shots.
Stabilization Techniques Essential
Stability wizardry is essential for successful long exposure drone photography at night. You'll need to master various techniques to guarantee your aerial shots are sharp and clear, even in challenging low-light conditions.
Start by selecting a drone with a built-in gimbal or add-on stabilization system to counteract natural vibrations and wind effects.
When shooting, employ these critical stabilization techniques:
- Use a slower shutter speed to capture more light, but not so slow that it introduces blur
- Increase your ISO carefully to maintain image quality while boosting light sensitivity
- Activate your drone's tripod mode or hover function for maximum stability
- Shoot in RAW format to preserve image data for post-processing adjustments
- Utilize neutral density filters to control exposure without changing other settings
Remember to fly in calm weather conditions and avoid sudden movements while capturing your shot.
Practice smooth, gradual control inputs to minimize unwanted motion. If possible, use a remote controller with precision joysticks for finer control.
Post-Processing Night Aerial Images
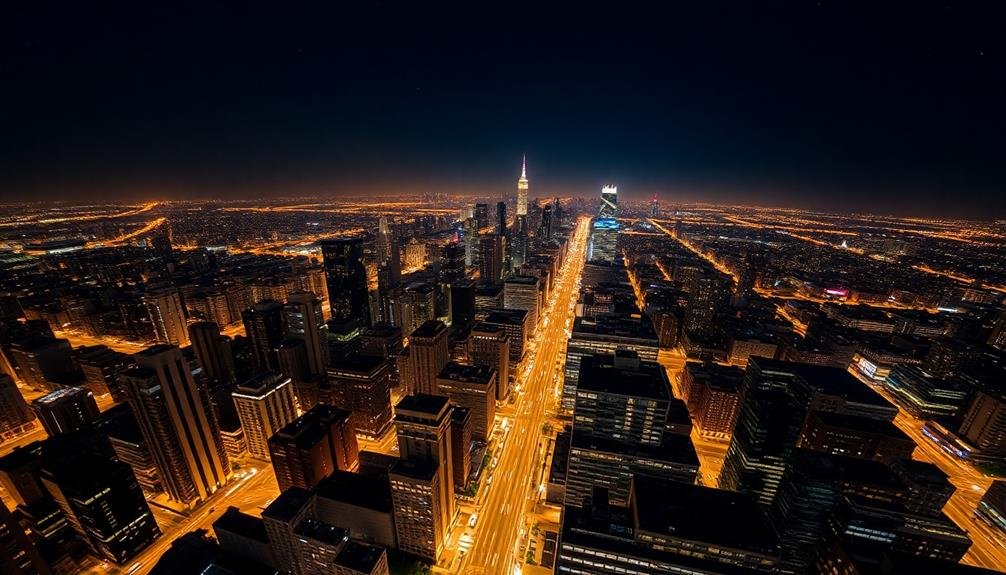
After capturing your night aerial shots, post-processing becomes essential to bring out the best in your images. You'll need to focus on enhancing contrast, reducing noise, and adjusting color balance. Start by importing your RAW files into your preferred editing software, such as Adobe Lightroom or Capture One.
Begin with basic adjustments like exposure, highlights, and shadows. Then, move on to noise reduction, which is vital for night photography. Use the luminance and color noise sliders carefully to maintain image detail while reducing graininess. Adjust the white balance to correct any color casts, typically leaning towards warmer tones for city lights.
Here's a quick guide to common post-processing steps for night aerials:
| Step | Action | Purpose |
|---|---|---|
| 1 | Exposure adjustment | Brighten or darken overall image |
| 2 | Highlight recovery | Restore detail in bright areas |
| 3 | Shadow lift | Reveal detail in dark areas |
| 4 | Noise reduction | Minimize graininess |
| 5 | Color balance | Correct color casts |
Frequently Asked Questions
How Can I Prevent Drone Propellers From Appearing in Night Aerial Shots?
To prevent propellers in night aerial shots, you'll want to use a slower shutter speed. This'll blur the propellers, making them less visible. Also, try adjusting your drone's camera angle slightly downward to avoid capturing them altogether.
What Are the Legal Restrictions for Flying Drones at Night?
You'll need to follow specific FAA regulations for night drone flights. You must have anti-collision lighting, complete night flight training, and obtain a Part 107 certificate. Always check local laws and airspace restrictions before flying at night.
How Do I Protect My Camera From Condensation During Night Flights?
You'll want to protect your camera from condensation during night flights. Use silica gel packs, keep your gear in a sealed bag until it's acclimated, and consider a lens heater. Don't forget to wipe down your equipment regularly.
Are There Specific Weather Conditions That Enhance Night Aerial Photography?
You'll find clear, moonlit nights ideal for night aerial photography. Look for calm conditions with minimal wind and haze. Cold, dry air enhances visibility. Avoid overcast skies, fog, or rain, which can obscure your shots.
What Safety Precautions Should I Take When Flying a Drone at Night?
When flying a drone at night, you'll need to prioritize safety. Make certain you've got proper lighting, follow local regulations, maintain visual line of sight, and avoid obstacles. Don't fly over people, and always check weather conditions beforehand.
In Summary
You've now got the tools to master low-light aerial photography. Remember, it's all about balancing ISO, shutter speed, and aperture for your specific conditions. Don't be afraid to experiment with long exposures and noise reduction techniques. Post-processing can enhance your night shots further. With practice, you'll capture stunning night aerials that showcase urban landscapes, starry skies, or moonlit terrain. Keep flying, keep shooting, and watch your skills soar in the dark.

As educators and advocates for responsible drone use, we’re committed to sharing our knowledge and expertise with aspiring aerial photographers.


Leave a Reply