To capture stunning sky-high panoramas, you'll need the right equipment and techniques. Start by choosing a drone with high-quality camera specs and stable flight controls. Plan your shot carefully, considering lighting conditions and flight restrictions. Use manual camera settings for consistent exposure across frames, and master smooth panning and orbiting techniques for seamless captures. After shooting, utilize specialized stitching software to merge your images into a breathtaking panorama. Post-processing will help refine your final image, addressing any alignment or exposure issues. With practice, you'll overcome common challenges and create awe-inspiring aerial views that transport viewers to new heights.
Key Takeaways
- Choose a drone with high-quality camera, stable flight control, and sufficient battery life for optimal aerial panoramas.
- Plan your shoot considering location, lighting conditions, altitude, and flight restrictions for the best results.
- Use manual camera settings, including appropriate aperture, shutter speed, and ISO, to ensure consistent exposure across frames.
- Master smooth panning and orbiting techniques to capture seamless panoramic shots while maintaining steady drone control.
- Utilize specialized stitching software and post-processing techniques to create cohesive, high-impact panoramic images.
Choosing the Right Drone
When it comes to choosing the right drone for panoramic photography, you'll want to contemplate several key factors.
First, consider the camera quality. Look for drones with high-resolution sensors, ideally 20MP or higher, to capture sharp, detailed images. Opt for models with RAW shooting capabilities, as this format offers greater flexibility in post-processing.
Flight time is essential. Select a drone with at least 25-30 minutes of battery life to guarantee you have ample time to capture your panoramas.
Stability is paramount, so choose a drone with advanced flight control systems and GPS positioning.
Don't overlook portability. If you're planning to hike or travel to remote locations, a compact, foldable drone will be more practical.
Consider models with obstacle avoidance sensors to protect your investment and improve safety.
Lastly, check the drone's compatibility with panorama software or built-in panorama modes. Some drones offer automated panorama capture, which can streamline your workflow.
Remember to factor in your budget and skill level when making your final decision. With the right drone, you'll be well-equipped to capture breathtaking aerial panoramas.
Essential Panorama Equipment

When shooting panoramas, you'll need the right gear to capture stunning, seamless images.
A sturdy tripod and reliable head are essential for maintaining consistent alignment and preventing unwanted movement between shots.
Additionally, you'll want to take into account using wide-angle lenses, which allow you to capture more of the scene in fewer frames, potentially simplifying the stitching process later.
Sturdy Tripods and Heads
Before diving into panoramic techniques, let's focus on essential equipment. A sturdy tripod and reliable head are vital for capturing high-quality panoramas. You'll want a tripod that's stable enough to withstand wind and vibrations, guaranteeing your camera remains steady throughout the shooting process.
Look for a tripod with adjustable legs and a center column that allows for precise leveling. Carbon fiber models offer an excellent balance of strength and lightweight portability.
For the head, consider a ball head or a pan-tilt head with a panning base. These allow for smooth, controlled movements as you rotate your camera between shots.
A panoramic head is an invaluable accessory for serious panoramic photographers. It helps you rotate the camera around the nodal point, minimizing parallax errors and simplifying the stitching process. Some heads feature click-stop mechanisms, providing consistent angles between shots.
Don't forget a leveling base or half ball to guarantee your panning axis is perfectly horizontal. This prevents unwanted tilting between frames, which can complicate post-processing.
With the right tripod and head combination, you'll be well-equipped to capture stunning panoramic views with precision and ease.
Wide-Angle Lenses
Wide-angle lenses are the workhorses of panoramic photography. They're essential for capturing expansive scenes and creating immersive images. When choosing a wide-angle lens for panoramas, you'll want to take into account focal length, distortion, and image quality.
Most photographers opt for lenses between 14mm and 35mm for panoramic shots. The wider the lens, the fewer shots you'll need to create your panorama. However, wider lenses often introduce more distortion, which can complicate stitching later.
Here's a quick comparison of popular wide-angle focal lengths for panoramas:
| Focal Length | Field of View | Typical Use Case |
|---|---|---|
| 14-16mm | 114°-100° | Vast landscapes |
| 20-24mm | 94°-84° | Urban panoramas |
| 28-35mm | 75°-63° | Architectural |
When shooting with a wide-angle lens, pay attention to lens flare and vignetting. Use a lens hood to minimize flare, and avoid using filters unless absolutely necessary. If your lens produces noticeable vignetting, think about stopping down to f/8 or f/11 to reduce this effect. Remember, consistency across all your panorama shots is key for seamless stitching.
Planning Your Aerial Shot

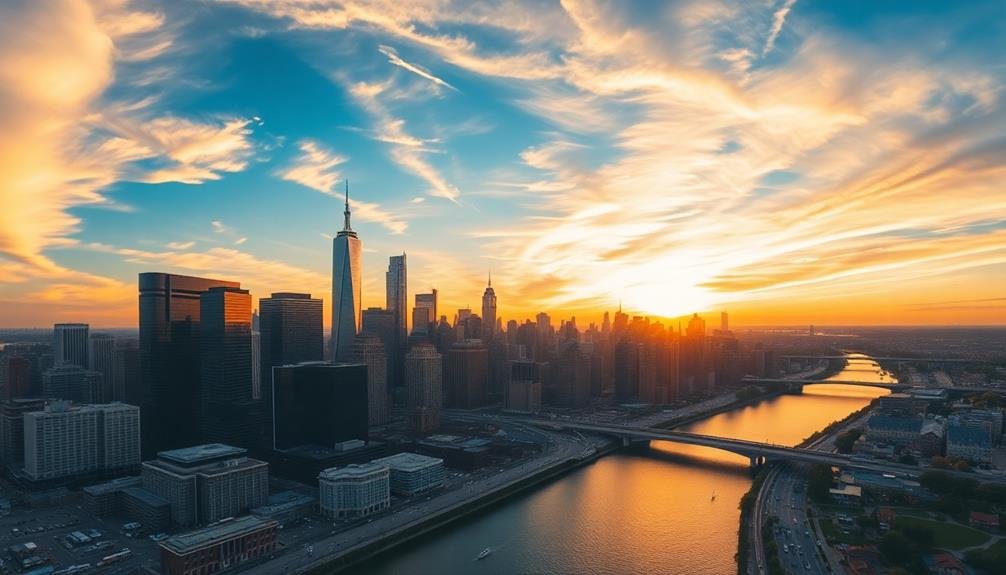
Anyone can snap a quick aerial photo, but planning your shot is essential for creating stunning panoramic images from above. Start by researching your location and identifying potential subjects or landmarks you'd like to capture. Check weather forecasts and plan your flight during ideal lighting conditions, typically during the golden hour or blue hour.
Consider the altitude you'll need to achieve the desired perspective. Higher altitudes offer a broader view but may sacrifice detail, while lower altitudes provide more intimate shots. Don't forget to factor in flight restrictions and obtain necessary permits.
Choose your equipment carefully. A drone with a high-resolution camera and panorama mode is ideal, but you can also use a helicopter or small plane. Bring extra batteries and memory cards to guarantee you don't miss any opportunities.
Plan your flight path to capture a series of overlapping images that can be stitched together later. Use a grid or reference points to maintain consistent spacing between shots.
Camera Settings for Panoramas

Your camera's settings play an essential role in capturing stunning panoramas. Start by switching to manual mode to maintain consistent exposure across all frames.
Set your aperture between f/8 and f/11 for peak sharpness and depth of field. Choose a shutter speed fast enough to freeze any movement, typically 1/250th of a second or faster for aerial shots. Keep your ISO as low as possible to minimize noise, ideally around 100-400.
White balance should be set manually to guarantee color consistency throughout the panorama. Use the RAW file format to retain maximum image data for post-processing.
Enable your camera's electronic level to maintain a straight horizon line across shots. Turn off auto-focus after focusing on your subject, and use manual focus to prevent the camera from refocusing between frames.
For exposure, slightly underexpose your images to preserve highlight details. Set your focal length between 35mm and 50mm to minimize distortion. If your camera has a panorama mode, experiment with it, but manual shooting often yields better results.
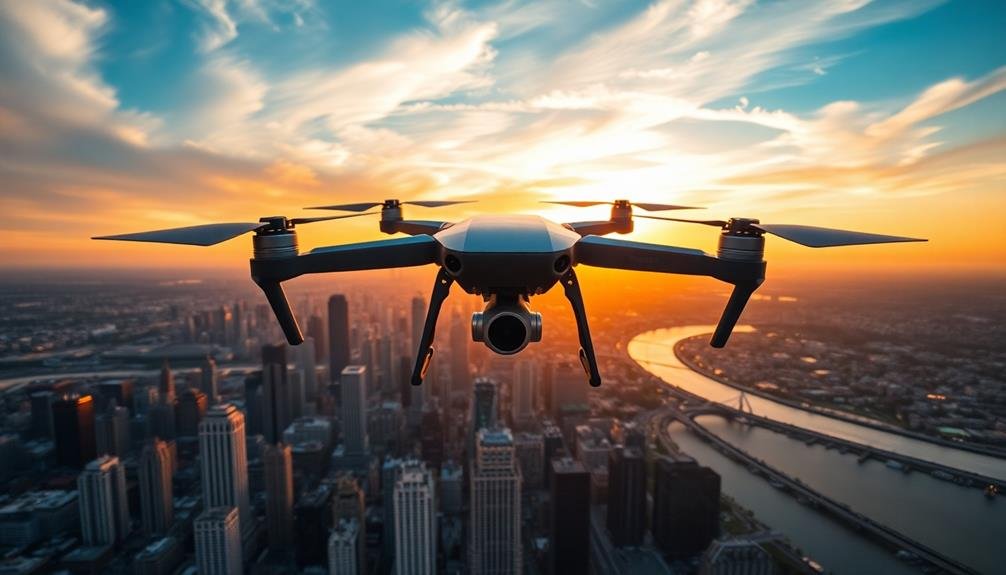
Mastering Drone Flight Techniques

When capturing panoramas with a drone, you'll need to master altitude and composition control to achieve the desired perspective.
You'll want to practice smooth panning and orbiting movements to create seamless, sweeping views of your subject.
These techniques require patience and precision, but they'll elevate your aerial panoramas to new heights.
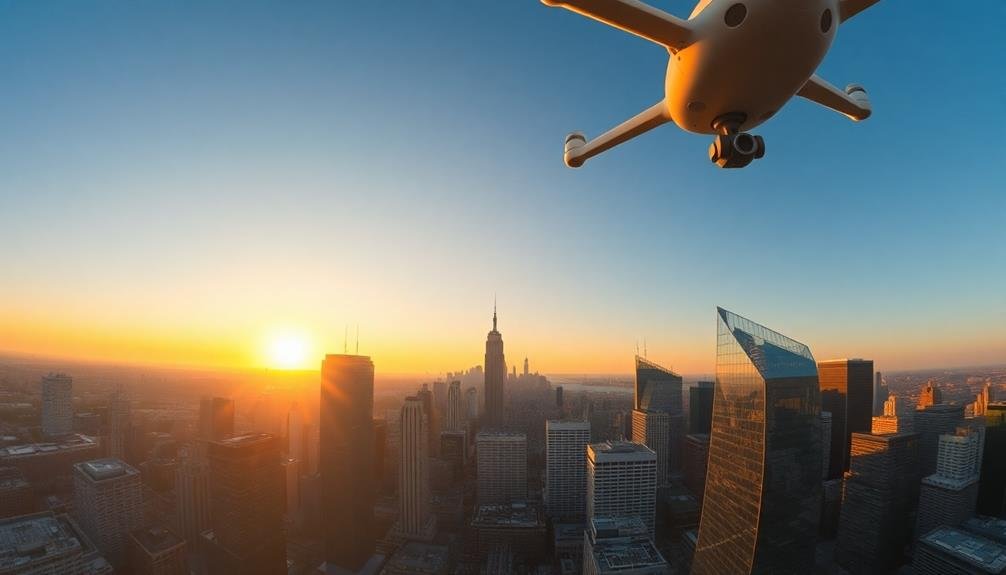
Altitude and Composition Control
Mastering altitude and composition control is essential for capturing stunning aerial panoramas with drones. You'll need to balance height with detail to achieve the perfect shot. As you ascend, you'll gain a broader perspective, but you'll also lose intricate details on the ground. Find the sweet spot where you can capture both the expansive landscape and interesting ground elements.
Consider these key factors when controlling altitude and composition:
- Wind speed and direction
- Lighting conditions and time of day
- Focal length of your camera lens
- Battery life and flight time limitations
- Legal altitude restrictions in your area
Experiment with different heights to see how they affect your composition. Lower altitudes can emphasize foreground elements, while higher altitudes reveal patterns and textures not visible from the ground.
Use the rule of thirds to create balanced compositions, placing key elements along imaginary grid lines. Don't forget to adjust your camera's angle to capture more sky or ground as needed.
Practice smooth, controlled movements to guarantee sharp images and seamless panoramas. By mastering altitude and composition control, you'll be able to create breathtaking aerial panoramas that showcase the beauty of your surroundings from a unique perspective.
Smooth Panning and Orbiting
Once you've nailed altitude and composition control, it's time to focus on smooth panning and orbiting techniques. These movements are essential for creating seamless panoramas and dynamic aerial shots.
To master panning, start by setting your drone to its slowest speed and practice moving it horizontally across your subject. Keep your movements steady and consistent, avoiding any jerky motions that could disrupt the flow of your footage.
Orbiting requires a bit more finesse. Begin by positioning your drone at the desired distance from your subject. Then, slowly rotate the aircraft around the focal point while keeping the camera locked on target. Adjust your altitude slightly as you orbit to add depth to your shots. Remember to maintain a constant speed and distance throughout the maneuver.
For both panning and orbiting, use your drone's intelligent flight modes if available. These can help automate complex movements, allowing you to concentrate on framing and composition.
Practice these techniques regularly, and you'll soon be capturing breathtaking panoramas and cinematic aerial footage with ease.
Stitching Software Options

How do you turn your individual shots into a seamless panorama? The key lies in choosing the right stitching software. Numerous options are available, ranging from free to professional-grade paid solutions. Each offers unique features and varying levels of automation and control.
When selecting stitching software, consider these factors:
- Ease of use
- Compatibility with your camera's raw files
- Ability to handle different projection types
- Advanced editing capabilities
- Output format options
Popular choices include Adobe Lightroom, PTGui, and Hugin. Lightroom offers a user-friendly interface and seamless integration with other Adobe products.
PTGui provides advanced control and is favored by professionals for its powerful features. Hugin, an open-source option, delivers impressive results for free.
For beginners, Microsoft's built-in Photo app or Google Photos can be good starting points. They offer basic stitching capabilities with minimal learning curve.
As you advance, you might want to explore more sophisticated options like Autopano Giga or Kolor Panotour Pro.
Post-Processing Panoramic Images
The final step in creating stunning panoramas is post-processing. Once you've stitched your images together, you'll need to refine your panorama to achieve the best possible result.
Start by cropping the image to remove any irregular edges or unwanted elements. You'll often find distortions or imperfections along the borders of your stitched image.
Next, adjust the overall exposure and color balance. Since panoramas are composed of multiple shots, you might notice slight variations in lighting or color temperature. Use adjustment layers to harmonize these differences and create a cohesive look.
Pay special attention to the sky, as it often requires separate adjustments to bring out details in clouds or enhance the overall mood.
Don't forget to address any visible seams or misalignments. Use the clone stamp or healing brush tools to smooth out these areas.
For landscape panoramas, you may need to correct perspective distortions, especially if your scene includes buildings or straight lines.
Overcoming Common Panorama Challenges
While post-processing can fix many issues, it's best to address common panorama challenges during the shooting process. You'll encounter various obstacles when creating panoramic images, but with the right techniques, you can overcome them easily.
One of the biggest challenges is maintaining consistent exposure across all images in your panorama. To tackle this, use manual mode and fixed settings for aperture, shutter speed, and ISO. This guarantees uniform lighting throughout your composition.
Here are five common panorama challenges and their solutions:
- Parallax errors: Use a panoramic head or rotate around the camera's nodal point
- Misaligned horizon: Utilize a tripod with a built-in level or smartphone level app
- Ghosting: Avoid moving subjects or shoot multiple frames of the same area
- Lens distortion: Use a longer focal length or correct in post-processing
- Uneven lighting: Shoot quickly or use graduated neutral density filters
To prevent stitching problems, overlap your images by at least 30%. When photographing scenes with varying light conditions, consider bracketing your exposures.
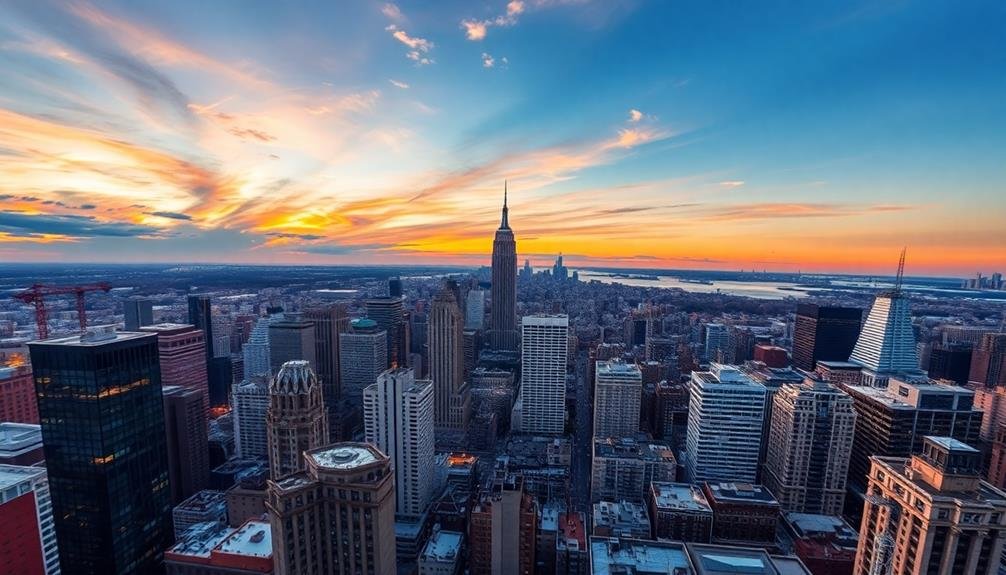
Showcasing Your Aerial Panoramas
Creating aerial panoramas opens up a whole new world of possibilities for showcasing your photography. You'll want to present your work in ways that truly capture the grandeur and scale of these breathtaking views. Consider large-format prints or high-resolution digital displays to do justice to the intricate details and vast landscapes you've captured.
When sharing online, use platforms that support high-resolution images and 360-degree viewing experiences. Social media can be great for teasing your work, but don't rely on it exclusively. Instead, create a dedicated portfolio website where you can display your panoramas in their full glory.
Here's a quick guide to showcasing your aerial panoramas effectively:
| Platform | Pros | Cons |
|---|---|---|
| Website | Full control, high-res | Time-consuming, costly |
| Social Media | Wide reach, easy sharing | Limited resolution, compression |
| Galleries | Physical impact, networking | Limited audience, expensive |
| VR/AR | Immersive experience | Requires special equipment |
| Prints | Tangible, sellable | Storage, shipping challenges |
Remember to include behind-the-scenes content and technical details with your showcased work. This adds value for viewers and fellow photographers alike, enhancing your reputation as a skilled aerial panorama creator.
Frequently Asked Questions
How Do Weather Conditions Affect Aerial Panorama Photography?
Weather conditions greatly impact your aerial panorama shots. You'll find clear skies ideal, while clouds can add drama. Wind affects stability, and lighting changes with time of day. Fog or rain may limit visibility but create unique atmospheres.
Are There Legal Restrictions for Taking Panoramic Photos With Drones?
You'll face legal restrictions when taking drone panoramas. You're required to follow local aviation laws, respect privacy, and avoid no-fly zones. Always check regulations before flying, as they vary by location and can change frequently.
Can I Create Panoramas Using a Smartphone Mounted on a Drone?
Yes, you can create panoramas using a smartphone mounted on a drone. You'll need a compatible drone and a secure mount. Make certain you're following local drone laws and use the smartphone's panorama mode or a specialized app for best results.
What's the Ideal Time of Day for Capturing Aerial Panoramas?
You'll get the best aerial panoramas during the golden hour, just after sunrise or before sunset. The soft, warm light enhances colors and reduces harsh shadows. Don't forget to take into account weather conditions for ideal visibility.
How Do I Maintain Image Quality When Printing Large-Scale Aerial Panoramas?
To maintain quality for large-scale aerial panorama prints, you'll need to shoot with a high-resolution camera, use a low ISO, and capture multiple overlapping images. Stitch them carefully and use a professional printing service for best results.
In Summary
You've now got the tools to capture breathtaking aerial panoramas. Remember, practice makes perfect. Don't be discouraged if your first attempts aren't masterpieces. Keep refining your techniques, experimenting with different locations, and pushing your creative boundaries. As you gain experience, you'll develop your unique style. Share your stunning sky-high views with the world and inspire others to look up and see things from a new perspective. The sky's the limit!
As educators and advocates for responsible drone use, we’re committed to sharing our knowledge and expertise with aspiring aerial photographers.


Leave a Reply