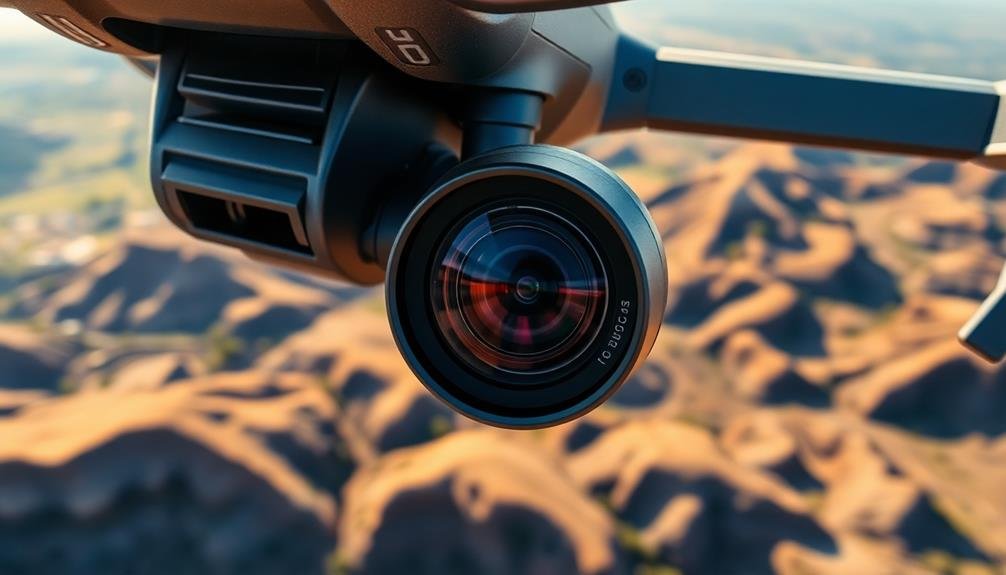
To master photogrammetry mapping with consumer UAVs, focus on three key areas. First, optimize your flight planning by determining the ideal ground sampling distance, setting appropriate altitudes, and ensuring sufficient image overlap. Second, master your camera settings by using manual mode, fast shutter speeds, and low ISO to capture high-quality images. Finally, guarantee proper image overlap by adjusting flight parameters and utilizing automated planning apps. Consider factors like terrain, wind conditions, and local regulations when planning your flights. By implementing these tips, you'll be well on your way to producing accurate and detailed photogrammetry maps. Dive deeper to reveal the full potential of your consumer drone for mapping projects.
Optimize Flight Planning

When you're planning your photogrammetry mission, refining your flight plan is essential for capturing high-quality data. Start by determining the required ground sampling distance (GSD) for your project. This will inform your flight altitude and camera settings.
Choose a flight pattern that guarantees sufficient image overlap, typically 75-80% front overlap and 60-70% side overlap. Consider using a grid or double grid pattern for best results.
Set your flight speed to balance coverage and image quality. Slower speeds reduce motion blur but increase flight time. Adjust your camera's shutter speed accordingly, aiming for at least 1/800s to minimize blur.
Plan your flight during ideal lighting conditions, avoiding harsh shadows and overexposure. Account for terrain variations by using terrain-following modes if available.
For large areas, divide your mission into multiple flights to maintain consistent battery performance. Don't forget to check local regulations and obtain necessary permissions.
Master Camera Settings

With your flight plan optimized, it's time to focus on mastering your camera settings for photogrammetry.
Start by setting your camera to manual mode to maintain consistent exposure throughout the flight. Choose a fast shutter speed, typically 1/1000s or faster, to minimize motion blur. Select an appropriate aperture, usually between f/4 and f/8, to balance depth of field and image sharpness.
Set your ISO as low as possible while maintaining proper exposure to reduce image noise. Use a fixed focal length lens or lock your zoom to guarantee consistent image scale. Enable RAW image format for maximum data retention and post-processing flexibility. Disable image stabilization, as it can interfere with the photogrammetry process.
Configure your camera's intervalometer to capture images at regular intervals, matching your flight speed and desired overlap. If your drone has a mechanical shutter, use it to minimize rolling shutter effects. Adjust white balance manually to maintain color consistency across all images.
Ensure Proper Image Overlap

Proper image overlap is essential for successful photogrammetry mapping. You'll need to guarantee that each photo overlaps with adjacent images by at least 60% frontally and 30% laterally. This overlap allows the photogrammetry software to identify common points between images and create accurate 3D reconstructions.
To achieve proper overlap, you'll need to adjust your drone's flight parameters. Set your flight speed and altitude based on your camera's field of view and the terrain you're mapping. Lower speeds and higher altitudes generally result in better overlap but may reduce image resolution.
Use automated flight planning apps to calculate the best flight path and camera trigger intervals. These apps consider your camera specs, desired ground sampling distance, and overlap requirements to generate an efficient flight plan.
Don't forget to account for wind conditions, as they can affect your drone's position and the resulting image overlap. In windy conditions, you may need to increase overlap percentages or adjust your flight path to compensate for potential drift.
Regularly check your captured images during the flight to guarantee you're maintaining proper overlap. If needed, be prepared to make real-time adjustments to your flight plan or camera settings.
Frequently Asked Questions
How Does Weather Affect Photogrammetry Mapping Accuracy?
Weather greatly impacts your photogrammetry mapping accuracy. Wind can cause image blur and misalignment. Rain obscures details. Clouds affect lighting and shadows. Extreme temperatures may affect camera performance. You'll get best results in calm, clear conditions.
What Software Is Best for Processing Uav-Captured Images Into 3D Models?
You'll find several great options for processing UAV images into 3D models. Popular choices include Pix4D, Agisoft Metashape, and DroneDeploy. They're user-friendly and offer powerful features. Choose based on your specific needs and budget.
Are There Legal Restrictions on Using Drones for Photogrammetry Mapping?
Yes, there are legal restrictions on drone use for photogrammetry mapping. You'll need to comply with local aviation laws, obtain necessary permits, and respect privacy regulations. Don't fly in restricted areas or over private property without permission.
How Can I Improve Ground Control Point Accuracy for Better Mapping Results?
You can improve ground control point accuracy by using high-precision GPS equipment, placing markers consistently, evenly distributing points across your area, and taking multiple measurements. Don't forget to double-check your data and calibrate your equipment regularly.
What Are the Differences Between Lidar and Photogrammetry for Terrain Mapping?
You'll find LiDAR provides more accurate elevation data, especially in vegetated areas. It's active and works in low light. Photogrammetry's cheaper, captures color, and works well for visible surfaces. LiDAR's pricier but penetrates foliage better.
In Summary
You've now got the key tips for successful photogrammetry mapping with consumer UAVs. Remember to plan your flights carefully, optimize your camera settings, and maintain proper image overlap. By following these guidelines, you'll capture high-quality data for accurate 3D models and maps. Don't forget to practice and refine your techniques. With time and experience, you'll become an expert in creating detailed, precise photogrammetric maps using your consumer drone.

As educators and advocates for responsible drone use, we’re committed to sharing our knowledge and expertise with aspiring aerial photographers.


Leave a Reply