When editing RAW drone images, start by adjusting white balance and exposure for accurate colors and balanced brightness. Fine-tune contrast and highlights to enhance depth and recover blown-out areas. Enhance colors and saturation carefully, avoiding unrealistic results. Apply noise reduction techniques, especially in shadows, to clean up your shots. Correct lens distortion to straighten lines and improve composition. Sharpen details selectively using masking techniques for a polished look. Finally, crop your image to refine the composition and emphasize your subject. These essential tips will help you transform your aerial shots into stunning visuals. Dive deeper to master each technique and elevate your drone photography.
Key Takeaways
- Adjust white balance and exposure to accurately represent scene colors and tonal range.
- Fine-tune contrast and highlights to enhance depth while preserving detail in bright areas.
- Enhance colors and saturation carefully, focusing on individual color channels for precise control.
- Apply noise reduction techniques, balancing detail retention with smoothing in shadow areas.
- Correct lens distortion and selectively sharpen details for crisp, professional-looking drone images.
Adjust White Balance and Exposure
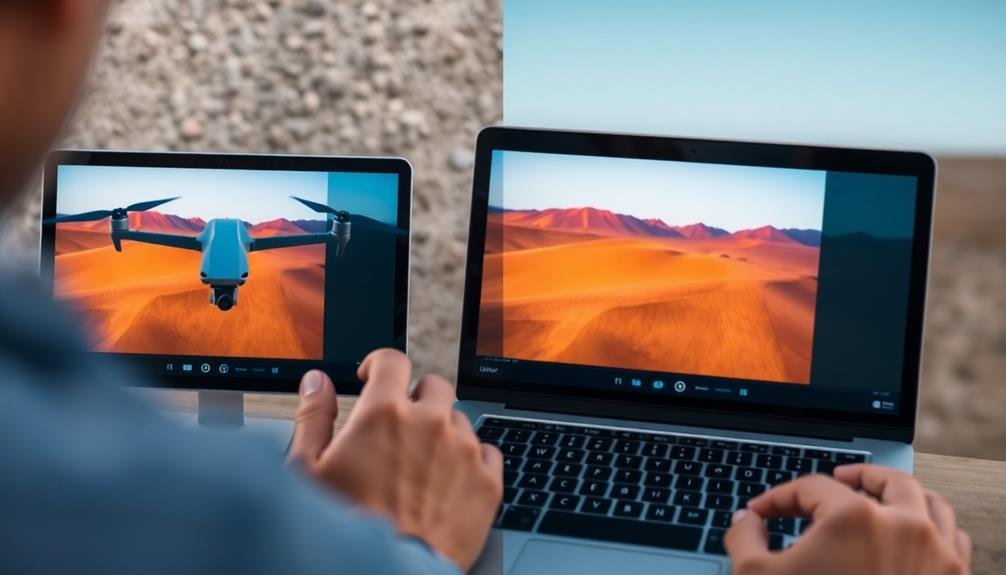
Light is the foundation of every great image. When editing RAW drone footage, adjusting white balance and exposure should be your first priority.
Start by setting the white balance to accurately represent the scene's colors. You'll find presets for various lighting conditions, but don't hesitate to fine-tune manually using temperature and tint sliders.
Next, tackle exposure. Adjust the overall brightness using the exposure slider, being careful not to blow out highlights or crush shadows. Use the histogram as a guide to guarantee a balanced tonal range.
The highlights and shadows sliders allow you to recover detail in bright and dark areas respectively.
Don't overlook the whites and blacks sliders. They'll help you set the brightest and darkest points in your image, enhancing contrast and depth.
The clarity slider can add definition to mid-tones, but use it sparingly to avoid an over-processed look.
Fine-Tune Contrast and Highlights
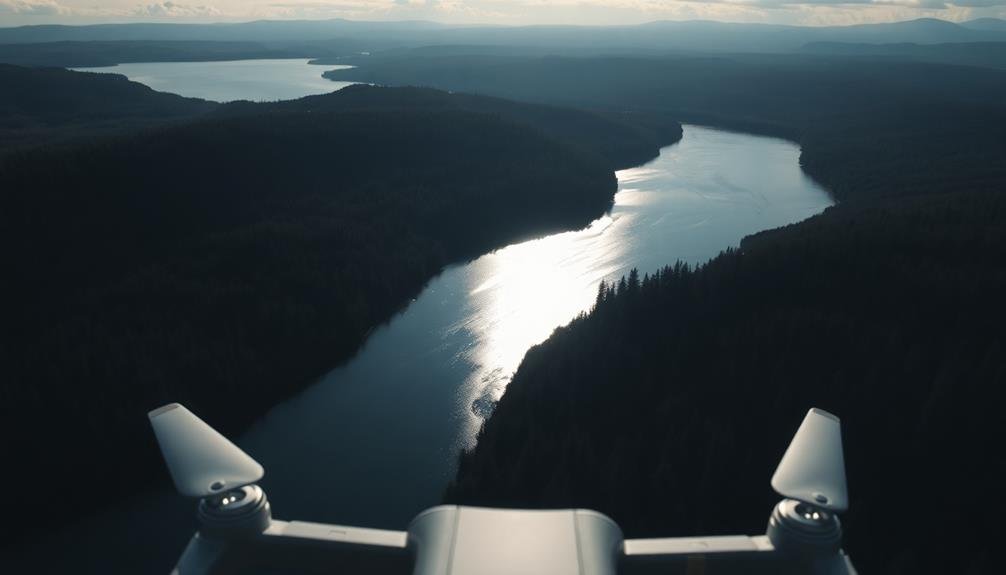
Your image's contrast and highlights play an essential role in creating visual impact. To fine-tune these elements, start by adjusting the overall contrast slider. Increase it slightly to add depth, but be careful not to overdo it, as excessive contrast can lead to loss of detail in shadows and highlights.
Next, focus on the highlights. Use the highlights slider to recover any blown-out areas, especially in bright skies or reflective surfaces. If you're working with a sunset or sunrise shot, you might want to reduce highlights to bring out more color in the sky.
Don't forget about the shadows. Lifting them slightly can reveal hidden details in darker areas of your image. However, be mindful of introducing noise when brightening shadows too much.
For more precise control, use the curves tool. It allows you to adjust contrast in specific tonal ranges. Create an S-curve for a classic contrast boost, or target specific areas of your image for more nuanced adjustments.
Enhance Colors and Saturation
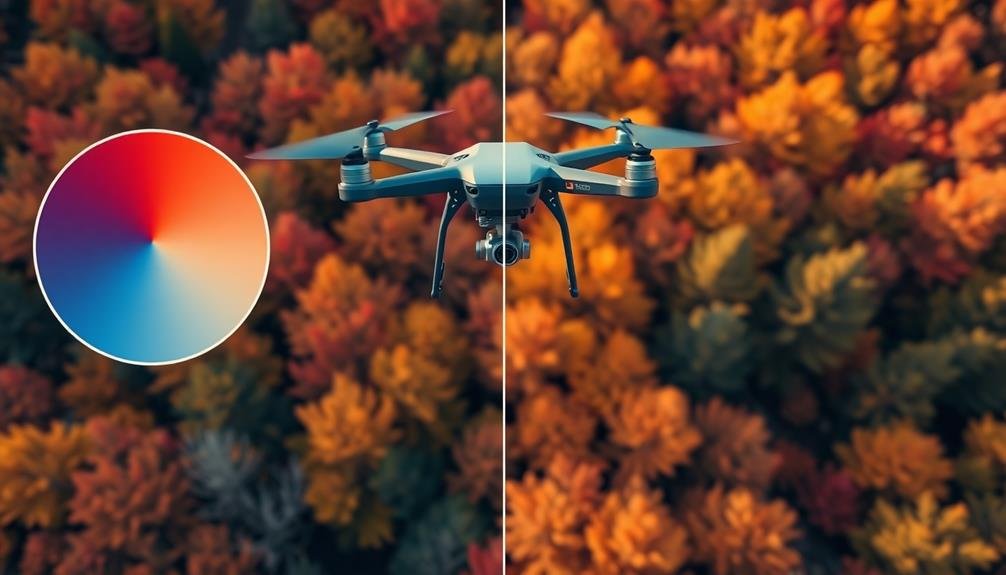
Three key aspects of enhancing colors and saturation in RAW drone images are adjusting vibrance, fine-tuning individual color channels, and balancing overall saturation.
When you're working with vibrance, you'll boost less saturated colors while leaving already saturated hues relatively unchanged. This helps maintain a natural look while adding depth to your image.
Fine-tuning individual color channels allows you to target specific hues for enhancement. You can adjust the saturation, luminance, and hue of each color separately, giving you precise control over your image's palette.
For instance, you might boost the blues in a sky or enhance the greens in foliage without affecting other colors.
Balancing overall saturation requires a delicate touch. While increased saturation can make your image pop, overdoing it can lead to unrealistic results and loss of detail.
Start with subtle adjustments and gradually increase until you achieve the desired effect. Pay close attention to skin tones and natural elements, as these can quickly become oversaturated.
Apply Noise Reduction Techniques
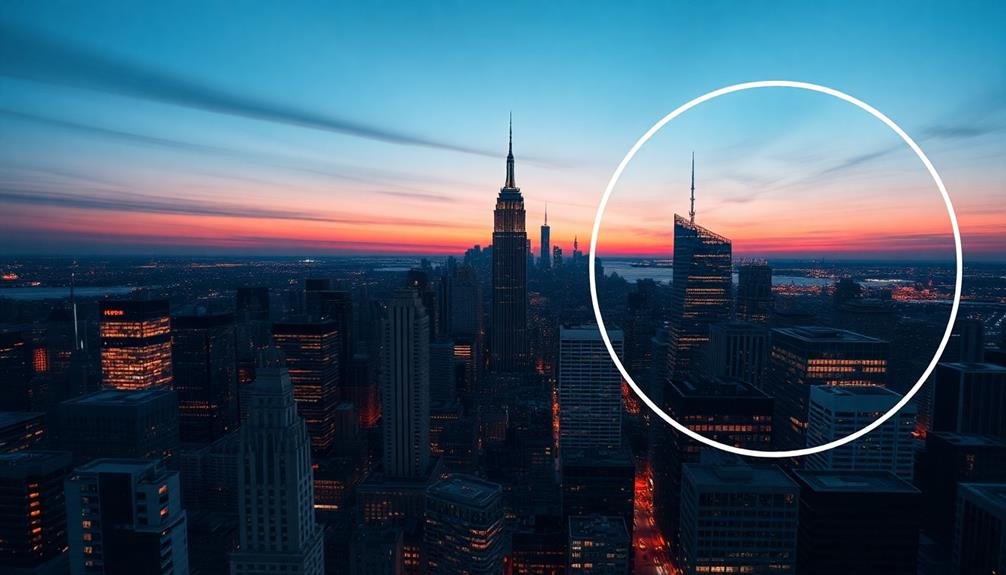
When dealing with noise in RAW drone images, you'll need to apply effective reduction techniques to clean up your shots. Start by identifying the type of noise present: luminance (grainy texture) or chrominance (color speckles). Adjust your noise reduction settings accordingly, focusing on problem areas while preserving image details.
Use your editing software's noise reduction tool, gradually increasing the strength until you achieve a balance between noise removal and detail retention. Pay special attention to shadows and darker areas, where noise is often more prominent. Don't overdo it, as excessive noise reduction can result in a loss of sharpness and texture.
Consider using selective noise reduction by masking specific areas of your image. This allows you to apply stronger reduction to noisy regions while leaving detailed areas untouched. Experiment with different techniques and settings to find the best approach for each image.
| Noise Type | Characteristics | Reduction Method |
|---|---|---|
| Luminance | Grainy texture | Luminance slider |
| Chrominance | Color speckles | Color slider |
| ISO | Overall graininess | Lower ISO in-camera |
| Long exposure | Hot pixels | Dark frame subtraction |
Remember to zoom in to 100% while applying noise reduction to accurately assess its impact. Finally, sharpen your image after noise reduction to restore any lost detail.
Correct Lens Distortion
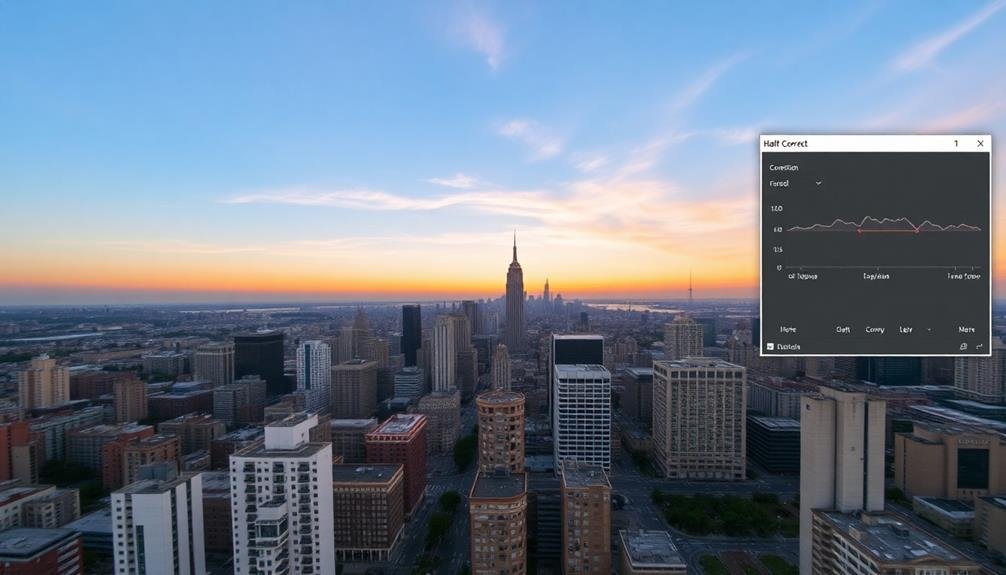
Lens distortion can greatly impact the quality of your RAW drone images, especially when using wide-angle lenses common in aerial photography.
To correct this issue, you'll need to use lens correction tools in your editing software. Most RAW processing programs like Adobe Lightroom or Capture One offer built-in lens profiles for popular drone models, which can automatically fix distortion with a single click.
If your software doesn't have a specific profile for your drone's lens, you can manually adjust the distortion. Look for sliders that control barrel or pincushion distortion, and adjust them until straight lines in your image appear truly straight.
Pay close attention to the edges of your frame, where distortion is often most noticeable.
For more precise control, use perspective correction tools to fine-tune vertical and horizontal lines. This is particularly useful for architectural shots or images with prominent horizon lines.
Remember that correcting lens distortion may crop your image slightly, so it's best to shoot with some extra space around your subject.
After applying corrections, you might need to make minor adjustments to your composition to maintain the desired framing.
Sharpen Details Selectively
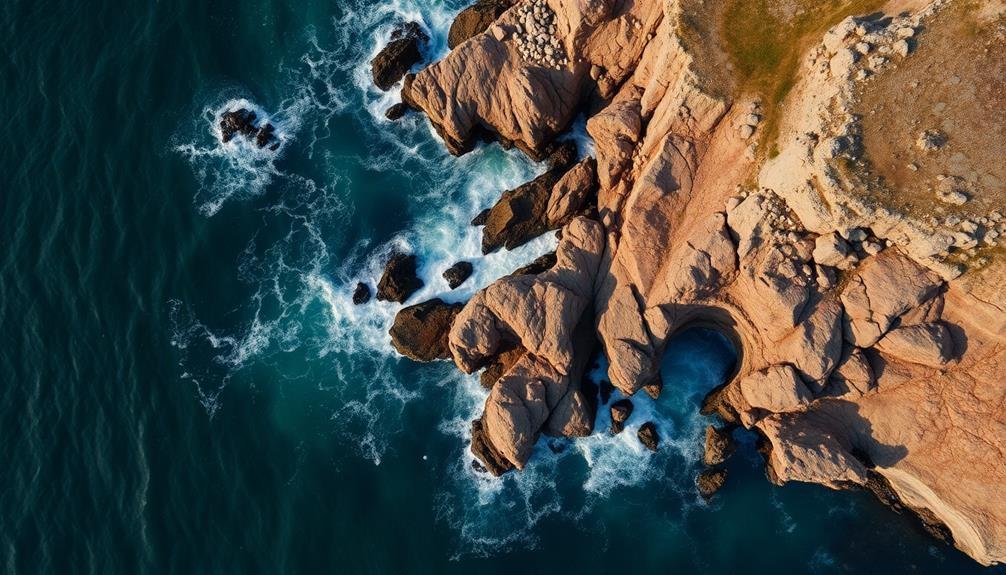
To sharpen details selectively in your RAW drone images, you'll want to employ masking techniques.
By creating and refining masks, you can target specific areas of your image for sharpening without affecting the entire frame.
You can then fine-tune the clarity settings within these masked areas to enhance details and texture while maintaining a natural look overall.
Use Masking Techniques
Mastering the art of selective sharpening through masking techniques can elevate your drone imagery to new heights. When editing RAW drone images, you'll often find that certain areas require more sharpening than others. This is where masking comes in handy.
Start by creating a duplicate layer of your image. Apply a sharpening filter to this layer, then add a layer mask. Use a soft brush to paint black on the areas you don't want sharpened, effectively hiding the effect. Paint white to reveal sharpening in specific areas.
You can also use luminosity masks to target specific tonal ranges. These masks allow you to sharpen highlights, midtones, or shadows independently. Create separate layers for each tonal range and apply sharpening selectively.
Another effective technique is edge masking. This method sharpens only the edges in your image, leaving smooth areas untouched. Create an edge mask by duplicating your image, applying a find edges filter, and inverting the result. Use this as a layer mask for your sharpening layer.
Experiment with different masking techniques to achieve the perfect balance of sharpness in your drone images.
Adjust Clarity Settings
Adjusting clarity settings in your RAW drone images can make a world of difference in enhancing details selectively. When you're working with aerial photography, you'll often encounter scenes with varying levels of detail that require different clarity adjustments. By fine-tuning these settings, you can bring out textures, sharpen edges, and create a more visually striking image.
Start by identifying the areas that need enhancement. You'll want to focus on elements like buildings, landscapes, or intricate patterns that could benefit from increased clarity. Use the clarity slider in your editing software to boost midtone contrast, which helps define edges and textures.
Be cautious not to overdo it, as excessive clarity can lead to an unnatural, gritty look.
For more precise control, consider using local adjustment tools to apply clarity selectively. This allows you to target specific areas without affecting the entire image.
Remember to:
- Adjust clarity in small increments
- Compare before and after views frequently
- Pay attention to how clarity affects color saturation
- Use masking techniques to protect areas that don't need enhancement
Crop for Optimal Composition
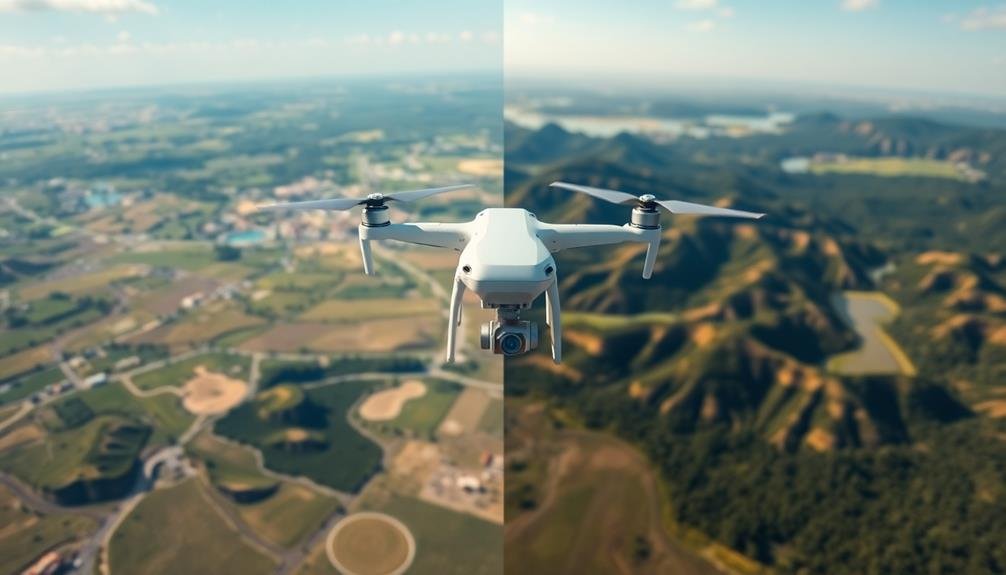
Cropping your RAW drone images is an essential step in achieving ideal composition. It allows you to refine your shot, eliminate distractions, and emphasize the most compelling elements. When cropping, consider the rule of thirds, leading lines, and symmetry to create visually appealing images.
Start by analyzing your image and identifying the main subject. Determine which areas can be trimmed without losing important details. Use the crop tool in your editing software to adjust the frame, keeping in mind the desired aspect ratio for your final output.
Here's a quick guide to common crop ratios and their uses:
| Aspect Ratio | Use Case | Platforms | Visual Impact |
|---|---|---|---|
| 1:1 (Square) | Social media | Balanced, symmetrical | |
| 16:9 | Video, landscape | YouTube, TV | Cinematic, wide |
| 3:2 | Print, photography | Prints, albums | Versatile, classic |
| 4:3 | Digital displays | Monitors, tablets | Standard, familiar |
Experiment with different crops to find the most impactful composition. Don't be afraid to crop tightly if it enhances the subject's presence. Remember, you can always revert to the original RAW file if needed, so feel free to explore creative cropping options.
Frequently Asked Questions
What Software Is Best for Editing RAW Drone Images?
You'll find Adobe Lightroom and Capture One excellent for editing raw drone images. They offer powerful tools for color correction, exposure adjustment, and detail enhancement. DxO PhotoLab and ON1 Photo RAW are also great alternatives to contemplate.
How Do I Handle Large File Sizes of RAW Drone Photos?
You'll need ample storage space for large RAW drone files. Use external hard drives or cloud storage. Compress files when sharing, but keep originals. Consider upgrading your computer's RAM and processor for smoother editing.
Can I Batch Edit Multiple RAW Drone Images Simultaneously?
Yes, you can batch edit multiple RAW drone images simultaneously. Use software like Adobe Lightroom or Capture One to apply edits across multiple files at once. This saves time and guarantees consistency in your photo editing workflow.
How Do I Maintain Consistency Across a Series of Drone Shots?
To maintain consistency across drone shots, you'll want to use presets, keep your camera settings uniform, shoot in similar lighting conditions, and apply batch editing. You can also use color grading techniques for a cohesive look.
What's the Ideal Export Format for Edited RAW Drone Images?
You'll want to export your edited raw drone images as high-quality JPEGs for easy sharing and viewing. If you're preserving maximum detail for professional use, consider exporting as TIFFs. Always maintain your original RAW files.
In Summary
You've now got the essential tools to transform your raw drone images into stunning visuals. Remember, editing is an art form, so don't be afraid to experiment and develop your unique style. With practice, you'll quickly master these techniques and create breathtaking aerial shots that stand out. Keep pushing your creative boundaries, and you'll soon see your drone photography soar to new heights. Happy editing!

As educators and advocates for responsible drone use, we’re committed to sharing our knowledge and expertise with aspiring aerial photographers.


Leave a Reply