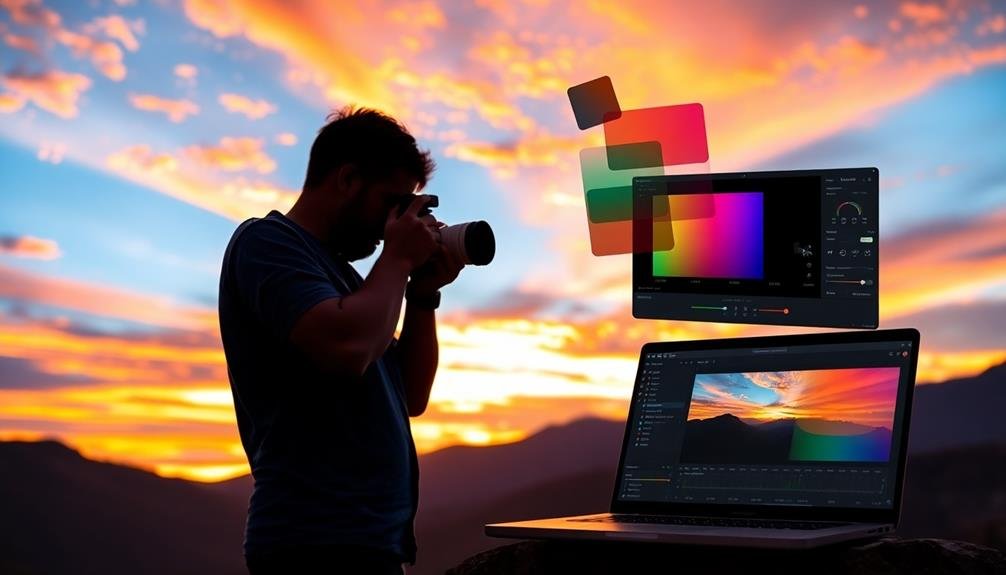
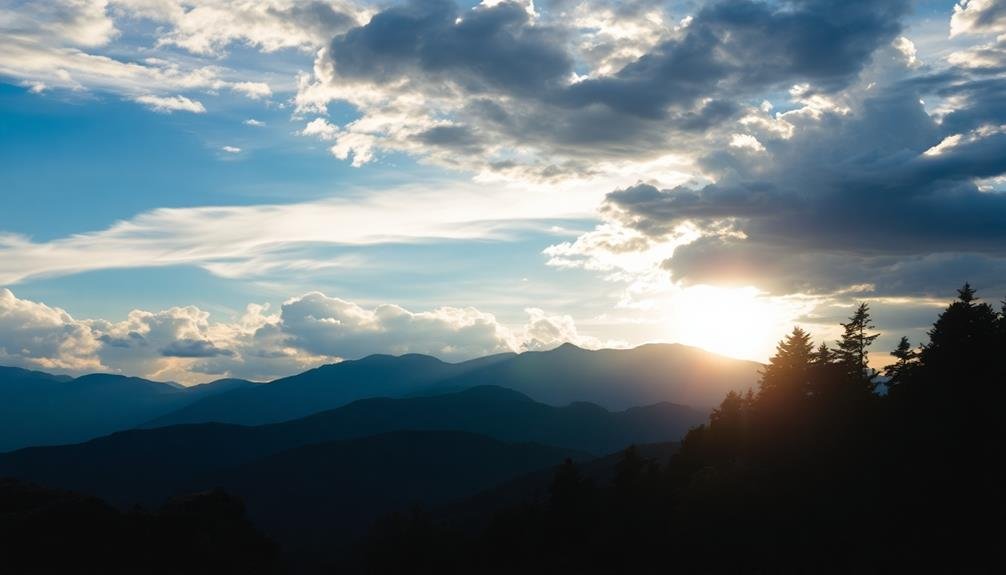
To achieve sky-high photo excellence, start by adjusting white balance for natural sky tones. Boost contrast to enhance aerial definition and bring out cloud details. Fine-tune shadows and highlights to reveal hidden textures while maintaining depth. Sharpen landscape features selectively, focusing on key elements like rock formations. Remove haze and atmospheric distortion to improve clarity and color saturation. Don't forget to straighten horizon lines for a polished look. For expansive scenes, create panoramas by stitching multiple shots. Blend exposures to capture a wider dynamic range, and add subtle vignetting as a finishing touch. These techniques will elevate your sky photography to new heights.
Key Takeaways
- Adjust white balance and fine-tune saturation to enhance sky tones and overall color richness.
- Boost contrast and enhance shadows/highlights for improved aerial definition and dramatic effect.
- Remove haze and atmospheric distortion using dehaze tools and local adjustments.
- Sharpen details selectively in landscape features like rock formations and tree bark.
- Crop for optimal composition and straighten horizon lines to achieve balance and professional appearance.
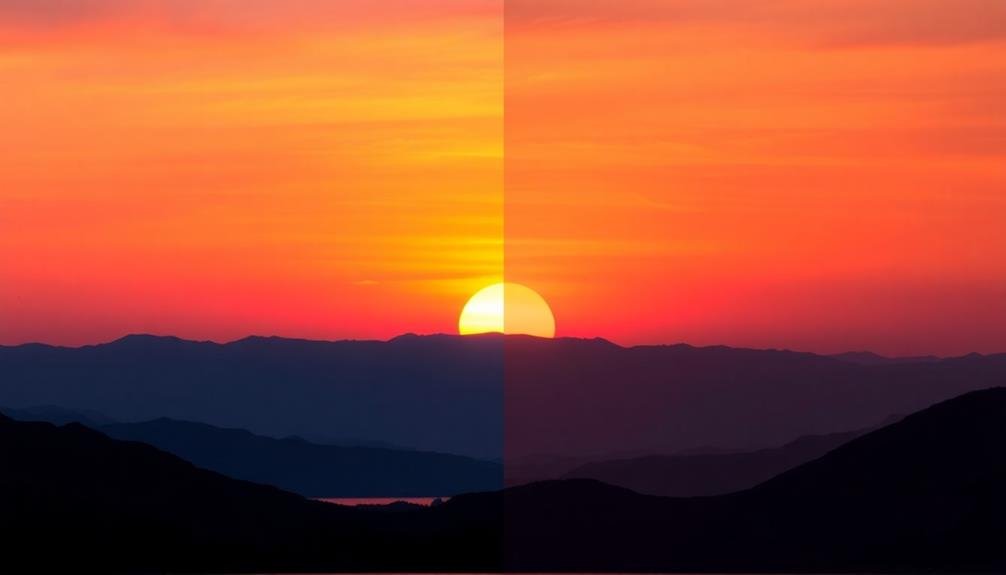
Adjust White Balance for Sky Tones
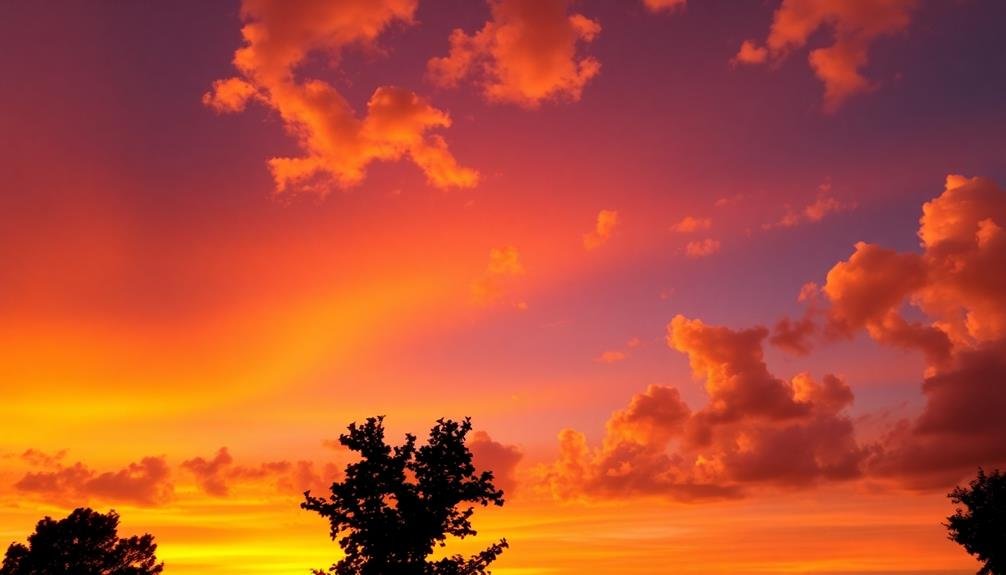
The sky's color can make or break a photograph. When post-processing your images, adjusting the white balance is essential for achieving natural-looking sky tones.
Start by selecting the white balance tool in your editing software and click on a neutral area in the image, such as a cloud or a gray surface. This will set a baseline for color correction.
If your sky appears too warm or cool, fine-tune the temperature slider. Move it towards blue for a cooler look or towards yellow for a warmer tone.
Don't forget to adjust the tint slider to balance out any green or magenta casts. For sunset or sunrise shots, you might want to emphasize the warm hues by slightly increasing the temperature.
Pay attention to how the white balance affects the rest of your image. You'll often need to make localized adjustments to maintain a natural look across the entire photo.
Use gradient filters or brushes to apply separate white balance settings to the sky and foreground. This technique allows you to create a harmonious balance between different elements in your composition, ensuring that your sky looks stunning without compromising the rest of the image.
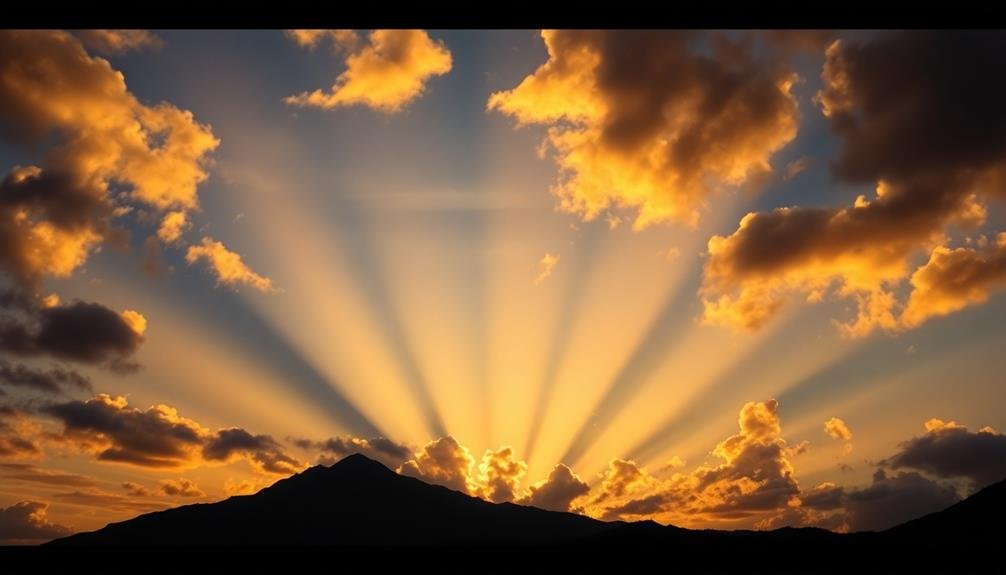
Boost Contrast for Aerial Definition
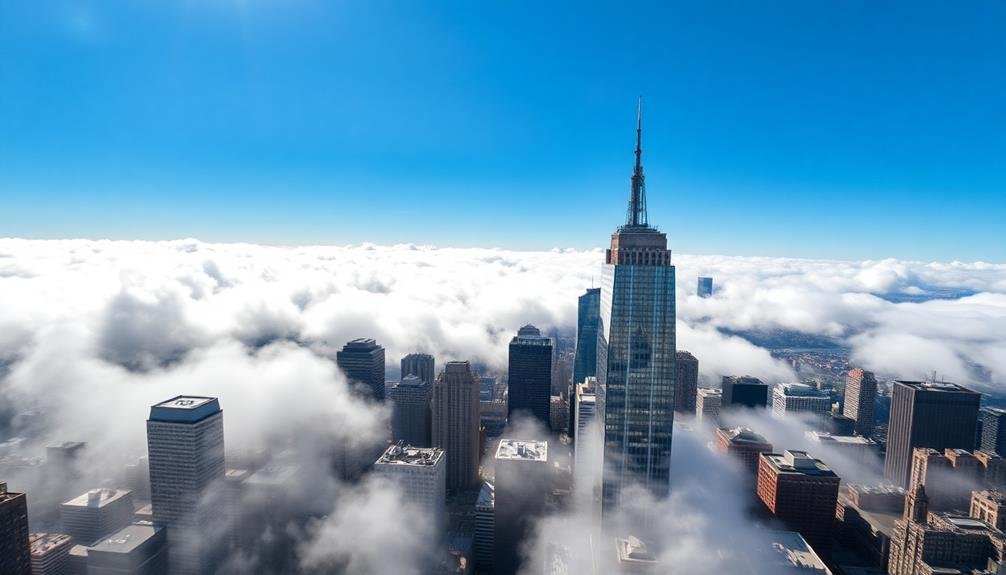
Clarity in aerial photography often hinges on contrast. By boosting contrast, you'll enhance the definition of clouds, landscapes, and structures captured from above. This technique helps separate elements in your image, making them more distinct and visually appealing.
To effectively boost contrast, start by adjusting the overall contrast slider in your editing software. Don't overdo it, though; subtle changes often yield the best results.
Next, fine-tune the highlights and shadows independently. Brightening highlights and darkening shadows can create a more dramatic effect, but be careful not to lose detail in either extreme.
For more precise control, use the curves tool to adjust specific tonal ranges. This allows you to target midtones, which often contain the most important details in aerial shots.
Finally, consider local contrast adjustments to enhance specific areas of your image.
Here are four key benefits of boosting contrast in aerial photography:
- Improved visual separation between sky and land
- Enhanced cloud definition and texture
- Greater depth perception in landscape features
- Increased overall image impact and visual interest
Enhance Shadows and Highlights
You'll reveal hidden details in your photos by enhancing shadows and highlights.
Start by boosting shadow areas to uncover textures and information that might otherwise be lost in darkness.
Then, carefully adjust your highlights to prevent overexposure while maintaining a dramatic contrast between light and dark elements.
Boost Detail in Shadows
Enhancing shadows and highlights can breathe new life into your photos by revealing hidden details. When it comes to boosting detail in shadows, you'll want to focus on bringing out the information that's often lost in darker areas.
Start by adjusting the shadows slider in your editing software, gradually increasing it until you see more detail emerge. Be careful not to overdo it, as this can lead to a flat, unnatural look.
Next, fine-tune the blacks to maintain contrast and depth. You can also use local adjustments to target specific shadowy areas without affecting the entire image. Don't forget to check your histogram to verify you're not clipping the shadows.
Here are some key tips to remember when boosting shadow detail:
- Use a light touch to maintain a natural look
- Pay attention to noise, which can become more visible in lifted shadows
- Experiment with clarity and texture sliders for added definition
- Consider using luminosity masks for more precise control
Balance Highlight Exposure
While enhancing shadows reveals hidden details, balancing highlight exposure is equally important for creating a well-rounded image. Overexposed highlights can result in blown-out areas, where you lose valuable information and texture. To address this, you'll need to carefully adjust the highlight slider in your editing software.
Start by reducing the highlights until you see details emerge in the brightest areas of your photo. Pay close attention to clouds, reflections, and other light-colored elements. You'll want to strike a balance between preserving detail and maintaining the natural brightness of the scene.
If you're working with RAW files, you'll have more latitude to recover blown-out highlights. Use the exposure and highlight recovery tools to bring back lost information. Don't forget to check the histogram to verify you're not clipping the highlights.
Sometimes, you may need to selectively adjust highlights in specific areas. Use brushes or graduated filters to target problematic regions without affecting the entire image. This technique is particularly useful for landscape photos with bright skies or portraits with harsh lighting.
Create Dramatic Contrast
To create dramatic contrast in your photos, mastering the interplay between shadows and highlights is essential. Start by adjusting the contrast slider in your editing software, but don't stop there.
Use the shadows and highlights sliders to fine-tune the dark and light areas separately. This allows you to bring out details in shadowy regions while preserving the brightness of highlights.
Experiment with the blacks and whites sliders to deepen shadows and brighten highlights further. Be careful not to overdo it, as extreme adjustments can lead to unnatural-looking images. Instead, aim for a balance that enhances the photo's mood and draws attention to your subject.
Consider using local adjustments to create contrast in specific areas of your image. Brush tools or gradient filters can help you target particular regions, allowing for more precise control over the final result.
To elevate your contrast game, try these techniques:
- Use curves adjustment for precise tonal control
- Apply split toning to add depth to shadows and highlights
- Experiment with clarity and texture sliders for midtone contrast
- Utilize luminosity masks for advanced contrast adjustments
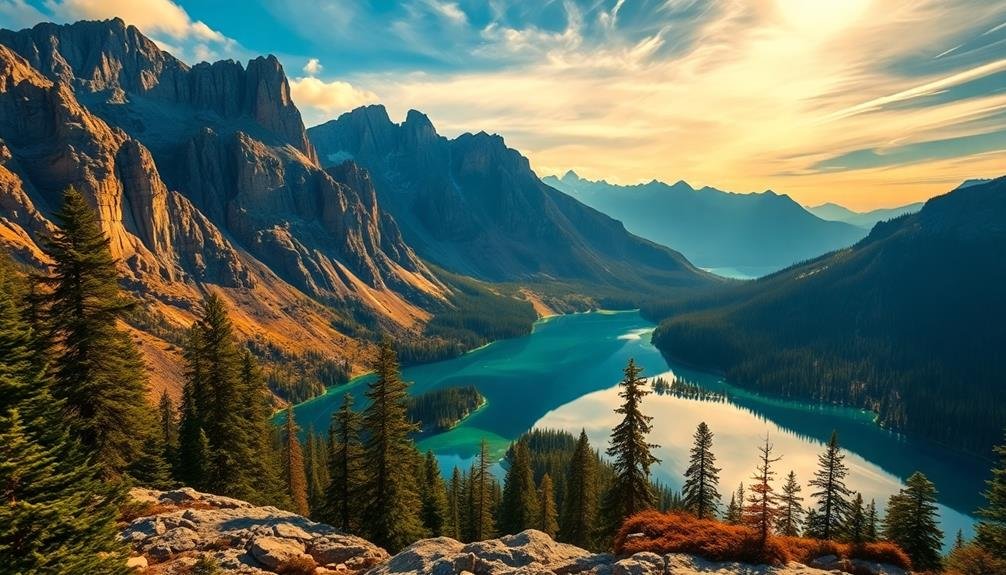
Sharpen Details in Landscape Features
Clarity is key when sharpening details in landscape features. You'll want to enhance the finer elements without overdoing it.
Start by using the sharpening tool in your editing software, focusing on areas like rock formations, tree bark, and distant mountains. Apply the sharpening selectively, avoiding smooth areas like water or sky.
Next, adjust the clarity slider to bring out textures and mid-tone contrast. This can make clouds more defined and add depth to foliage. Be careful not to push it too far, as excessive clarity can create an unnatural look.
Use the dehaze tool to cut through atmospheric haze, revealing hidden details in distant landscapes. This can dramatically improve the overall sharpness of your image.
For a more targeted approach, try using a high pass filter. This technique allows you to sharpen specific areas without affecting the entire image.
Combine it with layer masking for precise control.
Remove Haze and Atmospheric Distortion
Many landscape photos suffer from haze and atmospheric distortion, which can rob your images of contrast and detail. To combat this, you'll need to use specialized post-processing techniques. Start by adjusting the dehaze slider in your editing software, which can dramatically improve clarity and color saturation.
Next, fine-tune the contrast and levels to bring out hidden details in the scene. For more advanced corrections, consider using the channel mixer to selectively adjust color channels affected by atmospheric conditions. You can also employ graduated filters to target specific areas of the image, such as the horizon, where haze is often most noticeable.
Remember that removing haze can sometimes lead to an unnatural look, so aim for a balance between clarity and realism.
Here are some key points to keep in mind when removing haze:
- Work in small increments to avoid over-processing
- Pay attention to how haze removal affects different parts of the image
- Use local adjustments to target specific areas more effectively
- Compare your edited version with the original to verify you're maintaining a natural look
With practice, you'll be able to breathe new life into your hazy landscape shots, revealing stunning details and colors that were previously hidden from view.
Correct Lens Distortion
While removing haze can greatly improve your photos, correcting lens distortion is another key step in achieving professional-looking results. Lens distortion can cause straight lines to appear curved, especially near the edges of your images. To fix this, you'll need to use lens correction tools in your post-processing software.
Start by identifying the type of distortion in your image:
| Distortion Type | Appearance | Correction Method |
|---|---|---|
| Barrel | Outward curve | Push edges inward |
| Pincushion | Inward curve | Pull edges outward |
| Mustache | Wavy lines | Complex adjustment |
Once you've identified the distortion, apply the appropriate correction. Most editing software offers automatic lens profiles that can fix distortion based on your camera and lens combination. If an automatic profile isn't available, you'll need to manually adjust the distortion parameters.
Pay close attention to straight lines in your image, such as horizons or architectural elements. Fine-tune the correction until these lines appear straight. Remember that over-correcting can lead to unnatural-looking results, so aim for a balanced adjustment. By addressing lens distortion, you'll greatly enhance the overall quality and professional appearance of your photographs.
Apply Noise Reduction Techniques
After correcting lens distortion, you'll want to tackle digital noise in your images. Noise reduction techniques can remarkably improve your photos' quality, especially those taken in low-light conditions or with high ISO settings.
Start by identifying the type of noise you're dealing with: luminance noise appears as grainy texture, while color noise manifests as random colored pixels.
Most photo editing software offers built-in noise reduction tools. Begin with a light touch, adjusting the strength gradually to avoid over-smoothing and losing detail. Focus on reducing color noise first, as it's often more noticeable and easier to correct without sacrificing image quality.
For luminance noise, be more conservative to preserve texture and sharpness.
Consider these advanced noise reduction techniques:
- Use frequency separation to target noise in specific tonal ranges
- Apply selective noise reduction to preserve detail in important areas
- Utilize AI-powered denoise tools for more precise results
- Combine multiple exposures to reduce noise in high-dynamic-range scenes
Utilize Graduated Filters
Graduated filters are a powerful tool in your post-processing arsenal. They allow you to selectively adjust exposure, color, and other parameters across different parts of your image. Unlike global adjustments, graduated filters enable you to create smooth shifts between edited and unedited areas, mimicking the effect of physical graduated filters used in-camera.
To utilize graduated filters effectively, start by identifying the area you want to modify. For landscapes, this often means adjusting the sky without affecting the foreground. Place the filter at the horizon line and adjust its position and feathering to achieve a natural-looking shift.
You can apply multiple graduated filters to target specific regions or create more complex effects. Experiment with different filter settings to enhance your image. Decrease exposure to darken bright skies, boost saturation to intensify colors, or adjust white balance to correct color casts.
Don't limit yourself to horizontal filters; angled or radial graduated filters can be useful for images with diagonal or circular elements. Remember to use graduated filters subtly; overuse can lead to unrealistic results.
With practice, you'll master this technique to elevate your photos to new heights.
Crop for Optimal Composition

Cropping is a powerful yet often overlooked tool in post-processing. It allows you to refine your composition, eliminate distractions, and draw attention to the most important elements in your image.
When cropping, consider the rule of thirds, leading lines, and symmetry to create a more visually appealing photo. Don't be afraid to experiment with different aspect ratios to find the most flattering presentation for your subject.
Remember that cropping can also help you correct minor framing mistakes made during shooting. You can straighten horizons, adjust the placement of your subject, or even create a completely different mood by focusing on a specific area of the original image.
However, be mindful of your image's resolution when cropping extensively, as you may lose quality if you crop too aggressively.
To make the most of cropping in post-processing:
- Experiment with different crop ratios (1:1, 16:9, 4:3) to find the best fit
- Use the crop tool's grid overlay to align key elements
- Try vertical and horizontal orientations to see which works best
- Crop out distracting elements to simplify your composition
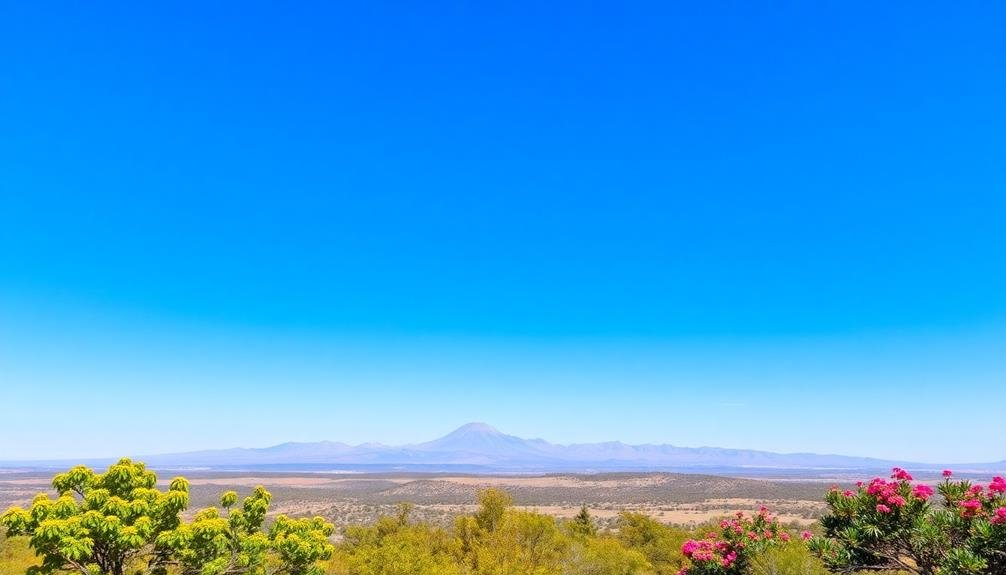
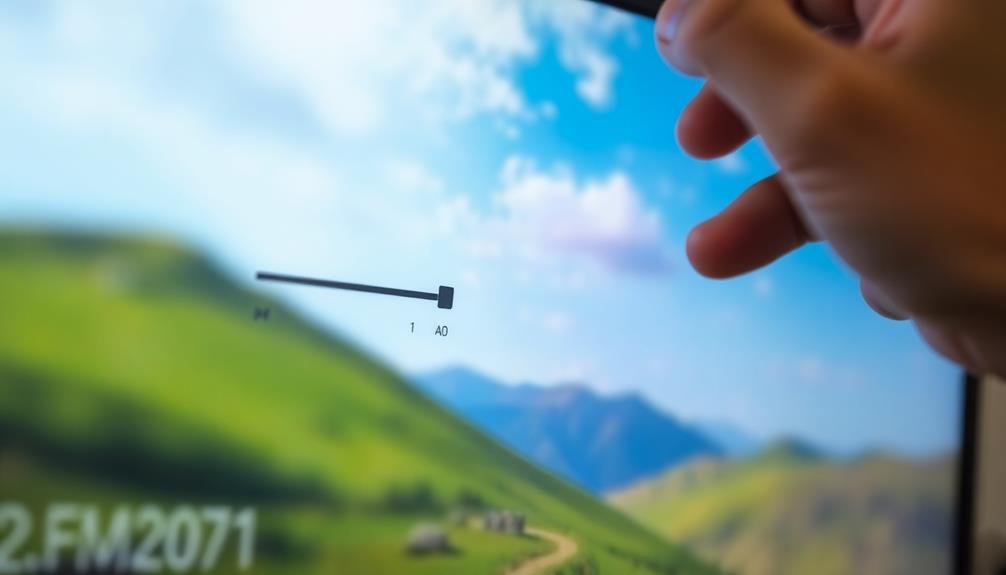
Fine-tune Saturation and Vibrance
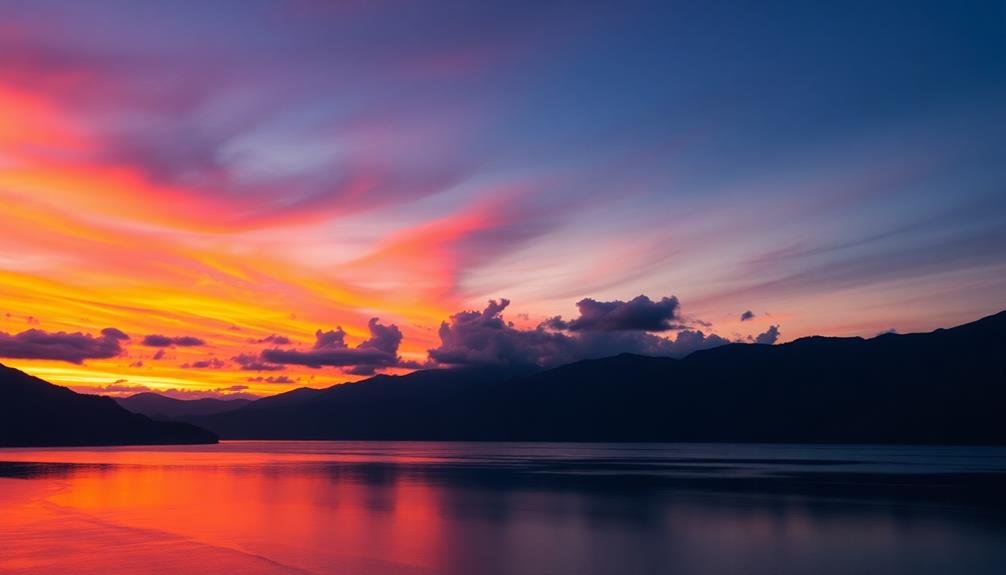
Saturation and vibrance adjustments are powerful tools for enhancing your photo's color impact. While they may seem similar, they serve different purposes. Saturation increases the intensity of all colors in your image equally, while vibrance targets less saturated colors and protects skin tones.
To fine-tune these settings, start by adjusting the vibrance slider. This will boost muted colors without oversaturating already vivid areas. Next, carefully tweak the saturation to enhance the overall color richness. Be cautious not to overdo it, as excessive saturation can lead to unrealistic results and loss of detail.
For landscape photos, you might increase vibrance to make skies and foliage pop. In portraits, use vibrance to add a subtle glow to skin tones without affecting already saturated elements like clothing or background. When working with sunset or sunrise images, a slight boost in saturation can intensify the warm hues.
Remember to periodically toggle your adjustments on and off to compare with the original image. This helps you maintain a natural look while still achieving the desired color enhancement.
Straighten Horizon Lines
One of the most critical yet often overlooked aspects of post-processing is straightening horizon lines. A crooked horizon can ruin an otherwise stunning photograph, making it appear amateur and distracting viewers from the image's main subject.
To straighten your horizon, use your editing software's rotate or straighten tool. Most programs offer a grid overlay to help you align the horizon perfectly.
When straightening, pay attention to vertical lines as well. Buildings, trees, and other upright structures should be perpendicular to the horizon. If you're working with a seascape or landscape without clear vertical elements, focus on making the horizon level with the frame's edges.
Here are some key points to remember when straightening horizon lines:
- Use the rule of thirds grid to align your horizon
- Pay attention to reflections in water, which should mirror the actual horizon
- Be mindful of distortion caused by wide-angle lenses
- Consider cropping after straightening to maintain the original composition
Don't be afraid to make slight adjustments. Even a one-degree rotation can greatly improve your image's overall balance and professionalism.
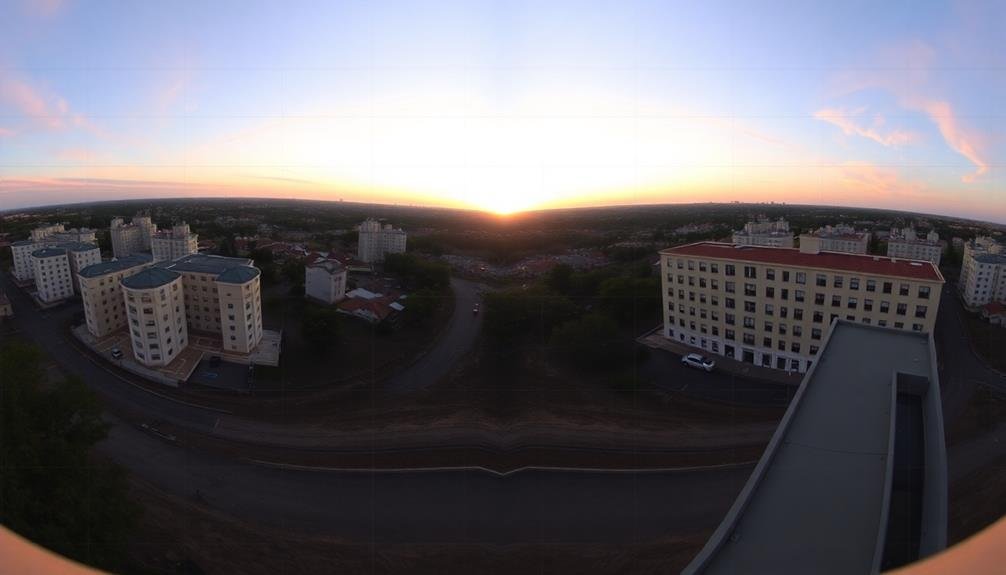
Create Panoramas From Multiple Shots

Photographers often dream of capturing sweeping vistas that stretch beyond a single frame. Creating panoramas from multiple shots allows you to convert this dream into reality.
To start, you'll need a series of overlapping images that cover your desired scene. When shooting, use manual settings to maintain consistent exposure across all frames. Rotate your camera around its nodal point to minimize parallax errors.
Once you've captured your images, it's time to stitch them together. Most photo editing software offers panorama tools that can automate much of the process. Import your images and let the software align and blend them. You may need to make manual adjustments to guarantee seamless shifts between frames.
After stitching, crop your panorama to remove any irregular edges. Consider adjusting the aspect ratio to enhance the panoramic effect.
Fine-tune the exposure, contrast, and color balance across the entire image to create a cohesive look. Pay special attention to the sky and horizon, making sure they appear natural and continuous.
Blend Exposures for Dynamic Range

In the domain of digital photography, blending exposures has become a powerful technique to overcome the limitations of your camera's dynamic range. By capturing multiple shots at different exposure levels and combining them in post-processing, you'll create images with stunning detail in both highlights and shadows.
To blend exposures effectively, start by shooting in RAW format and using bracketed exposures. Typically, you'll want to capture at least three images: one properly exposed, one underexposed for highlight detail, and one overexposed for shadow detail. In post-processing software like Photoshop or Lightroom, align your images and use layer masks or HDR merging tools to combine the best parts of each exposure.
When blending exposures, keep these tips in mind:
- Pay attention to moving objects to avoid ghosting effects
- Use a tripod for consistent framing across exposures
- Adjust contrast and saturation carefully to maintain a natural look
- Consider using luminosity masks for precise control over blending
With practice, you'll master the art of exposure blending, allowing you to capture scenes with a wider range of light than your camera's sensor can handle in a single shot.
This technique is particularly useful for landscape and architectural photography, where you often encounter high-contrast scenes.
Add Finishing Touches With Vignetting
After mastering exposure blending, you can further enhance your images with subtle vignetting. This technique darkens the edges of your photo, drawing the viewer's eye to the center and creating a more focused composition.
To add vignetting, use your editing software's vignette tool or create a custom vignette using layers and masks. Start with a light touch, gradually increasing the intensity until you achieve the desired effect. Aim for a natural look that doesn't immediately catch the eye.
Experiment with different shapes, such as oval or rectangular vignettes, to complement your image's composition. You can also try a reverse vignette, lightening the edges instead of darkening them, for a unique look that works well with certain scenes.
Consider the mood you want to convey. Darker vignettes can add drama and mystery, while lighter ones create a dreamy atmosphere. Adjust the feathering to control how gradually the effect fades from the edges.
For more control, create separate vignettes for different areas of your image, allowing you to fine-tune the effect precisely. Remember, subtlety is key – your vignette should enhance the photo without becoming a distraction.
Frequently Asked Questions
How Can I Maintain Natural-Looking Skies When Using HDR Techniques?
To keep skies natural in HDR, you'll want to use a light touch. Don't overdo exposure blending or tone mapping. Adjust highlights and shadows carefully. Use masking to selectively enhance sky areas. Aim for subtle improvements, not dramatic changes.
What's the Best Way to Remove Unwanted Objects From Aerial Photos?
You'll want to use the clone stamp or healing brush tool in your photo editing software. Carefully sample nearby areas to replace unwanted objects. For larger removals, consider content-aware fill or photo compositing techniques.
How Do I Achieve a Cinematic Look in My Sky Photography?
To achieve a cinematic look in your sky photography, you'll want to use a wide-angle lens, shoot during golden hour, and adjust color grading in post-processing. Don't forget to experiment with aspect ratios and add subtle vignettes.
Are There Specific Camera Settings for Capturing Perfect Sky Colors?
To capture perfect sky colors, you'll want to use a polarizing filter, shoot in RAW format, and adjust your white balance. Don't forget to underexpose slightly and experiment with different apertures for varied effects.
What Software Is Best for Advanced Sky Replacement in Post-Processing?
You'll find Adobe Photoshop and Luminar AI are top choices for advanced sky replacement. They offer powerful tools and realistic results. Skylum's Luminar Neo and ON1 Photo RAW also provide excellent sky replacement features you'll love.
In Summary
You've now got the tools to take your aerial photography to new heights. Don't be afraid to experiment with these post-processing techniques. They'll help you bring out the best in your sky-high shots. Remember, subtlety is key – you want to enhance, not overpower. With practice, you'll develop your own signature style. So grab your photos, fire up your editing software, and let your creativity soar. Happy editing!
As educators and advocates for responsible drone use, we’re committed to sharing our knowledge and expertise with aspiring aerial photographers.


Leave a Reply