To make your real estate photos soar above the competition, focus on prime angles, lighting, and post-processing techniques. Experiment with different viewpoints to showcase a property's best features, and shoot during golden hours for flattering natural light. For aerial shots, adjust exposure and color to enhance details and highlight standout features. Use drones to capture entire property layouts and emphasize unique selling points. Don't forget to comply with drone regulations to guarantee legal operation. By mastering these elements, you'll create stunning visuals that captivate potential buyers and set your listings apart. Discover how these techniques can transform your real estate photography portfolio.
Key Takeaways
- Utilize optimal angles and perspectives to showcase property's best features and spaciousness.
- Leverage natural and artificial lighting effectively to create warm, inviting atmospheres.
- Employ professional post-processing techniques to enhance image quality and correct imperfections.
- Incorporate aerial photography to highlight property layout, unique features, and surrounding amenities.
- Ensure technical proficiency and legal compliance, especially when using drones for aerial shots.
Optimal Angles and Perspectives
Frequently, the difference between an average and an exceptional real estate photo lies in the chosen angle and perspective. To capture a property's best features, you'll need to experiment with various viewpoints. Start by shooting from corners to showcase the room's depth and spaciousness. This technique creates a sense of dimension and allows potential buyers to envision themselves in the space.
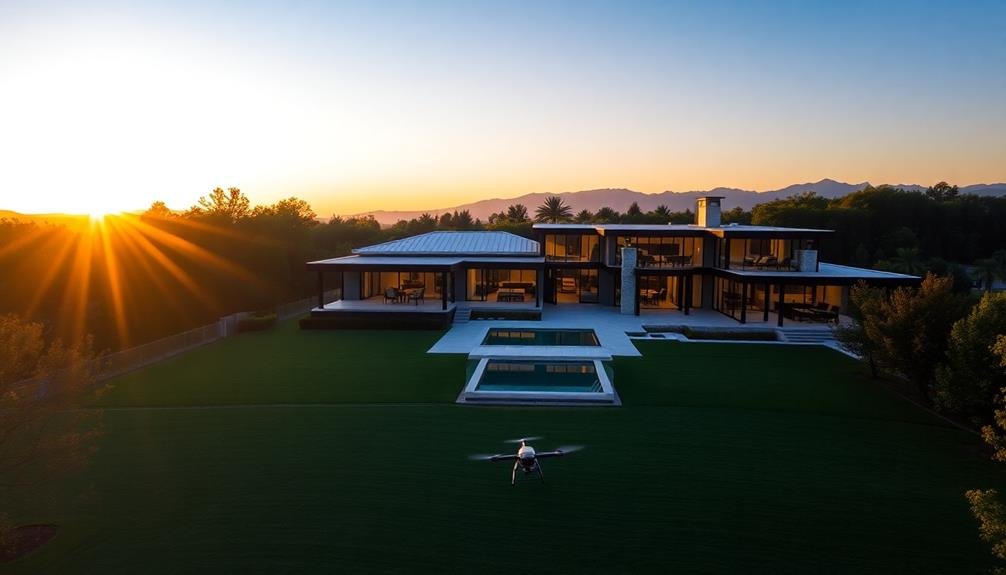
When photographing exteriors, try elevated shots to highlight the property's layout and surrounding landscape. Use a drone or shoot from a higher floor if possible.
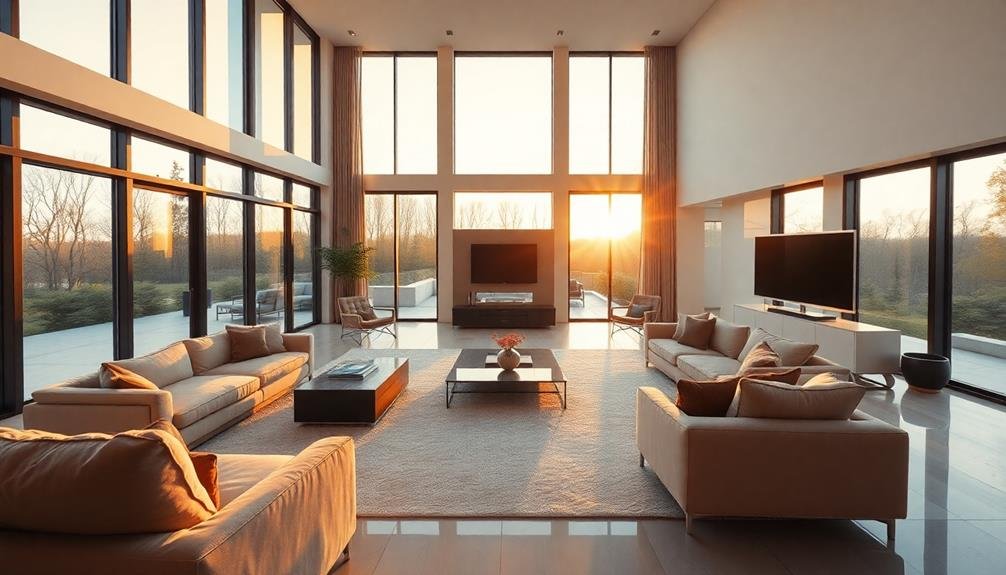
For interiors, kneel down to capture rooms from a lower angle, making ceilings appear higher and spaces more expansive.
Don't forget to reflect on natural light sources. Position yourself to maximize window views and natural illumination. Avoid shooting directly into windows, as this can create unwanted glare and silhouettes.
For smaller spaces, use wide-angle lenses judiciously. While they can make rooms appear larger, overuse can distort proportions and mislead viewers.
Instead, focus on capturing unique architectural details or standout features from interesting angles to draw attention and create visual interest.
Lighting and Time of Day
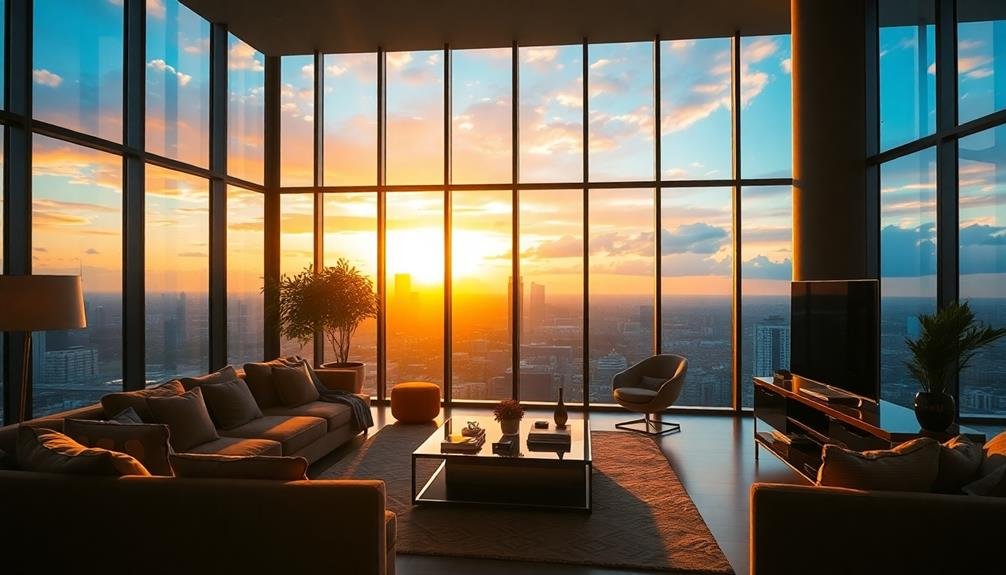
Mastering angles and perspectives is just the beginning. To truly make your real estate photos stand out, you'll need to harness the power of lighting and time of day. Natural light is your best friend, so aim to shoot during the golden hours: just after sunrise or before sunset. These times offer warm, soft light that flatters any property.
For interiors, shoot during midday when the sun is high, providing ample light through windows. Use artificial lighting sparingly, only to balance shadows or highlight specific features. Remember, different rooms may require different times of day for ideal lighting.
Here's a quick guide to lighting and timing for various property types:
| Property Type | Best Time to Shoot | Lighting Tips |
|---|---|---|
| Exterior | Golden hour | Use sun position to advantage |
| Interior | Midday | Balance natural and artificial light |
| Pool/Outdoor | Late afternoon | Capture water reflections |
Don't forget to take into account seasonal changes. Summer offers lush greenery, while fall provides vibrant colors. Winter can showcase cozy interiors, and spring highlights blooming landscapes. By mastering lighting and timing, you'll elevate your real estate photos from good to exceptional.
Post-Processing Techniques for Aerial Shots
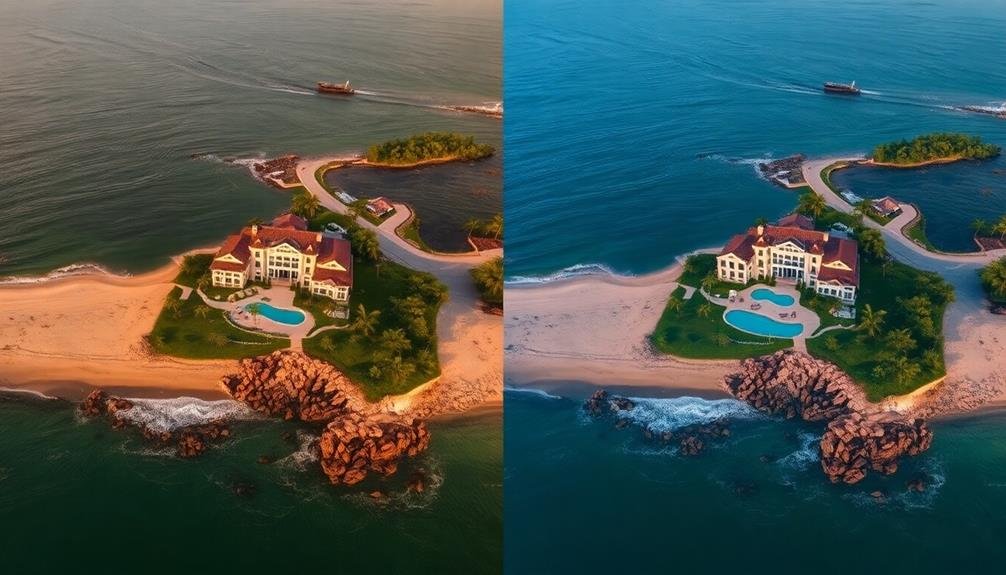
Aerial shots add a stunning dimension to real estate photography, but they often require post-processing to truly shine. You'll want to start by adjusting the exposure and contrast to guarantee the property stands out against its surroundings. Use the highlights and shadows tools to bring out details in both bright and dark areas of the image.
Color correction is essential for aerial shots. Adjust the white balance to neutralize any color casts and enhance the natural hues of the landscape. You can also use selective color adjustments to make key features pop, like emphasizing the blue of a pool or the green of well-manicured lawns.
Don't forget to straighten the horizon and correct any lens distortion. This guarantees your aerial shots look professional and accurately represent the property.
Use the crop tool to frame the shot perfectly, focusing on the main subject while including enough context.
Showcasing Property Features From Above
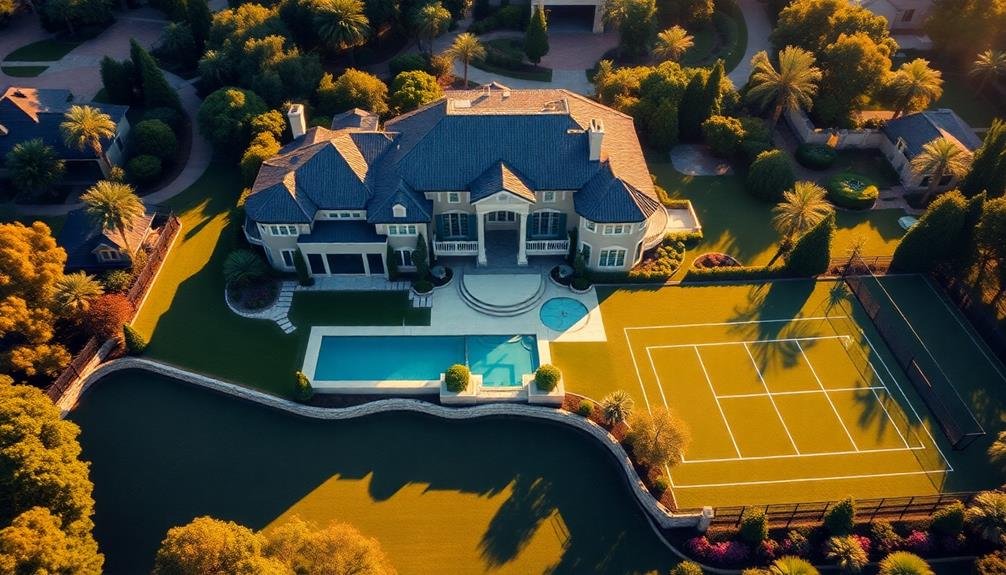
With your aerial shots polished, it's time to focus on highlighting specific property features from above. Aerial photography offers a unique perspective to showcase a property's best assets. Start by capturing the entire property layout, emphasizing its size and boundaries. This overview shot helps potential buyers understand the property's context within the neighborhood.
Next, zoom in on standout features. If there's a pool, capture it from an angle that shows its shape and how it complements the landscape. For homes with expansive gardens or orchards, showcase the variety and layout of plantings. Highlight outdoor living spaces like patios, decks, or tennis courts by capturing them in relation to the main structure.
Don't forget to showcase the property's location advantages. Capture nearby amenities like parks, lakes, or beaches. If the property boasts mountain or city views, position your drone to emphasize these vistas. For rural properties, highlight acreage and any outbuildings. In urban settings, focus on proximity to key landmarks or transportation hubs.
Compliance With Drone Regulations
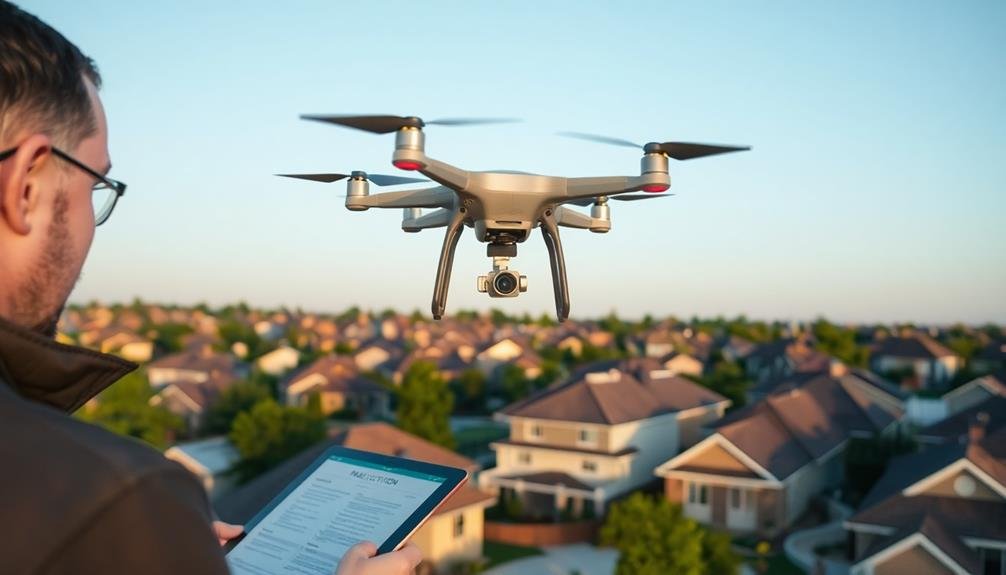
Maneuvering the complex world of drone regulations is vital for real estate photographers. You'll need to familiarize yourself with the Federal Aviation Administration's (FAA) rules for commercial drone use.
Start by obtaining a Remote Pilot Certificate, which requires passing an aeronautical knowledge test. This license is necessary for legally operating drones for real estate photography.
You must register your drone with the FAA if it weighs more than 0.55 pounds. Always keep your drone within visual line of sight and fly below 400 feet. Avoid flying over people or moving vehicles, and respect privacy laws.
Be aware of restricted airspace, such as airports or military bases, and use apps like B4UFLY to check flight restrictions in your area.
Don't forget to check local and state regulations, as they may impose additional restrictions. Some areas require permits for commercial drone use, while others have specific no-fly zones.
Stay updated on changing laws and regularly review your compliance. By adhering to these regulations, you'll guarantee your real estate drone photography remains legal and professional, avoiding potential fines or legal issues that could harm your business.
Frequently Asked Questions
How Much Should I Budget for Professional Real Estate Drone Photography?
You should budget $200-$500 for professional real estate drone photography. Prices vary based on property size, location, and service quality. Consider package deals that include both aerial and ground shots for extensive coverage of your listing.
What Drone Models Are Best Suited for Real Estate Photography?
You'll want to contemplate drones like the DJI Mavic 3, Autel EVO II Pro, or Phantom 4 Pro V2.0 for real estate photography. They offer excellent image quality, stability, and ease of use for capturing stunning aerial property shots.
How Can I Effectively Market My Aerial Real Estate Photography Services?
You'll boost your aerial real estate photography business by showcasing your best work online, networking with agents, offering package deals, and using social media. Don't forget to highlight your unique skills and equipment to stand out from competitors.
Are There Specific Insurance Requirements for Real Estate Drone Photographers?
Yes, you'll need specific drone insurance for your real estate photography business. It's crucial to have liability coverage and equipment protection. Check local regulations, as some areas require additional certifications or permits for commercial drone operations.
How Do Weather Conditions Affect Drone Photography for Real Estate Listings?
Weather greatly impacts your drone photography for real estate. You'll need to contemplate wind, rain, lighting, and temperature. Cloudy days can offer soft light, while sunny conditions provide vibrant colors. Always prioritize safety and follow local regulations.
In Summary
You've now got the tools to make your real estate aerial photos stand out. Remember, it's all about finding the right angles, capturing ideal lighting, and enhancing your shots with post-processing. Don't forget to highlight key property features from above. Always stay compliant with drone regulations. By mastering these techniques, you'll create stunning aerial images that'll give you a competitive edge in the real estate market. Keep practicing and watch your photos soar!
As educators and advocates for responsible drone use, we’re committed to sharing our knowledge and expertise with aspiring aerial photographers.


Leave a Reply