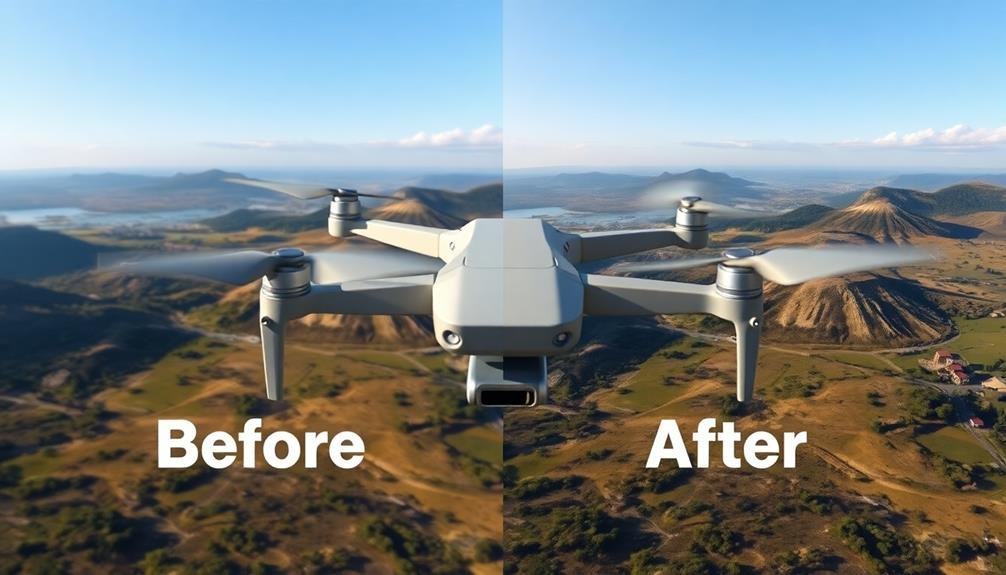
To remove propellers from your drone videos, start by importing your footage into video editing software like Adobe After Effects. Carefully review the frames to identify where propellers are visible. Create masks to isolate these areas, then use tools like content-aware fill or clone stamp to replace the propeller sections. For fast-moving propellers, try frame blending techniques. After editing, blend the modified frames seamlessly by adjusting color, brightness, and applying subtle transitions. Consider using automated removal tools for efficiency. Finally, enhance your video with color grading, stabilization, and noise reduction. With practice, you'll develop an eye for creating professional-looking drone footage free from distracting propellers.
Key Takeaways
- Identify propeller-affected frames by reviewing footage and marking sections with visible propellers.
- Use masking techniques to isolate propeller regions for editing with tools like the pen or brush.
- Apply content-aware fill or clone stamp tools to replace propeller sections in affected frames.
- Utilize automated removal tools like Premiere Pro's Content-Aware Fill or After Effects' Clone Stamp tool.
- Blend edited areas by feathering edges, adjusting color and brightness, and reviewing at different playback speeds.
Understanding Propeller Visibility in Footage
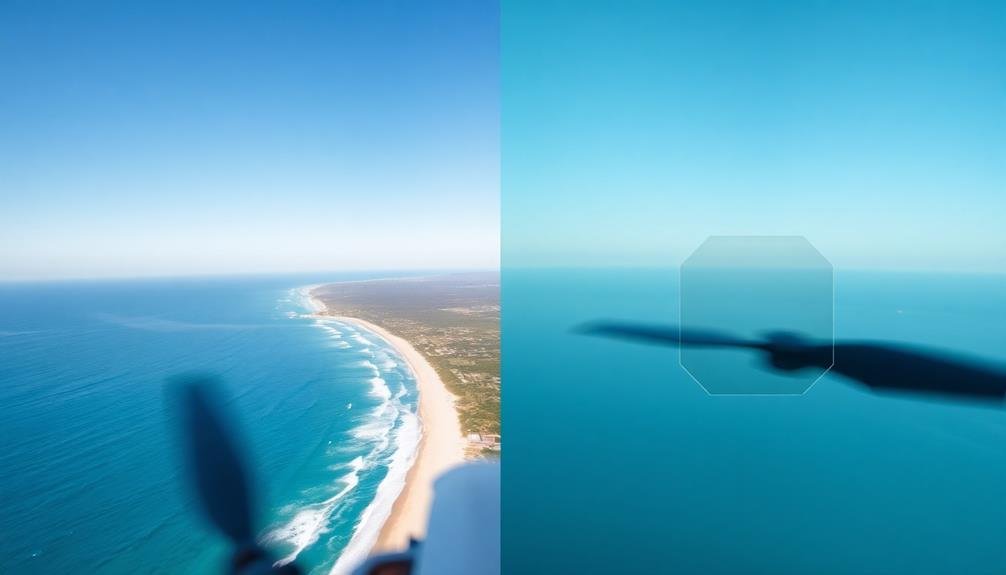
The visibility of propellers in drone footage can vary depending on several factors. Your drone's camera type, lens angle, and propeller size all play essential roles. Wide-angle lenses, common in drones, often capture more of the propellers in the frame. The position of your camera relative to the propellers also affects visibility. If your camera is mounted closer to the propellers or angled upwards, you're more likely to see them in your shots.
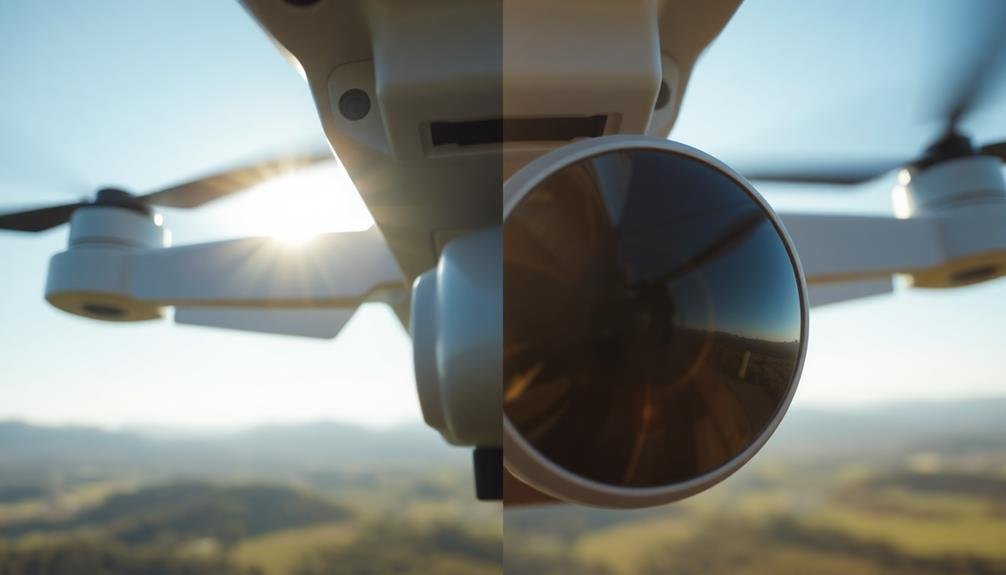
Lighting conditions can impact propeller visibility too. In bright sunlight, propellers may cast shadows or create reflections that are noticeable in your footage.
Flight speed and direction also matter. When flying forward quickly, propellers are less likely to appear in your video. However, during hovering or slow movements, they're more prone to showing up.
It's important to understand that some propeller visibility is often unavoidable, especially with consumer-grade drones. Professional cinematography drones are designed to minimize this issue, but they're considerably more expensive.
Recognizing these factors will help you anticipate when propellers might appear in your footage and plan your shots accordingly.
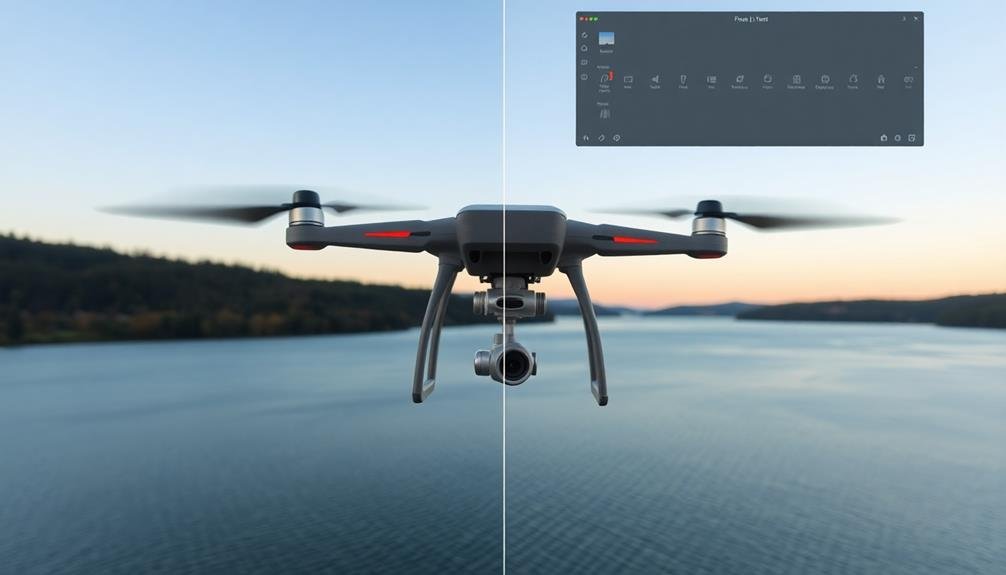
Preparing Your Editing Software
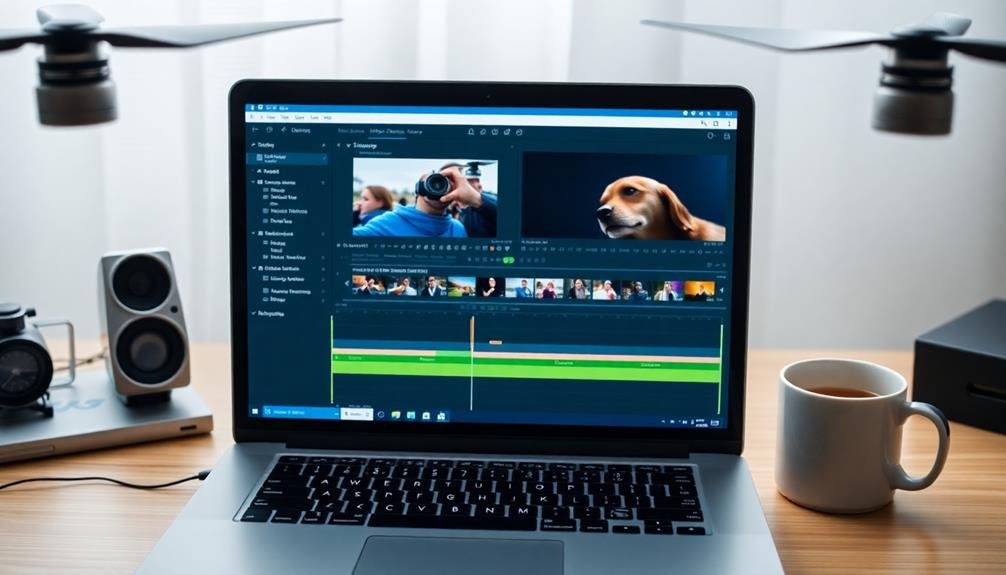
Before diving into the removal process, you'll need to set up your editing software properly. Choose a program that supports motion tracking and masking, such as Adobe After Effects, DaVinci Resolve, or Final Cut Pro. Confirm you've installed the latest version to access all necessary features.
Import your drone footage into the software and create a new project. Set the project's frame rate and resolution to match your original video for seamless editing. Create a new composition or timeline, and drag your footage onto it.
Next, familiarize yourself with the following essential tools:
| Tool | Purpose | Shortcut |
|---|---|---|
| Pen | Create masks | P |
| Track Motion | Follow propeller movement | Ctrl+Alt+T |
| Rotoscoping | Frame-by-frame masking | Alt+W |
| Feather | Soften mask edges | F |
| Opacity | Adjust mask transparency | T |
These tools will be vital for isolating and removing propellers from your footage. Take a moment to locate them in your software's interface and practice using them on a test clip. This preparation will streamline your workflow and help you achieve better results when tackling the actual propeller removal process.
Identifying Propeller-Affected Frame Sections
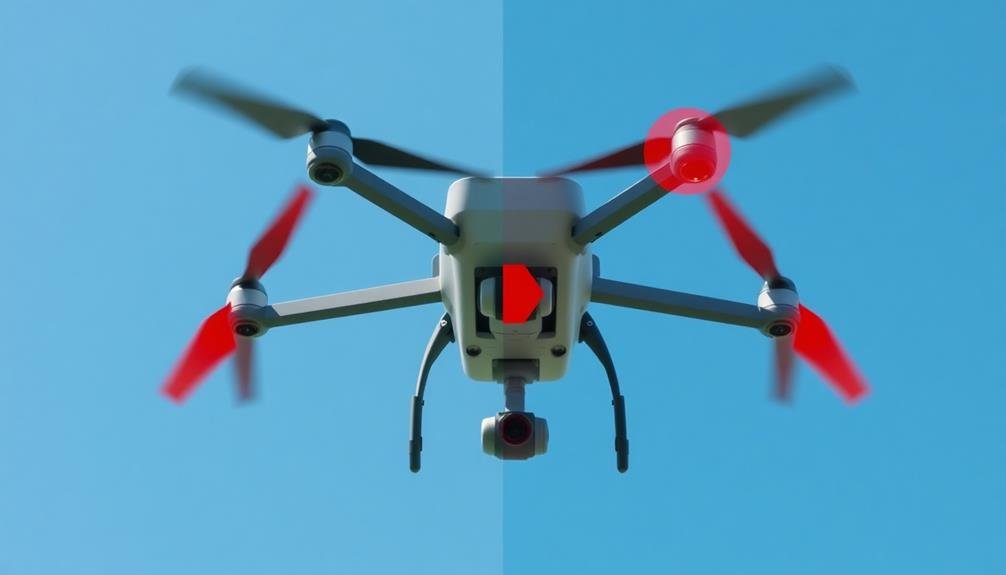
Identifying propeller-affected frame sections is essential for successful removal. Start by reviewing your footage frame by frame, looking for areas where propellers are visible. These sections typically appear as blurry, dark streaks or shadows in the corners of your video.
Pay close attention to scenes with high contrast or bright backgrounds, as propellers are often more noticeable in these conditions. Use your editing software's zoom function to closely examine suspect areas. Look for patterns in the propeller's appearance, as they'll often show up in the same locations throughout your footage.
Mark these sections using your software's annotation tools or by noting the time codes. Next, analyze the movement of the propellers. They usually appear as a rhythmic pattern across multiple frames. Understanding this pattern will help you identify affected areas more quickly.
Don't forget to check for reflections of propellers in water or other reflective surfaces, as these can be easily overlooked.
Masking Techniques for Propeller Removal
Once you've identified the propeller-affected areas, masking techniques become your go-to tools for removal. Start by creating a mask layer in your video editing software. This layer will isolate the propeller regions, allowing you to manipulate them without affecting the rest of the frame.
Use the pen tool or brush tool to outline the propeller areas precisely. You'll want to create a frame-by-frame mask, as the propeller's position changes throughout the video. For more complex shots, consider using motion tracking to automate the masking process.
After creating your masks, apply a content-aware fill or clone stamp tool to replace the propeller areas with surrounding pixels. This technique works best when there's a consistent background, like sky or water. For more intricate scenes, you may need to manually paint in details or use footage from adjacent frames.
Another effective technique is frame blending. By combining information from multiple frames, you can effectively "erase" the propellers. This method works well for fast-moving propellers that appear translucent.
Remember to feather the edges of your masks to blend the edited areas seamlessly with the original footage. Adjust opacity and blend modes as needed for a natural look.
Frame-by-Frame Editing Process
To remove propellers from your drone footage through frame-by-frame editing, you'll need to select the frames where propellers are visible.
Once identified, carefully remove the unwanted propeller elements using your video editing software's tools.
Select Frames With Propellers
The frame-by-frame editing process starts with an essential step: selecting the frames that contain visible propellers. You'll need to carefully review your footage, identifying each frame where propellers appear in the shot. This can be time-consuming, but it's critical for achieving seamless results.
Use your video editing software's timeline or frame-by-frame navigation tools to move through the footage. Look for frames where propellers are most noticeable, typically at the edges of your frame. Pay close attention to scenes with fast movement or changes in lighting, as these conditions can make propellers more visible.
As you identify affected frames, mark them for easy reference later. Many editing programs allow you to add markers or tags to specific frames. Alternatively, you can note the timecodes of problematic frames in a separate document.
Don't rush this process. Thoroughly examining each frame guarantees you won't miss any propeller intrusions. Remember, it's better to select more frames than necessary rather than overlooking some that contain propellers.
This careful selection will make the subsequent editing steps more efficient and effective, ultimately resulting in cleaner, more professional-looking drone footage.
Remove Unwanted Propeller Elements
With your propeller-containing frames identified, you're ready to begin the removal process. Open each affected frame in your video editing software's frame editor. Zoom in on the propeller areas for better visibility and precision.
Use the clone stamp or healing brush tool to sample clean areas of the sky or background near the propellers. Carefully paint over the propeller blades, matching the surrounding colors and patterns. Pay attention to lighting and shadows to maintain a natural look. For more complex backgrounds, you may need to use multiple sample areas.
If your software has content-aware fill tools, try using them to automatically remove the propellers. These tools analyze surrounding pixels to intelligently fill in the removed areas. However, always review and refine the results manually.
For frames with partially obscured objects behind the propellers, you'll need to reconstruct these elements. Use reference frames where the object is fully visible to accurately recreate the hidden portions. This step requires patience and attention to detail.
Work through each frame methodically, ensuring smooth shifts between edited and unedited areas. Once you've removed all propeller elements, review your work at full speed to catch any inconsistencies or artifacts.
Blend Edited Frames Seamlessly
After removing propellers from individual frames, you'll need to blend the edited frames seamlessly into your video. This process guarantees a smooth shift between the original and edited footage, maintaining the visual continuity of your drone video.
Start by reviewing the edited frames in sequence to identify any inconsistencies or abrupt changes. Pay close attention to the areas where propellers were removed, looking for color discrepancies, lighting differences, or unnatural shifts.
Use your video editing software's color correction tools to match the edited frames with the surrounding footage, adjusting brightness, contrast, and saturation as needed.
Apply subtle shifts between edited and unedited frames to smooth out any remaining differences. Experiment with cross-dissolves or other blending effects to create a natural flow. If necessary, use motion tracking to guarantee edited elements move consistently with the rest of the scene.
For particularly challenging areas, consider using mask blending techniques. Create masks around the edited regions and feather the edges to gradually blend them into the original footage.
This approach helps maintain the overall look and feel of your video while effectively hiding the propeller removal edits.
Using Automated Removal Tools
You'll find several automated tools designed to eliminate propellers from drone footage.
Popular options include Premiere Pro's Content-Aware Fill, After Effects' Clone Stamp tool, and specialized software like Mocha Pro.
These tools can greatly streamline your editing process, allowing you to remove propellers with just a few clicks and some fine-tuning.
Popular Software Options
Several software options offer automated propeller removal tools for drone videos, making the process quicker and easier than manual editing.
One popular choice is Adobe After Effects, which includes a content-aware fill feature that can effectively remove propellers. You'll need to track the propeller's movement and create a mask, then let the software fill in the gaps.
DaVinci Resolve is another powerful option, offering a similar feature called "patch replacer." This tool allows you to select the area with propellers and automatically replaces it with surrounding content. It's particularly effective for static shots or slow-moving footage.
For a dedicated solution, consider Gyroflow. While primarily used for stabilization, it also includes a propeller removal function. It's especially useful if you're already using Gyroflow for other post-processing tasks.
If you're looking for a more user-friendly option, try Wondershare Filmora. Its AI-powered sky replacement tool can often remove propellers as a side effect when replacing the sky in your footage.
While not specifically designed for propeller removal, it can be an effective workaround for many drone videos.
Step-By-Step Removal Process
With automated removal tools at your disposal, removing propellers from drone videos becomes a straightforward process.
Most software options offer similar workflows, but here's a general step-by-step guide to help you through the process:
- Import your drone footage into the chosen software.
- Select the propeller removal tool or feature within the program.
- Define the area where propellers appear in your video frame.
- Let the software analyze and process the footage.
Once you've completed these initial steps, the software will work its magic.
It'll use advanced algorithms to detect and remove the propellers from each frame of your video. This process may take some time, depending on the length and resolution of your footage.
After the automated removal is complete, review the results carefully.
You might need to make minor adjustments or touch-ups in areas where the software didn't perfectly remove the propellers. Most programs offer manual editing tools for this purpose.
Blending and Smoothing Edited Areas
The final touch in removing propellers from drone videos is blending and smoothing the edited areas. After you've removed the propellers, you'll need to guarantee the edited sections seamlessly blend with the rest of the footage. Start by using your video editing software's feathering tool to soften the edges of the edited areas. This will help create a gradual shift between the original and modified parts of the frame.
Next, apply a subtle blur effect to the edited regions. This will help mask any imperfections and make the changes less noticeable. Be careful not to overdo it, as too much blur can look unnatural. Finally, adjust the color and brightness of the edited areas to match the surrounding footage.
Here's a quick reference table for blending and smoothing techniques:
| Technique | Purpose | Tip |
|---|---|---|
| Feathering | Soften edges | Use a small radius for subtle shifts |
| Blurring | Mask imperfections | Apply sparingly to maintain realism |
| Color matching | Guarantee consistency | Sample colors from nearby areas |
Remember to review your work at different playback speeds and zoom levels to catch any inconsistencies. With practice, you'll develop an eye for seamless edits that will make your propeller-free drone footage look professional and polished.
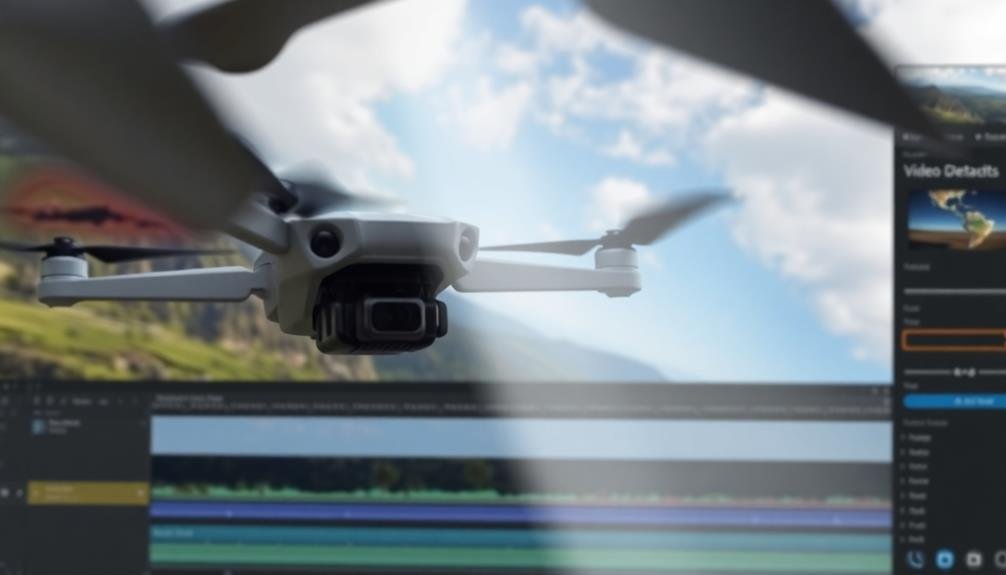
Enhancing Final Video Quality
Once you've successfully removed propellers and blended the edited areas, it's time to enhance your video's overall quality.
Start by adjusting the color grading to give your footage a more cinematic look. Use color correction tools to balance the exposure, contrast, and saturation.
Next, apply noise reduction to minimize any graininess, especially in low-light scenes.
Consider adding stabilization if your footage appears shaky. Many editing software packages offer built-in stabilization features that can greatly improve the smoothness of your video.
Don't forget to fine-tune your audio as well. Remove any unwanted background noise and adjust the levels for a clear, crisp sound.
To further elevate your video's quality, consider the following enhancements:
- Apply subtle sharpening to increase detail without introducing artifacts
- Add a subtle vignette to draw attention to the center of the frame
- Experiment with lens flares or light leaks for artistic effect
- Implement speed ramping to create dynamic changes between scenes
Frequently Asked Questions
Can Propeller Removal Techniques Be Applied to Live Streaming Drone Footage?
You can apply propeller removal techniques to live streaming drone footage, but it's challenging. You'll need powerful hardware and low-latency software to process and filter the video in real-time. It's more feasible for post-production editing.
How Does Propeller Removal Affect the Audio Quality of Drone Videos?
You'll find that propeller removal doesn't directly affect audio quality. However, it may indirectly improve sound by reducing visual distractions. If you're concerned about audio, focus on using external mics or post-production sound editing instead.
Are There Legal Implications to Removing Propellers From Commercial Drone Footage?
You should be aware of potential legal issues when removing propellers from commercial drone footage. It's best to check local regulations and consult with a lawyer, as altering footage could raise questions about authenticity in some contexts.
What's the Impact of Propeller Removal on Video File Size?
Removing propellers from your drone footage won't greatly impact file size. You're only editing visual elements, not altering the video's resolution or compression. The file size will remain virtually unchanged after propeller removal in post-production.
Can Propeller Removal Techniques Work for Underwater Drone Videos?
You can apply propeller removal techniques to underwater drone videos. They'll work similarly, helping you eliminate distracting propeller blades. However, you'll need to account for water distortion and refraction effects when editing your underwater footage.
In Summary
You've now got the tools to banish those pesky propellers from your drone footage. Remember, practice makes perfect. Don't be discouraged if your first attempts aren't flawless. Keep refining your techniques, whether you're using manual frame-by-frame editing or automated tools. With time, you'll master the art of seamless propeller removal, elevating your drone videos to new heights. Your viewers won't even know those propellers were there in the first place!
As educators and advocates for responsible drone use, we’re committed to sharing our knowledge and expertise with aspiring aerial photographers.


Leave a Reply