When choosing ND filters for flight photography, start by understanding filter basics and determining your desired effect. Consider lighting conditions and match the filter to your drone camera. Evaluate filter quality, focusing on optical clarity and color neutrality. Assess mounting options for ease of use during flights. Balance cost with performance, considering long-term value. Plan for multiple filter strengths to adapt to various scenarios. Test filters before critical shoots to familiarize yourself with their impact on exposure and color. Don't forget to select a suitable case for protection and organization. These tips will help you elevate your aerial imagery and reveal new creative possibilities in the sky.
Key Takeaways
- Match ND filter strength to desired effects, considering propeller blur, cloud movement, and light conditions.
- Ensure filter compatibility with your drone camera's specifications, including size and mounting options.
- Evaluate filter quality, opting for multi-coated glass to minimize color casts and maintain image clarity.
- Consider a range of ND densities for versatility in different lighting situations and creative possibilities.
- Invest in a protective, well-organized filter case for easy access and damage prevention during flights.
Understand ND Filter Basics
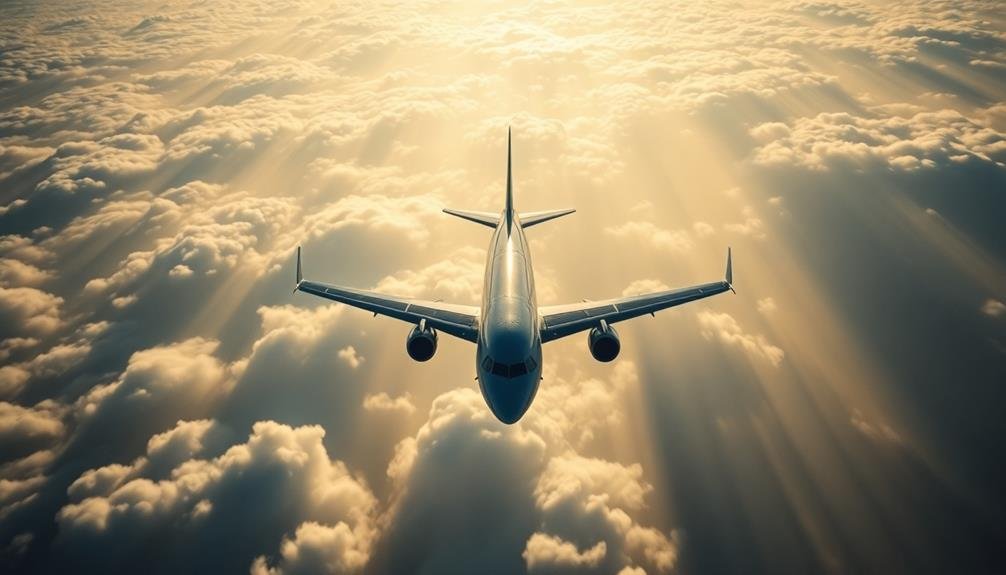
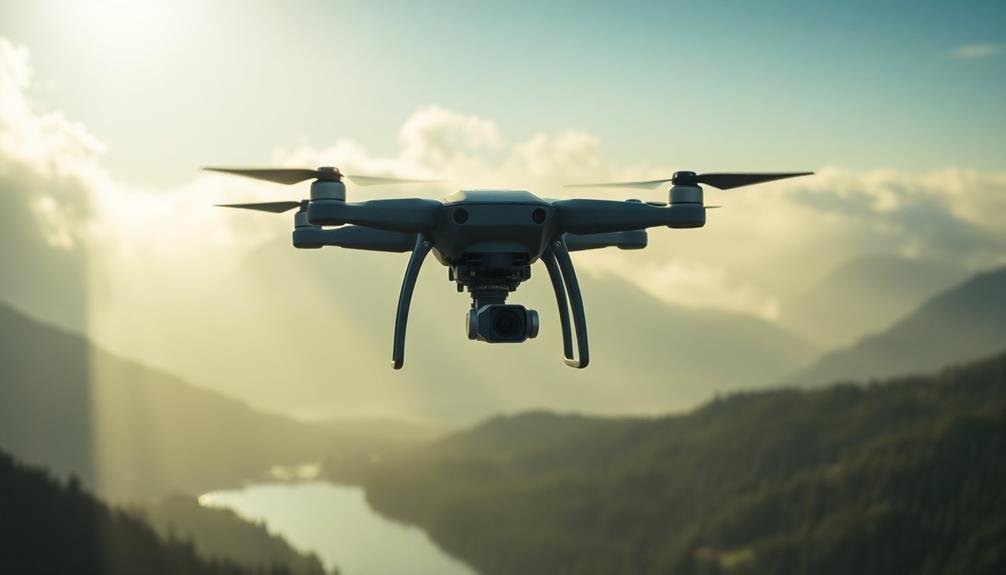
To kick off our discussion on ND filters, let's plunge into the basics. ND, or Neutral Density, filters are essential tools in flight photography. They reduce the amount of light entering your camera's lens without altering color balance. This allows you to use slower shutter speeds or wider apertures in bright conditions, giving you more control over your exposure and creative options.
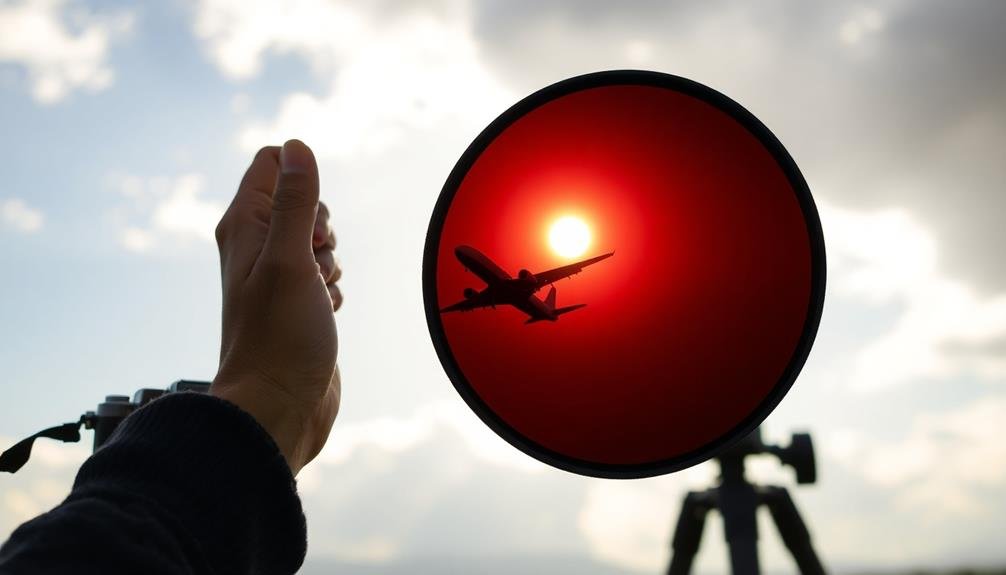
ND filters come in various strengths, typically measured in stops of light reduction. You'll find common options like 2-stop (ND4), 3-stop (ND8), and 6-stop (ND64) filters. The higher the number, the more light the filter blocks.
For flight photography, you'll often want to use longer exposures to capture motion blur in propellers or create streaking effects with clouds.
When selecting ND filters, consider the type of aircraft you're photographing and the lighting conditions. Screw-on filters are convenient but can be limiting, while square filter systems offer more flexibility.
Look for high-quality glass to minimize image degradation. Remember, using ND filters may require adjustments to your camera's autofocus system, so practice manual focusing techniques for best results.
Determine Desired Effect
The heart of choosing the right ND filter lies in determining your desired effect.
Consider what you're aiming to achieve with your flight photography. Are you looking to capture motion blur in propellers, create a sense of movement in clouds, or achieve a smooth, silky effect with water surfaces below? Each of these outcomes requires different exposure times and, consequently, different ND filter strengths.
Think about the lighting conditions you'll be shooting in and the shutter speed you need to achieve your desired effect. For example, if you're photographing in bright daylight and want to blur propeller movement, you'll need a stronger ND filter to allow for slower shutter speeds without overexposing the image.
Consider these common effects in flight photography and their corresponding ND filter needs:
- Propeller blur: ND8 to ND64
- Cloud movement: ND16 to ND1000
- Water smoothing: ND64 to ND1000
- Light trails from aircraft: ND16 to ND64
- Long exposure cityscapes: ND64 to ND1000
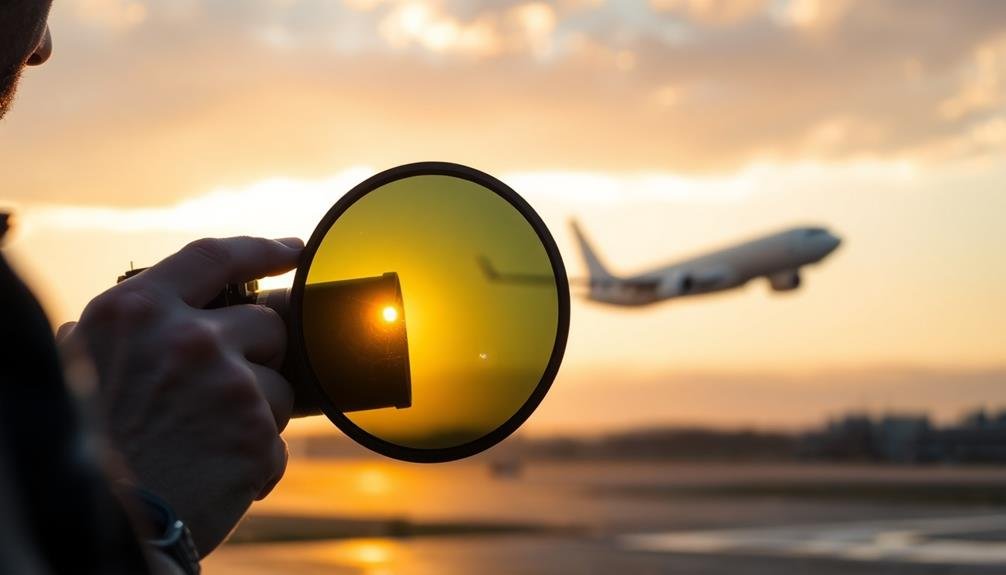
Consider Lighting Conditions
Lighting conditions play an essential role in selecting the right ND filter for flight photography. You'll need to assess the ambient light at your shooting location and time to determine the appropriate filter strength. Bright, sunny days often require stronger ND filters to maintain slower shutter speeds without overexposing your images.
Consider the sun's position relative to your subject. If you're shooting towards the sun, you might need a stronger filter to compensate for the increased light. Conversely, when shooting away from the sun or in overcast conditions, a lighter ND filter may suffice.
Time of day also affects your filter choice. During golden hour or blue hour, the light is softer, and you may need a weaker ND filter to achieve your desired effect. Midday sun, however, often calls for stronger filters to combat harsh lighting.
Don't forget to account for reflective surfaces like water or metal on aircraft, which can increase the overall light in your scene. In these situations, you might need to step up your ND filter strength to maintain control over your exposure settings.
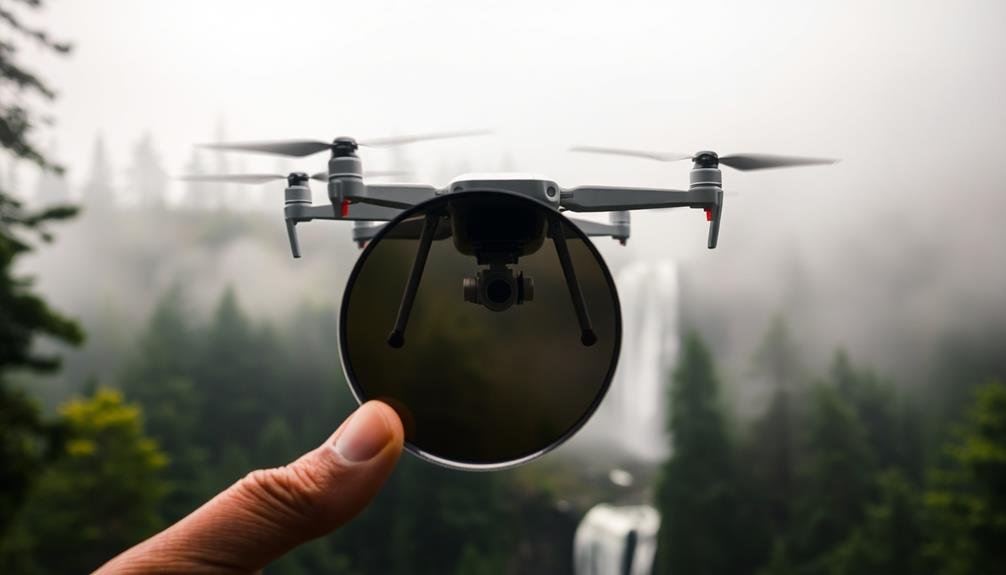
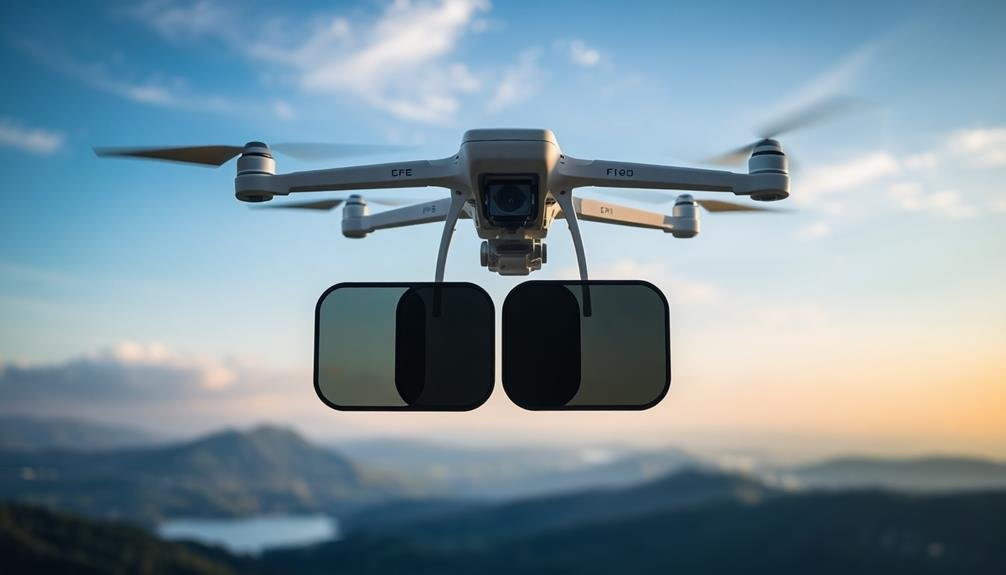
Match Filter to Drone Camera
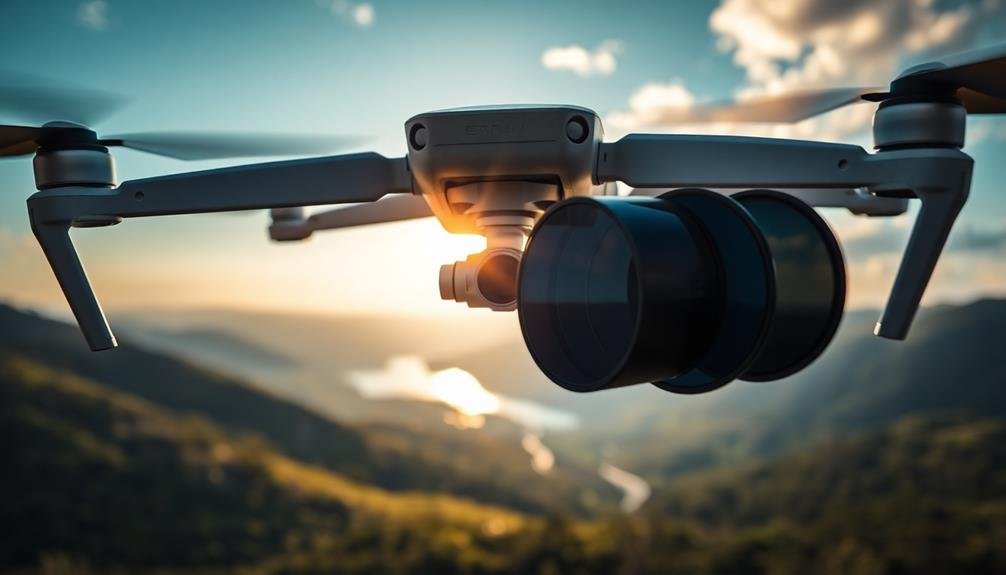
When selecting ND filters for flight photography, you'll need to contemplate your specific drone camera setup. Different drones have varying lens sizes, sensor types, and filter thread diameters. Make certain you choose filters that are compatible with your drone's camera to avoid vignetting or poor fit.
Consider these factors when matching filters to your drone camera:
- Filter size and thread diameter
- Lens characteristics (wide-angle, zoom, etc.)
- Sensor size and type (e.g., 1-inch, Micro Four Thirds)
- Camera's native dynamic range
- Drone model and its specific ND filter requirements
Research your drone's specifications and recommended filter options. Some manufacturers produce custom ND filters designed explicitly for certain drone models, offering peak performance and fit.
If you're using a third-party filter, double-check its compatibility with your drone.
Don't forget to account for your camera's existing features, such as built-in ND filters or electronic shutter capabilities. These may influence your choice of external ND filters.
Evaluate Filter Quality
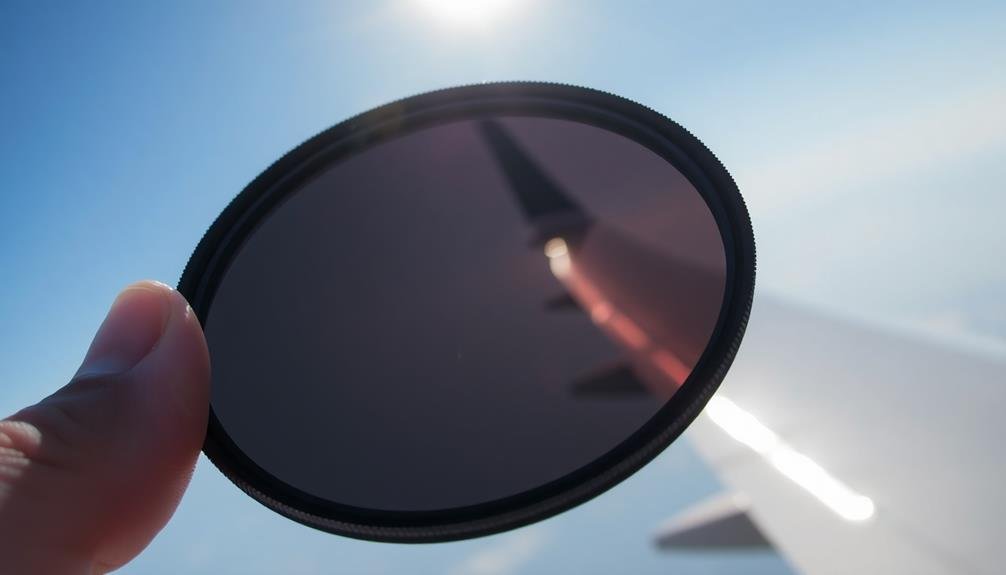
Quality matters when it comes to ND filters for flight photography. You'll want to invest in high-grade filters to guarantee the best results for your aerial shots. Look for filters made from optical glass, as they provide superior clarity and color neutrality compared to resin filters.
Check for multi-coating on the filter, which reduces reflections and ghosting while improving light transmission.
When evaluating filter quality, examine the color cast. A good ND filter shouldn't alter the natural colors of your scene. Test the filter by taking sample shots with and without it to compare color accuracy.
Pay attention to vignetting, especially with wide-angle lenses. High-quality filters minimize this effect, maintaining consistent exposure across the frame.
Consider the filter's construction and durability. You'll be using these in challenging outdoor conditions, so opt for filters with robust frames that can withstand occasional bumps.
Look for filters with smooth, precise threads to guarantee easy attachment and removal. Finally, check for any optical imperfections like scratches or uneven coatings that could affect image quality.
Choose Appropriate ND Strength
Selecting the right ND strength is essential for achieving your desired exposure in flight photography.
You'll need to evaluate factors like ambient light, shutter speed requirements, and the effect you're aiming for. Remember, the higher the ND number, the darker the filter and the more light it blocks.
For flight photography, you'll often want to use slower shutter speeds to capture motion blur in propellers or create a sense of movement in the sky. Start with a lower strength ND filter, like ND4 or ND8, and adjust as needed.
If you're shooting in bright daylight or aiming for extremely slow shutter speeds, you might need to step up to ND16 or even ND32.
Here's a quick guide to help you choose:
- ND2-ND8: Ideal for slightly overcast days or when you need minimal light reduction
- ND16-ND32: Perfect for bright, sunny conditions or when you want significant motion blur
- ND64-ND1000: Use for extreme long exposures or in very bright environments
- Variable ND: Offers flexibility but may introduce unwanted artifacts in flight photography
- Graduated ND: Useful when balancing bright skies with darker foregrounds
Experiment with different strengths to find what works best for your specific shooting conditions and creative vision.
Assess Filter Mounting Options
The right mounting system for your ND filters can make or break your flight photography experience. You'll need to take into account several factors when evaluating your options.
First, look at your camera's lens diameter and verify the filter system you choose is compatible. Screw-on filters are popular for their simplicity, but they can be time-consuming to switch out mid-flight.
Square or rectangular filter systems offer more flexibility. They allow you to quickly slide different filters in and out of a holder attached to your lens. This can be vital when light conditions change rapidly during flight. However, these systems are bulkier and may require additional care to prevent damage.
Take into account the environmental conditions you'll face. If you're shooting from an open cockpit, you'll want a secure mounting system that won't come loose in high winds. Some photographers prefer filter systems with built-in light baffles to reduce reflections and glare.
Don't forget about weight. In flight photography, every ounce matters. Opt for lightweight filter systems made from high-quality materials that won't compromise image quality.
Balance Cost and Performance
When selecting ND filters for flight photography, you'll need to compare brands and prices to find the best fit for your budget.
Consider the different quality tiers available, as higher-end filters often offer superior optical performance and durability.
Evaluate the long-term value of your investment, weighing the initial cost against the filter's expected lifespan and its potential impact on your images.
Compare Brands and Prices
As you immerse yourself in the world of ND filters for flight photography, you'll quickly realize there's a wide range of brands and prices available.
It's crucial to compare different options to find the best balance between quality and cost. Research reputable brands like Lee Filters, B+W, and Hoya, which are known for their high-quality optics and durability.
Don't overlook lesser-known brands that may offer good value for money, but be cautious of extremely cheap filters that could compromise image quality.
When comparing prices, consider these factors:
- Filter size: Larger filters are generally more expensive
- ND strength: Higher-density filters often cost more
- Coating quality: Multi-coated filters may have a higher price tag
- Material: Glass filters are pricier but offer better optical quality
- Brand reputation: Well-known brands may command higher prices
Remember that investing in quality filters can save you money in the long run by protecting your expensive lenses and improving your images.
However, you don't always need the most expensive option to achieve great results. Read reviews, compare specifications, and if possible, test different filters before making a purchase.
This way, you'll find the best ND filter for your flight photography needs and budget.
Consider Filter Quality Tiers
In light of the wide range of ND filter options available, it's essential to evaluate different quality tiers when making your selection. ND filters typically fall into three categories: budget, mid-range, and premium. Each tier offers distinct advantages and trade-offs regarding image quality, durability, and price.
Budget filters are affordable and can be a good starting point for beginners. However, they may introduce color casts or reduce image sharpness.
Mid-range filters strike a balance between cost and performance, offering improved color neutrality and minimal impact on image quality.
Premium filters provide the highest level of optical clarity, color accuracy, and durability, but come with a steeper price tag.
When choosing a filter quality tier, consider your specific needs and budget. If you're a professional or serious enthusiast photographer, investing in premium filters can yield superior results and long-term value.
For occasional use or as you're learning, mid-range filters offer a good compromise. Remember that higher-quality filters can make a significant difference in challenging lighting conditions often encountered in flight photography.
Ultimately, select a filter that aligns with your shooting requirements and budget constraints while ensuring it doesn't compromise your overall image quality.
Assess Long-Term Value
Beyond immediate costs, evaluating the long-term value of ND filters is essential for flight photographers. Consider how these filters will serve you over time, factoring in durability, versatility, and potential for skill growth. High-quality filters often prove more cost-effective in the long run, as they maintain their performance and resist damage better than cheaper alternatives.
When examining long-term value, consider:
- Durability: Will the filter withstand frequent use and travel?
- Versatility: Can it adapt to various shooting conditions and aircraft?
- Compatibility: Does it work with your current and future camera gear?
- Resale value: Will it retain worth if you decide to upgrade or switch systems?
- Brand reputation: Does the manufacturer offer support and future innovations?
Invest in filters that align with your long-term photography goals. If you're serious about flight photography, spending more on premium filters can yield better results and save money over time.
However, if you're just starting out or have a limited budget, mid-range options can provide a good balance of quality and affordability. Remember, your skills will likely improve faster than technology advances, so choose filters that can grow with your abilities.
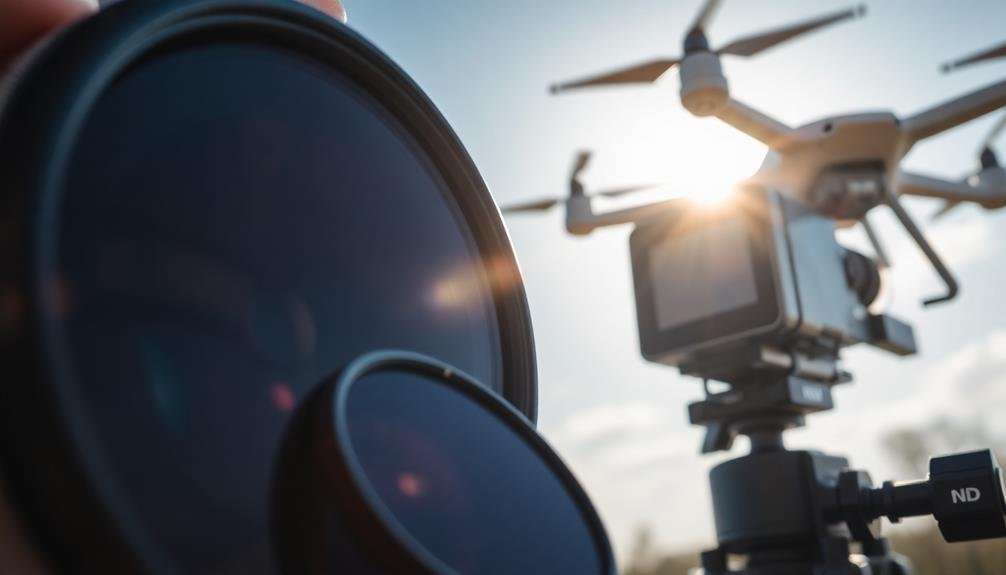
Plan for Multiple Filters
When planning your flight photography session, you'll need to contemplate various light conditions you might encounter.
It's wise to bring ND filters of different densities to adapt to changing scenarios and achieve desired effects.
Don't forget to pack your filters in protective cases to prevent damage and keep them easily accessible during your shoot.
Consider Light Conditions
Light conditions can change drastically during a flight, so you'll need to plan for various scenarios. Consider the time of day, weather forecast, and flight path when selecting your ND filters. Early morning and late afternoon flights often require less light reduction, while midday sun may call for stronger filters.
Be prepared to adjust your filter choice based on:
- Cloud cover
- Altitude changes
- Direction of flight relative to the sun
- Reflective surfaces below (water, snow, etc.)
- Rapid shifts between bright and dark areas
As you ascend, the light intensity typically increases, so you might need to switch to a stronger ND filter. Conversely, when descending or flying through clouds, you may need to remove the filter altogether.
Keep in mind that the angle of the sun relative to your aircraft can greatly impact exposure, especially during golden hour.
Don't forget to factor in your camera's ISO and shutter speed capabilities when choosing ND filters. Some modern cameras perform well in low light, allowing you to use stronger filters in situations where you previously couldn't.
Always test your equipment before the flight to verify you're familiar with its limitations and can make quick adjustments in the air.
Bring Various Densities
Given the unpredictable nature of aerial photography, it's wise to pack a range of ND filter densities for your flight. You'll want to cover various light conditions and creative possibilities.
Start with a basic kit including ND2, ND4, and ND8 filters. These will handle most situations, allowing you to reduce light by 1, 2, or 3 stops respectively.
For more flexibility, add ND16 and ND32 filters to your arsenal. They'll come in handy for extremely bright conditions or when you're aiming for longer exposures.
If you're serious about aerial photography, consider investing in a variable ND filter. It'll allow you to adjust the density on the fly, saving you time and reducing the need to switch filters mid-flight.
Don't forget to pack step-up rings if your lenses have different filter thread sizes. This way, you can use the same set of filters across multiple lenses.
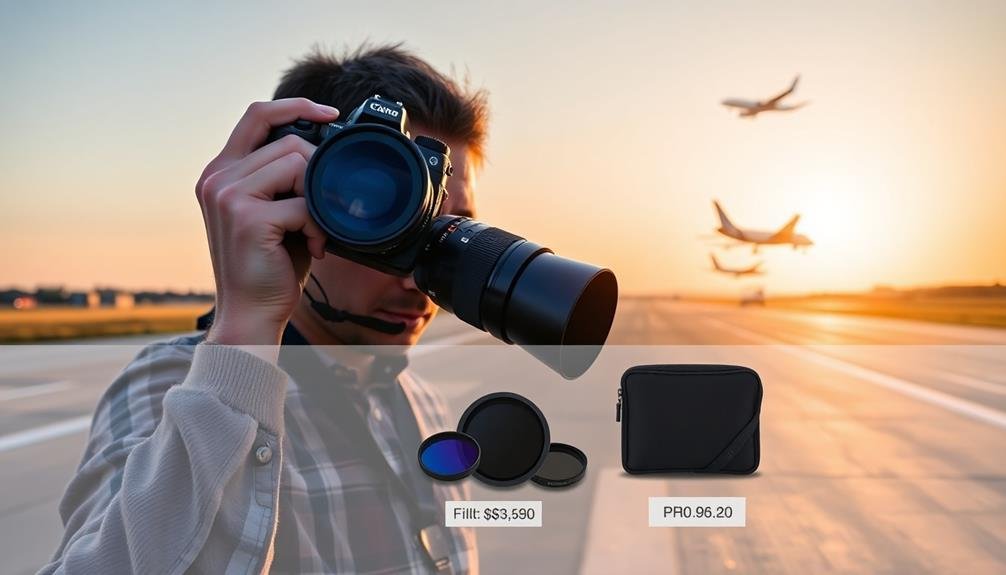
Pack Filter Cases
Packing your ND filters safely is just as essential as choosing the right ones. When preparing for flight photography, invest in a quality filter case to protect your valuable equipment. These cases come in various sizes and designs, allowing you to organize multiple filters efficiently.
Consider the following when selecting and packing your filter case:
- Padded compartments to prevent scratches and damage
- Water-resistant or waterproof material for outdoor shoots
- Easy-access design for quick filter changes mid-flight
- Compact size to fit in your camera bag or carry-on luggage
- Labeled slots to identify filters quickly
Opt for a case that can accommodate all your ND filters, including different densities and sizes. This organization will help you locate the right filter swiftly during shoots, enhancing your time in the air.
Don't forget to pack a microfiber cloth to clean your filters between uses, guaranteeing peak image quality.
If you're traveling with multiple camera systems, consider separate cases for each lens size to avoid confusion. Always double-check your filter case before heading out to confirm you've packed all necessary densities for your planned shots.
With a well-organized filter case, you'll be prepared for any lighting situation you encounter during your flight photography session.
Test Before Critical Shoots
Flight photographers should always conduct test shoots before critical assignments involving ND filters. You'll want to familiarize yourself with your filters' effects on exposure, color, and image quality in various lighting conditions.
Set up a practice session that mimics your upcoming shoot's environment and time of day. Test each ND filter you plan to use, noting how they impact your camera settings and the resulting images.
Pay close attention to any color casts introduced by the filters and how they affect your white balance. You'll also want to check for any vignetting or softness around the edges, especially with wide-angle lenses.
Practice quickly changing filters and adjusting your camera settings to maintain proper exposure. This will help you work more efficiently during the actual shoot.
Don't forget to test your filters in different weather conditions, as humidity and temperature can affect their performance.
Frequently Asked Questions
Can ND Filters Affect Drone Flight Time or Performance?
Yes, ND filters can affect your drone's performance. They add weight, which might slightly reduce flight time. They can also interfere with obstacle sensors if not properly fitted. However, these effects are usually minimal for most drones.
How Do I Clean and Maintain My ND Filters for Drones?
To clean your drone ND filters, use a microfiber cloth and gently wipe in circular motions. Avoid harsh chemicals. Store them in a protective case when not in use. Don't touch the glass surface with your fingers.
Are There Any Legal Considerations When Using ND Filters for Drone Photography?
You should be aware of local drone regulations, as ND filters don't directly affect legality. However, they might impact your ability to see and follow your drone, potentially violating line-of-sight rules in some areas.
Can ND Filters Be Stacked for Greater Light Reduction in Drone Photography?
Yes, you can stack ND filters for greater light reduction in drone photography. However, be cautious as stacking may cause vignetting or reduced image quality. It's often better to use a single, higher-strength ND filter when possible.
Do Weather Conditions Impact the Effectiveness of ND Filters on Drones?
Yes, weather conditions can affect your ND filters' effectiveness on drones. Cloudy skies may reduce their impact, while bright sunlight enhances it. You'll need to adjust your filter choice based on the current weather situation.
In Summary
You've now got the tools to choose the right ND filters for your drone photography. Remember, it's about balancing your goals, conditions, and equipment. Don't be afraid to experiment with different options. Start with a versatile set and expand as you grow. With practice, you'll master using ND filters to capture stunning aerial shots. Keep learning, stay safe, and enjoy the creative possibilities that ND filters bring to your flight photography adventures.
As educators and advocates for responsible drone use, we’re committed to sharing our knowledge and expertise with aspiring aerial photographers.


Leave a Reply