To achieve silky smooth cinematic pans, you'll need quality equipment, proper techniques, and practice. Start with a sturdy tripod and fluid head, making certain they're calibrated for your camera's weight. Use slow, steady movements and master panning techniques to maintain consistent speed. Optimize your camera settings, including shutter speed and frame rate, for the desired cinematic look. Utilize ND filters to control exposure in bright conditions. For aerial shots, make sure your drone is balanced and stable. Post-production software can further refine your footage. With dedication and the right approach, you'll be creating stunning, professional-quality pans in no time.
Equipment Quality Matters
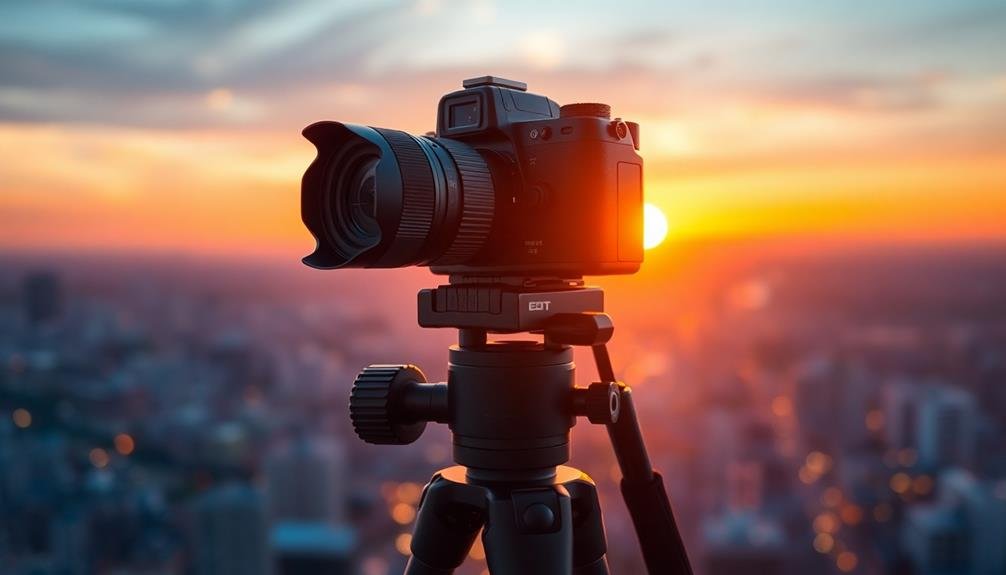
Quality gear is the foundation of smooth cinematic pans. You'll need a sturdy tripod with a fluid head designed for video. This combination allows for controlled, fluid movements that are vital for professional-looking pans.
Invest in a tripod with adjustable legs and a level indicator to guarantee stability on uneven surfaces.
The fluid head is vital. It should have adjustable drag settings for both pan and tilt movements, allowing you to fine-tune the resistance to match your shooting style and subject.
Look for heads with counterbalance systems to help offset the weight of your camera and lens.
Your camera body and lens choice also impact pan quality. Heavier setups can actually help stabilize movements, but they require stronger support.
If you're using a DSLR or mirrorless camera, consider adding a cage or rig to increase its mass and improve handling.
Don't overlook accessories. A long pan handle gives you more precise control and smoother starts and stops.
Electronic gimbal systems can add another layer of stabilization, especially for complex moving shots.
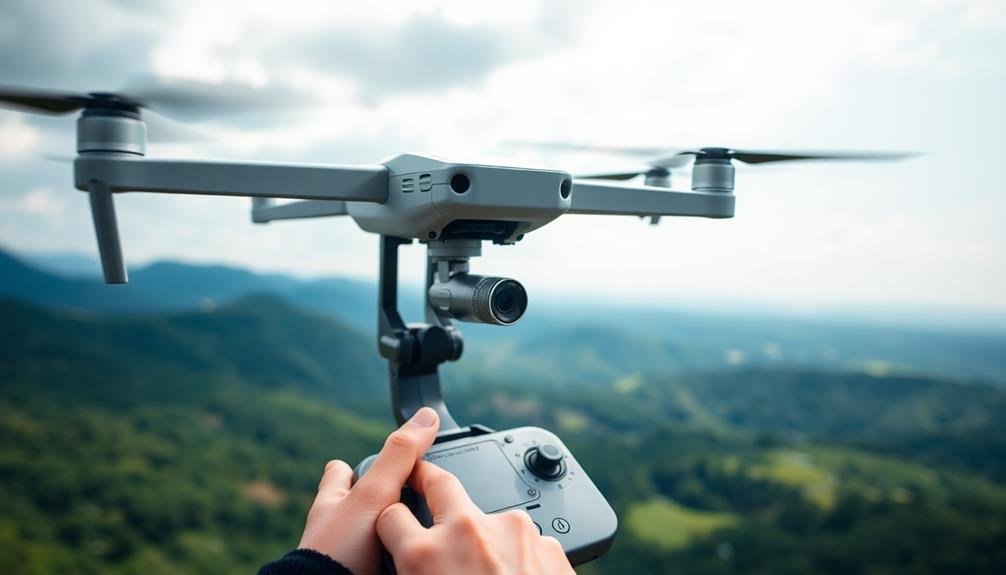
Balanced Drone Setup
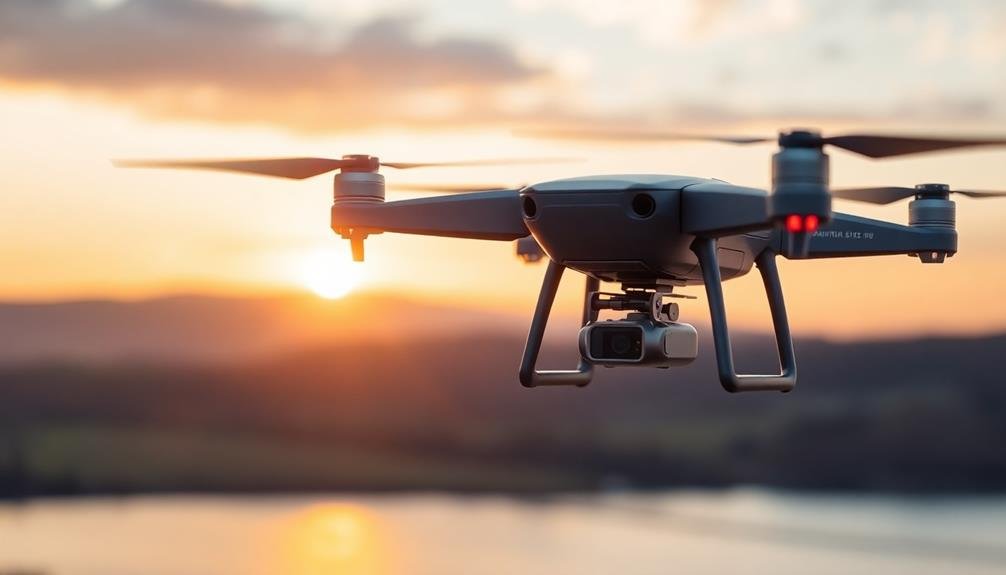
A well-balanced drone setup is essential for capturing smooth cinematic pans from the air. You'll want to start by ensuring your drone's center of gravity is perfectly aligned. This means distributing the weight evenly across all axes, including any additional equipment like cameras or gimbals.
Begin by calibrating your drone's internal sensors and GPS. This will help maintain stability during flight, especially in windy conditions.
Next, check that your propellers are in good condition and properly balanced. Unbalanced props can cause vibrations that'll ruin your shot.
Don't forget to adjust your camera settings. Use a slower shutter speed to introduce some motion blur, which can enhance the smoothness of your pan. Set your ISO as low as possible to reduce noise, and choose an appropriate aperture for your desired depth of field.
Lastly, practice your piloting skills. Smooth pans require precise control of your drone's movements. Use gentle stick inputs and take advantage of your drone's intelligent flight modes, such as Point of Interest or Waypoints, to achieve consistent, repeatable pans.
Proper Calibration Techniques

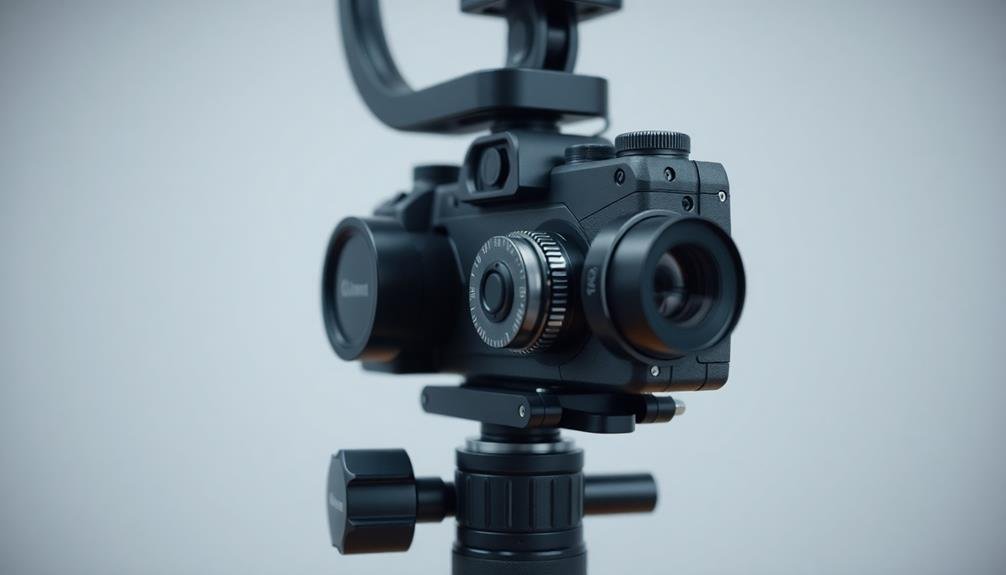
To achieve smooth cinematic pans, you'll need to master proper calibration techniques.
Start by adjusting the pan resistance settings on your fluid head to match the weight of your camera setup.
Next, fine-tune the fluid head damping to control the speed and smoothness of your pans, ensuring they're neither too loose nor too stiff.
Adjusting Pan Resistance Settings
In light of achieving smooth cinematic pans, adjusting your tripod's pan resistance settings is essential. You'll need to find the right balance between too loose and too tight.
Start by loosening the pan resistance completely, then gradually tighten it until you feel a slight resistance when moving the camera.
Test your settings by performing a slow pan across your scene. If it's too loose, you'll notice jerky movements or difficulty maintaining a steady speed. If it's too tight, you'll struggle to move smoothly or may introduce unwanted vibrations. Adjust accordingly until you achieve a fluid motion.
Remember, different shots may require different resistance levels. For faster pans, you might need less resistance, while slower, more controlled movements benefit from tighter settings. Don't be afraid to make minor adjustments between shots to optimize your results.
Lastly, consider the weight of your camera setup. Heavier rigs often require more resistance to maintain control, while lighter setups may need less.
Fine-Tuning Fluid Head Damping
While adjusting pan resistance is important, fine-tuning your fluid head's damping takes your cinematic pans to the next level. Damping controls the smoothness of your camera's start and stop motions, eliminating unwanted jerks or bounces.
To calibrate your fluid head's damping, start by setting it to its lowest level. Slowly increase the damping while performing test pans until you achieve the desired smoothness. Remember, ideal damping varies based on your camera's weight and the speed of your movements.
Pay attention to both horizontal and vertical damping settings, as they often require different adjustments. For slower, more deliberate pans, you'll generally want higher damping. Faster movements may benefit from lower damping to maintain responsiveness.
Test your settings with various pan speeds and directions. Make incremental adjustments until you find the sweet spot where your movements feel fluid and controlled.
Don't forget to recalibrate when changing lenses or adding accessories, as these can affect your camera's balance and weight distribution.
Stable Flight Conditions

Achieving stable flight conditions is essential for capturing smooth cinematic pans. You'll need to take into account several factors to guarantee your camera maintains a steady trajectory throughout the movement. Wind resistance, vibrations, and uneven surfaces can all disrupt your pan, so it's vital to create an environment that minimizes these disturbances.
To establish stable flight conditions for your cinematic pans, focus on these key elements:
- Solid foundation: Use a sturdy tripod or camera support system that can withstand the forces applied during the pan.
- Balanced payload: Properly distribute the weight of your camera and accessories to maintain equilibrium throughout the movement.
- Smooth surface: Verify your tripod or dolly is on level ground, using a spirit level to confirm accuracy.
- Environmental control: When possible, shoot in controlled environments to minimize wind and other external factors that could affect your pan.
Slow and Steady Movement

Once you've established stable flight conditions, mastering slow and steady movement becomes your next priority.
Slow, consistent motion is essential for achieving that silky-smooth cinematic look in your pans. Start by setting your drone's speed to its lowest setting, typically around 1-2 mph. This allows you to capture more detail and creates a sense of graceful movement.
Practice maintaining a constant speed throughout your pan. Avoid sudden accelerations or decelerations, as these can create jarring effects in your footage. Use your drone's controller with a light touch, making small, gradual adjustments as needed.
Many modern drones offer intelligent flight modes that can help maintain steady speeds, so consider utilizing these features.
When executing your pan, choose a focal point and keep it centered in your frame as you move. This technique, known as "center framing," helps maintain visual stability.
Remember to plan your shot in advance, considering your start and end points. By moving slowly and steadily, you'll give viewers time to absorb the scene and create a more immersive experience.
With practice, you'll develop the muscle memory needed for smooth, cinematic pans.
Gimbal Precision Control
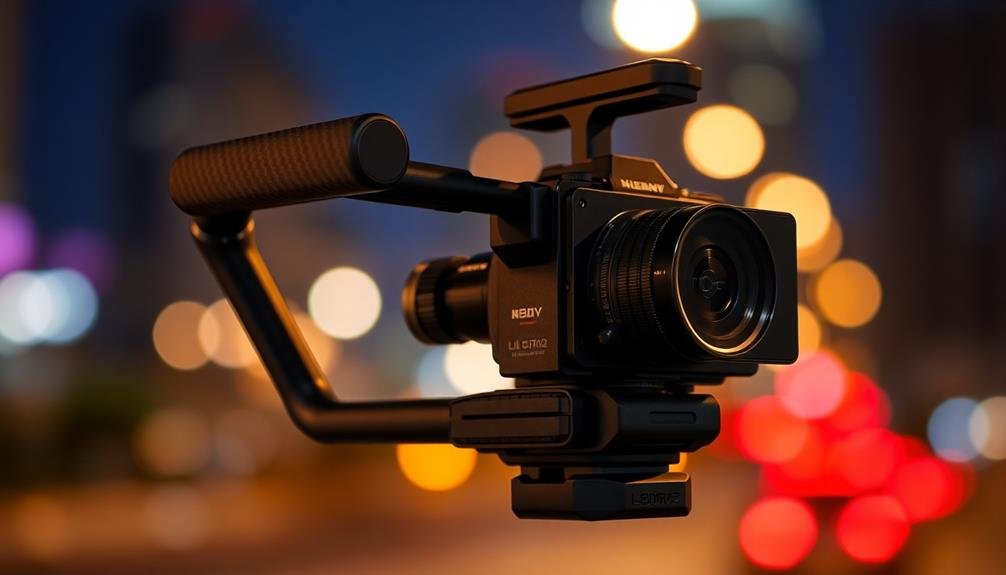
For truly cinematic pans, mastering gimbal precision control is crucial. You'll find that gimbals offer unparalleled stability and smoothness in your camera movements. By using a gimbal, you're able to counteract unwanted vibrations and jerky motions, resulting in fluid, professional-looking pans.
To achieve ideal results with your gimbal, focus on these key aspects:
- Balancing: Confirm your camera is perfectly balanced on the gimbal before shooting.
- Tension adjustment: Fine-tune the motors' responsiveness to your movements.
- Speed control: Practice varying pan speeds for different dramatic effects.
- Follow-through: Master the art of starting and ending your pans smoothly.
You'll want to spend time practicing with your gimbal to develop muscle memory and intuition. Start with slow, controlled movements and gradually increase your speed and complexity.
Pay attention to how subtle adjustments in your grip and body positioning affect the smoothness of your pans.
Optimal Camera Settings
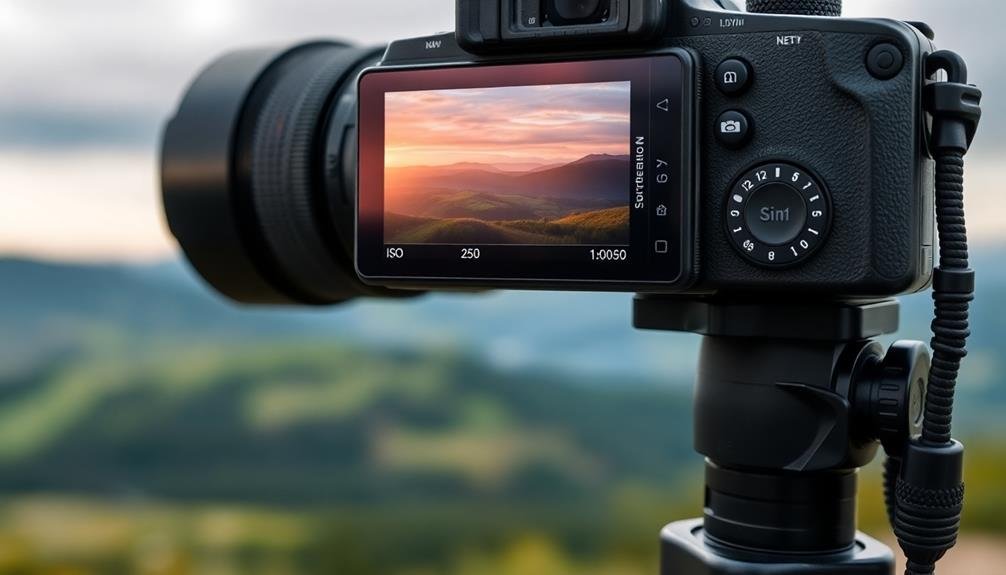
When executing cinematic pans, you'll need to pay close attention to your camera settings for the best results.
First, consider your shutter speed, which should typically be set to twice your frame rate for smooth motion.
Choose your frame rate carefully, as it will impact the overall feel of your pan and how motion is perceived in your shot.
Shutter Speed Considerations
Three key factors influence shutter speed selection for cinematic pans: motion blur, exposure, and frame rate.
You'll want to strike a balance between these elements to achieve that coveted silky-smooth look.
For most cinematic pans, you'll aim for a shutter speed that's roughly double your frame rate. This follows the 180-degree shutter rule, which creates natural-looking motion blur. If you're shooting at 24fps, set your shutter speed to 1/48 or 1/50 second.
However, lighting conditions and creative choices may require adjustments.
Here's a quick guide to help you nail your shutter speed:
- Bright scenes: Use ND filters to maintain your desired aperture and shutter speed
- Low light: Consider raising ISO or opening up your aperture before slowing shutter speed
- Fast-moving subjects: Increase shutter speed slightly to reduce excessive blur
- Stylistic choices: Experiment with slower shutter speeds for dreamier effects
Frame Rate Selection
Selecting the right frame rate is crucial for achieving cinematic pans. You'll typically want to shoot at 24 frames per second (fps) for that classic film look. This frame rate creates a natural motion blur that smooths out your pans and gives them a more cinematic feel.
If you're aiming for slow-motion effects, consider shooting at higher frame rates like 60 fps or 120 fps. This allows you to slow down your footage in post-production while maintaining smooth motion. However, remember that higher frame rates require more light, so you may need to adjust your exposure settings accordingly.
For faster pans or action sequences, you might opt for 30 fps or 60 fps to capture more detail and reduce motion blur. These higher frame rates can help maintain clarity in quick movements but may appear less "filmic" than 24 fps.
When selecting your frame rate, consider your project's final output. If you're creating content for television or web streaming, verify your chosen frame rate is compatible with the platform's requirements.
Always test different frame rates before your main shoot to determine which best suits your creative vision and technical needs.
Post-Production Stabilization Software
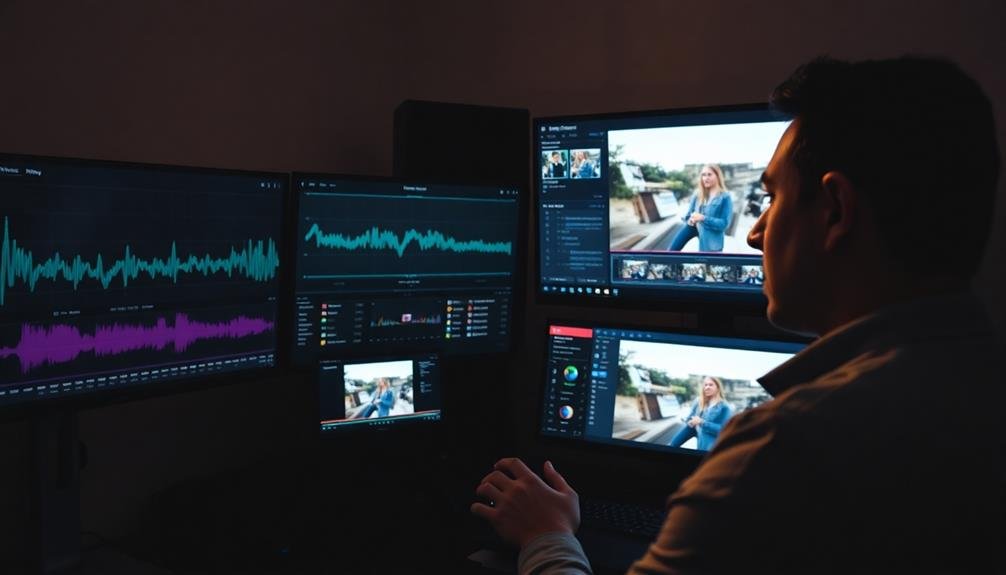
Technology has revolutionized the art of cinematic panning, with post-production stabilization software becoming an indispensable tool for filmmakers. You can now enhance your footage's smoothness and eliminate unwanted camera shake using advanced algorithms. These programs analyze your video frame by frame, identifying and correcting jittery movements to create fluid, professional-looking pans.
When using post-production stabilization software, you'll typically encounter these key features:
- Motion tracking: Automatically detects and follows specific points in your footage
- Stabilization strength adjustment: Allows you to fine-tune the level of correction applied
- Rolling shutter reduction: Minimizes the "jello effect" common in CMOS sensors
- Crop and zoom options: Helps maintain frame composition after stabilization
You'll find that popular software like Adobe After Effects, DaVinci Resolve, and Final Cut Pro offer powerful stabilization tools.
However, it's important to remember that while these programs can work wonders, they're not magic. Starting with well-shot footage will always yield the best results. Use stabilization software as a refinement tool, not a crutch for poor technique.
With practice, you'll learn to balance in-camera skills with post-production enhancements for truly silky smooth pans.
Mastering Manual Flight Controls
While technology has made panning easier, mastering manual flight controls remains essential for achieving truly cinematic shots. You'll need to develop a keen sense of balance and spatial awareness to execute smooth, controlled movements.
Start by practicing with your camera on a tripod, focusing on maintaining a steady hand and consistent speed throughout the pan. As you progress, experiment with different pan speeds and durations. Slow, deliberate pans often create a more dramatic effect, while quicker movements can add energy to a scene.
Pay attention to your body positioning; keep your feet shoulder-width apart and use your entire torso to guide the movement, not just your arms. Practice shifting between different types of shots, such as starting with a static frame and smoothly initiating a pan.
Learn to anticipate your end point and gradually decelerate as you approach it. This will help you avoid abrupt stops that can ruin the flow of your shot.
Don't forget to reflect on your subject's movement within the frame. You'll need to adjust your panning speed to maintain proper framing and composition throughout the shot.
Planning Shot Composition

A well-composed pan can transform an ordinary scene into a cinematic masterpiece. Before you start filming, take time to plan your shot composition carefully. Consider the elements in your frame and how they'll change as you pan. Think about the story you're telling and how the pan will reveal information to your audience.
When planning your cinematic pan, focus on these key aspects:
- Start and end points: Choose strong compositions for both the beginning and end of your pan.
- Movement speed: Decide on a consistent speed that complements your subject and narrative.
- Foreground elements: Use objects in the foreground to create depth and guide the viewer's eye.
- Leading lines: Incorporate natural lines in the scene to direct attention and create visual flow.
You'll want to rehearse your pan several times before filming. This practice will help you smooth out any jerky movements and guarantee you're hitting your marks.
Pay attention to the timing of your pan in relation to any action or dialogue in the scene. Remember, a well-executed pan should feel effortless and natural, enhancing the viewer's experience without calling attention to itself.
Utilizing ND Filters

Now that you've planned your shot composition, it's time to contemplate the technical aspects that can elevate your cinematic pan. One vital tool in your arsenal is the Neutral Density (ND) filter.
These filters reduce the amount of light entering your camera's lens without affecting color, allowing you to maintain control over your exposure in bright conditions.
When executing a cinematic pan, ND filters become invaluable. They enable you to use slower shutter speeds, even in bright daylight, which is necessary for achieving that smooth, motion-blurred effect characteristic of professional filmmaking.
You'll want to aim for a shutter speed around 1/50th of a second for ideal results.
Choose an ND filter strength based on your lighting conditions and desired aperture. Variable ND filters offer flexibility, allowing you to adjust light reduction on the fly.
Remember, the goal is to maintain your chosen aperture and shutter speed while preventing overexposure.
Practice and Patience

After mastering the technical aspects, it's time to focus on the most crucial element of cinematic pans: practice and patience. Achieving smooth, professional-looking pans requires dedication and persistence.
You'll need to invest time in honing your skills and developing muscle memory. Start by practicing without recording. Set up your camera and tripod, then perform pans at various speeds. Pay attention to your body's movements and how they affect the pan's smoothness.
As you progress, incorporate these exercises into your routine:
- Timed pans: Practice moving from point A to B in specific time intervals
- Variable speed pans: Start slow, accelerate, then decelerate smoothly
- Follow shots: Pan to track moving subjects at different distances
- Reverse pans: Master the art of panning in both directions
Frequently Asked Questions
How Do Cinematic Pans Differ From Regular Drone Footage?
You'll notice cinematic pans are smoother and more controlled than regular drone footage. They're often slower, have a consistent speed, and follow a planned trajectory. Cinematic pans also utilize professional equipment for stability and precision.
Can Cinematic Pans Be Achieved With Entry-Level Drones?
You can achieve cinematic pans with entry-level drones, but it'll take practice. Focus on smooth movements, consistent speed, and proper settings. Use intelligent flight modes and post-processing techniques to enhance your footage's cinematic quality.
What's the Ideal Pan Duration for Maximum Visual Impact?
You'll want to aim for a 5-10 second pan duration for maximum visual impact. It's long enough to create a sense of movement, but not so long that viewers lose interest. Adjust based on your specific shot and scene.
Are There Specific Genres or Subjects Best Suited for Cinematic Pans?
You'll find cinematic pans excel in landscape shots, revealing vast vistas or intricate cityscapes. They're perfect for establishing scenes in dramas, documentaries, and nature films. Action sequences and suspense thrillers also benefit from well-executed pans.
How Do Weather Conditions Affect the Quality of Cinematic Pans?
Weather can greatly impact your cinematic pans. Wind can cause camera shake, while rain or snow may affect visibility. You'll need to adapt your techniques, use protective gear, and possibly adjust your shooting schedule to guarantee smooth, high-quality pans.
In Summary
You've learned the key elements for achieving silky smooth cinematic pans. Remember, it's not just about having the right gear. You'll need to master your drone's setup, calibration, and flight controls. Don't forget to plan your shots, use ND filters, and practice in stable conditions. Take it slow and steady, and be patient. With time and effort, you'll create stunning, professional-looking pans that'll elevate your aerial cinematography.
As educators and advocates for responsible drone use, we’re committed to sharing our knowledge and expertise with aspiring aerial photographers.


Leave a Reply