
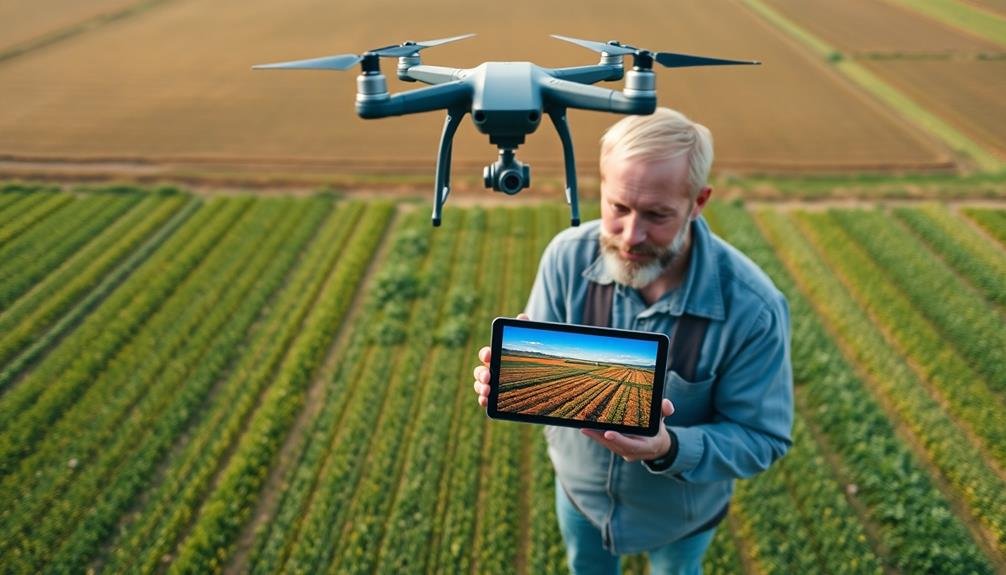
To create time-lapse drone videos for crop monitoring, you'll need a reliable drone with a high-quality camera and programmable flight paths. Plan your flights carefully, considering regulations and ideal altitudes (100-400 feet). Set your camera to manual mode with consistent exposure settings and shoot in RAW format. Choose shooting intervals based on crop growth rates, typically every 1-2 minutes. Consider weather conditions, aiming for wind speeds below 15 mph. After capturing footage, use editing software like Adobe Premiere Pro or DaVinci Resolve to stitch frames into a smooth time-lapse video. With proper equipment and techniques, you'll reveal powerful insights into crop health and development patterns.
Equipment Selection
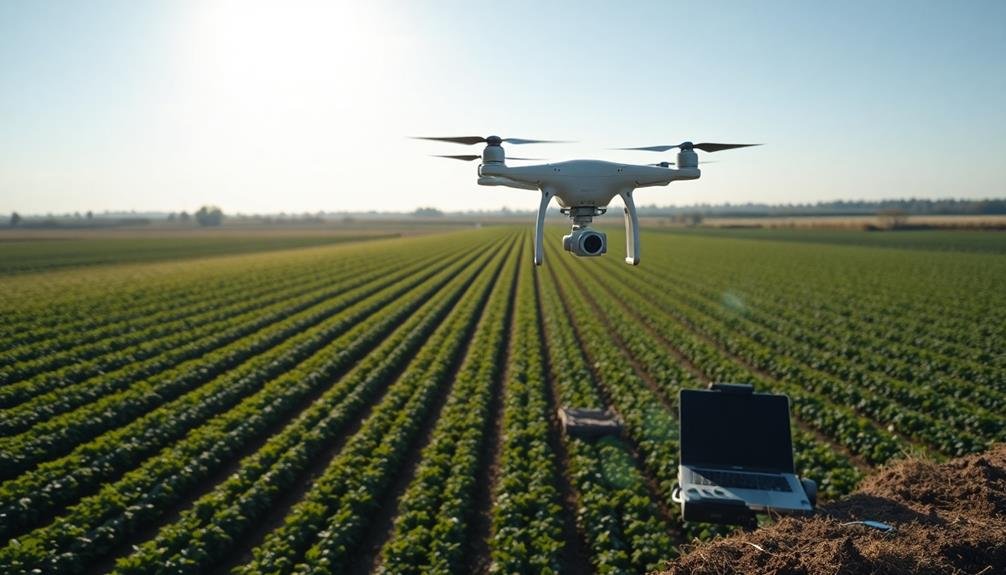
Success in creating stunning time-lapse drone videos begins with selecting the right equipment. You'll need a reliable drone with a high-quality camera capable of capturing crisp, clear images. Look for drones with at least a 4K camera and a gimbal for stable footage. Consider models like the DJI Mavic 3 or Autel EVO II Pro, which offer excellent image quality and flight stability.
Your drone should have programmable flight paths and intelligent flight modes, enabling it to repeat the same route consistently. This feature is vital for capturing identical frames over time. Additionally, make certain your drone has a long battery life or invest in multiple batteries to cover extended shooting sessions.
Don't forget about storage capacity. You'll need high-capacity, fast-writing SD cards to store the numerous images required for time-lapse videos. A laptop or tablet for on-site monitoring and adjustments is also necessary.
Lastly, invest in quality editing software like Adobe Premiere Pro or DaVinci Resolve to stitch your images together and create smooth, professional-looking time-lapse videos. With the right equipment in hand, you're well on your way to producing impressive aerial time-lapse footage.
Flight Planning and Regulations
Before you even power up your drone, where should you begin with flight planning? Start by researching local regulations and obtaining necessary permits. Check for restricted airspace, no-fly zones, and altitude limitations in your area. Familiarize yourself with FAA guidelines for commercial drone use in agriculture.
Next, scout your field and identify ideal takeoff and landing spots. Plan your flight path to capture the entire crop area efficiently. Consider factors like battery life, wind conditions, and sun position to guarantee consistent lighting across your time-lapse shots.
Use flight planning software to create a precise flight plan. Set waypoints, altitude, camera angles, and intervals between shots. Remember to factor in the time required for your drone to complete the entire route.
| Flight Planning Checklist | Regulatory Considerations | Safety Measures |
|---|---|---|
| Map out flight path | Check local regulations | Avoid obstacles |
| Set waypoints | Obtain necessary permits | Monitor weather |
| Calculate battery usage | Follow FAA guidelines | Maintain VLOS |
Always prioritize safety and adhere to regulations. Maintain visual line of sight (VLOS) with your drone throughout the flight. Monitor weather conditions and be prepared to abort the mission if conditions become unfavorable. By carefully planning your flights, you'll capture consistent, high-quality time-lapse footage for effective crop monitoring.
Camera Settings for Time-Lapse
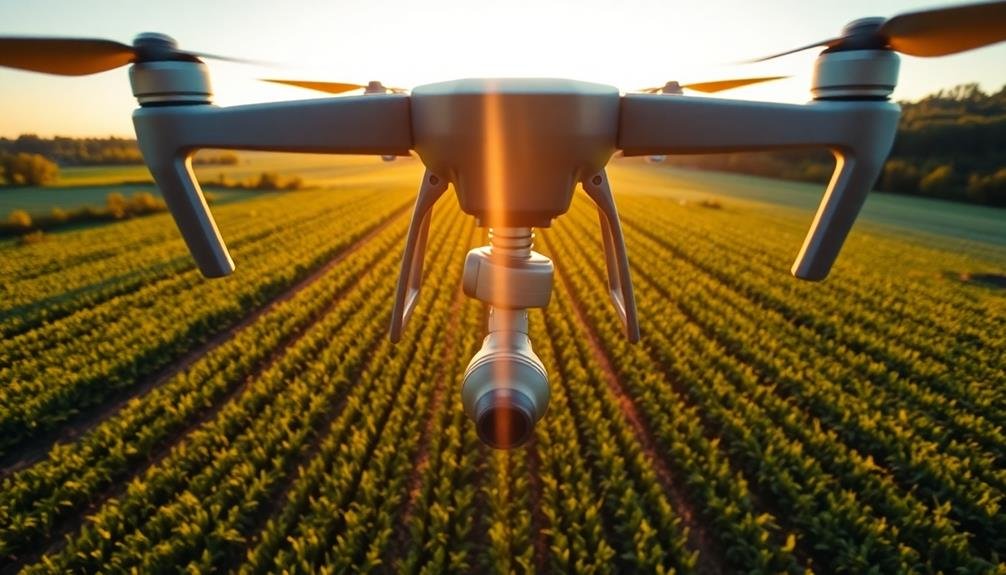
With your flight plan in place, it's time to focus on your drone's camera settings for ideal time-lapse footage. Start by selecting the highest image quality your drone's camera offers, typically RAW format. This will give you more flexibility during post-processing.
Set your camera to manual mode to maintain consistent exposure throughout the sequence. Choose a low ISO to minimize noise, ideally between 100-400.
For shutter speed, use the reciprocal rule: set it to at least 1/focal length of your lens. This helps prevent motion blur. Adjust your aperture to balance exposure and depth of field, typically f/5.6 to f/8 for crop monitoring.
Enable the drone's intervalometer function, setting the interval between shots based on your subject's rate of change. For crops, intervals of 1-5 seconds usually work well.
White balance should be set manually to maintain color consistency. Use a neutral density filter if needed to achieve slower shutter speeds in bright conditions.
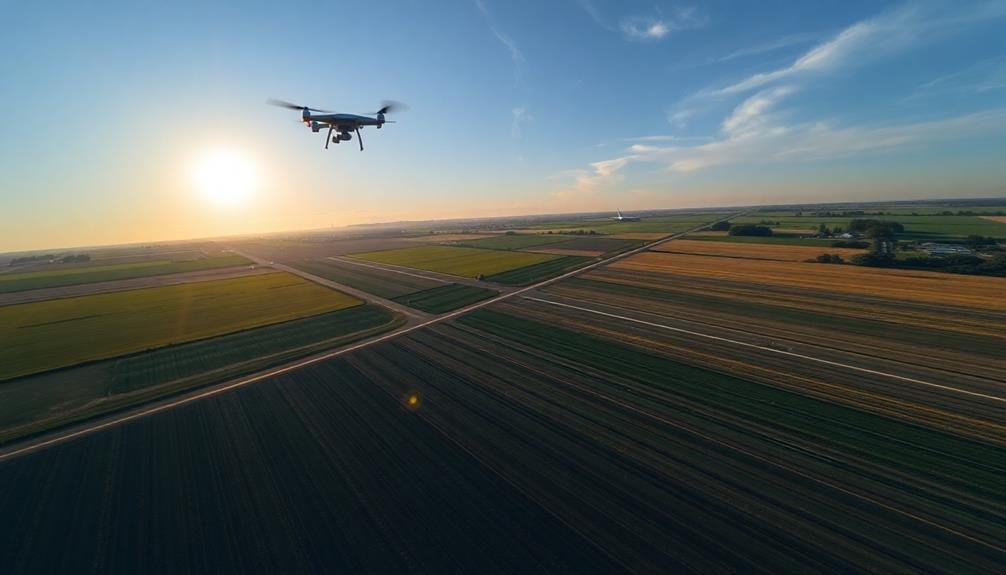
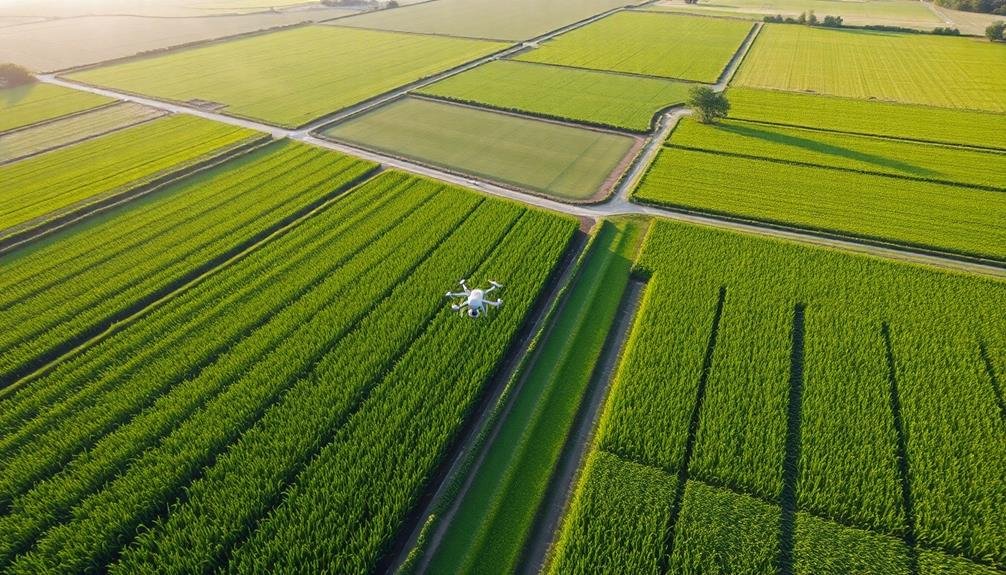
Optimal Flying Altitude
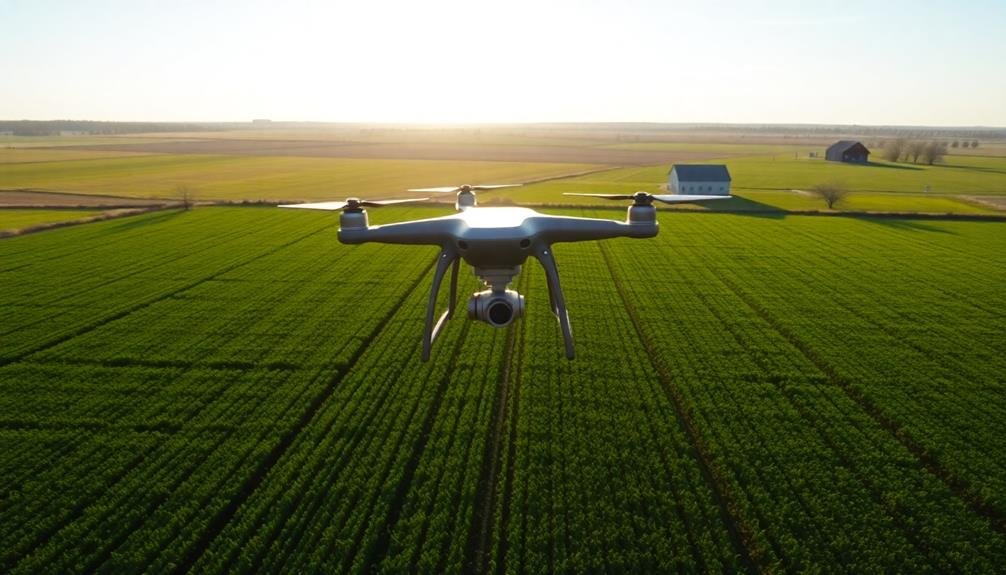
Choosing the right altitude is essential for capturing effective time-lapse drone videos. For crop monitoring, you'll want to balance coverage area with image detail. Generally, flying between 100 and 400 feet above ground level works well for most agricultural applications.
At lower altitudes (100-200 feet), you'll capture more detailed images of individual plants, which is useful for spotting early signs of disease or pest infestation. However, you'll cover less ground and may need more flights to survey a large field.
Higher altitudes (300-400 feet) allow you to cover more area in a single flight, making them ideal for monitoring overall crop health and growth patterns across expansive fields. You'll sacrifice some detail, but you'll gain a broader perspective on field conditions.
Consider your specific monitoring goals when choosing your altitude. If you're tracking the spread of a known issue, fly lower. For general crop progress assessment, fly higher.
Don't forget to check local regulations on maximum flying heights, as these can vary by location. Experiment with different altitudes to find the sweet spot that provides the best balance of detail and coverage for your particular crops and field sizes.
Choosing Ideal Shooting Intervals
Once you've determined the perfect flying altitude, it's time to set your shooting intervals. For crop monitoring time-lapses, consider the growth rate of your plants and the duration of your study. Faster-growing crops may require shorter intervals, while slower-growing ones can use longer gaps between shots.
Start with a baseline of one photo every 1-2 minutes for most crops. Adjust this based on your specific needs. For rapid changes like germination or flowering, you might shoot every 30 seconds. For long-term studies spanning weeks or months, daily or even weekly intervals could suffice.
Remember, shorter intervals will create smoother time-lapses but consume more battery and storage. Longer intervals save resources but may miss subtle changes. Balance these factors against your project goals.
Use your drone's intelligent flight modes to guarantee consistent framing across shots. Many drones offer waypoint missions or automated flight paths, which are ideal for repeatable time-lapse sequences.
Test different intervals in a short flight before committing to a long-term study. This will help you fine-tune your settings for best results.
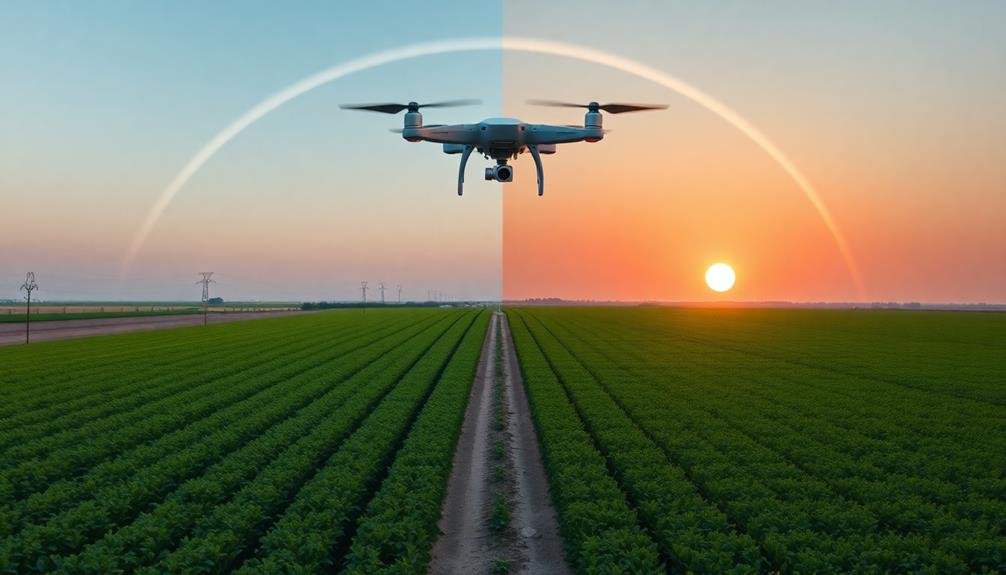
Weather Considerations

Weather plays an essential role in creating successful time-lapse drone videos. When monitoring crops, you'll need to evaluate various weather factors that can impact your footage quality and drone performance.
First, check wind conditions before flying. Strong winds can destabilize your drone, leading to shaky footage or even crashes. Aim for days with wind speeds below 15 mph for ideal results.
Lighting is vital for time-lapse videos. Overcast days provide soft, even light that's ideal for capturing consistent crop images. However, if you're aiming to show sunlight patterns, plan your flights during clear days. Avoid flying during rain or snow, as these conditions can damage your drone and camera equipment.
Temperature fluctuations can affect battery life and drone performance. In cold weather, your drone's battery may drain faster, so bring spare batteries and keep them warm. Hot temperatures can cause overheating, so avoid flying during the hottest parts of the day.
Lastly, be aware of sudden weather changes. Check forecasts and use weather apps to plan your flights. If conditions worsen unexpectedly, don't hesitate to abort the mission and try again another day.
Safety should always be your top priority when creating time-lapse drone videos for crop monitoring.
Data Management Techniques
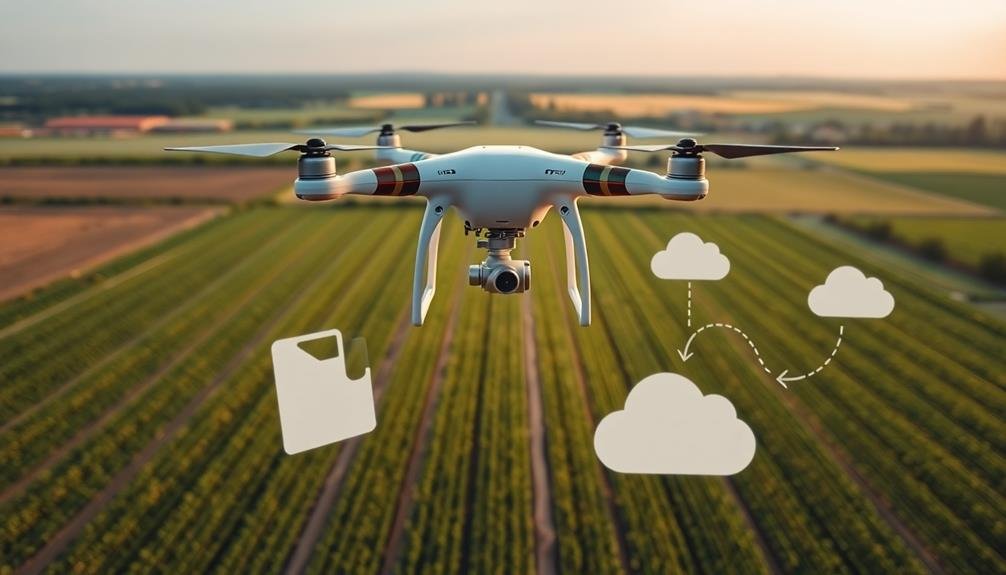
After capturing your time-lapse footage, you'll need to manage the vast amount of data you've collected. Start by organizing your files into a logical folder structure, separating footage by date, location, or crop type. Use consistent naming conventions for easy identification and retrieval.
Invest in reliable external hard drives or cloud storage solutions to safeguard your data. Always maintain multiple backups to prevent loss due to hardware failure or accidents. Consider using RAID (Redundant Array of Independent Disks) systems for added protection and faster access speeds.
Implement a metadata tagging system to quickly search and filter your footage. Include relevant information like weather conditions, growth stages, and any notable events or observations. This will save time when you're looking for specific clips during the editing process.
Regularly cull unnecessary footage to free up storage space and streamline your workflow. Keep only the best quality shots and those that clearly show crop development or issues.
Utilize data management software to track your files, monitor storage usage, and automate backup processes. This will help you maintain an efficient and organized system as your time-lapse video library grows over time.
Post-Processing Software Options
Post-processing is a crucial step in creating stunning time-lapse drone videos. You'll need reliable software to transform your raw footage into a polished final product.
Adobe Premiere Pro is a popular choice, offering advanced editing tools and seamless integration with other Adobe products. It's ideal for professionals but has a steep learning curve.
For beginners, DaVinci Resolve provides a powerful free version with intuitive color grading features. Final Cut Pro X is an excellent option for Mac users, boasting fast rendering times and a user-friendly interface.
If you're looking for specialized time-lapse software, LRTimelapse integrates with Lightroom to create smooth shifts and eliminate flickering.
For drone-specific editing, consider DJI Studio or GoPro Quik. These programs are designed to work with footage from their respective devices and offer automated features for quick edits.
Alternatively, Filmora is a budget-friendly option with a straightforward interface and plenty of effects.
When choosing software, consider your skill level, budget, and specific project needs. Many programs offer free trials, so you can test them before committing.
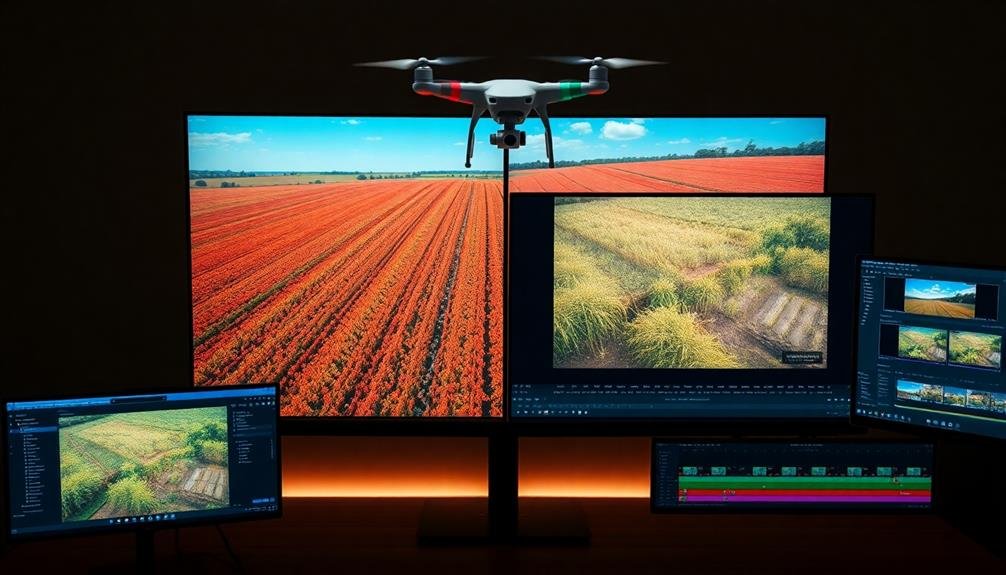
Stitching Frames Into Video

Now that you've captured your drone footage, it's time to stitch your frames into a cohesive time-lapse video.
You'll need to carefully select and sort your frames before importing them into video editing software.
Once your frames are organized, you can render and export your final time-lapse video, bringing your aerial perspective to life.
Frame Selection and Sorting
Once you've captured your drone footage, the next essential step is frame selection and sorting. This process is significant for creating a smooth and coherent time-lapse video that accurately represents crop growth or changes over time.
Start by reviewing all your captured frames and eliminating any that are blurry, poorly exposed, or don't align with your intended narrative.
Next, organize your selected frames chronologically. This step is fundamental for maintaining the logical progression of crop development in your time-lapse. Use file naming conventions or metadata to guarantee accurate sequencing.
Consider the following when sorting your frames:
- Time intervals: Maintain consistent time gaps between frames for a uniform progression
- Weather conditions: Group similar lighting and atmospheric conditions for visual consistency
- Growth stages: Highlight key phases in crop development
After sorting, you may need to adjust exposure or color balance across frames to create a seamless viewing experience. Many video editing software options offer batch processing tools to streamline this task.
Video Editing Software Options
With your frames selected and sorted, it's time to choose the right video editing software to stitch them together into a smooth time-lapse video. Several options are available, ranging from beginner-friendly to professional-grade tools.
For beginners, free software like Windows Movie Maker or iMovie (for Mac) can handle basic time-lapse creation. These programs offer simple interfaces and essential features for importing images, setting frame rates, and exporting videos.
If you're looking for more advanced options, consider Adobe Premiere Pro or Final Cut Pro X. These professional-grade editors provide extensive control over your time-lapse, including keyframing, color correction, and motion effects. They're ideal for creating high-quality videos but come with a steeper learning curve and higher price tag.
For a middle ground, try DaVinci Resolve or Filmora. These offer a balance of features and user-friendliness, suitable for intermediate users. They provide more advanced tools than basic editors without the complexity of pro-level software.
When choosing your software, consider your skill level, budget, and the complexity of your project. Whichever option you select, make certain it can handle the resolution and frame rate you need for your crop monitoring time-lapse video.
Rendering and Exporting Process
After selecting your video editing software, it's time to start the rendering and exporting process. Begin by importing your individual drone images into your chosen software. Arrange the frames in chronological order on your timeline, ensuring each image is displayed for the desired duration. Adjust the playback speed to achieve the time-lapse effect you're aiming for.
Once you're satisfied with the sequence, it's essential to take into account the following aspects before rendering:
- Resolution: Choose a resolution that balances quality and file size, typically 1080p or 4K for crop monitoring purposes.
- Frame rate: Select a frame rate that complements your time-lapse speed, usually between 24-30 fps.
- Codec: Opt for a widely compatible codec like H.264 for easy sharing and playback.
With these settings in place, initiate the rendering process. This may take some time, depending on your video length and computer specifications.
Once complete, export your final time-lapse video in your chosen format. Remember to save your project file separately in case you need to make future adjustments. Your time-lapse drone video for crop monitoring is now ready for analysis or presentation.
Analyzing Crop Health Patterns
Time-lapse drone videos offer a unique perspective for analyzing crop health patterns over extended periods. As you review your footage, look for changes in color, density, and overall appearance of the crops. Pay attention to areas that show signs of stress, such as yellowing leaves or stunted growth. These visual cues can indicate issues like nutrient deficiencies, pest infestations, or water stress.
Use your time-lapse videos to track the progression of these patterns throughout the growing season. You'll be able to identify when problems first appear and how quickly they spread. This information is essential for implementing timely interventions and adjusting your crop management strategies.
To enhance your analysis, consider using specialized software that can process multispectral imagery. These tools can generate vegetation indices like NDVI (Normalized Difference Vegetation Index), which provide quantitative data on crop health. By combining visual observations from your time-lapse videos with these indices, you'll gain a thorough understanding of your field's performance.
Remember to compare your observations with ground-truth data and consult with agronomists to interpret the patterns accurately. This approach will help you make informed decisions about irrigation, fertilization, and pest control measures, ultimately improving your crop yield and quality.
Sharing Results With Stakeholders
Once you've gathered valuable insights from your time-lapse drone videos, it's important to effectively communicate these findings to your stakeholders. Create a concise report that highlights key observations, trends, and actionable recommendations. Use visual aids like charts, graphs, and annotated screenshots from your time-lapse videos to illustrate your points clearly.
Consider hosting a presentation or webinar to walk stakeholders through your findings. This interactive approach allows for immediate questions and discussions, ensuring everyone understands the implications of the data. Tailor your presentation to your audience, focusing on aspects most relevant to their roles and interests.
When sharing results, emphasize the following key points:
- The economic impact of identified issues and potential solutions
- Comparative analysis with previous seasons or industry benchmarks
- Long-term projections based on observed trends
Don't forget to provide access to the raw data and time-lapse videos for those who want to explore further. Consider creating a secure online portal where stakeholders can view and download relevant information. This transparency builds trust and allows for collaborative problem-solving.
Frequently Asked Questions
How Long Does It Take to Learn Drone Piloting for Agricultural Purposes?
You'll typically need 2-4 months to learn basic drone piloting for agriculture. It depends on your aptitude and practice frequency. You'll master flight controls, navigation, and safety regulations. Advanced skills may take longer to develop.
Can Time-Lapse Videos Be Used for Purposes Other Than Crop Monitoring?
Yes, you can use time-lapse videos for various purposes beyond crop monitoring. They're great for capturing construction projects, urban development, weather patterns, wildlife behavior, and even personal growth. You'll find endless creative applications for this technique.
What Are the Legal Implications of Capturing Neighboring Fields in Drone Footage?
You'll need to be careful when capturing neighboring fields in drone footage. It's best to get permission from landowners to avoid privacy violations. Check local laws, as regulations on drone use can vary by location.
How Do Different Crop Types Affect Time-Lapse Video Creation Techniques?
You'll need to adjust your time-lapse techniques for different crops. Consider growth rates, color changes, and harvest times. Fast-growing crops require more frequent captures, while slow-growing ones need longer intervals between shots. Adapt your schedule accordingly.
Are There Any Automated AI Solutions for Interpreting Time-Lapse Crop Data?
Yes, there are AI solutions for interpreting time-lapse crop data. You'll find platforms that use machine learning to analyze growth patterns, detect diseases, and predict yields. These tools can save you time and provide valuable insights automatically.
In Summary
You've now got the tools to create stunning time-lapse drone videos for crop monitoring. Remember to select the right equipment, plan your flights carefully, and optimize your camera settings. Don't forget to choose the best altitude and intervals for your specific needs. With the right post-processing techniques, you'll be able to stitch together informative videos that reveal valuable crop health patterns. Share your results and watch your agricultural insights soar!
As educators and advocates for responsible drone use, we’re committed to sharing our knowledge and expertise with aspiring aerial photographers.


Leave a Reply