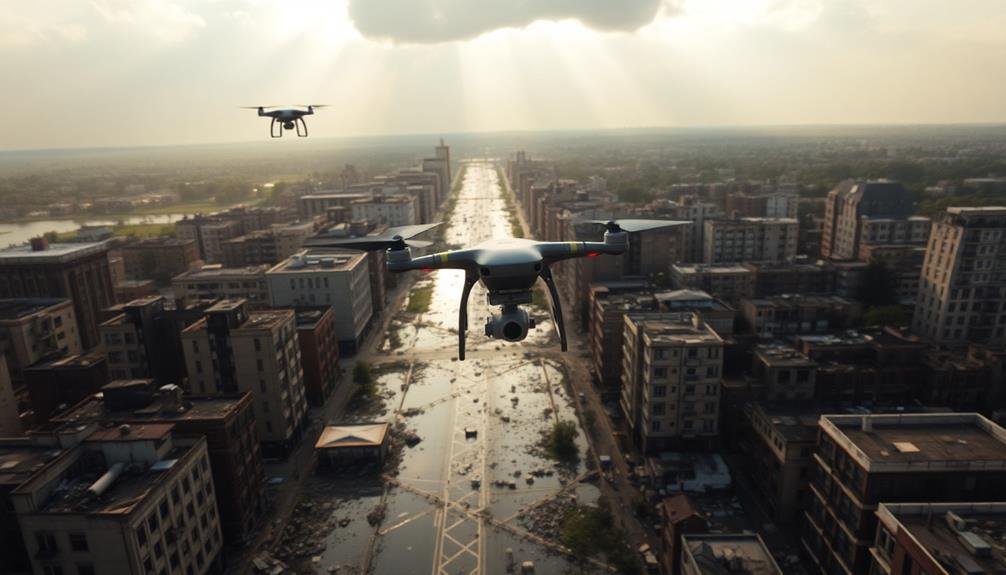
For effective UAV surveys in disaster damage evaluation, choose the right drone for your needs, considering range and payload capacity. Plan your flight path carefully, optimizing altitude and speed for the best coverage. Adjust camera settings and guarantee proper image overlap for accurate data collection. Use ground control points to enhance survey accuracy. Manage your data storage effectively and process images with specialized software. Learn to interpret damage patterns accurately and comply with local regulations. By following these tips, you'll improve your UAV survey efficiency and accuracy. Dive deeper to master the nuances of each aspect and elevate your disaster assessment capabilities.
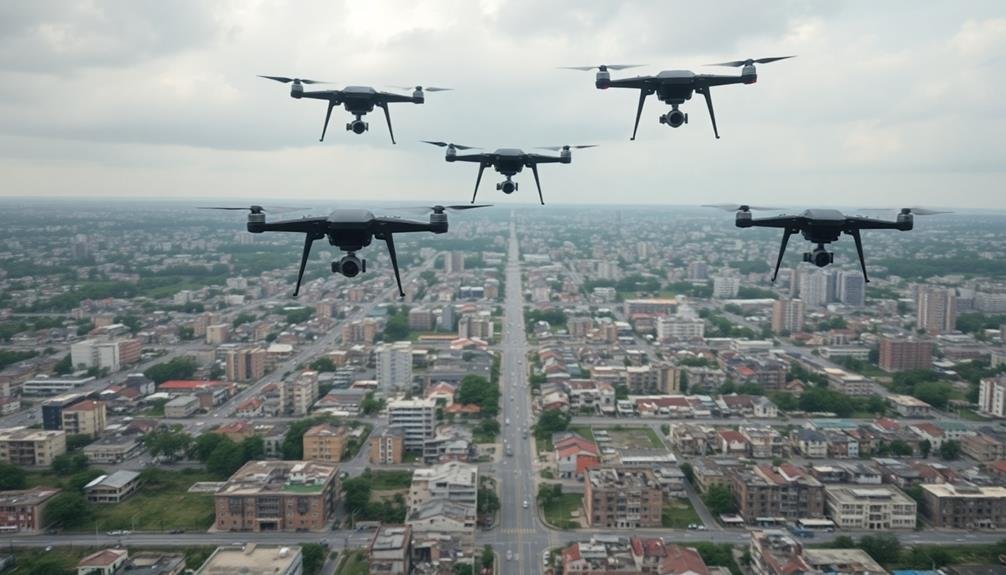
Choose the Right UAV
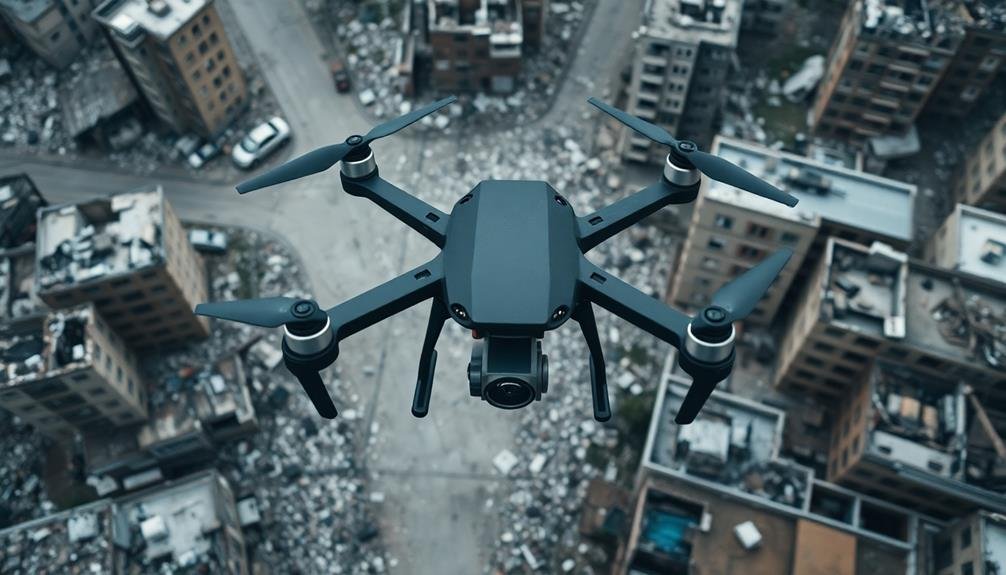
When selecting a UAV for disaster damage surveys, you'll need to take into account several key factors.
First, consider the range and flight time required for your mission. Long-range fixed-wing drones may be better suited for covering large areas, while multirotor drones offer greater maneuverability in confined spaces. Evaluate the payload capacity to guarantee your drone can carry the necessary sensors and cameras.
Weather resistance is vital, as you'll often operate in challenging conditions. Look for drones with high IP ratings and wind resistance.
The camera quality is paramount for accurate damage assessment. Choose a UAV with a high-resolution camera and, if possible, thermal imaging capabilities for detecting heat signatures.
Don't forget about portability and ease of deployment. In disaster scenarios, you'll need to set up quickly and navigate difficult terrain. Consider the drone's size, weight, and setup time.
Finally, verify the UAV has obstacle avoidance and return-to-home features for safe operation in complex environments.
Plan Your Flight Path
When planning your UAV flight path for disaster damage evaluation, you'll need to determine the ideal altitude and speed for data collection.
You should choose between a grid or linear pattern based on the area's topography and the specific disaster type.
Guarantee sufficient image overlap to facilitate accurate stitching and 3D reconstruction during post-processing.
Optimal Altitude and Speed
For ideal UAV surveys, carefully planning your flight path is essential. This includes determining the best altitude and speed for your drone. When evaluating disaster damage, you'll need to strike a balance between covering a large area and capturing detailed imagery.
Generally, flying at higher altitudes allows you to cover more ground quickly but may sacrifice image resolution. Lower altitudes provide more detailed images but require more time and battery power. Consider the specific damage you're reviewing and adjust your altitude accordingly. For example, roof damage assessment might require lower altitudes, while flooding extent can be captured from higher up.
Your drone's speed affects image quality and survey duration. Flying too fast can result in blurry images, while flying too slow may drain your battery before completing the survey. Experiment with different speeds to find the sweet spot for your equipment and survey needs.
Key considerations for best altitude and speed:
- Weather conditions (wind speed, visibility)
- Drone capabilities (battery life, camera resolution)
- Type of damage being evaluated (structural, environmental)
Remember to comply with local regulations regarding maximum flight altitudes and speeds. By fine-tuning these parameters, you'll maximize the efficiency and effectiveness of your disaster damage evaluation surveys.
Grid or Linear Pattern
Efficiency is key when planning your UAV flight path for disaster damage evaluation. You'll need to choose between a grid or linear pattern, depending on the area you're surveying and the specific disaster type.
Grid patterns work well for large, open areas where you need extensive coverage. They involve flying back and forth in parallel lines, creating a systematic sweep of the entire area. This pattern is ideal for evaluating widespread damage from events like hurricanes or floods.
Linear patterns are more suitable for narrow or elongated areas, such as coastlines, rivers, or roads. You'll fly your UAV in a straight line, following the feature you're surveying. This pattern is effective for determining damage along specific routes or infrastructure lines, like evaluating erosion after a storm or inspecting power lines after an earthquake.
When deciding between grid and linear patterns, consider the terrain, obstacles, and the nature of the damage you're determining. Confirm your chosen pattern allows for sufficient overlap between images to create accurate 3D models and maps.
Remember to adjust your flight path as needed to avoid no-fly zones or dangerous areas, and always prioritize safety over complete coverage.
Overlap for Image Stitching
Proper image overlap stands as a cornerstone of successful UAV surveys for disaster damage evaluation. When planning your flight path, make sure you set the right amount of overlap between consecutive images. This overlap allows for accurate image stitching, creating a thorough and detailed orthomosaic of the disaster-affected area.
Aim for a front overlap of 75-80% and a side overlap of 60-70%. These percentages make sure that each point on the ground is captured in multiple images, improving the quality of the final map and reducing the chances of gaps or distortions. Remember that higher overlap percentages may increase flight time and data processing requirements but will result in a more accurate final product.
Consider these factors when determining overlap:
- Terrain complexity: Increase overlap for areas with varied elevation
- Wind conditions: Higher overlap compensates for potential image misalignment
- Survey objectives: More detailed assessments may require greater overlap
Adjust your flight altitude and speed to achieve the desired overlap while maintaining image quality. Lower altitudes and slower speeds generally allow for better overlap and higher resolution but may increase survey time.
Balance these factors based on your specific disaster damage evaluation needs and time constraints.
Optimize Camera Settings
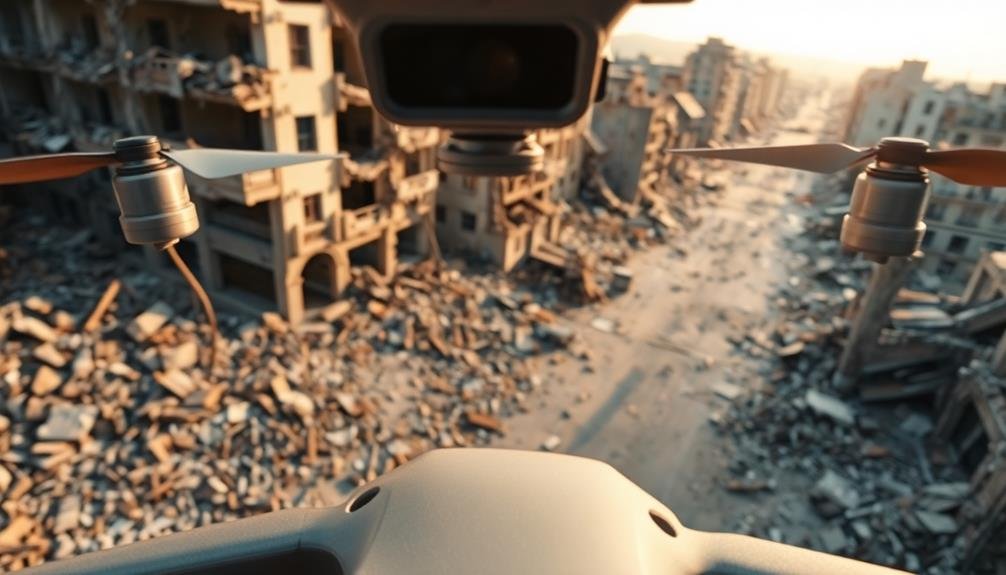
Optimizing camera settings is essential for capturing high-quality imagery during UAV surveys. You'll need to adjust several parameters to guarantee your photos are clear, well-exposed, and suitable for damage assessment. Start by setting your camera to manual mode, giving you full control over the settings.
First, set your ISO as low as possible (typically 100-200) to minimize noise. Choose an aperture between f/4 and f/8 for a good balance of sharpness and depth of field. Adjust your shutter speed to maintain proper exposure, typically 1/500s or faster to prevent motion blur.
| Setting | Range | Purpose |
|---|---|---|
| ISO | 100-200 | Reduce noise |
| Aperture | f/4 – f/8 | Balance sharpness and DoF |
| Shutter | ≥ 1/500s | Prevent motion blur |
Use RAW format to capture the maximum amount of data for post-processing. Enable your camera's histogram display to check exposure in real-time. If your drone has a mechanical shutter, use it to minimize rolling shutter distortion. Finally, set your white balance to match the lighting conditions, or use auto white balance if you're unsure.
Ensure Proper Image Overlap
When conducting UAV surveys for disaster damage evaluation, you'll need to guarantee proper image overlap for accurate results.
Aim to maintain 60-80% overlap between consecutive images to create a thorough dataset.
As you plan your flight path, consider adjusting the overlap percentage based on terrain variations to capture all necessary details in complex or uneven landscapes.
Maintain 60-80% Overlap
Image overlap's importance in UAV surveys can't be overstated. When capturing aerial imagery for disaster damage evaluation, maintaining a 60-80% overlap between consecutive images is essential. This range guarantees you'll have enough shared information between photos to create accurate 3D models and orthomosaics.
To achieve ideal overlap, you'll need to adjust your UAV's flight speed and camera settings. Slower speeds and faster shutter rates allow for more overlap, but you'll need to balance this with battery life and coverage area. Remember that side overlap (between flight lines) is just as important as forward overlap.
Here's why maintaining proper overlap matters:
- Enables precise stitching of images for thorough damage assessment
- Reduces gaps in data and minimizes the risk of missing critical information
- Improves the accuracy of 3D reconstructions and elevation models
Adjust for Terrain Variations
Terrain challenges can considerably impact image overlap in UAV surveys for disaster damage evaluation. You'll need to adjust your flight plan to account for variations in elevation, slopes, and obstacles.
When surveying hilly or mountainous areas, maintain a constant altitude above ground level (AGL) rather than above sea level. This guarantees consistent image resolution and overlap across the entire survey area.
For steep slopes, increase your front and side overlap percentages to compensate for the changing perspective and potential gaps in coverage. You may need to bump up overlap to 75-85% in particularly rugged terrain.
Consider flying multiple passes at different altitudes to capture all aspects of complex topography. Be aware of sudden changes in elevation, such as cliffs or ravines, which can disrupt your planned flight path.
Use terrain-following modes if your UAV supports them, or manually adjust waypoints to maintain proper AGL. In urban environments, account for tall buildings and other structures that may obstruct your view or create shadows.
You might need to fly at a higher altitude or plan multiple flights from different angles to guarantee thorough coverage. Always prioritize safety and local regulations when adjusting your flight plans for terrain variations.
Use Ground Control Points
Ground control points (GCPs) serve as essential anchors for accurate UAV surveys in disaster damage evaluation. When you're evaluating the extent of damage after a disaster, precision is vital. GCPs help you achieve this by providing known reference points on the ground that correspond to your aerial imagery.
You'll typically mark these points with highly visible targets or existing landmarks before your flight.
To effectively use GCPs in your UAV surveys:
- Distribute them evenly across your survey area
- Use at least 5-10 GCPs for most projects
- Place extra GCPs in areas with significant elevation changes
When setting up your GCPs, you'll need to record their exact coordinates using a high-precision GPS device. This data will later be used to georeference and rectify your aerial imagery, ensuring it aligns accurately with real-world coordinates.
Remember to place GCPs in areas that'll remain visible and accessible throughout your survey.
Conduct Pre-Flight Safety Checks
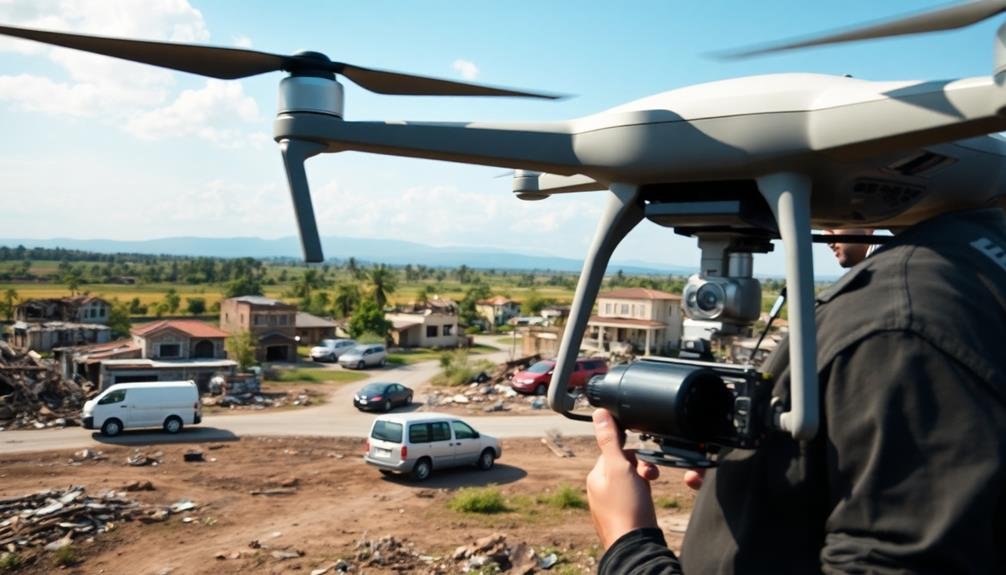
Before launching your UAV for disaster damage surveys, you'll need to conduct thorough pre-flight safety checks.
Start by inspecting your drone's hardware, guaranteeing all components are secure and functioning properly.
Check local weather conditions to guarantee safe flying conditions, and review applicable flight regulations to maintain compliance during your mission.
Inspect Drone Hardware
Three critical pre-flight safety checks should be conducted before launching your UAV for disaster damage surveys.
First, inspect your drone's physical components for any visible damage or wear. Check the propellers for cracks or chips, and verify they're securely attached. Examine the frame for structural integrity, looking for any loose parts or signs of stress.
Next, verify the battery's condition. Make certain it's fully charged and properly connected. Check for any swelling or damage to the battery casing. If you're using multiple batteries, label them clearly and rotate their use to maintain even wear.
Finally, test all control surfaces and motors. Power on the drone and observe that each motor spins freely and responds correctly to input commands. Check that the gimbal moves smoothly and the camera is functioning properly.
- Always carry a pre-flight checklist
- Keep spare parts on hand for quick repairs
- Document any issues or irregularities
Check Weather Conditions
Evaluating weather conditions is essential before launching your UAV for disaster damage surveys. Check local weather forecasts for your flight area, focusing on wind speed, precipitation, and visibility. Wind speeds exceeding 15-20 mph can considerably affect your drone's stability and battery life. Avoid flying in rain or snow, as moisture can damage sensitive electronics and compromise image quality.
Visibility is vital for maintaining visual line of sight with your UAV. Fog, smoke, or heavy cloud cover can impair your ability to operate safely. Consider temperature extremes, as very hot or cold conditions may affect battery performance and flight time. Be aware of sudden weather changes, especially in disaster-affected areas where conditions can be unpredictable.
Use smartphone apps or portable weather stations to gather real-time data at your launch site. Pay attention to potential hazards like thunderstorms or microbursts that could develop during your flight.
If conditions are marginal, err on the side of caution and postpone your mission. Remember, safety should always be your top priority when conducting UAV surveys for disaster damage evaluation.
Review Flight Regulations
With weather conditions assessed, it's time to turn your attention to flight regulations and pre-flight safety checks. Familiarize yourself with local and national UAV regulations, ensuring you have the necessary permits and certifications. Check for any temporary flight restrictions in the disaster area and obtain special clearances if required.
Conduct a thorough pre-flight inspection of your UAV:
- Examine propellers, motors, and frame for damage
- Check battery levels and secure all connections
- Calibrate compass and GPS systems
Verify that your flight planning software is up-to-date and includes the latest no-fly zones. Set up your ground control station, ensuring all equipment is functioning correctly. Test your communication systems and establish a reliable link between the UAV and your controller.
Review your emergency procedures, including return-to-home settings and manual override options. Brief your team on the flight plan, safety protocols, and individual responsibilities. Designate a visual observer to maintain line-of-sight with the UAV throughout the mission.
Don't forget to document your pre-flight checks and safety briefing. This record will be valuable for post-mission analysis and liability protection.
Manage Data Storage Effectively

Effective data storage management is essential when conducting UAV surveys for disaster damage evaluation. You'll need to plan for the large amount of data you'll collect, including high-resolution images, videos, and 3D models. Invest in reliable, high-capacity storage devices like external hard drives or solid-state drives to guarantee you don't run out of space mid-survey.
Implement a well-organized folder structure to categorize your data by date, location, and type. This will make it easier to retrieve specific information later. Use consistent file naming conventions to quickly identify and sort your data. Consider using cloud storage solutions for backup and easy sharing with team members or stakeholders.
Regularly transfer data from your UAV to your storage devices to free up space for new flights. Compress files when possible to save space, but be careful not to compromise image quality.
Implement a data retention policy to determine how long you'll keep specific types of data. This will help manage storage space over time. Finally, guarantee you have multiple backups of your data to protect against loss or corruption.
Process Images With Specialized Software
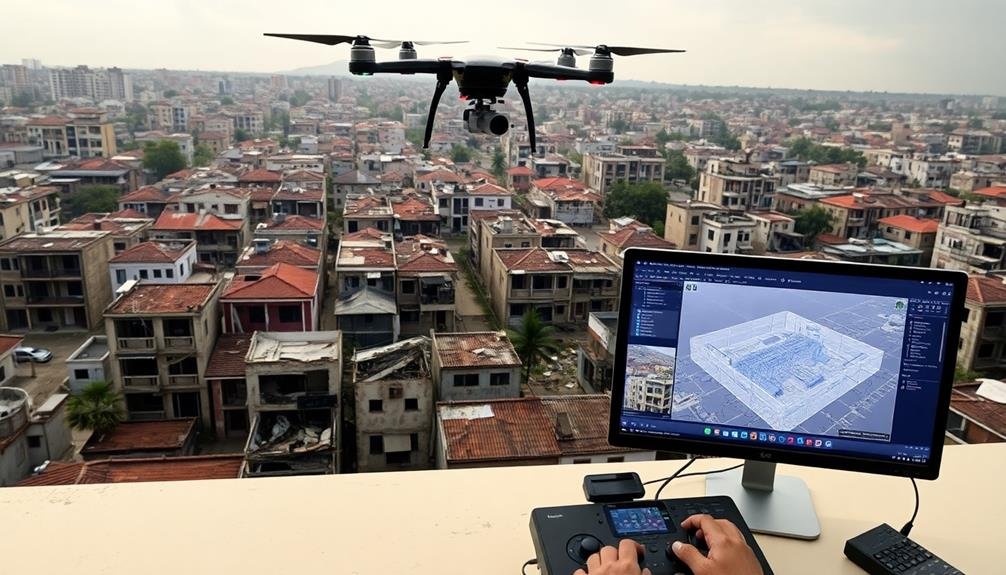
Processing images from UAV surveys calls for specialized software to transform raw data into actionable insights. You'll need to choose software that can handle the large volume of data collected during disaster damage evaluations.
Look for programs that offer features like orthomosaic creation, 3D modeling, and automated object detection. These tools will help you efficiently analyze the extent of damage across wide areas.
When processing your images, start by importing and organizing your data. Many software packages can automatically align and stitch together individual photos to create a detailed view of the surveyed area.
You'll then want to apply various algorithms to enhance image quality, correct for distortions, and extract relevant information.
Key features to look for in UAV image processing software:
- Automated georeferencing and orthorectification
- Machine learning-based damage detection
- Integration with GIS platforms for spatial analysis
As you work with the software, focus on identifying patterns and anomalies that indicate disaster damage. Use classification tools to categorize different types of destruction, such as flood damage, structural collapse, or debris fields.
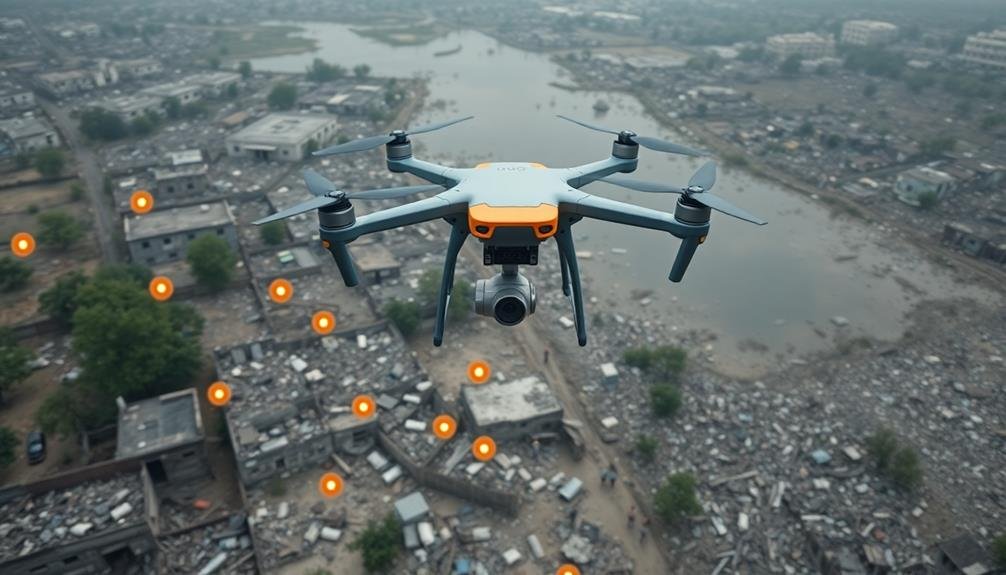
Interpret Damage Patterns Accurately
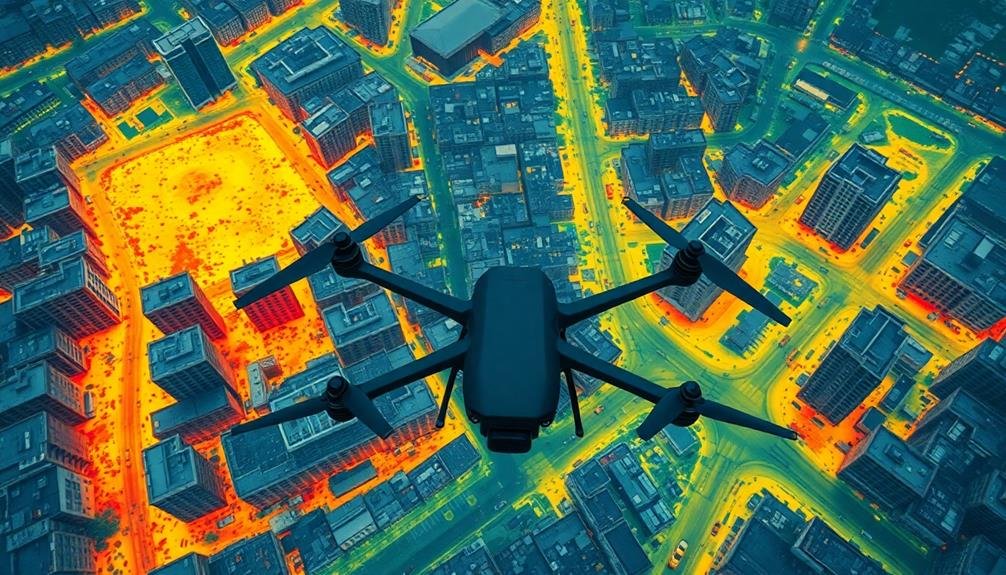
Accurate interpretation of damage patterns is the next step in UAV-based disaster assessment. You'll need to develop a keen eye for recognizing various types of structural damage, debris patterns, and environmental changes. Start by familiarizing yourself with common disaster-specific damage indicators, such as wind damage patterns in hurricanes or flood lines in inundated areas.
When analyzing imagery, look for tell-tale signs like collapsed roofs, shifted foundations, or scattered debris fields. Pay attention to subtle details that might indicate hidden damage, such as slight discolorations or texture changes in building materials. Compare pre- and post-disaster images to identify even minor alterations in the landscape.
Don't rely solely on visual cues; use thermal imaging to detect heat signatures that may reveal underlying structural issues or potential hazards. Incorporate machine learning algorithms to assist in identifying patterns across large datasets, but always verify their results with human expertise.
Remember to reflect on the broader context of the damage. Factor in the disaster type, local building codes, and terrain characteristics when making your assessments.
Comply With Local Regulations
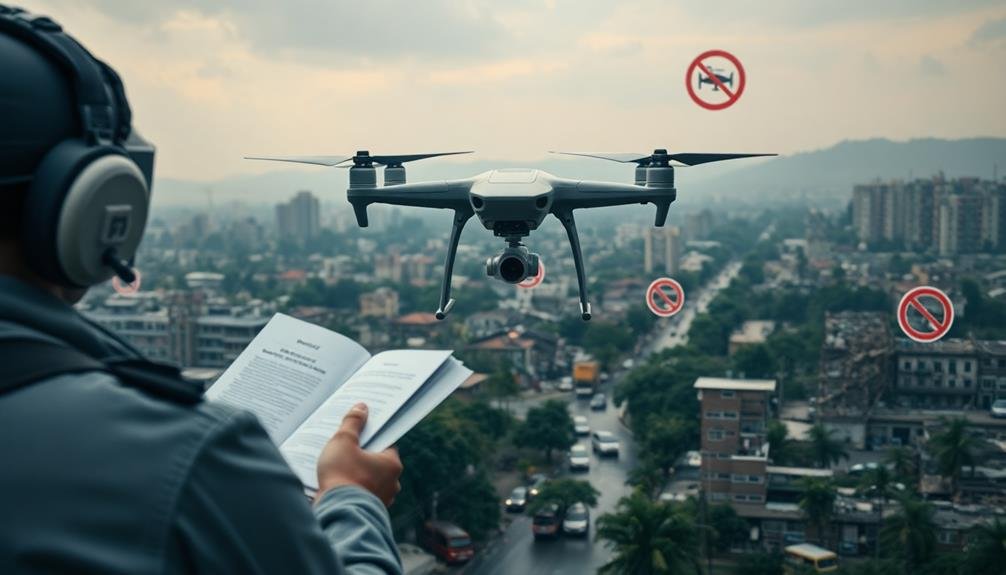
Maneuvering the complex web of local regulations is essential when conducting UAV surveys for disaster assessment. You'll need to research and comply with specific rules governing UAV operations in your area. These regulations can vary widely depending on the location, airspace classification, and nature of the disaster.
Before launching your UAV, verify you have the necessary permits and certifications. Many jurisdictions require operators to register their drones and obtain a license.
You'll also need to adhere to flight restrictions, such as maximum altitude limits and no-fly zones. During disaster situations, temporary flight restrictions may be implemented, so stay informed about any changes.
To stay compliant and efficient, keep these key points in mind:
- Always check for updated regulations before each flight
- Maintain clear communication with local authorities and emergency responders
- Respect privacy laws and obtain necessary permissions for surveying private property
Frequently Asked Questions
How Long Does a Typical UAV Disaster Damage Evaluation Survey Take?
You'll find that a typical UAV disaster damage evaluation survey takes anywhere from a few hours to several days. It depends on the area's size, complexity, and the level of detail required in your assessment.
What Weather Conditions Are Ideal for Conducting UAV Damage Assessment Flights?
You'll want clear skies, low wind speeds (under 15 mph), and no precipitation for ideal UAV damage assessment flights. Aim for temperatures between 40-90°F and avoid flying during peak sunlight hours to reduce glare.
Can UAVS Be Used for Nighttime Disaster Damage Surveys?
Yes, you can use UAVs for nighttime disaster damage surveys. They're equipped with thermal cameras and night vision technology. You'll need to follow specific regulations for night flights and guarantee your drone has proper lighting for visibility.
How Often Should UAV Equipment Be Calibrated for Accurate Damage Evaluations?
You should calibrate your UAV equipment before each mission for accurate damage evaluations. It's essential to check sensors, cameras, and GPS systems regularly. Don't forget to recalibrate after any repairs or software updates too.
What Are the Power Requirements for Extended UAV Disaster Damage Survey Missions?
You'll need high-capacity batteries for extended UAV missions. Consider carrying spare batteries or using solar-powered drones. Plan for 30-60 minutes of flight time per battery, depending on your drone model and payload weight.
In Summary
You've now got the essential tips for conducting effective UAV surveys for disaster damage evaluation. Remember, success hinges on careful planning, proper equipment, and skilled execution. Don't forget to stay compliant with regulations and prioritize safety. As you apply these techniques, you'll improve your ability to gather vital data quickly and accurately. Keep practicing and refining your methods to become a valuable asset in disaster response efforts.
As educators and advocates for responsible drone use, we’re committed to sharing our knowledge and expertise with aspiring aerial photographers.


Leave a Reply