For beginner drone photographers, the best camera sensors balance quality, affordability, and ease of use. Look for CMOS sensors with sizes ranging from 1/2.3-inch to 1-inch, offering 12-20 megapixels for ideal detail without compromising low-light performance. Prioritize sensors with good ISO capabilities and at least 12 stops of dynamic range. Consider frame rates of 30-60fps for smooth footage, and don't overlook heat management and weather resistance. Popular options include Sony's Exmor R, DJI's CMOS offerings, and sensors from respected brands like Panasonic and Samsung. Exploring these features will help you capture stunning aerial imagery from day one.
Key Takeaways
- Look for drones with 1/2.3-inch to 1-inch CMOS sensors, balancing quality, cost, and portability for beginners.
- Aim for cameras with 12 to 20 megapixels, providing sufficient detail without compromising low-light performance.
- Choose sensors with at least 12 stops of dynamic range for greater flexibility in post-processing.
- Prioritize drones with effective noise reduction capabilities and good ISO performance for clearer low-light images.
- Select cameras offering frame rates between 24-60fps for smooth footage and potential slow-motion effects.
CMOS Vs CCD Sensors
Two main types of camera sensors dominate the drone photography landscape: CMOS and CCD. As a beginner drone photographer, understanding the differences between these sensors is essential for making informed decisions about your equipment.
CMOS (Complementary Metal-Oxide-Semiconductor) sensors are more common in modern drones. They're energy-efficient, cost-effective, and offer faster readout speeds, which is ideal for capturing moving subjects.
CMOS sensors also perform well in low-light conditions and provide better overall image quality in most situations.
CCD (Charge-Coupled Device) sensors, while less common in drones, excel in producing images with less noise and better color accuracy. They're particularly effective in situations requiring high dynamic range.
However, CCD sensors consume more power and are generally more expensive than their CMOS counterparts.
When choosing between CMOS and CCD sensors, consider your specific needs. If you're prioritizing battery life and versatility, a drone with a CMOS sensor might be your best bet.
On the other hand, if you're focused on achieving the highest possible image quality and don't mind the extra power consumption, a CCD sensor could be worth considering.
Sensor Size Matters
Beyond the type of sensor, its size plays a notable role in determining image quality. In drone photography, you'll encounter various sensor sizes, ranging from 1/3-inch to 1-inch or larger. Larger sensors generally produce better image quality, especially in low-light conditions.
When you're choosing a drone, take into account that bigger sensors capture more light, resulting in clearer, more detailed images with less noise. They also offer improved dynamic range, allowing you to capture a wider spectrum of light and dark tones in a single shot. This is particularly useful when photographing high-contrast scenes.
However, larger sensors come with trade-offs. Drones with bigger sensors tend to be more expensive and heavier, which can impact flight time and portability. As a beginner, you'll need to balance image quality with other factors like budget and ease of use.
For most beginners, a 1/2.3-inch or 1-inch sensor strikes a good balance between quality and practicality. These sizes offer noticeable improvements over smaller sensors without greatly increasing cost or weight.
As you advance in your drone photography skills, you may want to take into account upgrading to a drone with a larger sensor for even better image quality.
Megapixels and Image Quality
Megapixels are often touted as a key indicator of image quality, but they're only part of the story. While a higher megapixel count can provide more detail and allow for larger prints, it's not the sole factor in determining image quality.
In fact, cramming too many pixels onto a small sensor can lead to increased noise and reduced low-light performance.
For beginner drone photographers, it's important to strike a balance between megapixel count and other factors that contribute to image quality.
Consider the following aspects when evaluating a drone camera:
- Sensor size
- Lens quality
- Image processing capabilities
- Dynamic range
- ISO performance
A 12 to 20-megapixel camera is typically sufficient for most drone photography needs. This range offers a good balance between detail and file size, allowing you to capture high-quality images without overwhelming your storage or post-processing workflow.
ISO Performance for Low Light
When choosing a drone camera for low-light photography, you'll want to compare the ISO performance of different sensors.
You should look for sensors that offer higher sensitivity to light, allowing you to capture clearer images in dimmer conditions.
Additionally, consider the noise reduction capabilities of each sensor, as this will impact the overall quality of your low-light shots.
Low-Light Sensitivity Comparison
A crucial factor in drone photography is the sensor's ability to perform well in low-light conditions. When comparing low-light sensitivity across different drone cameras, you'll want to focus on their ISO performance and noise levels. Generally, larger sensors with bigger pixels can gather more light, resulting in cleaner images at higher ISO settings.
To assess low-light sensitivity, consider these key factors:
- Sensor size (e.g., 1-inch, Micro Four Thirds, APS-C)
- Pixel size and density
- Maximum usable ISO range
- Dynamic range at higher ISO settings
- Noise reduction capabilities
You'll find that some entry-level drones struggle in low light, producing grainy or unusable images. However, more advanced models with larger sensors can capture impressive shots even in challenging lighting conditions.
When reviewing camera specs, pay attention to the maximum ISO setting, but remember that the highest number isn't always practical for quality images. Instead, look for reviews or sample images that demonstrate the drone's performance at various ISO levels. This will give you a better idea of how the sensor handles low-light situations and help you choose a drone that meets your needs for nighttime or indoor photography.
Noise Reduction Capabilities
Photographers rely heavily on a drone camera's noise reduction capabilities when shooting in low-light conditions. As a beginner, you'll want to look for sensors that excel at minimizing digital noise, which appears as grainy or speckled artifacts in your images. The better a sensor's noise reduction, the cleaner your low-light photos will be.
When comparing drone cameras, pay attention to their ISO performance. Higher ISO settings allow you to capture brighter images in low light, but they also introduce more noise. Look for sensors that maintain image quality at higher ISO levels, typically up to 3200 or 6400. Some advanced sensors use noise reduction algorithms to process images in-camera, resulting in cleaner output.
Consider the sensor size as well. Larger sensors generally perform better in low light and have superior noise reduction capabilities. For beginners, a 1/2.3-inch or 1-inch sensor is a good starting point. These offer a balance between image quality and affordability.
Don't forget to test the camera's noise reduction in various lighting conditions. This will help you understand its limitations and how to work within them to achieve the best results in your drone photography.
Dynamic Range Explained
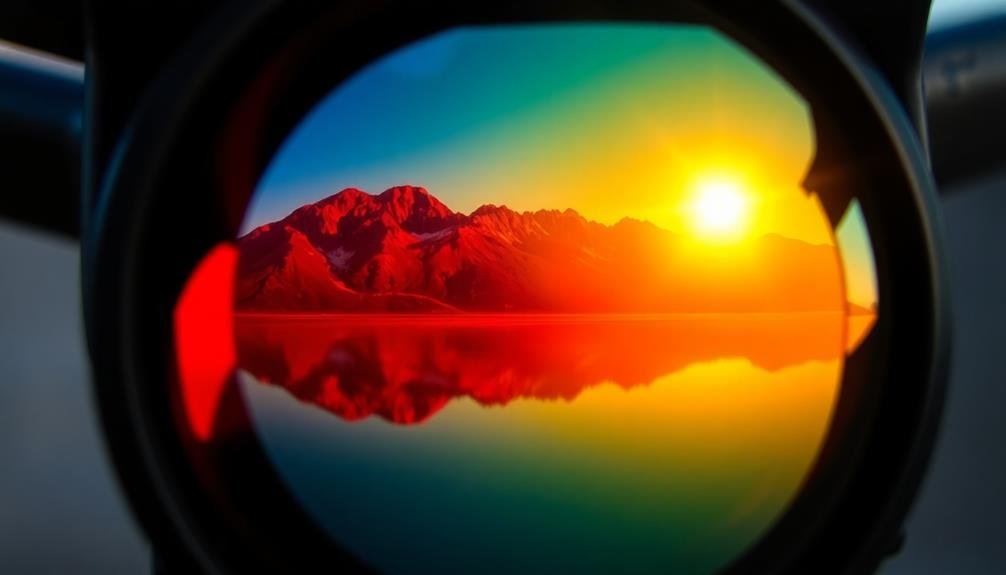
Dynamic range, a camera sensor's ability to capture both bright highlights and dark shadows in a single image, plays an essential role in drone photography.
When you're shooting aerial scenes, you'll often encounter high-contrast situations where the sky is much brighter than the ground. A sensor with good dynamic range helps you preserve details in both areas without losing information.
To understand dynamic range better, consider these key points:
- It's measured in stops, typically ranging from 10 to 14 for most drone cameras
- Higher dynamic range allows for more post-processing flexibility
- It's vital for capturing landscapes with varied lighting conditions
- Sensors with better dynamic range perform well in low-light situations
- It helps reduce the need for HDR techniques in some scenarios
As a beginner, you'll want to look for a drone camera with at least 12 stops of dynamic range.
This will give you enough latitude to capture most scenes without resorting to complex exposure techniques.
Color Depth and Accuracy
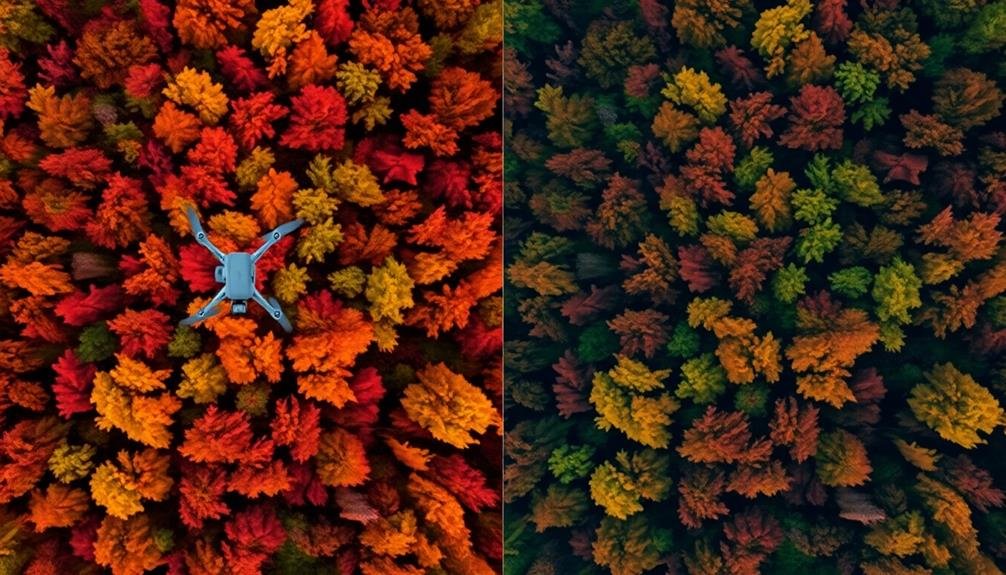
You'll need to understand bit depth to grasp how your drone's camera captures color information.
Your camera's color space options will affect the range and accuracy of colors in your images.
Don't overlook the importance of sensor calibration, as it guarantees your drone captures colors as accurately as possible.
Bit Depth Explained
As you explore deeper into drone photography, you'll encounter the concept of bit depth. It's an essential factor in determining the color accuracy and quality of your images. Bit depth refers to the number of bits used to represent the color of each pixel in an image.
The higher the bit depth, the more colors your camera can capture and the smoother the color gradations will be. For beginners, understanding bit depth can help you make informed choices about your drone's camera settings and post-processing options.
Here are key points to remember about bit depth:
- 8-bit: Captures 256 shades per color channel
- 10-bit: Captures 1,024 shades per channel
- 12-bit: Captures 4,096 shades per channel
- 14-bit: Captures 16,384 shades per channel
- Higher bit depth allows for more flexibility in post-processing
Most consumer drones offer 8-bit or 10-bit color depth, which is sufficient for many applications.
However, if you're looking to capture more detailed images or plan to do extensive editing, you might want to reflect on a drone with a higher bit depth capability.
Color Space Options
Diving into color space options is essential for understanding how your drone's camera captures and processes color information.
Color space refers to the range of colors a camera can record and display. The two most common color spaces you'll encounter are sRGB and Adobe RGB.
sRGB is the standard for most digital devices and online platforms. It's a smaller color space but guarantees consistency across various screens. Adobe RGB, on the other hand, offers a wider color gamut, capturing more vibrant greens and cyans. This can be beneficial for printing and professional editing.
As a beginner, you'll likely start with sRGB, as it's more universally compatible. However, if you plan to pursue advanced editing or printing, consider a drone camera that supports Adobe RGB.
Some high-end drone cameras also offer RAW format shooting, which captures the full color information recorded by the sensor. This gives you more flexibility in post-processing but requires more storage space and processing power.
When choosing a drone camera, look for options that offer at least 8-bit color depth, which provides 256 shades per color channel.
For more advanced work, 10-bit or 12-bit color depth will give you even more color information to work with.
Sensor Calibration Importance
Nearly every aspect of drone photography hinges on proper sensor calibration. It's essential for achieving accurate color depth and precision in your aerial images. When you calibrate your drone's camera sensor, you're ensuring that it captures colors and tones as faithfully as possible, resulting in more realistic and vibrant photos.
Proper calibration helps you:
- Achieve consistent color reproduction
- Improve image quality in various lighting conditions
- Reduce post-processing time
- Enhance overall image sharpness
- Maintain accurate exposure levels
To calibrate your sensor, you'll need to use a color checker card or a specialized calibration tool. These tools provide a reference point for your camera to adjust its settings accordingly.
It's important to recalibrate regularly, especially when shooting in different environments or after firmware updates.
Don't underestimate the impact of sensor calibration on your drone photography. It can mean the difference between amateur-looking shots and professional-grade images.
Rolling Shutter Vs Global Shutter
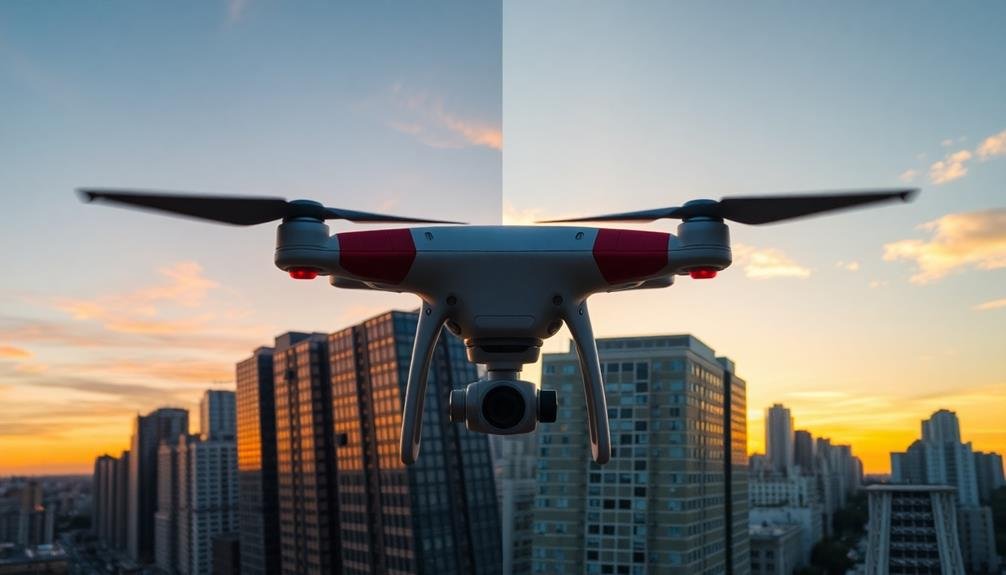
When considering camera sensors for your drone, understanding the difference between rolling shutter and global shutter is essential. Rolling shutter sensors capture images by scanning across the frame line by line, while global shutter sensors expose the entire image simultaneously.
Rolling shutters are more common in entry-level drones due to their lower cost and power consumption. However, they can produce distortion in fast-moving subjects or during rapid drone movements. You'll notice skewed vertical lines or a "jello effect" in your footage.
Global shutters, on the other hand, eliminate these distortions by capturing the entire frame at once. They're ideal for high-speed photography and videography, providing crisp images even during quick maneuvers. You'll find global shutters in higher-end drones and professional cameras.
As a beginner, you'll likely start with a rolling shutter drone. Don't let this discourage you – many professionals still use rolling shutter cameras effectively.
To minimize distortion, fly smoothly and avoid sudden movements. If you're serious about aerial photography and have the budget, consider investing in a drone with a global shutter for the highest image quality and versatility.
Frame Rates for Smooth Footage
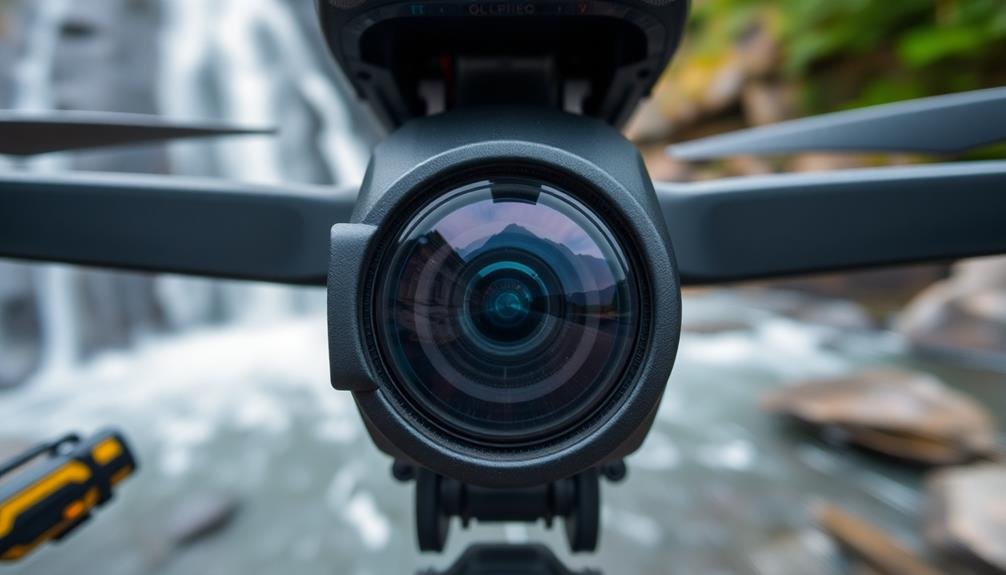
To capture smooth drone footage, you'll need to grasp the basics of frames per second (FPS).
You'll find that ideal frame rates vary depending on your desired outcome, with higher FPS typically resulting in smoother video.
Keep in mind that increasing your frame rate may require you to sacrifice resolution, so you'll need to balance these factors for the best results.
Understanding FPS Basics
Understanding frame rates is essential for capturing smooth drone footage. FPS, or frames per second, refers to the number of individual images your camera captures in one second. Higher frame rates result in smoother-looking video, while lower frame rates can create a more cinematic feel.
As a beginner drone photographer, you'll want to familiarize yourself with common frame rates and their uses. Most drones offer various frame rate options, typically ranging from 24fps to 120fps or higher.
Here are some key points to remember about FPS:
- 24-30fps: Standard for most video content, including films and TV shows
- 60fps: Ideal for smooth action shots and slow-motion footage
- 120fps and above: Used for super slow-motion effects
- Higher frame rates require more storage space and processing power
- Match your frame rate to your intended playback speed for best results
When choosing your frame rate, consider your subject matter and desired outcome. For example, use higher frame rates for fast-moving objects or when you want to create smooth slow-motion sequences.
Experiment with different settings to find what works best for your style and the scenes you're capturing.
Optimal Frame Rates
For capturing smooth drone footage, ideal frame rates play an essential role. You'll want to choose a frame rate that matches your intended output and provides the right balance between smooth motion and cinematic quality.
The most common frame rates for drone photography are 24fps, 30fps, and 60fps.
If you're aiming for a cinematic look, shoot at 24fps. This frame rate closely mimics the motion blur of traditional film cameras and gives your footage a classic movie feel.
For a more natural appearance, especially when capturing fast-moving subjects, opt for 30fps. It's the standard for most TV broadcasts and online videos.
When you want to create slow-motion effects or capture high-speed action, use 60fps. This higher frame rate allows you to slow down your footage in post-processing without losing smoothness.
Some drones even offer 120fps or higher, which is great for ultra-slow-motion shots.
Frame Rate vs. Resolution
When choosing between frame rate and resolution for smooth drone footage, you'll often face a trade-off. Higher frame rates provide smoother motion, while higher resolutions offer more detail. For most beginner drone photographers, a balance between the two is ideal.
Generally, 30 fps is sufficient for standard footage, while 60 fps can capture smoother motion for fast-moving subjects or when you want to incorporate slow-motion effects. However, shooting at 60 fps may require you to lower your resolution to maintain peak performance.
Consider these factors when deciding between frame rate and resolution:
- Your drone's capabilities
- The intended use of your footage
- Available storage space
- Post-processing requirements
- Lighting conditions
If you're shooting in bright daylight, you might opt for higher resolution to capture more detail. In low-light situations, a higher frame rate with a lower resolution could help reduce motion blur.
Remember, you can always downscale high-resolution footage, but you can't add frames to increase smoothness after the fact.
Experiment with different combinations to find what works best for your style and equipment. As you gain experience, you'll develop a better sense of when to prioritize frame rate over resolution and vice versa.
Sensor Heat Management
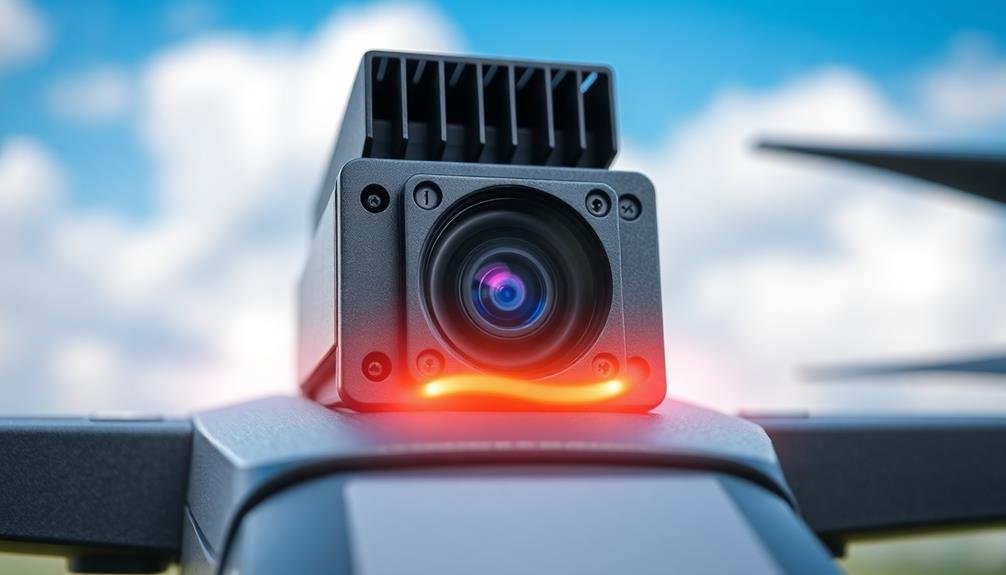
Effective heat management for drone camera sensors is essential in maintaining image quality and preventing equipment damage. As you fly your drone, the camera sensor generates heat, which can lead to increased noise in your images and potential long-term sensor degradation. To combat this, many modern drones incorporate built-in cooling systems, but you'll need to take additional steps to guarantee peak performance.
First, avoid prolonged exposure to direct sunlight when your drone isn't in use. Store it in a cool, shaded area between flights.
During operation, try to limit continuous recording time, especially when shooting in high-resolution modes. If you're flying in hot climates, consider using shorter flight sessions with cool-down periods in between.
Some drones feature heat warnings in their companion apps. Pay attention to these alerts and land your drone if it indicates overheating.
After landing, allow your drone to cool before powering it on again. Regular maintenance, including cleaning vents and checking for obstructions, can also improve heat dissipation.
Weather-Resistant Sensor Options
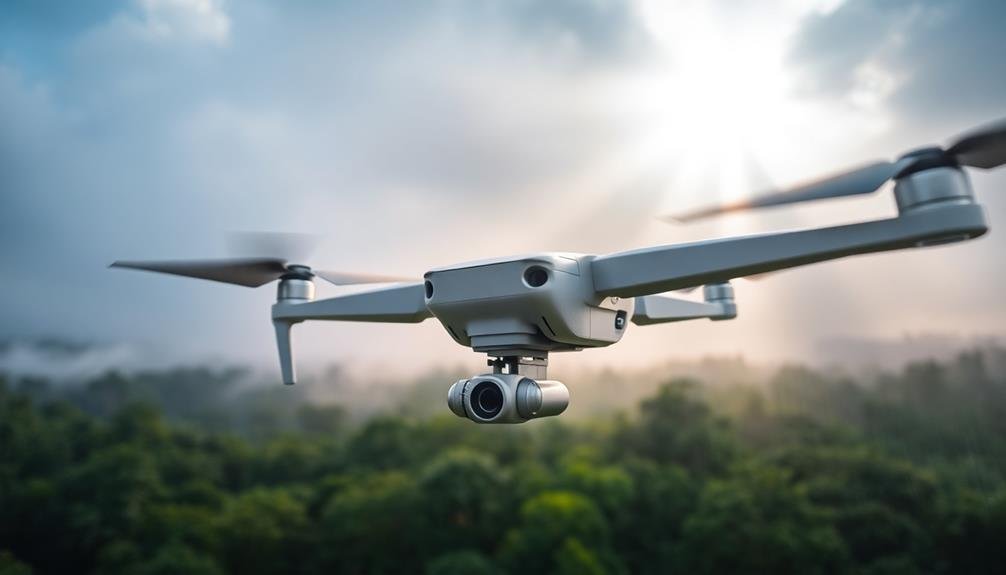
Weather-resistant sensors are a game-changer for drone photographers who don't let a little rain or dust stop them from capturing stunning aerial shots.
These sensors are designed to withstand various environmental challenges, ensuring your drone can perform in less-than-ideal conditions. When selecting a weather-resistant sensor, look for models with high IP (Ingress Protection) ratings, which indicate the level of protection against water and dust.
Many modern drones come equipped with weather-resistant sensors, but it's important to verify the specific capabilities of your chosen model.
Some key features to take into account include:
- Sealed housing to prevent moisture ingress
- Hydrophobic coatings on lens elements
- Dust-resistant filters
- Temperature-resistant components
- Anti-fog technology
Remember that while weather-resistant sensors offer enhanced protection, they're not invincible.
Always exercise caution when flying in adverse conditions and follow manufacturer guidelines. It's also vital to maintain your drone's sensors regularly, cleaning them after exposure to harsh environments.
Frequently Asked Questions
How Do Drone Camera Sensors Differ From Regular Camera Sensors?
Drone camera sensors differ from regular ones in size and design. They're typically smaller and lighter to fit on drones. You'll find they're optimized for aerial photography, with features like stabilization and wide-angle capabilities built-in.
Can I Upgrade the Camera Sensor on My Existing Drone?
You can't usually upgrade your drone's camera sensor easily. It's often integrated into the drone's design. Instead, you're better off buying a new drone with a better camera if you want improved image quality.
What's the Average Lifespan of a Drone Camera Sensor?
You'll typically find that drone camera sensors last 3-5 years with regular use. However, their lifespan can vary based on usage, maintenance, and environmental factors. You can extend their life by properly caring for your drone.
Are There Any Legal Restrictions on Drone Camera Sensor Capabilities?
You'll find that legal restrictions on drone camera sensors vary by country. In many places, there aren't specific limits on sensor capabilities, but you're subject to privacy laws and regulations on drone usage and aerial photography.
How Do I Clean and Maintain My Drone's Camera Sensor?
You'll want to clean your drone's camera sensor gently. Use a soft brush or air blower to remove dust. For stubborn spots, try sensor cleaning swabs. Don't touch the sensor directly. Always follow your manufacturer's guidelines.
In Summary
You've now got the essential knowledge to choose the right camera sensor for your drone photography. Remember, it's not just about megapixels. Consider sensor size, ISO performance, and dynamic range. Don't forget to weigh the benefits of global vs. rolling shutters and higher frame rates. As you're starting out, focus on sensors that balance quality and budget. With practice and the right sensor, you'll be capturing stunning aerial shots in no time.

As educators and advocates for responsible drone use, we’re committed to sharing our knowledge and expertise with aspiring aerial photographers.


Leave a Reply