For aerial photography success, you'll want to focus on seven key weather factors. First, shoot during golden hours for ideal lighting. Pay attention to wind speed and direction to maintain stability. Utilize cloud cover for mood and depth in your shots. Consider visibility and air quality to guarantee crisp images. Be aware of temperature and humidity effects on your equipment. Adapt to seasonal weather patterns for unique opportunities. Finally, use reliable forecasting tools to plan your flights. By mastering these weather tips, you'll elevate your aerial photography game and capture stunning images that stand out from the crowd.
Key Takeaways
- Plan flights during golden hours for optimal lighting and softer shadows.
- Monitor wind conditions to ensure safe drone operation and stable footage.
- Utilize cloud formations to add depth and texture to aerial shots.
- Adjust camera settings and use filters to combat haze and enhance image quality.
- Consider seasonal weather patterns and adapt techniques for each season's unique challenges.
Optimal Lighting Conditions
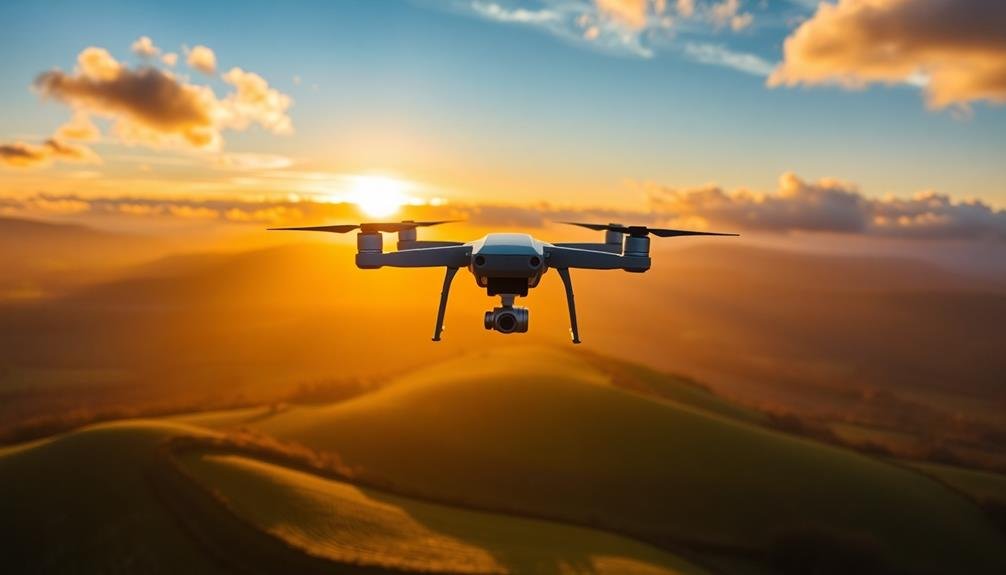
Photography's golden hours—just after sunrise and before sunset—offer the most flattering light for aerial shots. During these times, the sun's low angle creates long shadows, enhancing texture and depth in your images. The warm, soft light adds a golden glow to landscapes, making them appear more vibrant and inviting.
For aerial photography, you'll want to take into account the direction of light in relation to your subject. Side-lighting can emphasize contours and create dramatic contrasts, while backlighting can produce stunning silhouettes or halos around objects.
Overcast days can also be ideal for aerial shots, as the diffused light reduces harsh shadows and allows for more balanced exposures.
When planning your flight, check the weather forecast and aim for days with clear skies or interesting cloud formations. Avoid midday flights when possible, as the harsh overhead light can flatten your subjects and create unwanted glare.
If you must shoot during these hours, use polarizing filters to reduce reflections and enhance colors.
Wind Speed and Direction
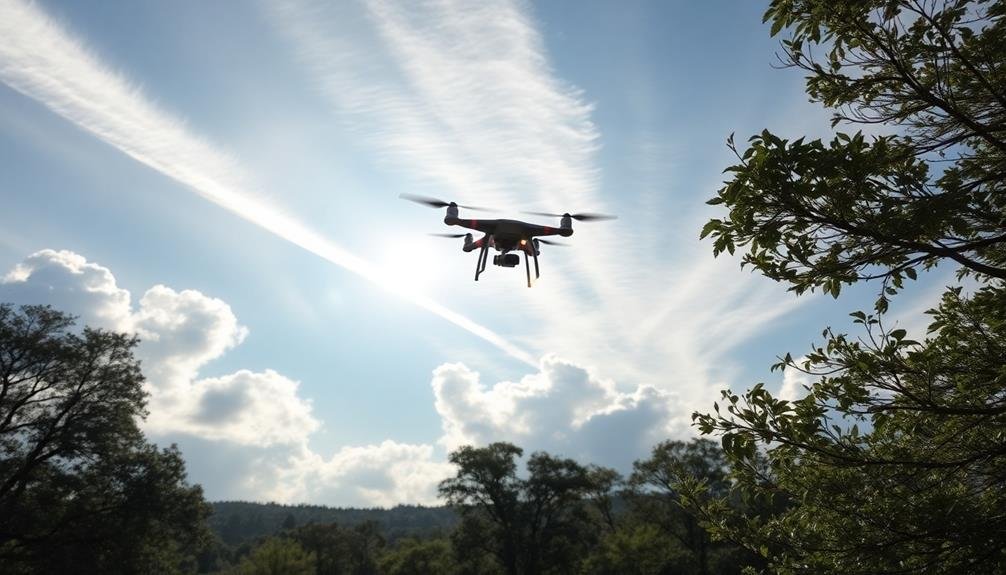
When it comes to aerial photography, wind speed and direction play a crucial role in your shoot's success. You'll need to take both factors into account carefully before taking flight. Strong winds can make it challenging to control your drone, resulting in shaky footage and blurry images. Aim for wind speeds below 15 mph for ideal stability.
Monitor wind direction, as it affects your drone's flight path and battery life. Flying against the wind drains power faster, while tailwinds can push your drone off course. Plan your flight pattern accordingly, starting against the wind and returning with it. This strategy helps conserve battery and guarantees a smoother ride home.
Use weather apps and local forecasts to check wind conditions before your shoot. Remember that wind speeds often increase with altitude, so factor this in when planning high-altitude shots. If possible, scout your location beforehand to identify potential wind tunnels or sheltered areas.
In gusty conditions, adjust your camera settings for faster shutter speeds to minimize motion blur. Think about using a gimbal for added stabilization.
Cloud Cover and Formations
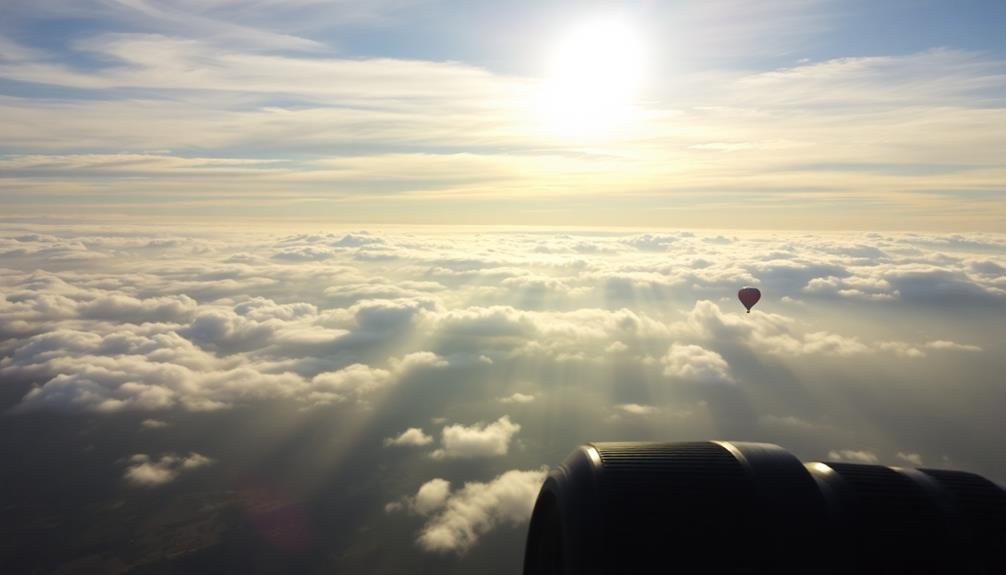
Cloud cover and formations are another key factor in aerial photography. They can dramatically impact the quality and mood of your shots. When planning your aerial shoot, consider the type and amount of cloud cover. A clear sky might provide excellent visibility, but it can also result in harsh shadows and less interesting compositions.
On the other hand, partly cloudy conditions can add depth and texture to your images. Pay attention to cloud formations, as they can create stunning backdrops or interesting patterns when viewed from above.
Here's what different cloud types can offer:
- Cumulus clouds: These puffy, cotton-like clouds can add depth and dimension to your aerial shots.
- Stratus clouds: These flat, layered clouds can create a moody atmosphere and diffuse light evenly.
- Cirrus clouds: These high-altitude, wispy clouds can add subtle texture to an otherwise clear sky.
When shooting with clouds, adjust your camera settings to capture the full range of tones. Use polarizing filters to enhance contrast between clouds and sky.
Visibility and Air Quality
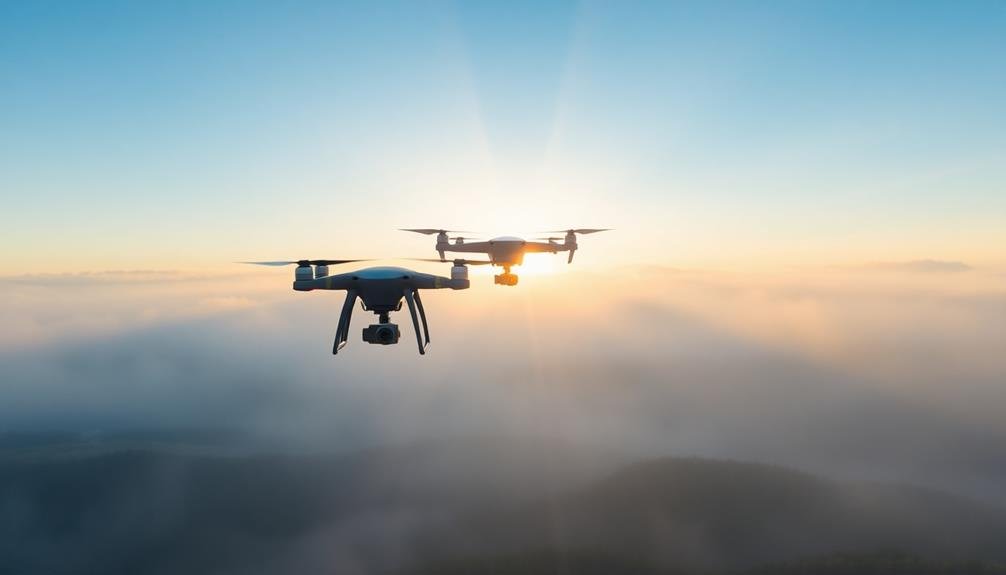
When you're planning an aerial shoot, you'll need to take into account visibility and air quality.
Haze and pollution can greatly impact your images, reducing contrast and dulling colors.
On the other hand, clear skies offer a distinct advantage, allowing for crisp, vibrant shots with excellent detail and depth.
Haze and Pollution Effects
Obscuring the beauty of aerial shots, haze and pollution can greatly impact your photography. These atmospheric conditions reduce contrast, mute colors, and decrease overall image sharpness. To combat these effects, you'll need to adjust your shooting techniques and post-processing methods.
When facing hazy or polluted conditions, consider using a polarizing filter to cut through some of the atmospheric interference. Shoot during the golden hours of sunrise or sunset when the light is softer and more diffused. Additionally, try increasing your camera's contrast settings to compensate for the loss of definition in your images.
In post-processing, you can further mitigate haze and pollution effects by:
- Adjusting levels and curves to enhance contrast
- Using dehaze tools in editing software
- Applying selective color adjustments to restore vibrancy
It's important to note that some level of haze can add depth and atmosphere to your aerial photographs.
Don't always aim to eliminate it entirely; instead, learn to work with it to create moody and evocative images. By understanding how haze and pollution affect your shots, you'll be better equipped to capture stunning aerial photographs in less-than-ideal conditions.
Clear Skies Advantage
While overcoming haze and pollution challenges can yield impressive results, nothing beats the advantages of clear skies for aerial photography. Clear conditions offer unparalleled visibility, allowing you to capture crisp, detailed images from high altitudes.
You'll enjoy better contrast, more vibrant colors, and sharper outlines of landscape features. In clear skies, you can shoot at greater distances without atmospheric interference, expanding your creative possibilities.
You'll have the freedom to experiment with various focal lengths and compositions that might be limited in hazier conditions. The improved air quality also means less post-processing work, as you won't need to spend time removing atmospheric haze from your images.
Clear skies often coincide with stable weather patterns, providing smoother flying conditions for your drone or aircraft. This stability allows for more precise camera control and reduces the risk of motion blur.
You'll also benefit from consistent lighting, making it easier to plan your shots and achieve the desired exposure. To maximize the clear skies advantage, plan your aerial photography sessions during periods of high pressure and low humidity.
Check local air quality reports and opt for early morning or late afternoon shoots when the air is typically clearest.
Temperature and Humidity Effects
Temperature and humidity greatly impact aerial photography, affecting both your equipment and the quality of your images. High temperatures can cause your drone's batteries to drain faster and potentially overheat its motors, limiting flight time and performance.
Conversely, cold temperatures can reduce battery efficiency and make your equipment more brittle. Humidity can lead to condensation on your camera lens, resulting in foggy or blurry images.
To mitigate these effects, consider the following:
- Fly during the "golden hours" of sunrise and sunset when temperatures are milder and humidity is often lower.
- Use silica gel packets in your drone case to absorb excess moisture.
- Allow your equipment to acclimate to outdoor temperatures before flying.
In hot conditions, keep your drone and batteries in the shade when not in use. For cold weather, pre-warm your batteries and use insulated covers.
Always monitor your drone's temperature during flight and land if it approaches critical levels. Humidity can be trickier to manage, but using a lens hood and microfiber cloth to wipe away condensation can help.
Seasonal Weather Patterns
As you plan your aerial photography sessions, consider the unique challenges and opportunities each season presents.
Spring and fall offer dynamic changes with changing foliage and weather patterns, while summer's intense heat can affect both your equipment and flight conditions.
Winter brings its own set of challenges, particularly with lighting, as shorter days and low-angle sunlight create long shadows and potentially harsh contrasts in your images.
Spring and Fall Transitions
Spring and fall can be tricky seasons for aerial photographers. These shifting periods often bring unpredictable weather patterns, making it challenging to plan and execute successful aerial shoots. You'll need to be flexible and adaptable during these months, as conditions can change rapidly throughout the day.
During spring and fall shifts, you'll encounter:
- Fluctuating temperatures that can affect your equipment's performance
- Rapidly changing cloud cover, altering lighting conditions
- Increased wind speeds, potentially disrupting flight stability
To navigate these challenges, keep a close eye on short-term weather forecasts and be prepared to adjust your schedule at a moment's notice. It's essential to have backup plans and alternative shooting locations in mind.
Consider investing in weather-resistant gear to protect your equipment from unexpected rain showers or moisture.
Despite the challenges, spring and fall shifts can offer unique opportunities for stunning aerial photography. The changing foliage colors, dramatic cloud formations, and golden hour lighting can create breathtaking scenes.
Summer Heat Considerations
Moving from the unpredictable nature of spring and fall, let's focus on the unique challenges summer brings to aerial photography.
Summer heat can greatly impact your aerial photography sessions. As temperatures rise, you'll need to adjust your approach to guarantee both your safety and equipment reliability. Start by scheduling your flights during the cooler hours of the day, typically early morning or late afternoon. This not only protects your gear but also provides softer, more flattering light for your shots.
Be aware of heat haze, which can blur distant subjects and reduce image sharpness. To combat this, fly at lower altitudes or use a polarizing filter. Keep an eye on your drone's temperature; excessive heat can cause battery drain and system failures. Consider using sun shades for your controller and device screens to improve visibility and prevent overheating.
Summer often brings clearer skies, which can create harsh shadows and high-contrast scenes. Compensate by using neutral density filters or adjusting your camera settings for balanced exposures.
Don't forget to hydrate and protect yourself from the sun during extended outdoor sessions. By adapting to summer's conditions, you'll capture stunning aerial images while maintaining your equipment's performance.
Winter Lighting Challenges
While summer brings its own set of challenges, winter presents unique lighting conditions for aerial photographers. You'll encounter shorter days, lower sun angles, and often overcast skies. These factors can dramatically affect your aerial shots, but they also offer opportunities for capturing stunning images with the right approach.
In winter, you'll need to adapt your shooting techniques to make the most of the available light. Plan your flights during the "golden hours" just after sunrise or before sunset when the sun's low angle creates long shadows and warm hues. You'll find that the softer light during these times can enhance landscape features and add depth to your aerial photographs.
When dealing with overcast conditions, consider:
- Adjusting your camera's white balance to compensate for the cooler light
- Increasing your ISO to maintain faster shutter speeds in low light
- Using polarizing filters to reduce glare and enhance colors
Don't let the cold deter you from capturing winter's unique beauty. Embrace the crisp air and clear atmospheres that often follow cold fronts.
You'll discover that winter's lighting challenges can lead to some of your most striking and atmospheric aerial photographs.
Weather Forecasting Tools
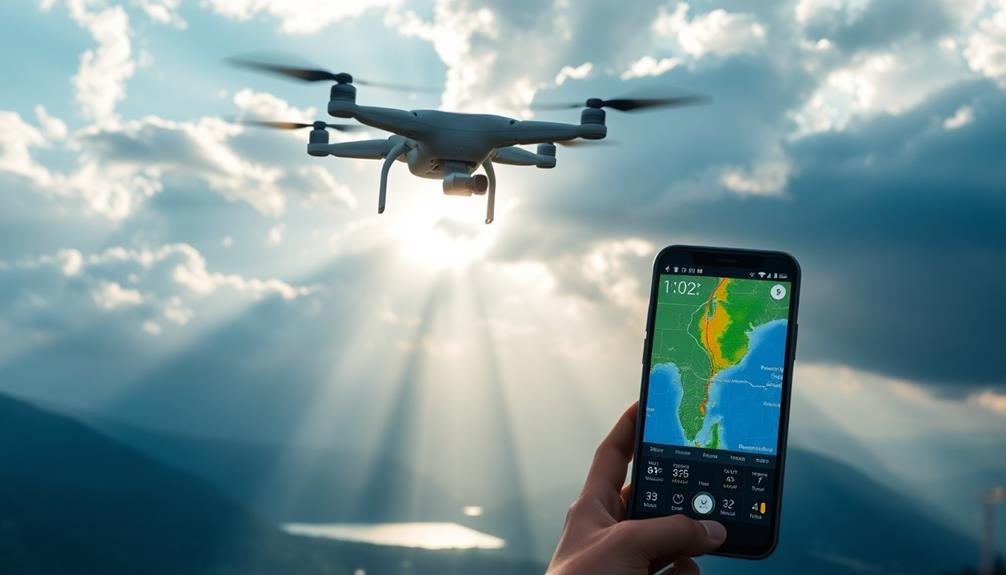
To guarantee successful aerial photography sessions, you'll need reliable weather forecasting tools at your disposal. These tools will help you predict conditions that affect your shoot, such as cloud cover, wind speed, and visibility.
Start with reliable weather apps like Dark Sky or AccuWeather, which provide detailed hourly forecasts. For more specific aviation-related data, turn to aviation weather services like ForeFlight or AviationWeather.gov. These offer METAR reports, TAFs, and PIREPs essential for flight planning and aerial photography.
Don't overlook specialized tools for photographers. Apps like PhotoPills and The Photographer's Ephemeris help you plan shots based on sun position and golden hour timing.
| Tool Type | Examples | Key Features |
|---|---|---|
| General Weather | Dark Sky, AccuWeather | Hourly forecasts, precipitation radar |
| Aviation Weather | ForeFlight, AviationWeather.gov | METAR, TAF, PIREP reports |
| Photography-specific | PhotoPills, The Photographer's Ephemeris | Sun position, golden hour timing |
| Local Sources | Airport weather stations, local news | Real-time, localized data |
Remember to cross-reference multiple sources for the most accurate predictions. Local airport weather stations and news channels can provide real-time, localized data that complements broader forecasts. By using a combination of these tools, you'll be well-prepared for your aerial photography adventures.
Frequently Asked Questions
How Does Rain Affect Drone Cameras During Aerial Photography?
Rain can severely impact your drone's camera during aerial photography. It'll obscure your lens, causing blurry images and potential water damage. You'll also face reduced visibility, shorter flight times, and increased risk of electrical malfunctions. Always avoid flying in rain.
Can Extreme Temperatures Damage Aerial Photography Equipment?
Yes, extreme temperatures can damage your aerial photography equipment. You'll want to avoid exposing your drone and camera to very hot or cold conditions. They can affect battery life, sensor performance, and potentially cause permanent damage.
What's the Best Time of Day for Aerial Photography in Different Seasons?
You'll find the best light for aerial photography during golden hours. In summer, shoot early morning or late evening. For winter, midday works well. Spring and fall offer more flexibility throughout the day. Always check local conditions.
How Do Atmospheric Pressure Changes Impact Aerial Photo Quality?
You'll notice atmospheric pressure changes can affect your aerial photos. Higher pressure often means clearer skies, improving image quality. Lower pressure may bring clouds and haze, reducing visibility. Always check pressure forecasts before your shoot.
Are There Specific Weather Conditions That Enhance Certain Landscape Features?
You'll find that cloudy days enhance lush landscapes, while clear skies boost desert scenery. Early morning mist accentuates rolling hills, and golden hour light brings out warm tones in any terrain. Experiment with different conditions!
In Summary
You're now equipped with essential weather knowledge for aerial photography. Remember, perfect conditions don't always happen, but you can make the most of any situation. Keep these tips in mind, stay flexible, and always prioritize safety. With practice, you'll learn to read the sky and anticipate how weather will affect your shots. Don't let challenging conditions discourage you—they often lead to the most stunning and unique images. Happy flying and shooting!

As educators and advocates for responsible drone use, we’re committed to sharing our knowledge and expertise with aspiring aerial photographers.
Leave a Reply