To master white balance for stunning landscape photography, you'll need to understand how color temperature affects your images. Start by familiarizing yourself with common presets like daylight, cloudy, and shade. Don't be afraid to make manual adjustments, especially during golden or blue hours. Adapt your settings to different lighting conditions, including overcast skies and reflected light. When post-processing, use RAW files for maximum flexibility. For drone photography, calibrate your sensor and experiment with presets. Remember, proper white balance can dramatically enhance the mood and accuracy of your landscapes. Dive deeper to access the full potential of your images.
Key Takeaways
- Understand color temperature and its impact on image mood to create stunning landscape photos.
- Master white balance presets for various lighting conditions, including daylight, cloudy, and shade.
- Use manual white balance adjustments for precise control over color temperature and tint.
- Adapt white balance techniques to different lighting scenarios like golden hour and overcast conditions.
- Leverage post-processing tools to fine-tune white balance, especially when working with RAW files.
Understanding White Balance in Aerial Photography
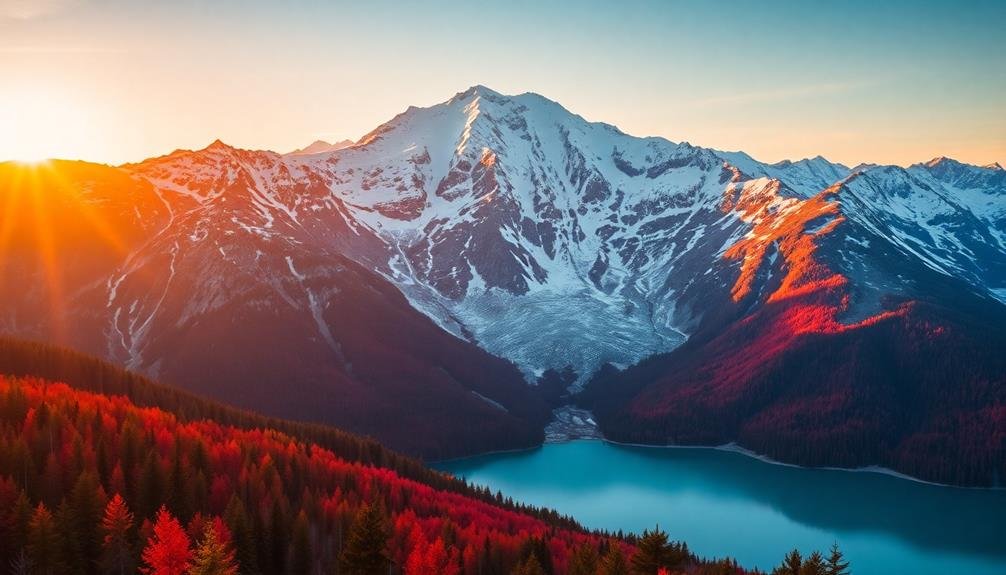
White balance plays an essential role in aerial photography, but it can throw off even experienced photographers when they're up in the air. The unique conditions of aerial shooting, including altitude, atmospheric haze, and changing light, can greatly impact color temperature and tint.
When you're photographing from above, you'll often encounter a blue cast due to atmospheric scattering. This effect intensifies with altitude, making proper white balance vital. To combat this, you'll need to adjust your camera's white balance settings or use a custom white balance.
Start by using the auto white balance setting as a baseline. If your images appear too cool, switch to a warmer preset like cloudy or shade. For more precise control, use the Kelvin temperature scale. Experiment with values between 5500K and 7000K to find the right balance.
Don't forget about polarizing filters; they can help reduce atmospheric haze and enhance colors. However, be cautious as they may introduce unwanted color casts.
Always shoot in RAW format to give yourself more flexibility in post-processing, where you can fine-tune white balance without sacrificing image quality.
Common White Balance Presets Explained
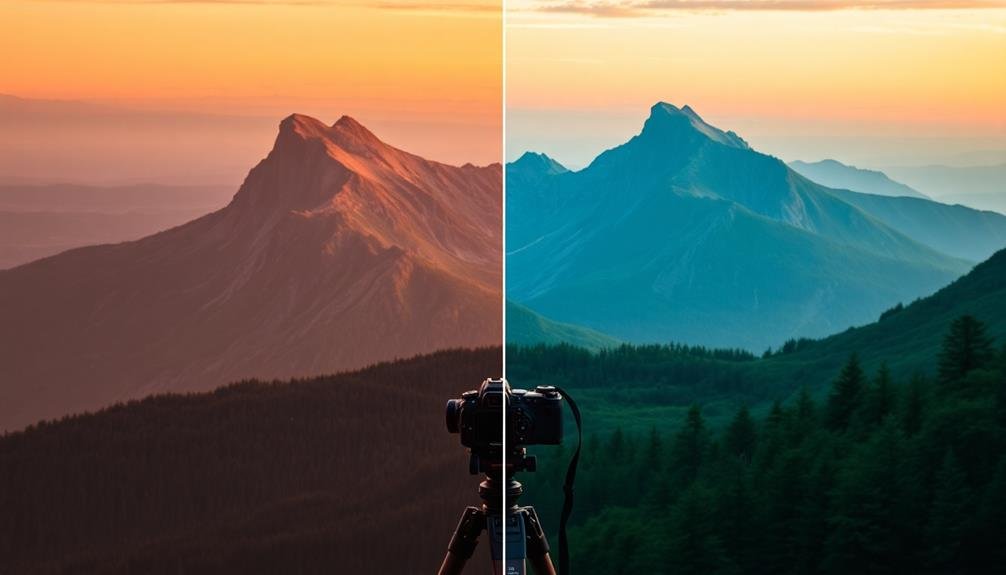
Simplicity is key when it comes to understanding white balance presets. Most digital cameras offer several common presets that you can use to quickly adjust your white balance in various lighting conditions. These presets are designed to neutralize color casts and produce accurate colors in specific scenarios.
The "Auto" setting lets your camera analyze the scene and make its best guess at the correct white balance. "Daylight" is optimized for sunny outdoor conditions, while "Cloudy" adds warmth to compensate for the cooler light on overcast days. "Shade" introduces even more warmth to counteract the bluish tint in shaded areas.
For artificial lighting, "Tungsten" corrects the orange cast of traditional incandescent bulbs, and "Fluorescent" addresses the greenish tint of fluorescent lights. Some cameras offer multiple fluorescent settings to account for different types of these lights.
"Flash" is tailored for the cool, blue light emitted by most camera flashes. Finally, "Custom" or "Manual" allows you to set your own white balance by photographing a neutral gray or white reference object under your current lighting conditions.
Manual White Balance Adjustments
Going beyond presets, manual white balance adjustments give you ultimate control over your image's color temperature and tint. You'll find these controls in your camera's menu or in post-processing software.
Temperature adjusts the warm-cool balance, typically measured in Kelvin. Lower values create cooler, bluer tones, while higher values produce warmer, orange hues. Tint fine-tunes the green-magenta balance, compensating for artificial lighting or atmospheric conditions.
To manually set white balance in-camera, you'll need a neutral reference point. Use a gray card or find a neutral white or gray object in your scene. Take a test shot, then adjust your camera's white balance settings until the neutral area appears truly neutral.
In post-processing, you have more flexibility. Use the eyedropper tool to select a neutral point, then fine-tune temperature and tint sliders.
For landscape photography, consider the emotional impact of color temperature. Cooler tones can evoke calm or melancholy, while warmer tones suggest comfort or energy.
Don't be afraid to deviate from perfect neutrality if it enhances your creative vision. Experiment with different white balance settings to dramatically alter the mood and atmosphere of your landscape images.
Adapting to Different Lighting Conditions
Landscape photographers often face a variety of lighting conditions that can dramatically impact their images. To adapt effectively, you'll need to understand how different light sources affect white balance and adjust accordingly.
During golden hour, the warm, soft light requires a cooler white balance setting to maintain natural colors. Conversely, in the blue hour, you'll want to use a warmer white balance to counteract the cool tones. Midday sunlight tends to be neutral, so a daylight preset often works well.
Overcast conditions can create a blue cast, which you can correct by increasing the color temperature. In shaded areas, you'll encounter cooler light, requiring a warmer white balance to compensate.
When shooting near water or snow, be prepared for reflected light that can alter the overall color temperature.
For mixed lighting situations, such as a sunset with artificial lights, you may need to compromise or use graduated filters.
Always consider the mood you want to convey in your image. Sometimes, a slightly warmer or cooler white balance can enhance the atmosphere of your landscape. Experiment with different settings to find the perfect balance for each unique lighting scenario.
Post-Processing White Balance Techniques
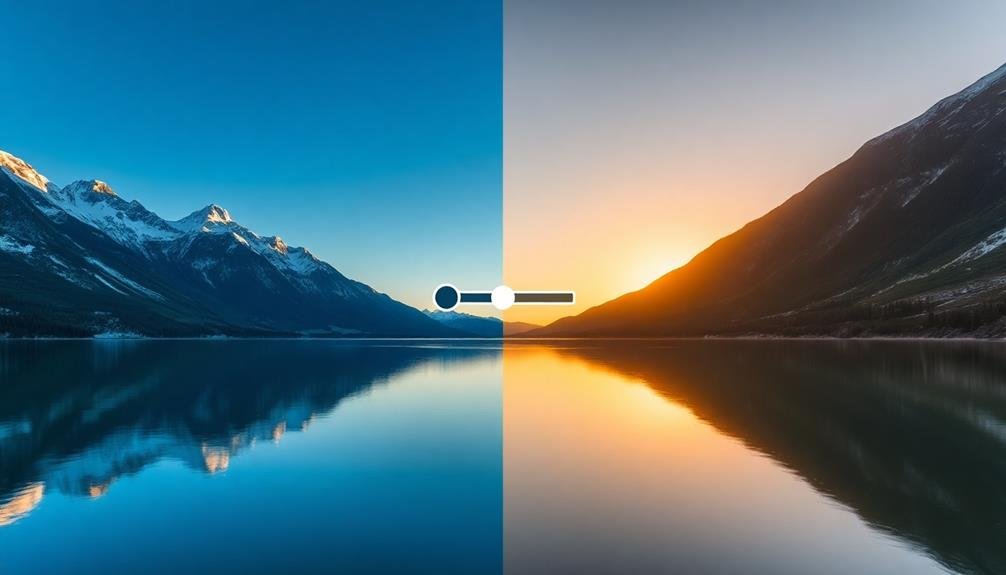
When adjusting white balance in post-processing, you'll find that RAW files offer much more flexibility than JPEGs.
You can fine-tune color temperature with greater precision, allowing for subtle shifts in the overall mood of your landscape images.
RAW vs. JPEG Adjustment
After capturing your landscape images, you'll often find yourself fine-tuning white balance during post-processing.
The flexibility you have in adjusting white balance depends largely on whether you've shot in RAW or JPEG format.
RAW files offer significant advantages when it comes to white balance adjustment. They contain all the data captured by your camera's sensor, allowing you to make substantial changes without degrading image quality.
You can easily shift the white balance to warm up a cool scene or cool down an overly warm one. This flexibility means you don't have to worry as much about getting white balance perfect in-camera.
JPEG files, on the other hand, have already been processed by your camera. The white balance information is "baked in," limiting your adjustment options.
While you can still make some changes, they're less extensive and may result in a loss of image quality if pushed too far.
To maximize your post-processing capabilities, always shoot in RAW format for landscape photography.
It'll give you the freedom to fine-tune white balance and achieve the most natural-looking or creatively stylized results in your final images.
Color Temperature Fine-Tuning
Once you've loaded your RAW files into your editing software, you'll find a wealth of options for fine-tuning color temperature. Start by adjusting the overall temperature slider to shift the image's warmth or coolness. Pay attention to how these changes affect the mood and atmosphere of your landscape.
Next, focus on the tint slider to balance out any green or magenta casts. This step is essential for achieving natural-looking skin tones and foliage. Don't hesitate to make subtle adjustments; even small changes can greatly impact the final image.
For more precise control, many editing programs offer advanced color balance tools. These allow you to target specific color ranges or luminosity values, giving you greater flexibility in achieving your desired look.
| Adjustment | Warm Effect | Cool Effect |
|---|---|---|
| Sky | Golden hour | Blue hour |
| Foliage | Autumn | Spring |
| Water | Sunset | Daytime |
| Snow | Cozy | Crisp |
Remember to periodically check your adjustments against a neutral gray point in the image. This will help guarantee your color balance remains accurate throughout the editing process. Don't be afraid to experiment with different color temperatures to create unique moods and atmospheres in your landscape photographs.
Color Temperature and Drone Sensors
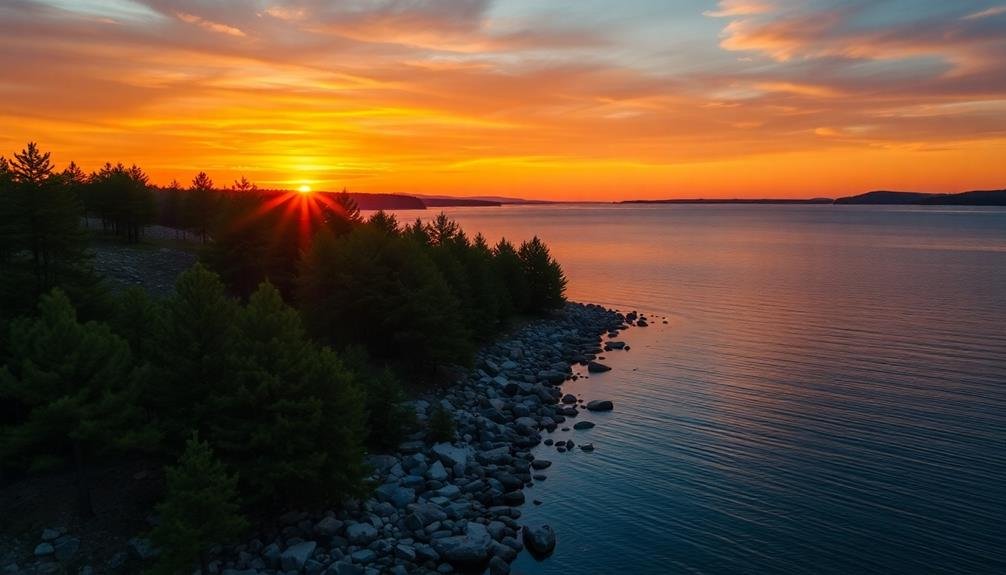
When you're using drones for landscape photography, it's essential to understand how their sensors capture color temperature.
You'll need to familiarize yourself with your drone's specific calibration techniques to guarantee accurate white balance in various lighting conditions.
Explore your drone's white balance presets and learn how to adjust them for best results in different environments.
Understanding Drone Sensor Technology
Drone sensors play an essential role in capturing accurate colors for landscape photography. Understanding how these sensors work can help you achieve better white balance in your aerial shots. Most drones use CMOS sensors, which convert light into electrical signals. These sensors are sensitive to different wavelengths of light, including visible and infrared spectrum.
When it comes to color accuracy, the type and quality of the sensor matter. Here's a comparison of common drone sensors:
| Sensor Type | Color Depth | Dynamic Range | Low Light Performance |
|---|---|---|---|
| 1/2.3" CMOS | 12-bit | Medium | Fair |
| 1" CMOS | 14-bit | High | Good |
| Micro 4/3 | 16-bit | Very High | Excellent |
| APS-C | 14-bit | High | Very Good |
| Full-Frame | 14-16 bit | Excellent | Outstanding |
Larger sensors generally offer better color accuracy and low-light performance. They also tend to have higher dynamic range, allowing for more detail in highlights and shadows. When choosing a drone for landscape photography, consider the sensor size and its capabilities. Remember that even with a high-quality sensor, proper white balance techniques are vital for achieving stunning results in your aerial landscape shots.
Color Temperature Calibration Techniques
Three key techniques can help you calibrate color temperature for accurate drone landscape photography.
First, use a gray card or color checker in your initial shots. Place it in the scene, capture an image, and use it as a reference point for adjusting white balance in post-processing. This method guarantees consistent color across your entire shoot.
Second, leverage your drone's built-in white balance presets. Most drones offer options like sunny, cloudy, or shade. Choose the preset that best matches your current lighting conditions. While not perfect, these presets provide a solid starting point for color accuracy.
Lastly, master manual white balance adjustment. Learn to set Kelvin values directly on your drone or in post-processing software. This gives you precise control over color temperature.
For landscapes, start around 5500K for daylight and adjust as needed. Cooler temperatures (lower Kelvin values) add blue tones, while warmer temperatures (higher values) introduce orange hues.
White Balance Presets
Modern drones come equipped with a variety of white balance presets tailored to common lighting scenarios. These presets can be incredibly useful when you're capturing landscape shots from the air. You'll find options like "Daylight," "Cloudy," "Shade," and "Sunset" that adjust your drone's color temperature settings to match specific lighting conditions.
Here's a quick reference table for common white balance presets and their typical uses:
| Preset | Color Temperature | Best Used For |
|---|---|---|
| Daylight | 5500K | Sunny conditions |
| Cloudy | 6500K | Overcast skies |
| Shade | 7500K | Areas in shadow |
While these presets are convenient, they're not always perfect. You'll often need to fine-tune your white balance settings for the best results. Don't be afraid to experiment with different presets or manual adjustments to achieve the most natural-looking colors in your landscape shots.
Frequently Asked Questions
How Does White Balance Affect Depth Perception in Landscape Photography?
White balance can influence depth perception in your landscapes. It affects how warm or cool different parts of the scene appear, potentially altering perceived distance. Cooler tones often recede, while warmer tones seem closer, impacting the overall depth.
Can Using Incorrect White Balance Ruin a Photo Beyond Repair?
While incorrect white balance can greatly impact your photo, it's rarely beyond repair. You'll often be able to adjust it in post-processing. However, it's best to get it right in-camera for ideal image quality.
Are There Specific White Balance Considerations for Shooting During Golden Hour?
When shooting during golden hour, you'll want to be cautious with auto white balance. It might neutralize the warm tones you're after. Try using daylight or cloudy presets, or manually adjust to preserve the golden glow.
How Does Lens Choice Impact White Balance in Landscape Photography?
Your lens choice doesn't directly affect white balance, but it can influence color rendition. Wide-angle lenses may capture more sky, impacting overall color temperature. Telephoto lenses can compress scenes, potentially altering perceived warmth or coolness in your images.
What's the Relationship Between White Balance and HDR in Landscape Shots?
When you're shooting HDR landscapes, white balance plays an essential role. You'll need to set a consistent white balance across all exposures to guarantee your merged image doesn't have color shifts. It's best to use manual white balance settings.
In Summary
You've now got the tools to master white balance in your aerial photography. Remember, there's no one-size-fits-all setting. Experiment with presets, manual adjustments, and post-processing techniques to find what works best for each unique landscape. Don't be afraid to adapt to changing light conditions. With practice, you'll develop an eye for color temperature and how your drone's sensor interprets it. Keep shooting, keep learning, and watch your landscape photos transform into stunning works of art.

As educators and advocates for responsible drone use, we’re committed to sharing our knowledge and expertise with aspiring aerial photographers.


Leave a Reply